How to Create a Course with LifterLMS
To begin your online course, you must first create a new course and establish the fundamentals of your curriculum.
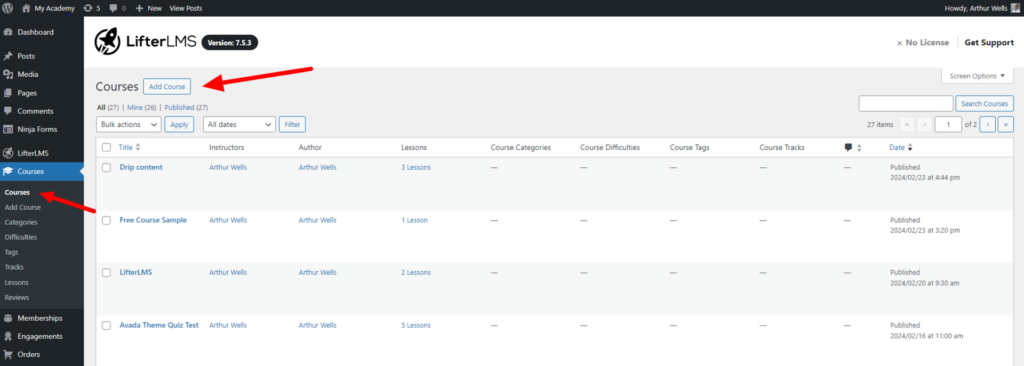
Step 1. Navigate to Courses and click on Add Course
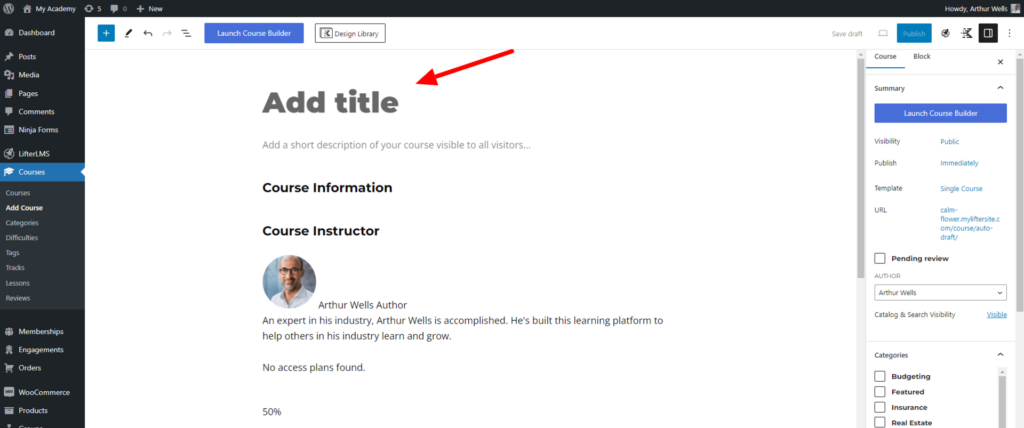
Step 2. Enter the title of your course in the title field
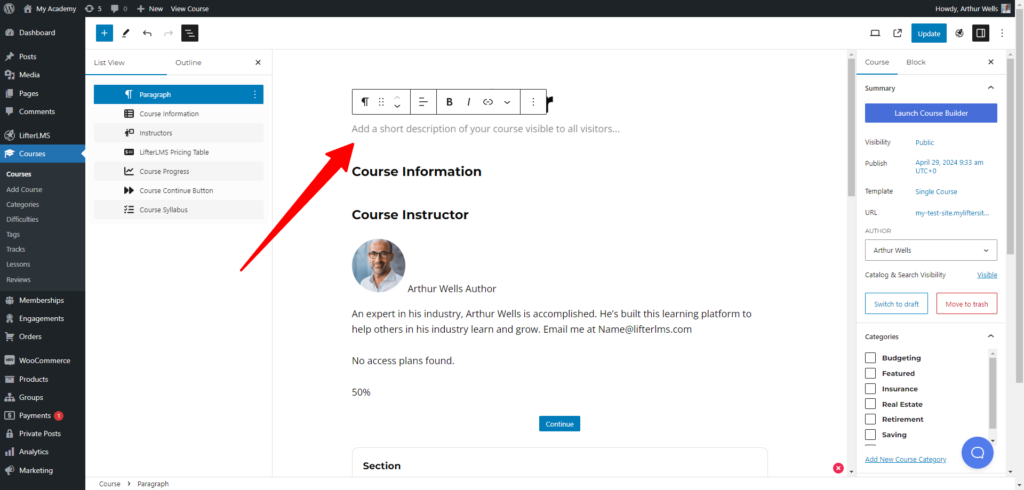
Step 3. Type in your course description in the provided space. You can add a simple one-sentence course description or a complex layout of content.
Step 4. Add a Course Featured Image. The featured image is a visual representation similar to a book cover for a book or a movie poster for a movie.
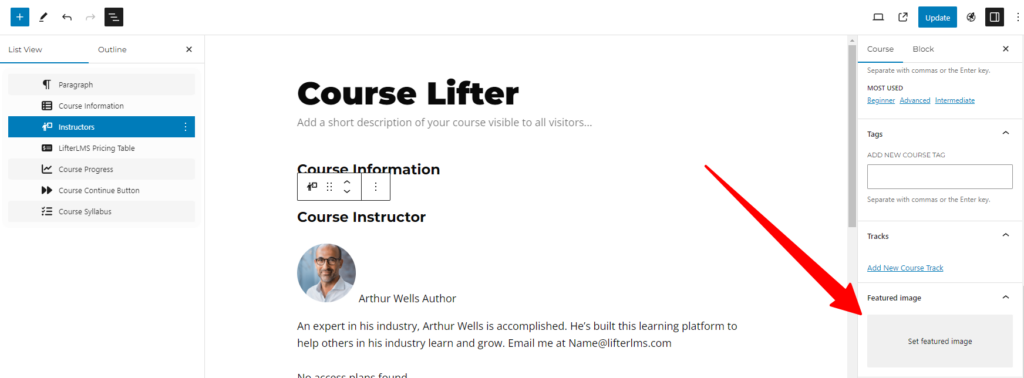
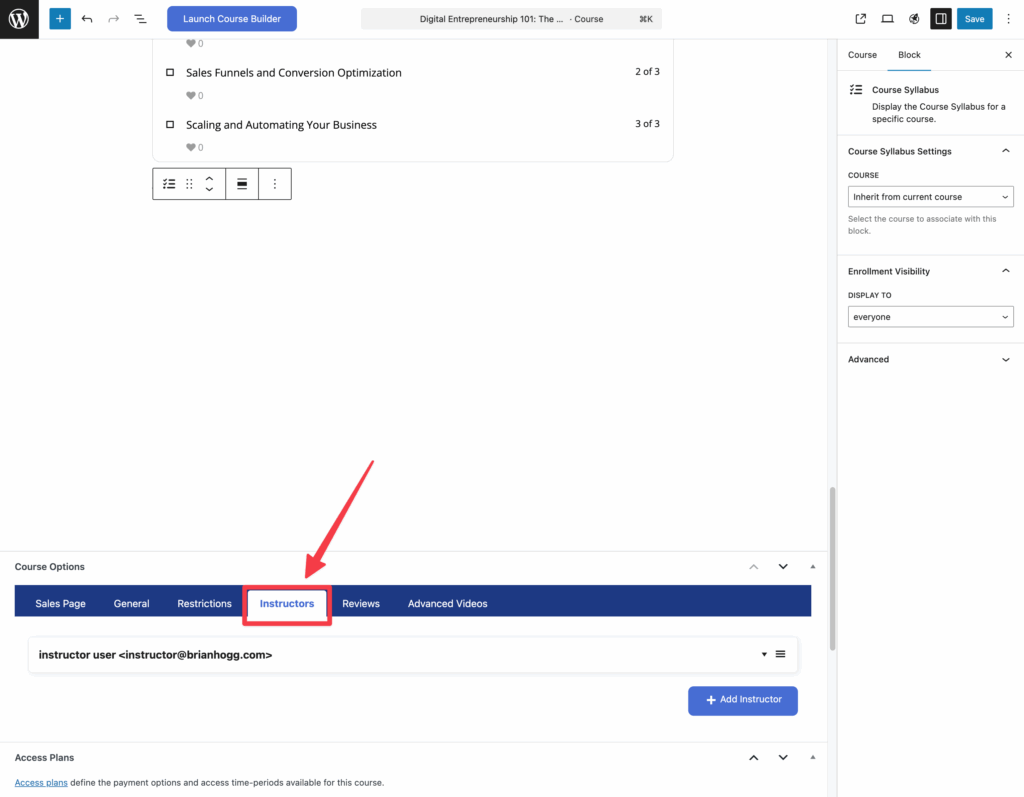
Step 5. You can change or add multiple instructors in the “Instructors” section. You can also adjust the title or label for each instructor.
By default, the course instructor will be whoever created the course.
Learn more information about the roles available in LifterLMS in this documentation about Roles and Capabilities.
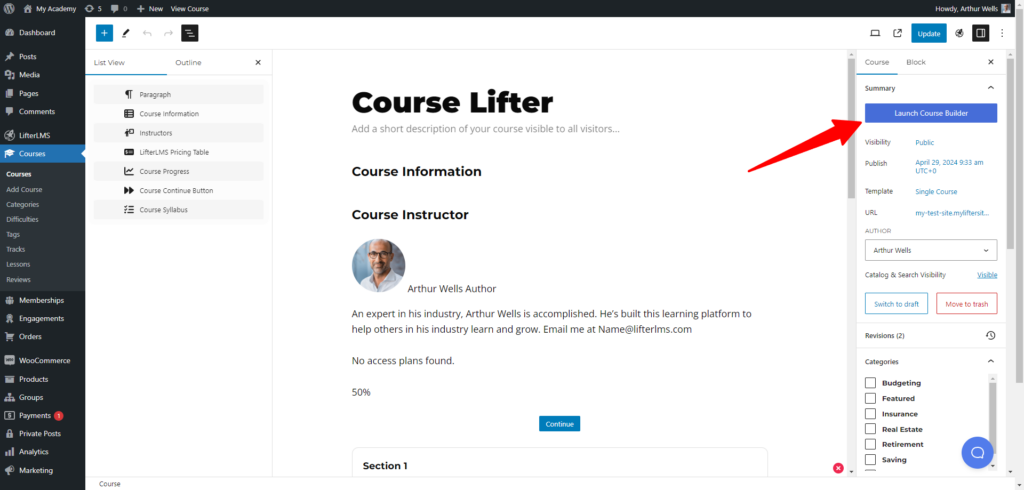
Step 6. Click the Launch Course Builder button to start creating a lesson. For more information about the course builder, you can visit Using the Course Builder.
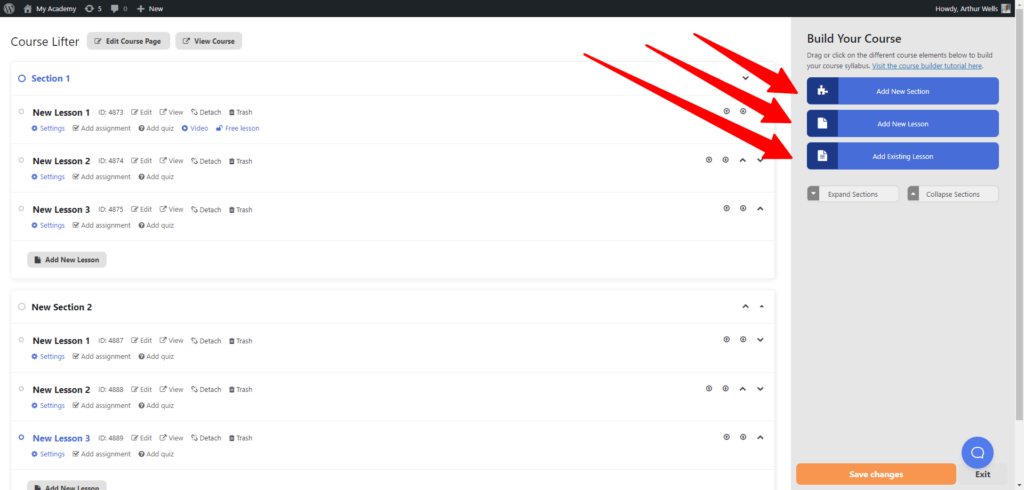
Step 7. Adding Sections and Lessons
After opening the course builder, click on the Add Section button. Then, proceed to click on the Add Lesson or Add Existing Lesson button to include a lesson within the section.
To customize, click on both the section and lesson titles to name them.
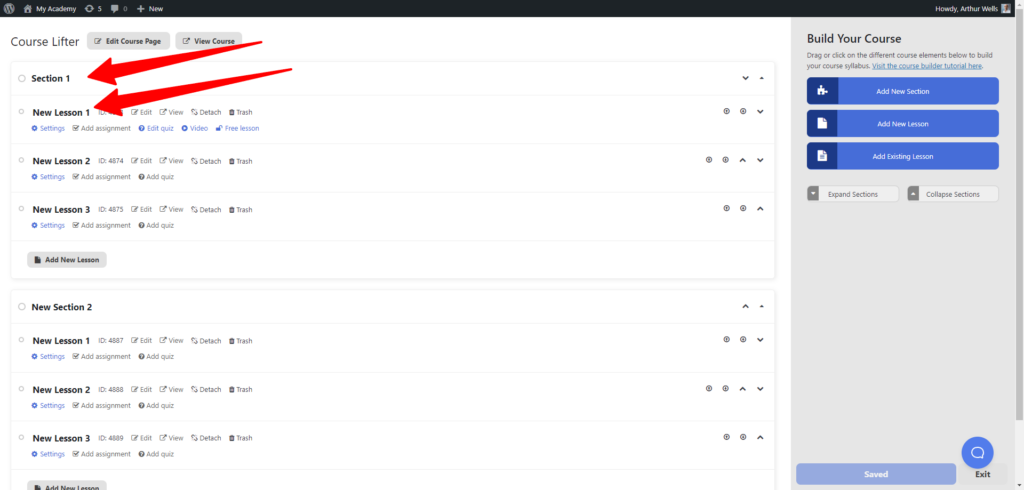
Continue this process, adding as many sections and lessons as required to structure your course curriculum or syllabus.
Here is a video demo of the LifterLMS Course Builder:
Step 1. In the Course Builder, click on the “Edit” link on a lesson.
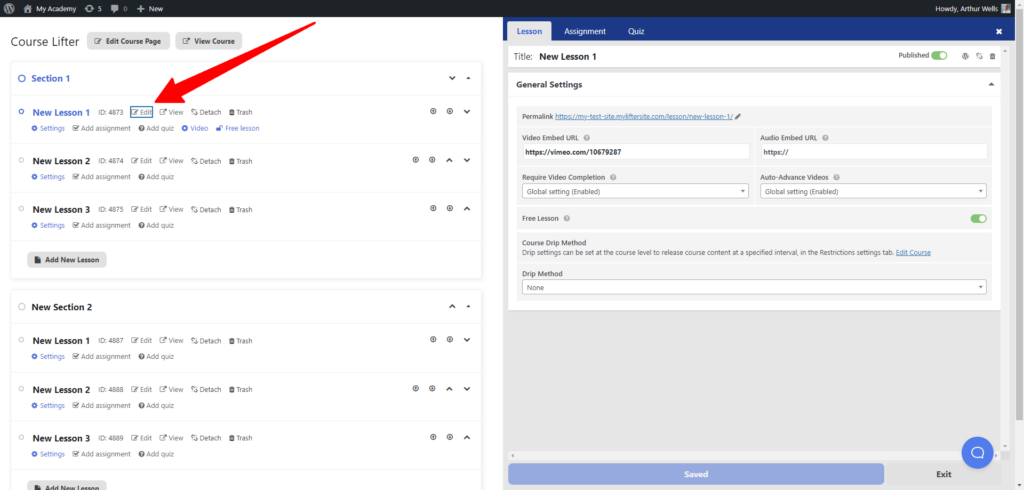
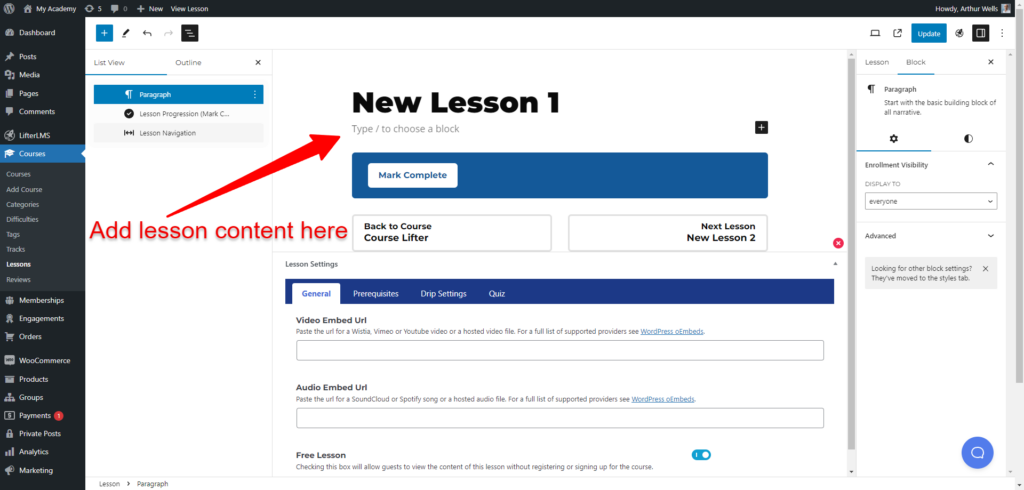
Step 2. Now, put your lesson content in the lesson.
You can add text, videos, audio, images, and more to your lessons. WordPress can handle almost any type of content.
While the Course Syllabus is automatically displayed on course pages, you may want to display it on other parts of your site, such as a custom sales page or a landing page. You can do this using the Course Syllabus Block.
To add a specific course’s syllabus to a page:
- Edit the page where you want the syllabus to appear.
- Add the Course Syllabus block.
- In the block settings (sidebar), search for and select the specific Course you want to display.
- Update your page.
Now that your course is set to go live, it’s time to add the pricing options in the Access Plans area. Note that free access is also possible.
If you’re using LifterLMS with Stripe, PayPal, or Authorize.Net, follow the instructions in this documentation to configure your access plans: How do you allow students to gain access to courses and memberships with access plans?
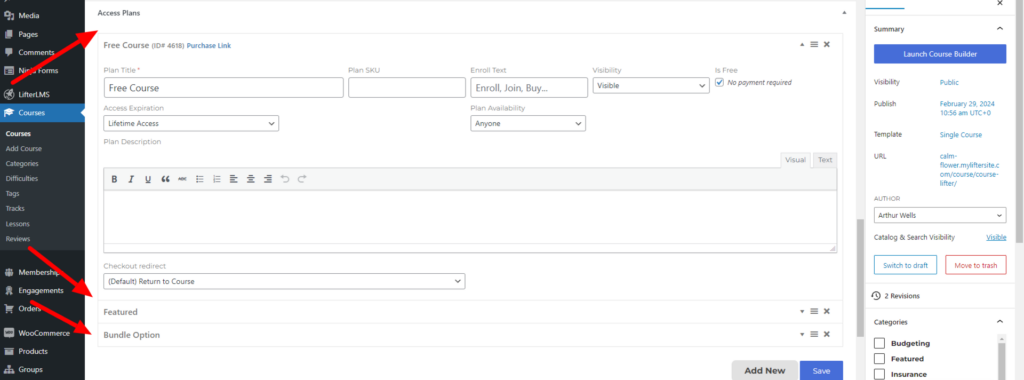
You also have the option to establish pricing through the manual payment gateway included in the core LifterLMS plugin (Using the LifterLMS Manual Payment Gateway).
If you prefer using WooCommerce to sell your course, refer to the LifterLMS WooCommerce integration add-on and the documentation on Getting Started with LifterLMS and WooCommerce.
Here’s a guide to help you decide between the LifterLMS native ecommerce system or WooCommerce: Should I sell with the LifterLMS eCommerce system or WooCommerce?.
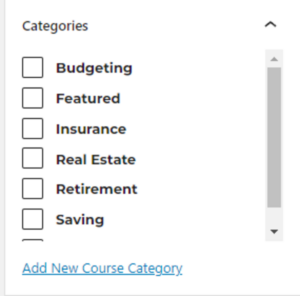
Course Categories
Organize your courses by adding categories. This is especially useful when you have many courses to manage.
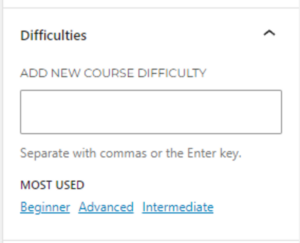
Course Difficulty Levels
Customize your courses by adding difficulty levels such as “Beginner,” “Intermediate,” “Advanced,” etc. This helps organize and distinguish the complexity of your courses.
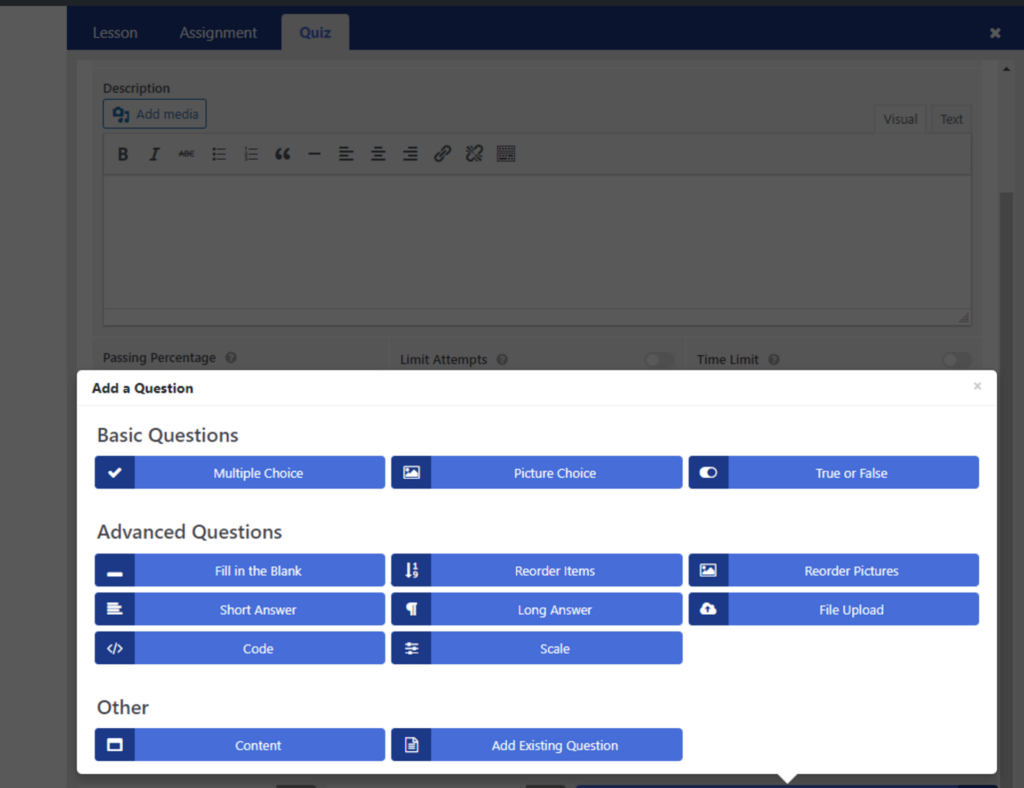
Course Quizzes
Add quizzes into your course lessons using the quiz builder How do I create a quiz in LifterLMS?. The basic quiz question types are included in the core LifterLMS plugin.
For advanced question types, consider the Advanced Quizzes add-on LifterLMS Advanced Quizzes.
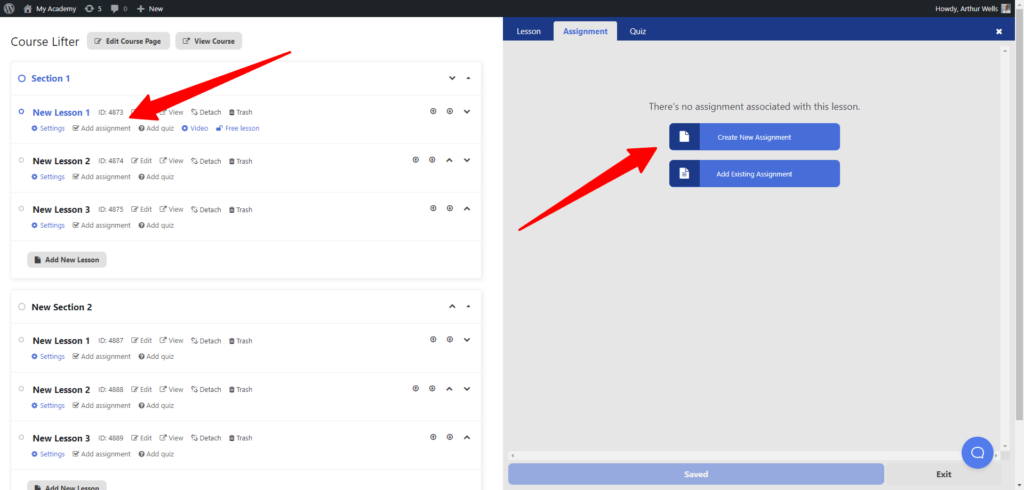
Course Assignments
Add assignments into your course using the Assignment add-on.
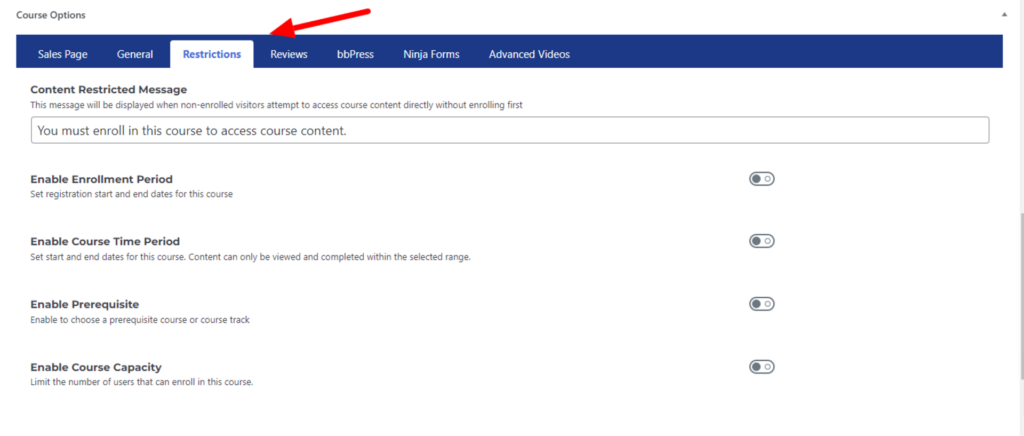
Course Time Period
Set a specific time frame during which your course will be accessible to enrolled students.
Learn more about course time periods in the course time period documentation.
Course Enrollment Period
Establish a defined enrollment period for your course to allow students to sign up within a specific timeframe. More information on course enrollment periods can be found 4 Access Models for Courses and Memberships.
Course Capacity
Additionally, you have the option to limit the number of individuals who can enroll in your course.
Drip Content
Configure your lessons to be gradually released or made available over a specific period. Discover more details about drip content How to Use Drip Content in LifterLMS Lessons.
Prerequisites
Establish prerequisites at the lesson or course level. Learn how to set prerequisites How to Set a Prerequisite.


