How do I set the date format, time format, and timezone for my site?
Setting your date and time correctly is important for your WordPress website. It affects how your orders appear, when your course lessons expire, and the date printed on your student certificates.
Follow these steps to configure your LifterLMS site’s time and date settings.
The timezone determines the “local time” for your website. WordPress uses UTC (Universal Time Coordinated) as the global standard.
If your timezone is wrong, a student in Australia might finish a course on March 18, but their certificate might show March 17. This happens because your website is still operating on a previous day, as set by your settings.
- Log in to your WordPress admin area and navigate to Settings > General
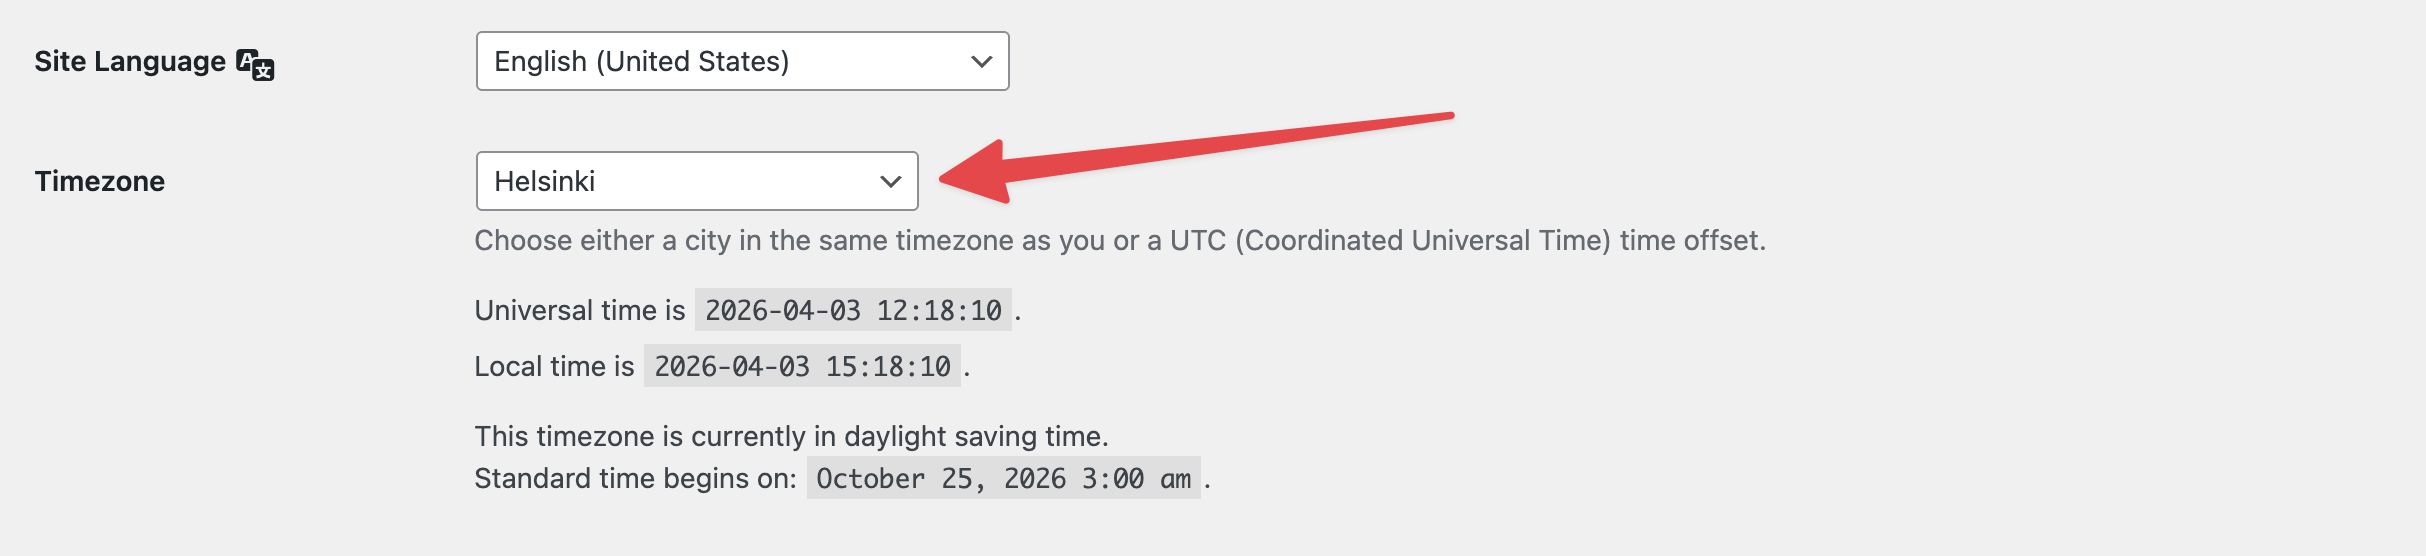
- Scroll down to the “Timezone” section.
- Click the dropdown menu next to “Timezone”.
- Choose a city in your time zone, or select a UTC offset.
- Look at the “Local Time” display below the dropdown to ensure the time matches your current clock.
- Click the Save Changes button.
When a lesson or course has an expiration date, it expires at 12:00 PM based on your website’s timezone, not the student’s local timezone. You should clearly communicate which timezone your deadlines follow to avoid student frustration.
The date format changes how dates look on your LifterLMS “Orders” page and on student certificates.
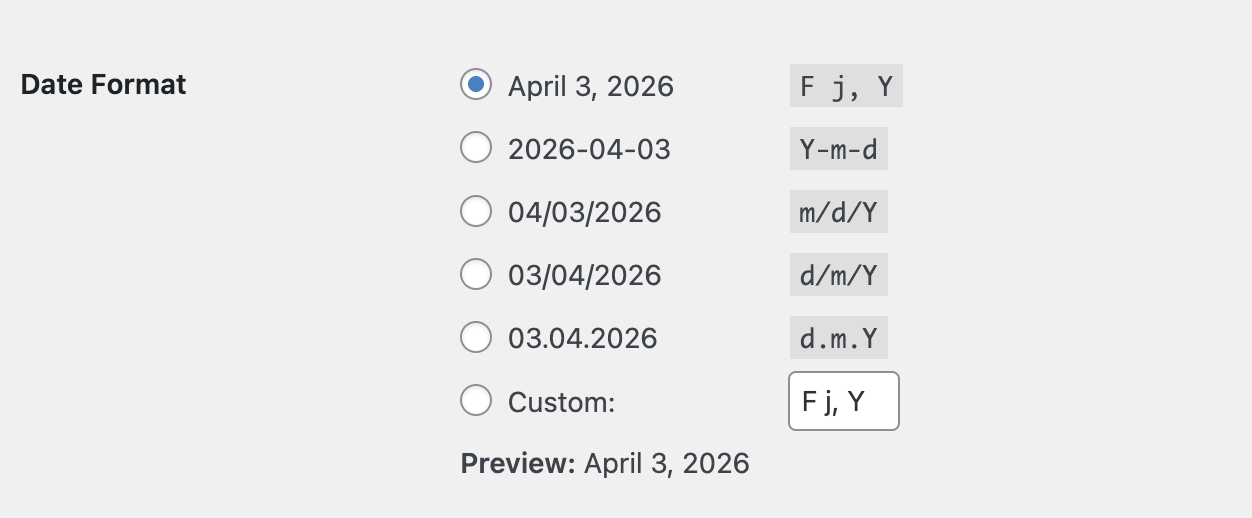
- Locate the “Date Format” section.
- Review the available options, such as “March 17, 2026” or “2026-03-17”.
- Select the radio button next to the format you prefer.
- If you work with international students, consider a format like “17/03/2026” or “2026/03/17” to avoid confusion.
- Click the Save Changes button.
The time format changes how timestamps appear on your course records and transaction logs.
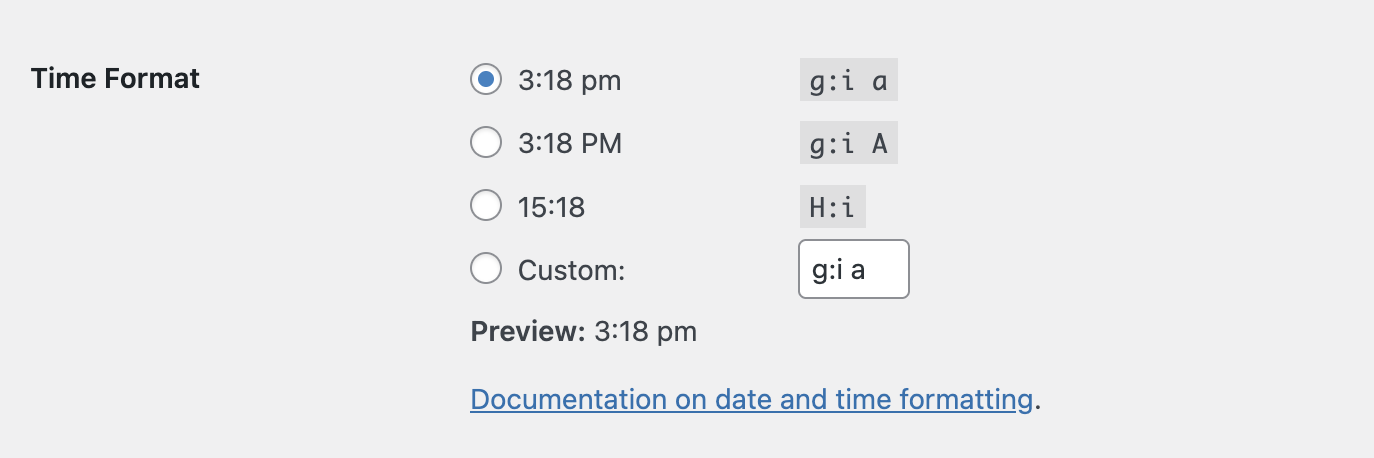
- Locate the “Time Format” section.
- Choose between a 12-hour clock (“4:40 pm”) and a 24-hour clock (“16:40”).
- Select the radio button for your preferred style.
- Click the Save Changes button.
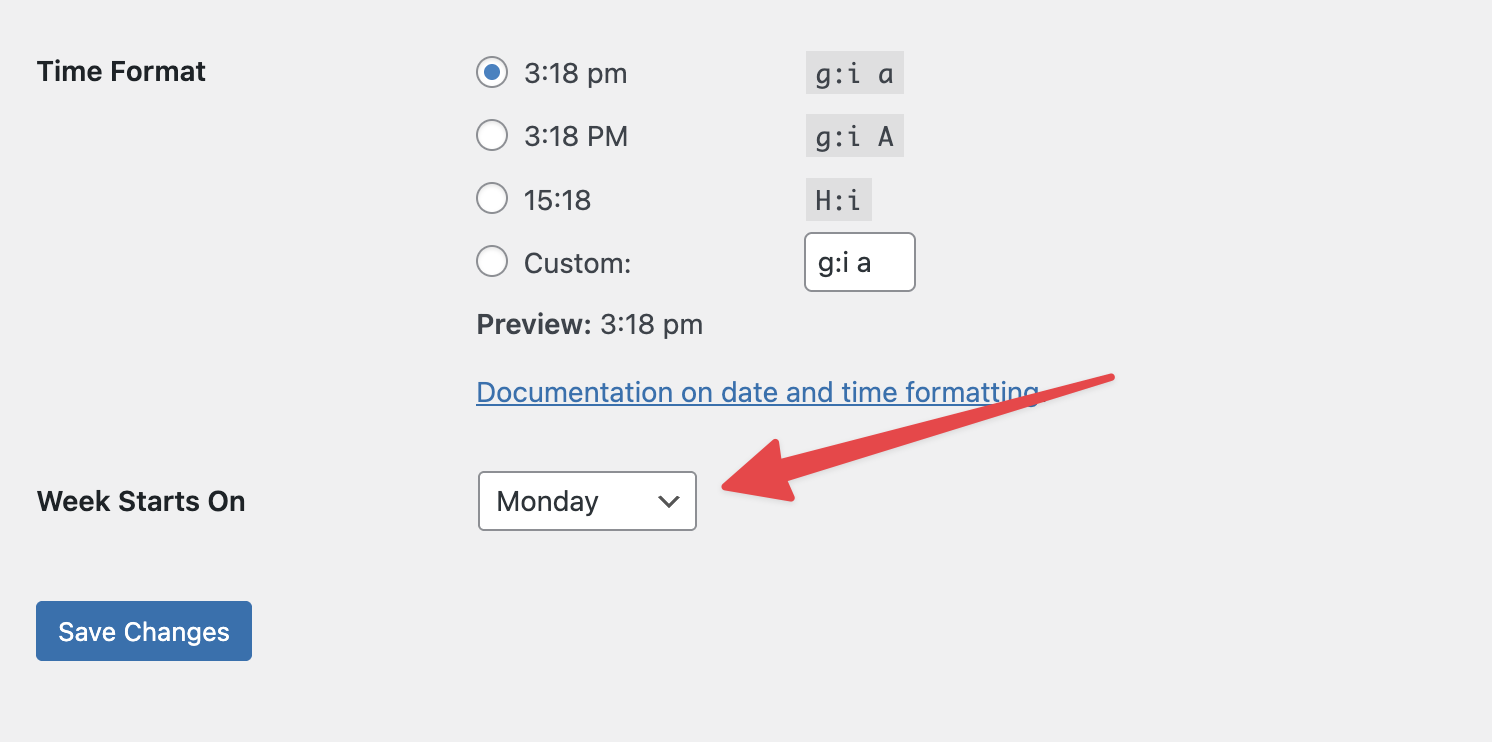
This setting changes the layout of the calendar picker when you set expiration dates for coupons or courses in LifterLMS.
- Locate the “Week Starts On” dropdown menu.
- Select the day you want your calendar to start with, such as “Sunday” or “Monday”.
- Scroll to the bottom of the page.
- Click the Save Changes button.