How to Create a Certificate
This documentation provides instructions for creating certificates in LifterLMS. It covers creating certificate templates, configuring certificate engagements, and exploring certificate layouts, design options, and more.
Let’s get started with creating your certificates in LifterLMS.
Accessing the Certificate Builder
To begin creating certificates, follow these steps:
- Navigate to your WordPress dashboard.
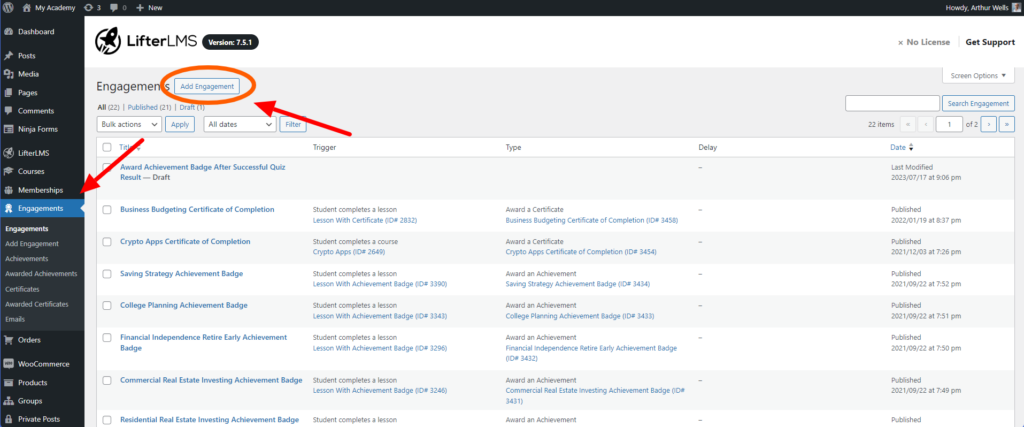
- Navigate to Engagements > Certificates to enter the certificate management area, where you can start creating your certificate.
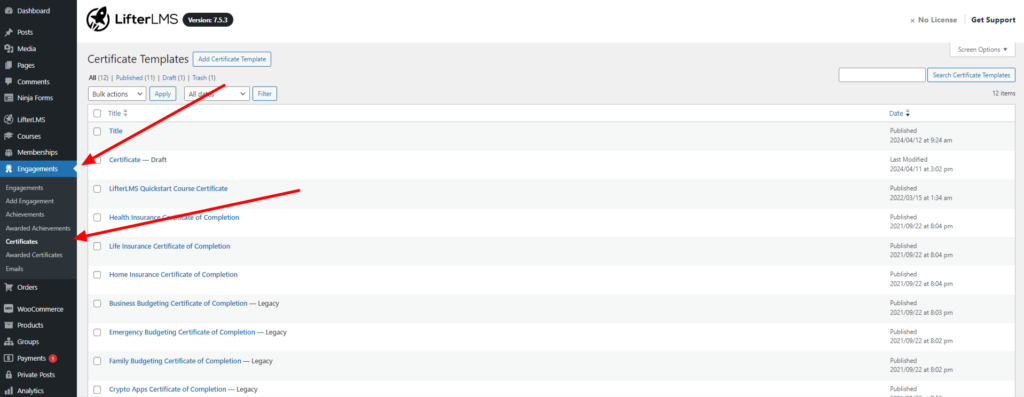
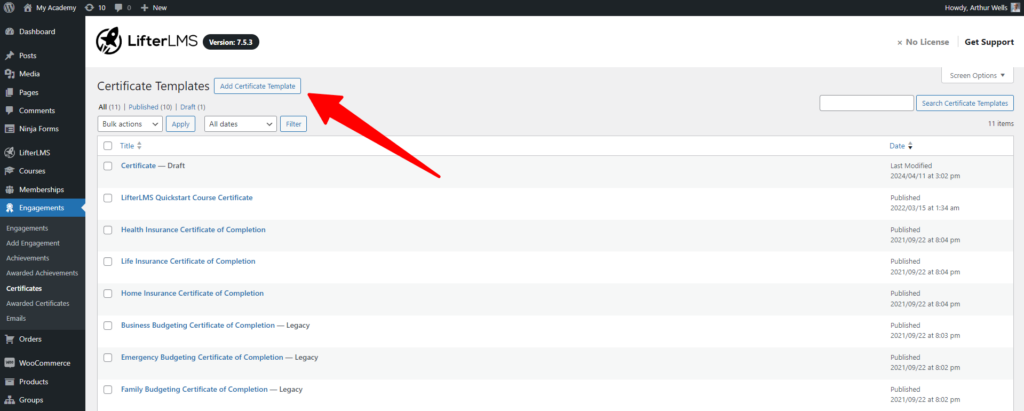
Once inside the certificate builder, you can initiate the certificate creation process:
1. Click Add Certificate Template to start crafting a new certificate.
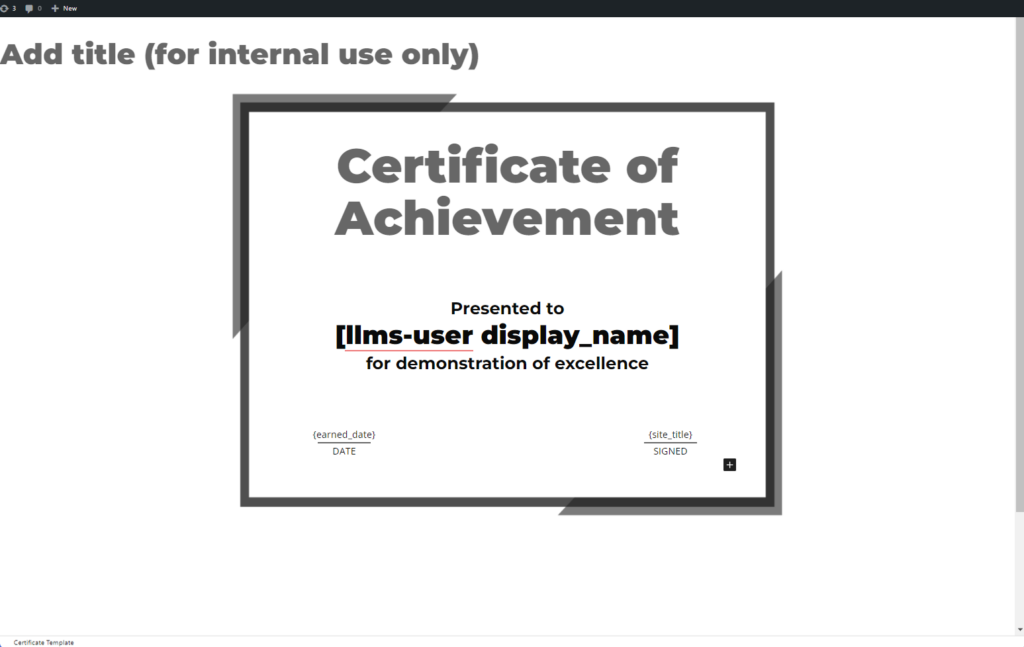
2. Default Layout
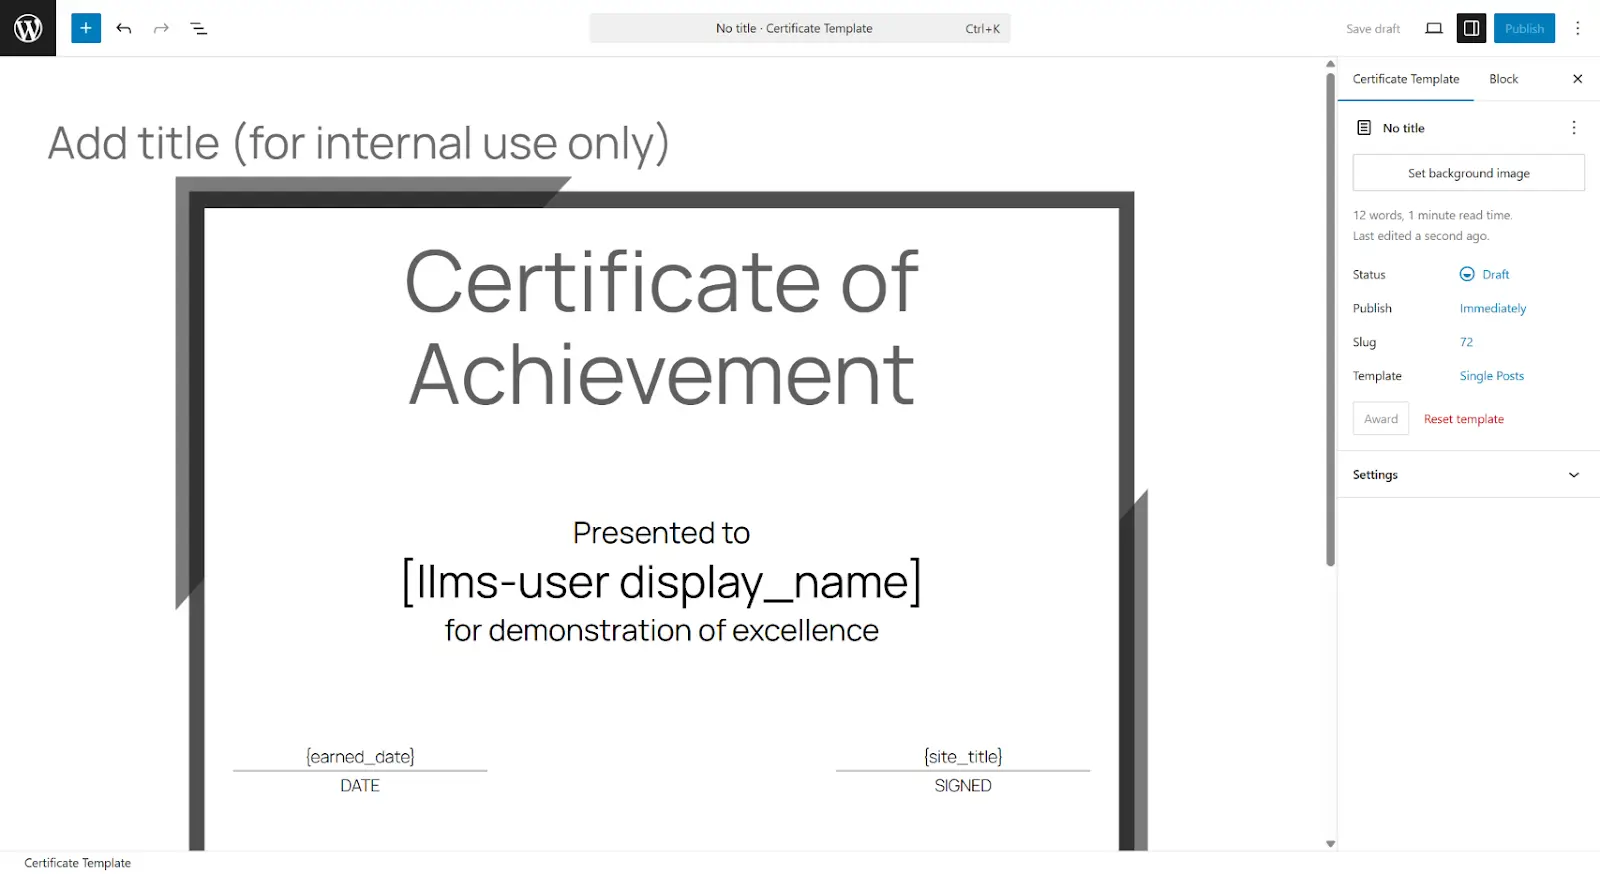
Upon creation, you’ll see the default certificate layout. This provides a starting point for your certificate design.
Block Editor Integration
In LifterLMS 6.0 and later, certificates can be edited in the block editor. This enhances the customization process, allowing for a more dynamic and visually appealing certificate creation experience.
Video Tutorial:
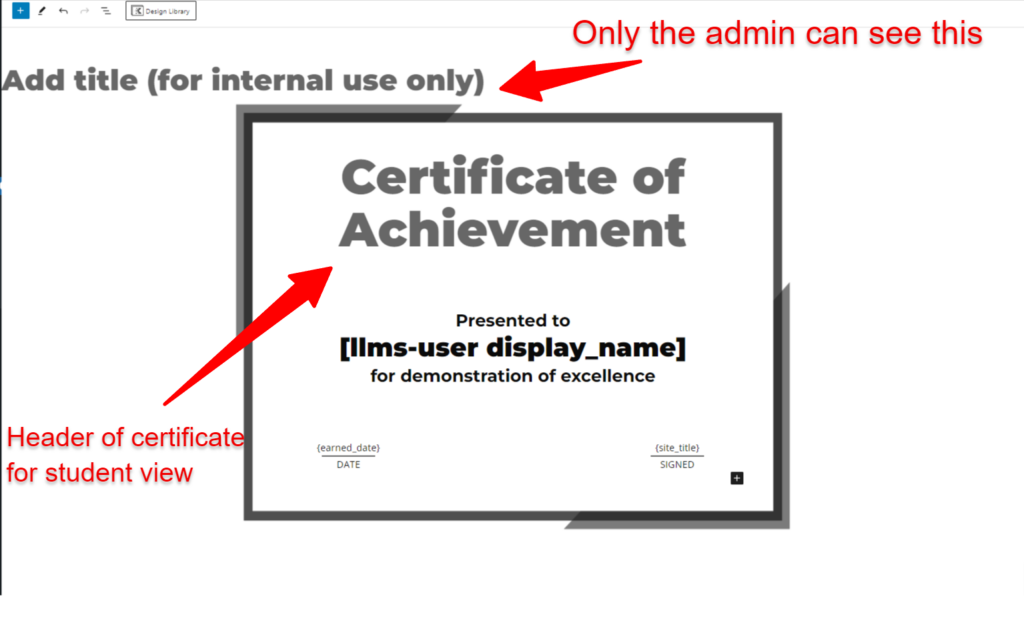
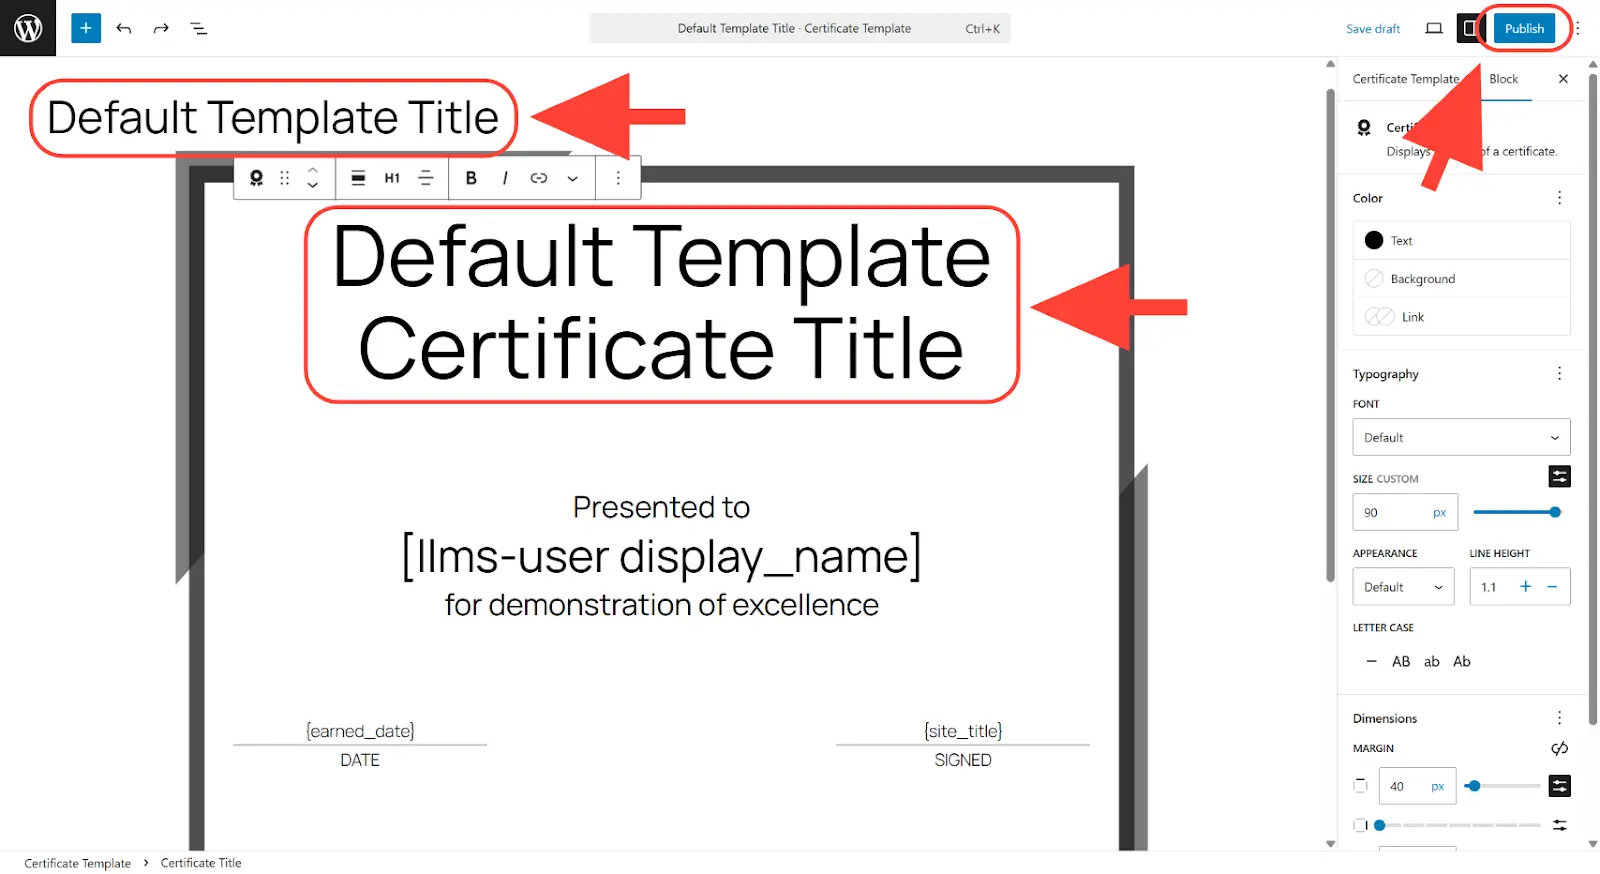
The Title Sections are primarily for internal use, so you can find a specific certificate when you are looking for it in a list. Certificate titles are located outside the certificate template and are visible only to administrators on the backend.
These titles serve an organizational purpose, helping administrators manage and categorize templates efficiently. The titles in this section don’t affect how the certificate appears to learners.
The Certificate Header is the section that reads “Certificate of Achievement.” This is the label presented to learners and can be customized to fit the specific course you’re creating the certificate for.
Clicking this header provides options to change the color, size, and, in the most recent version of WordPress, a limited selection of header fonts.
This customization lets you tailor the certificate’s visual elements to make it more relevant and appealing to learners.
One key aspect of customization is choosing the size that best suits your needs. Here are the default print sizes, each corresponding to standard printer dimensions in case students wish to print them out in addition to having them digitally:
- A3 (297mm x 420mm)
- A4 (210mm x 297mm)
- A5 (148mm x 210mm)
- Letter (8.5″ x 11″)
- Legal (8.5″ x 14″)
- Ledger (11″ x 17″)
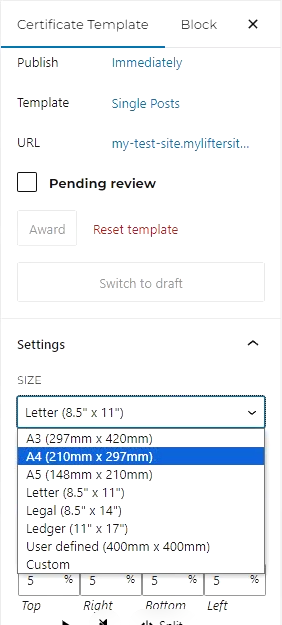
Whether you prefer landscape (horizontal) or portrait (vertical) orientation, these sizes offer flexibility to meet your certificate printing requirements.
Feel free to break away from the defaults by adding your own custom size and orientation. This allows you to create certificates that align perfectly with your unique vision or specific branding requirements.
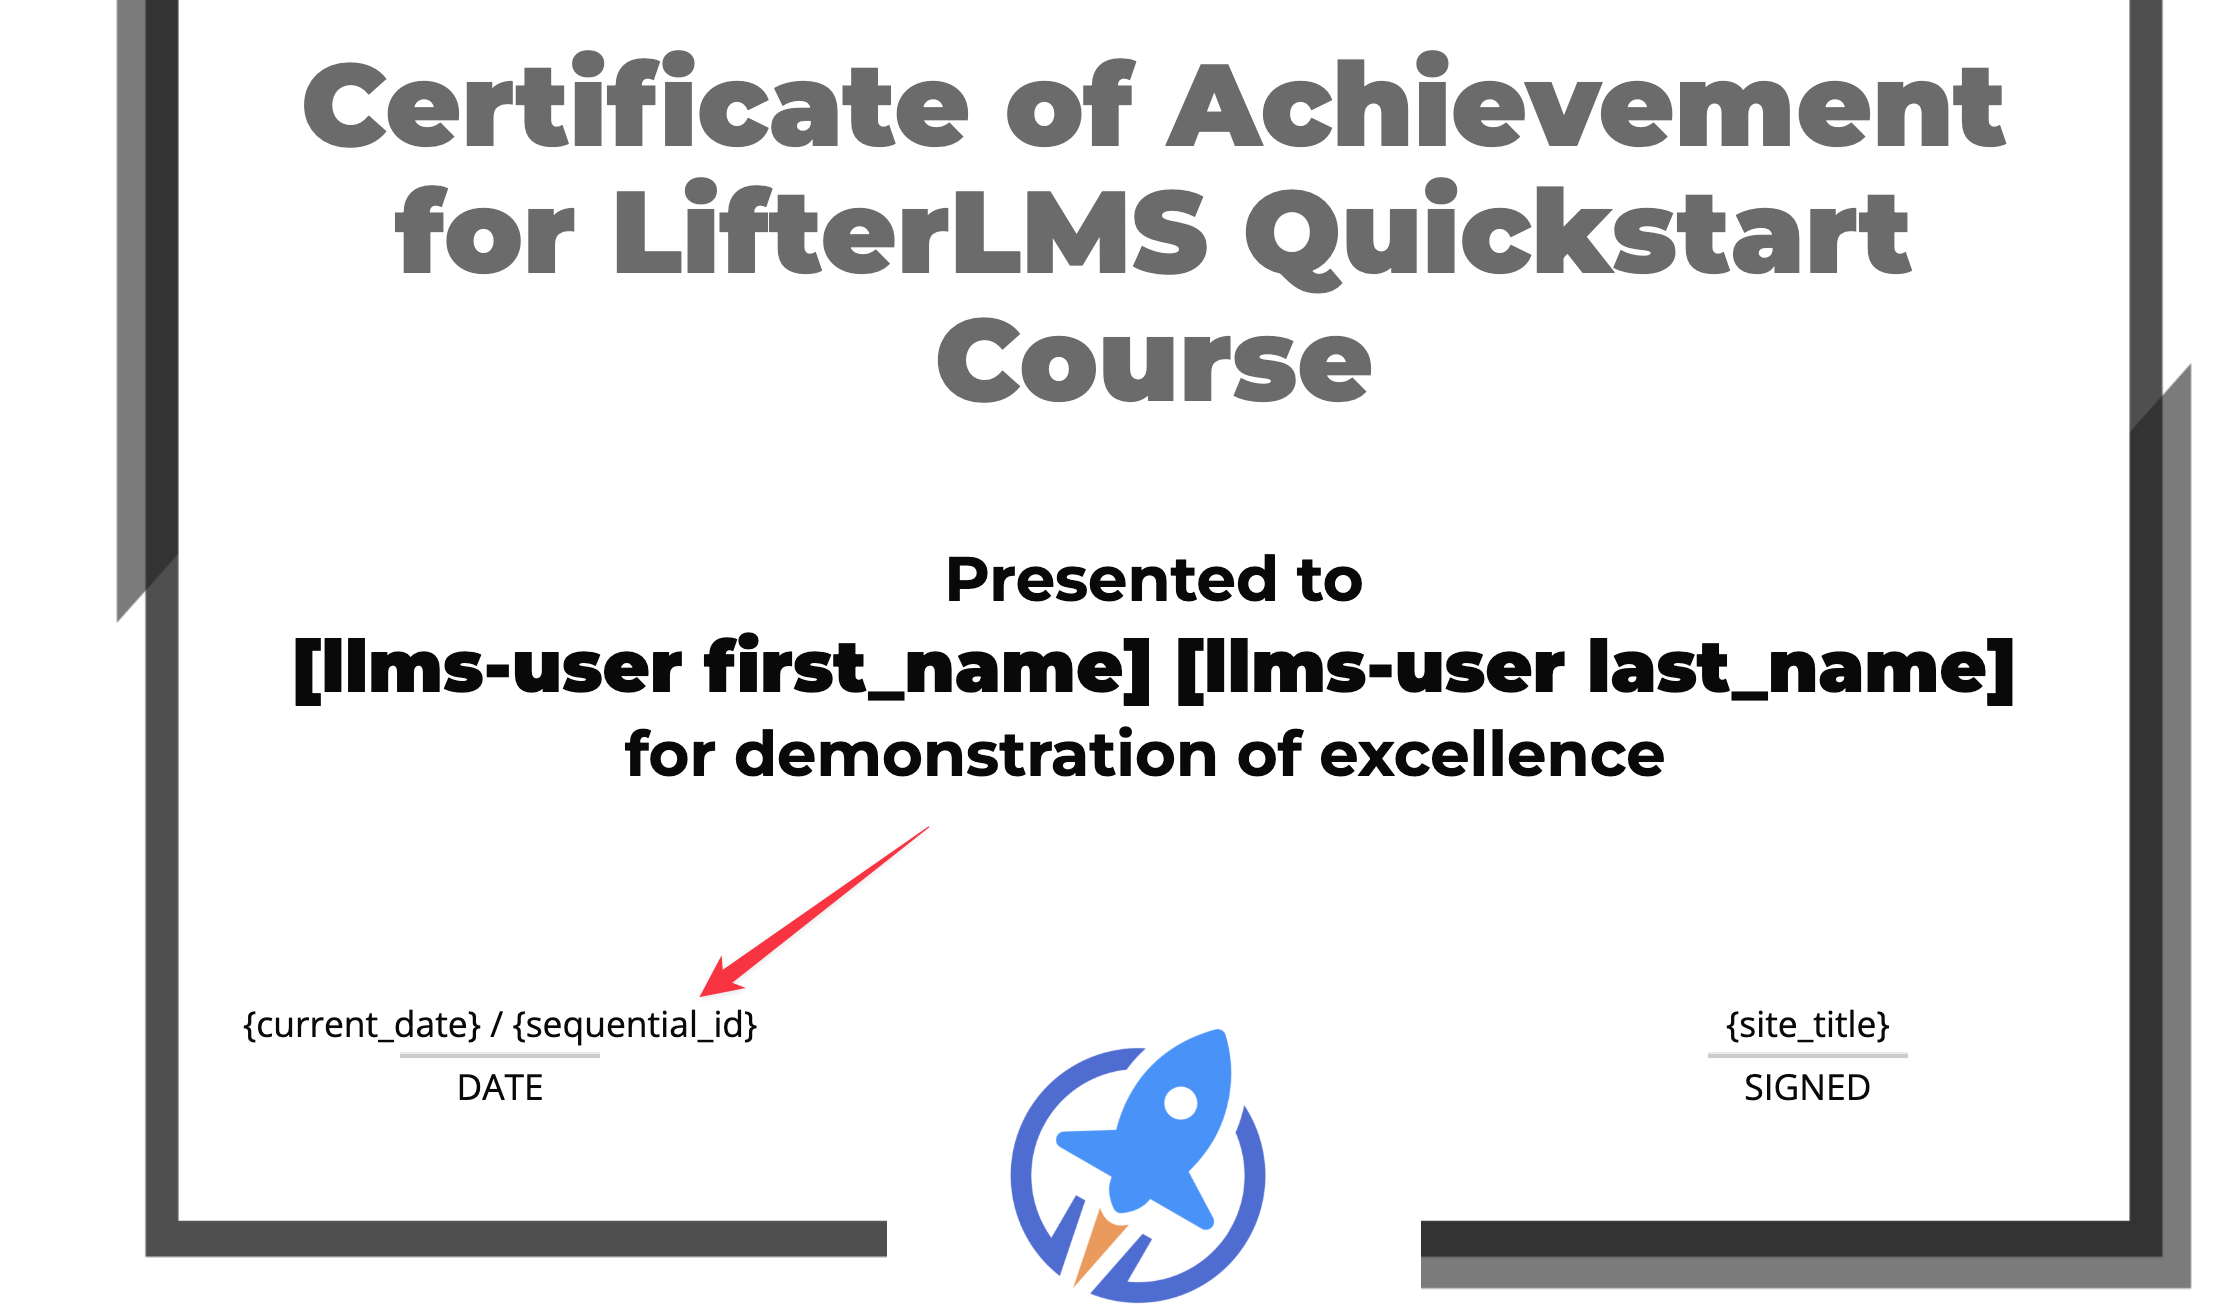
The {sequential_id} merge code allows you to automatically assign a unique, incremental identifier to every certificate earned by a student.
To use it, you can type {sequential_id} into your certificate template, and LifterLMS will automatically replace it with the unique ID when the certificate is awarded.
How it works:
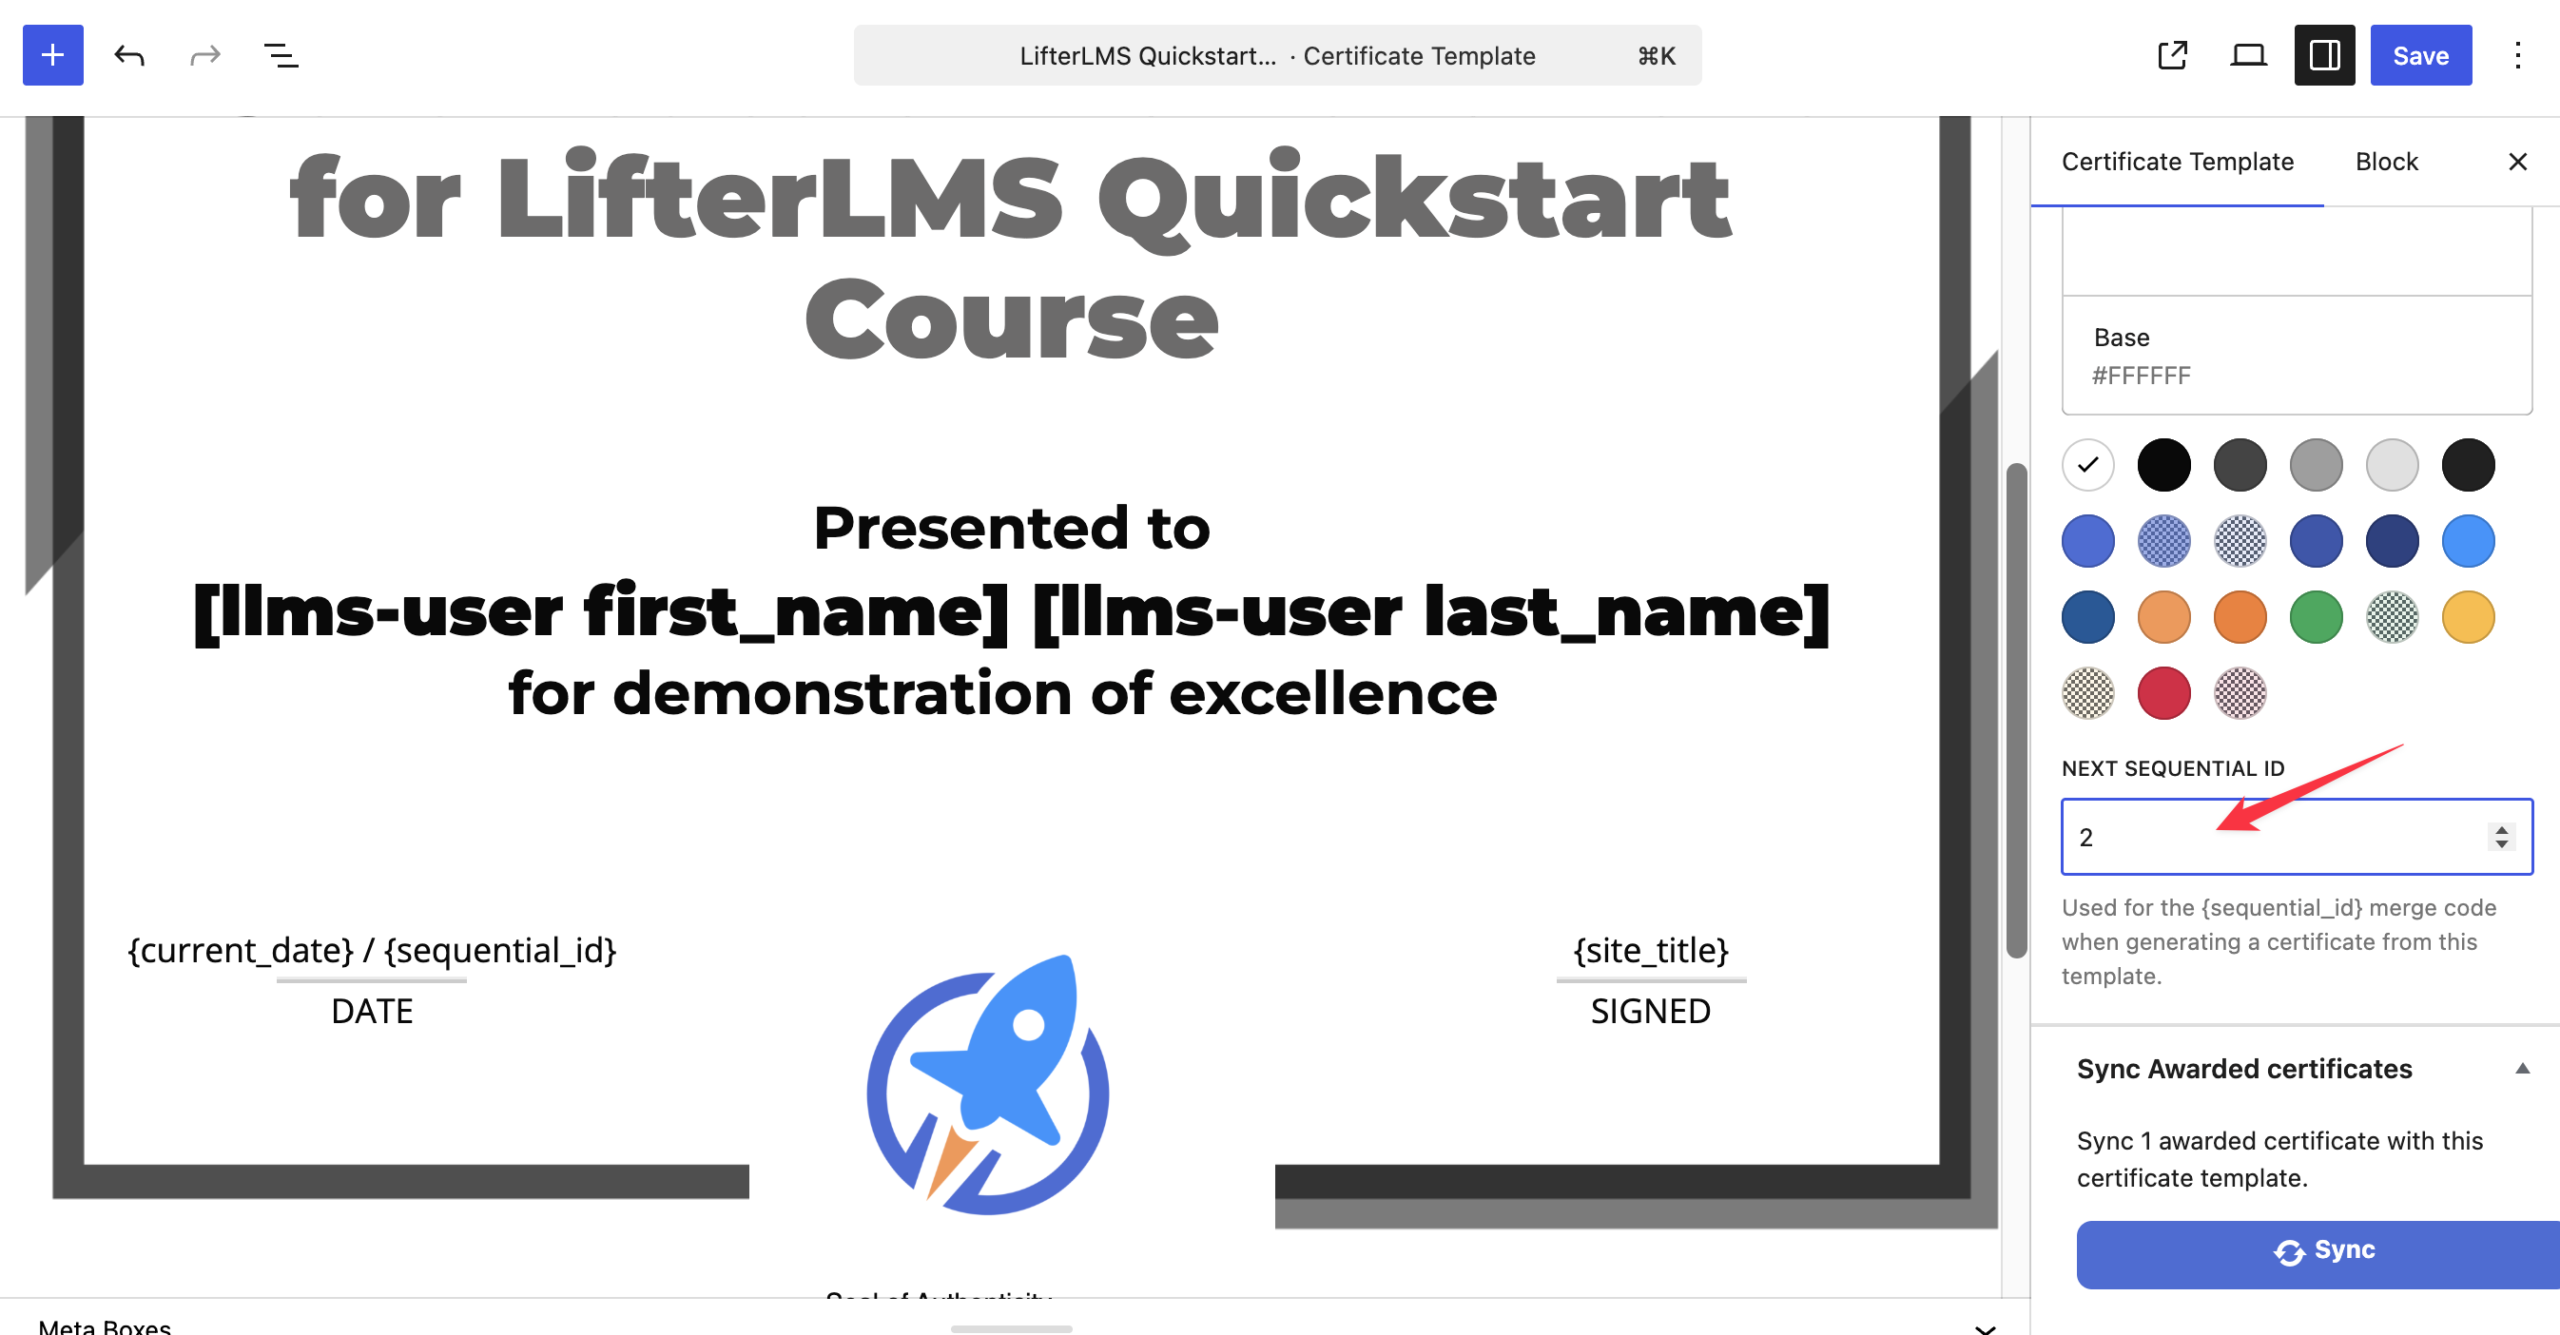
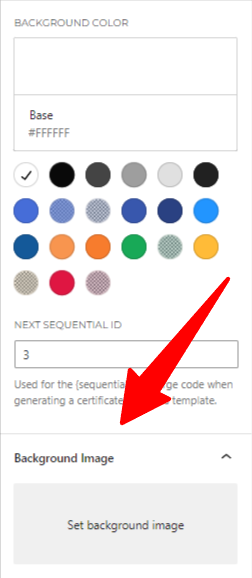
- Automatic Incrementation: You can set the starting value for a certificate’s sequential ID by entering it in the “Next Sequential ID” field, as shown below. Once a certificate is awarded, the system automatically increments this number for the next award (e.g., if you set the starting ID to 127, the first award will receive 127, the second will receive 128, the third 129, and so on).
- System Constraints: The sequential ID system is designed to ensure that every certificate issued has a unique identifier to prevent duplication. If you manually increment the ID, you cannot go back to a lower number. Because of this, you shouldn’t manually force the system to skip numbers or maintain custom, non-sequential numbering patterns (such as jumping from 127 to 127000).
- Managing Multiple Sequences: Each certificate template manages its own independent sequence. If you require entirely different numbering structures (e.g., one course starting at 100 and another at 5000), you should create separate certificate templates. Each template will maintain its own internal counter that increments independently from other templates.
Note: The Sequential ID field is intended for simple, unique tracking. If your course requires complex, custom, or non-linear numbering schemes, then you will need to manage them via custom development using LifterLMS hooks.
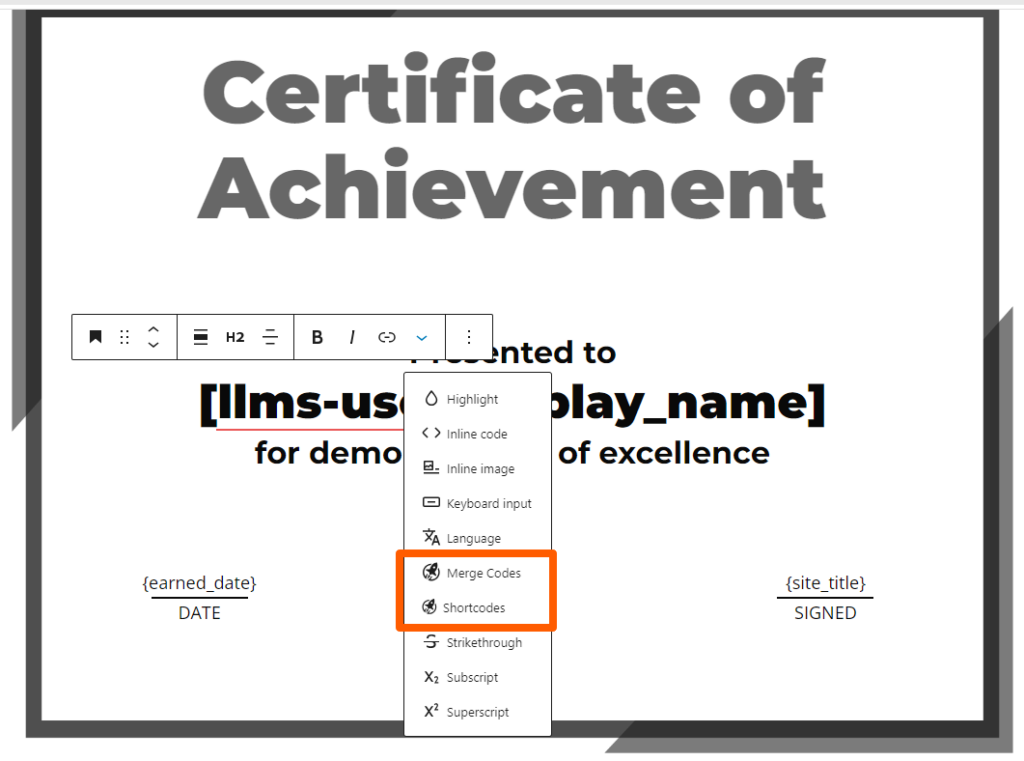
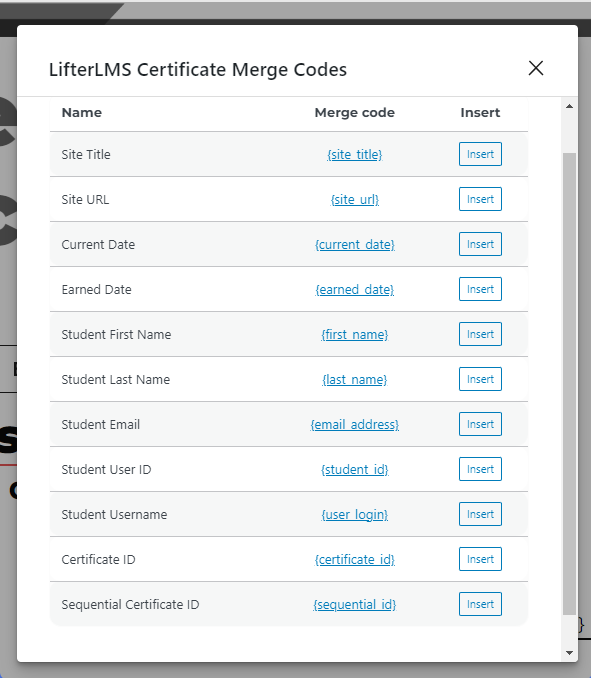
You’ll find additional Merge Codes and Shortcodes to further customize your certificates.
Merge Codes automatically personalize certificates by inserting student-specific details like first name, last name, and earned date. This ensures that certificates display dynamically for each student. For example, {first_name} inserts the student’s first name.
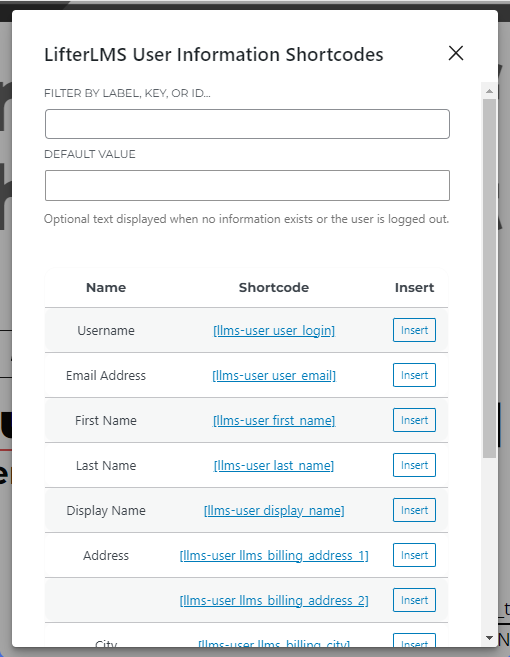
Shortcodes provide dynamic functionality by allowing personalized information to be included in various elements. For example, [llms-user display_name] showcases the student’s full name. Shortcodes simplify customization efforts by embedding dynamic content directly into certificates, posts, pages, or widgets.
These can be found by clicking into the certificate and adding a block:
You will see this box for your merge code options:
The shortcode options:
In this section, you can customize the background image for your certificate, adding a personalized touch by switching from the default to a template-specific image.
Think of the certificate background as primarily the border you’re used to seeing around classic diploma certificates.
It’s crucial to note that any changes made to the certificate background image under LifterLMS > Settings > Engagements will impact both the template and all awarded certificates.
To maintain an associated image with your certificate, scroll down to the “Background Image” section and add your desired background image. This straightforward process allows you to personalize your certificates while ensuring consistency across the template and all awarded certificates.
Note that the LifterLMS Graphics pack has over 100 predesigned certificate background images you can use if you like.
In case you need to modify the certificate backgrounds on previously awarded certificates, you can do so by accessing the certificate template settings. Simply navigate to the certificate template settings and click on “Sync Awarded Certificates.”
This action ensures that any changes to the certificate background are applied to all previously assigned certificates, maintaining a cohesive, uniform appearance across your certificates.
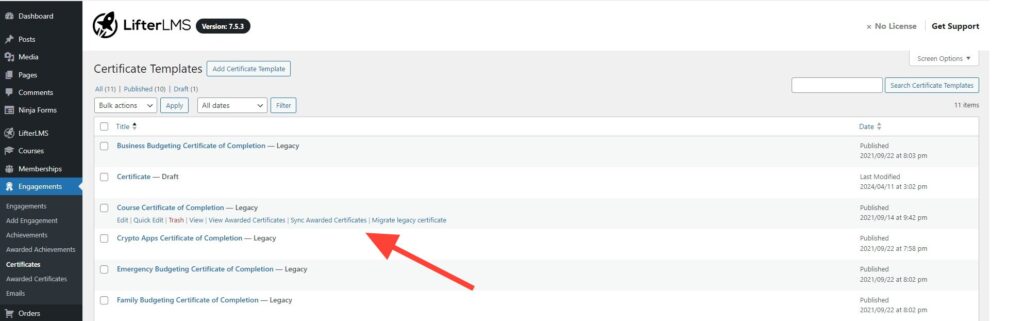
When transitioning from the old version of the certificate builder to version 7.5.1, your existing certificate templates will remain unchanged unless manually updated to the new certificate builder.
These certificates will be labeled as “Legacy,” indicating their status from the older version, and can still be edited using the previous builder.
It’s important to note that modifications to a legacy certificate, once it has been earned by a student, will not have a retroactive effect. If changes are made, the earned certificate needs to be deleted and re-triggered for the updates to take effect.
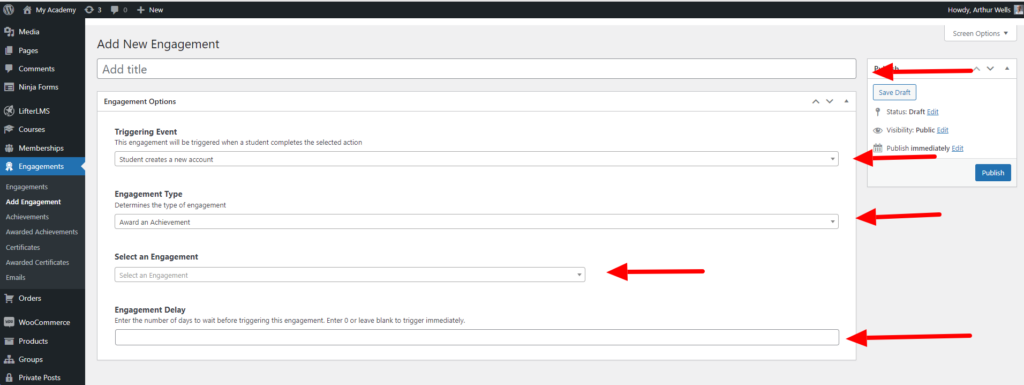
Now that you can create your certificate, it’s important to set up an engagement for when it will be awarded to students or users of your site.
You might want to grant this certificate upon specific course or lesson completion, upon purchasing a specific access plan, or upon another trigger. To explore different available engagement triggers, refer to this link: Available engagement triggers.
Choose “Certificate” as your engagement type. If you prefer not to issue the certificate immediately on trigger, you can select an engagement delay.
Additionally, ensure you choose the engagement trigger, which is the event prompting the certificate issuance (e.g., completion of a lesson or course). Don’t forget to click “Publish” once you have completed the setup.
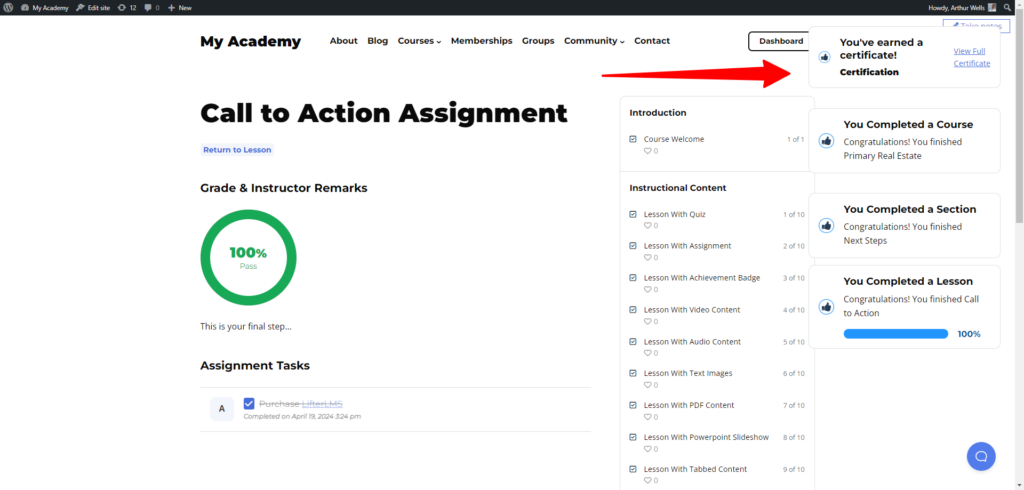
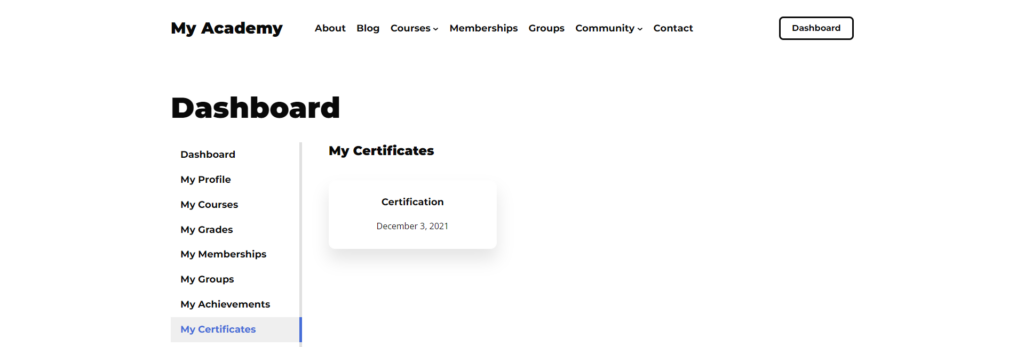
Once a student has earned a certificate, they can view it on their Dashboard. Navigate to “My Courses,” and scroll down to “My Certificates” to access and view their earned certificates.
And review our documentation on Engagements: Getting Started with LifterLMS Engagements.
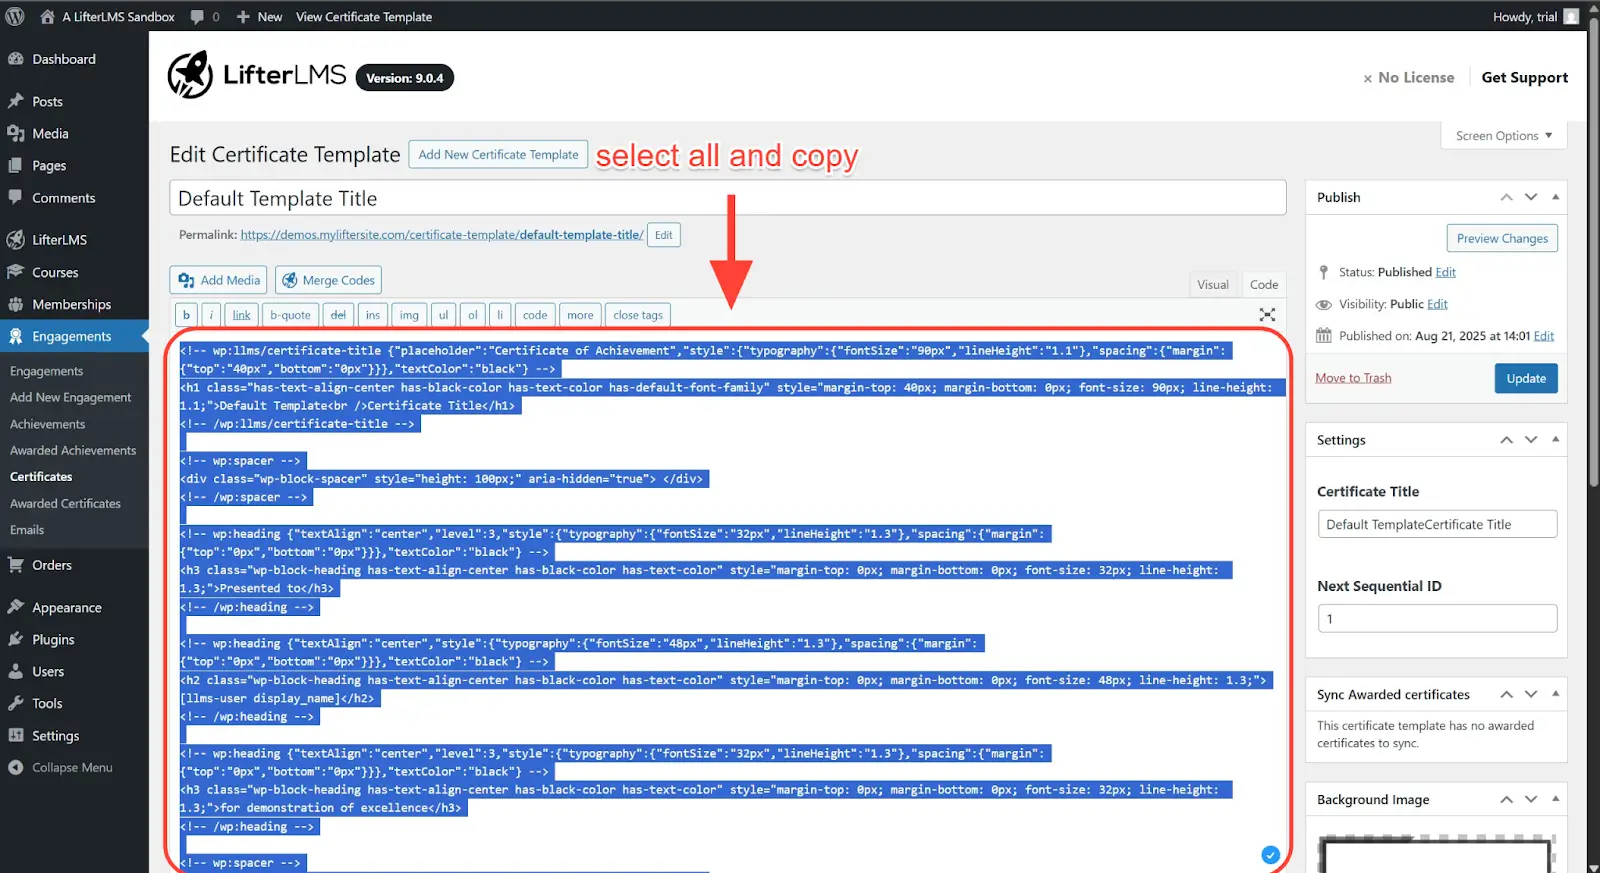
Users can still use the classic editor using the free Classic Editor plugin. In this case, when users attempt to create a brand-new certificate template using the classic editor, they will be presented with a blank screen shown below.
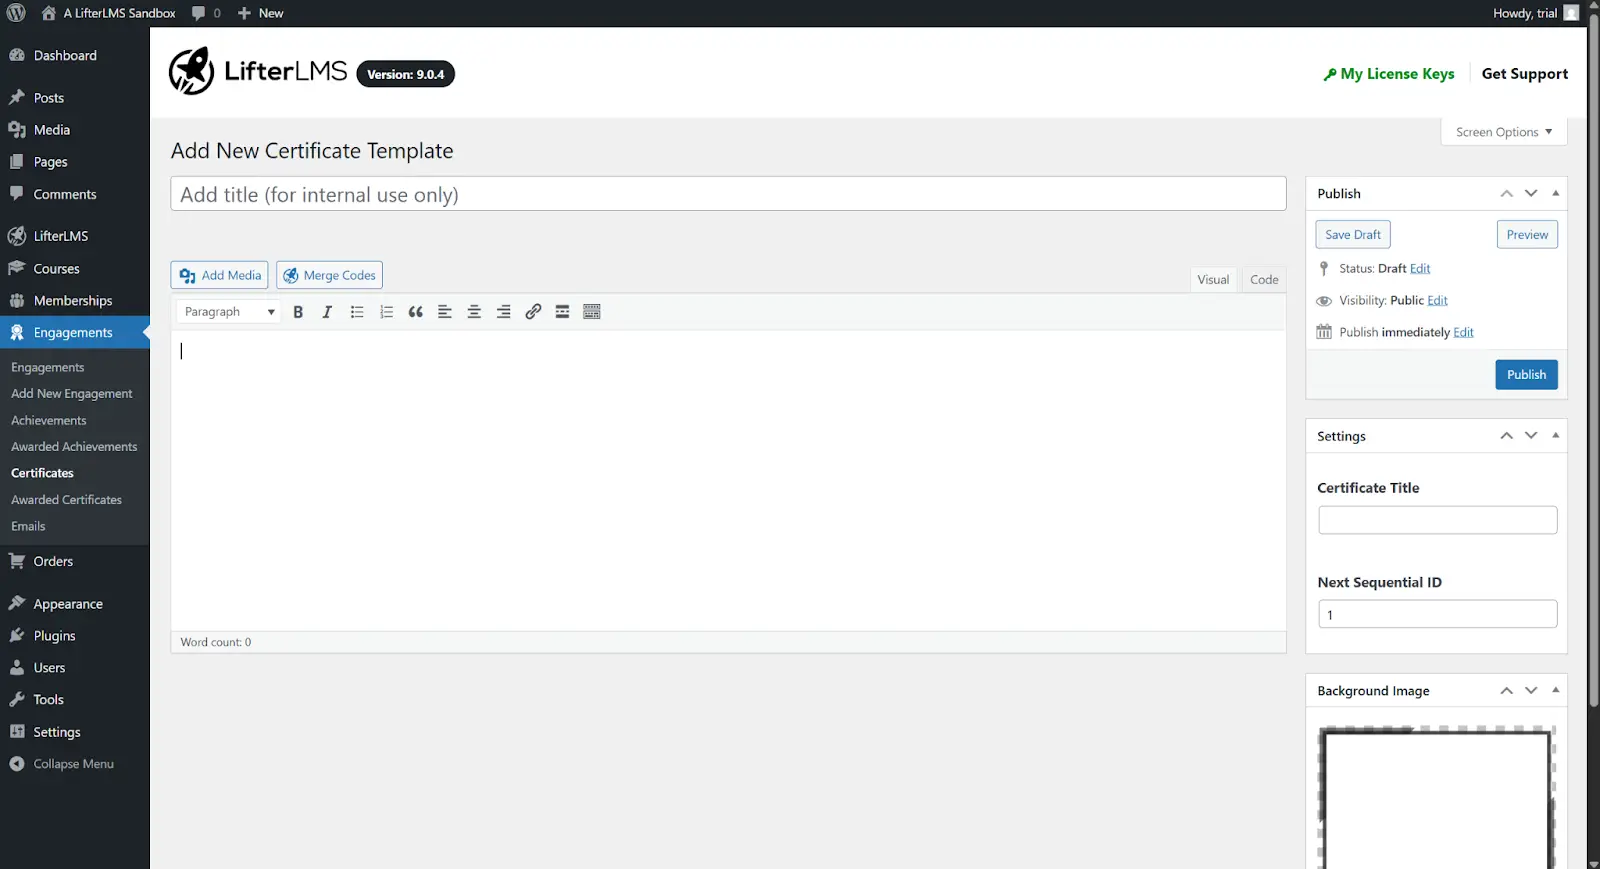
To create a certificate template now, you’ll need to manually add HTML with inline CSS. This can be messy to do from scratch, as you may need to type a lot of code.
As a workaround, you can follow the instructions below.
Step 1. Deactivate the Classic Editor plugin.
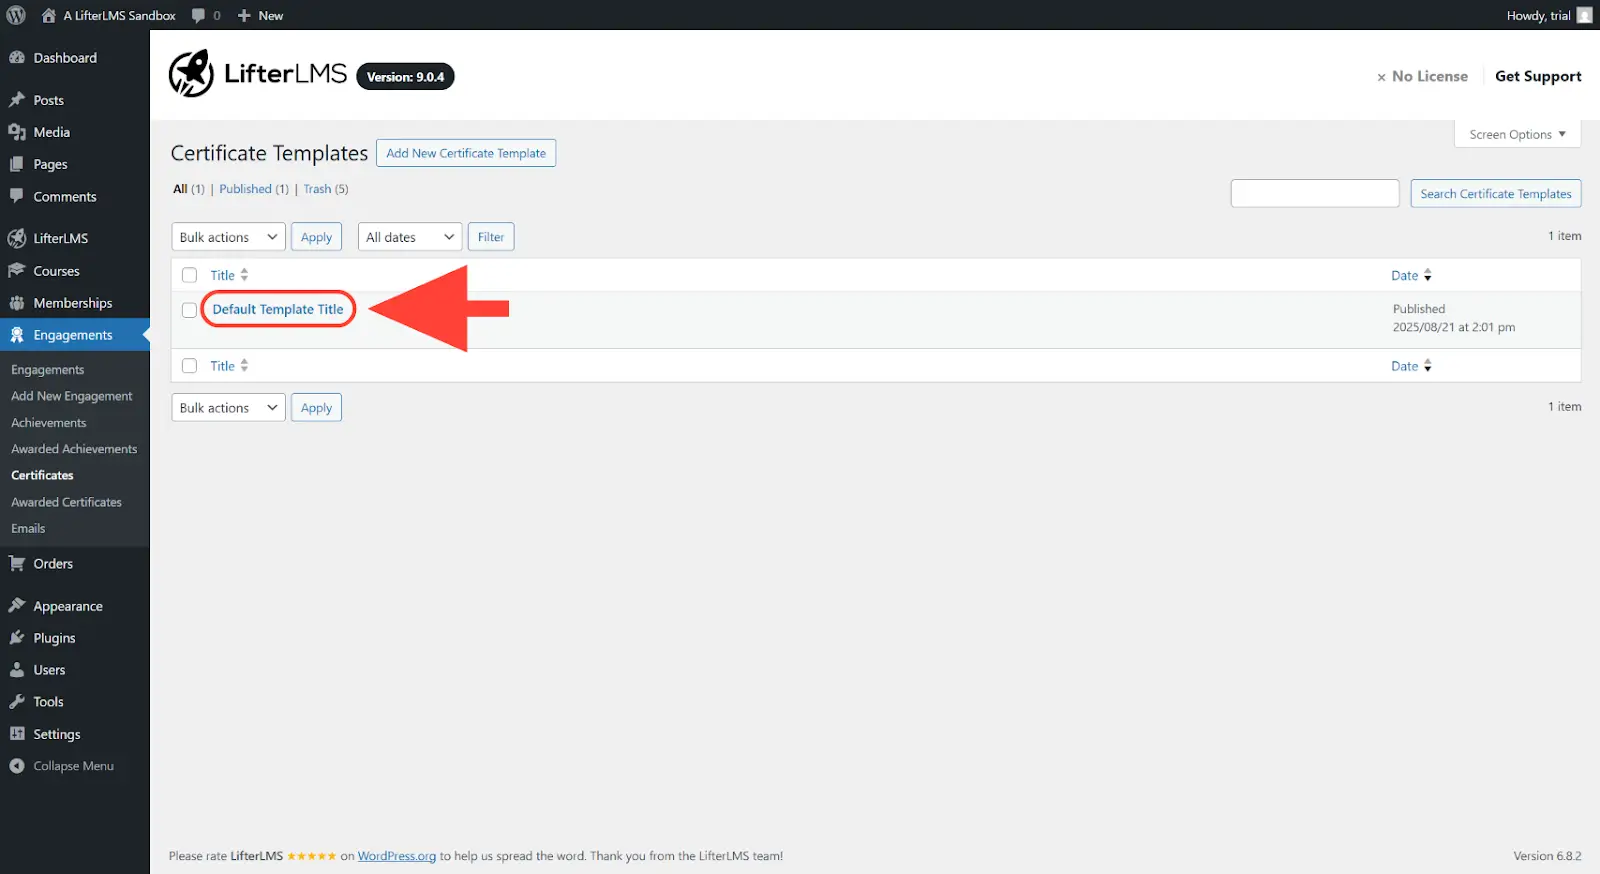
Step 2. Publish a brand new certificate template using the block editor. Let’s refer to this as your “Default Template”.
Step 3. Activate the “Classic Editor” plugin.
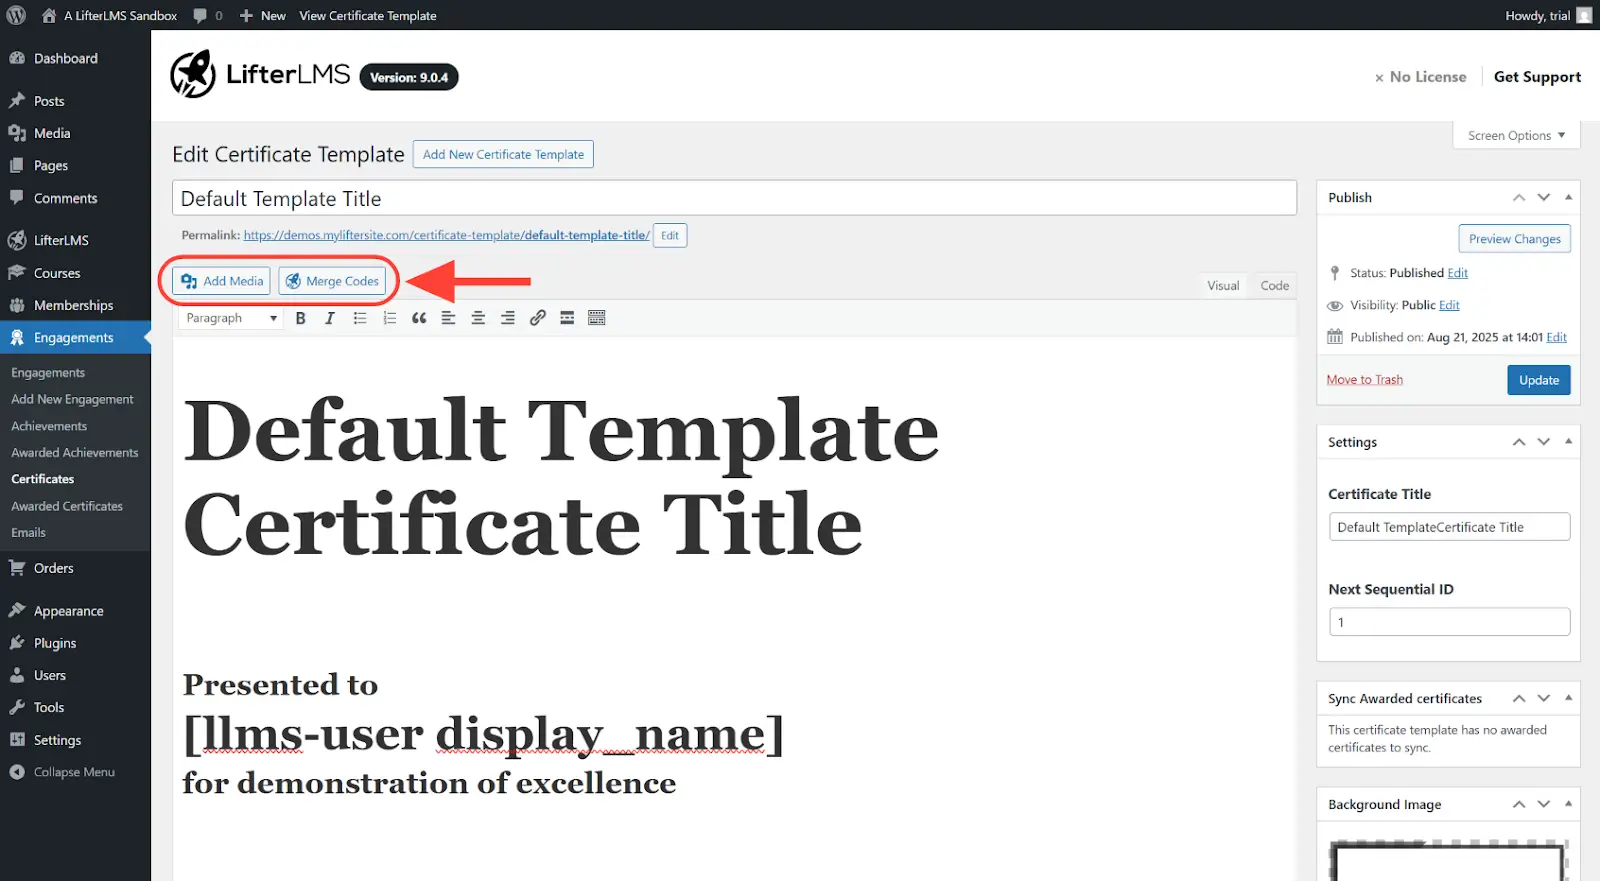
Step 4. Open your “Default Template” in the classic editor’s Visual tab.
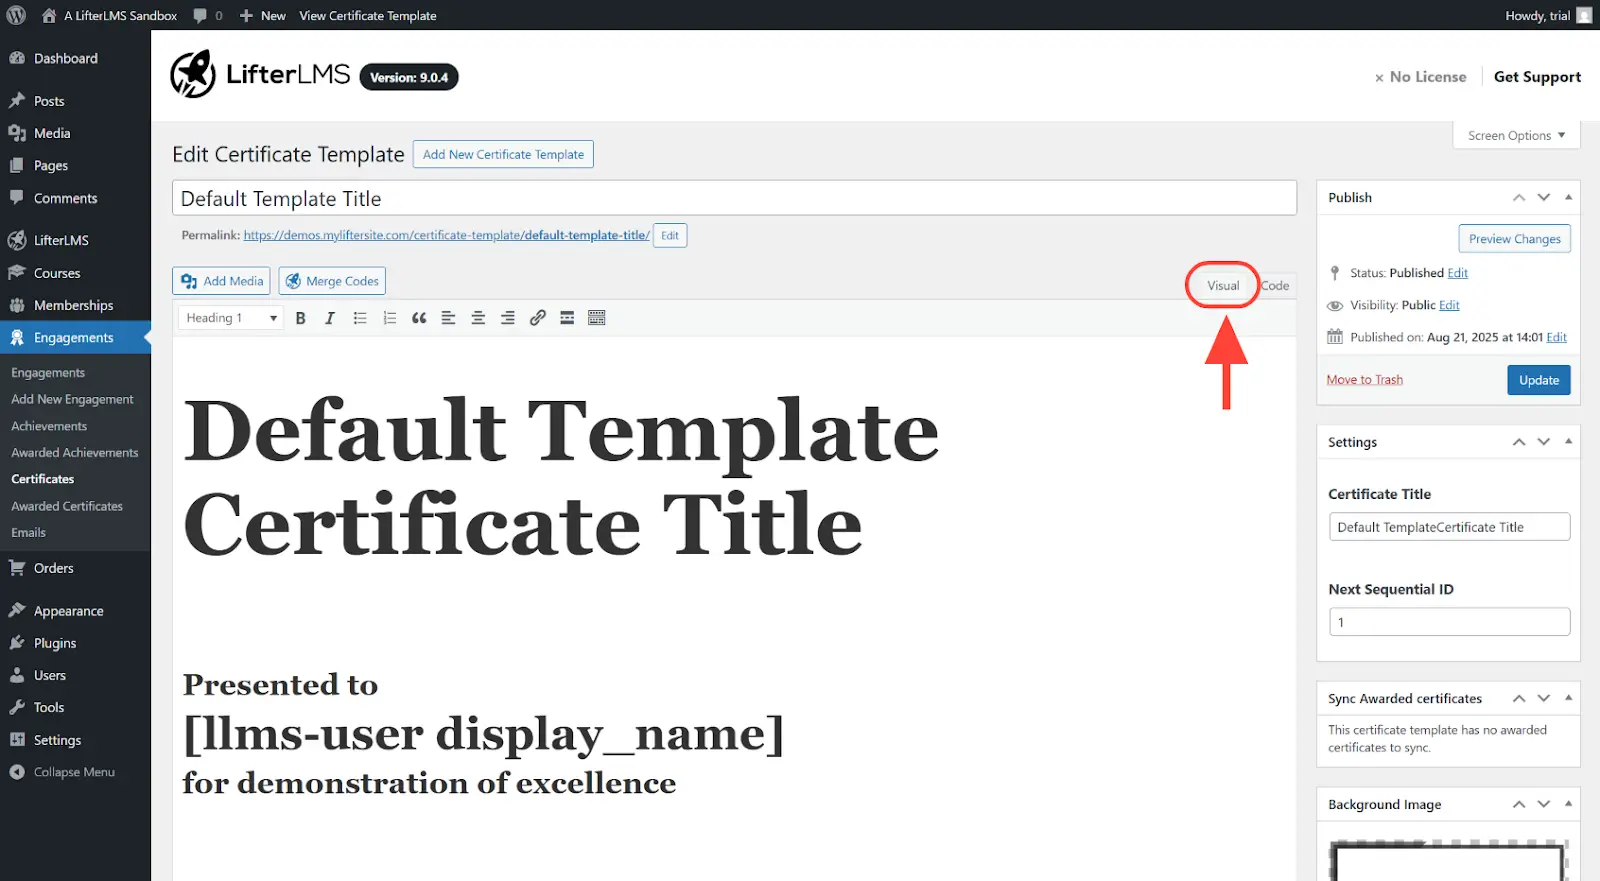
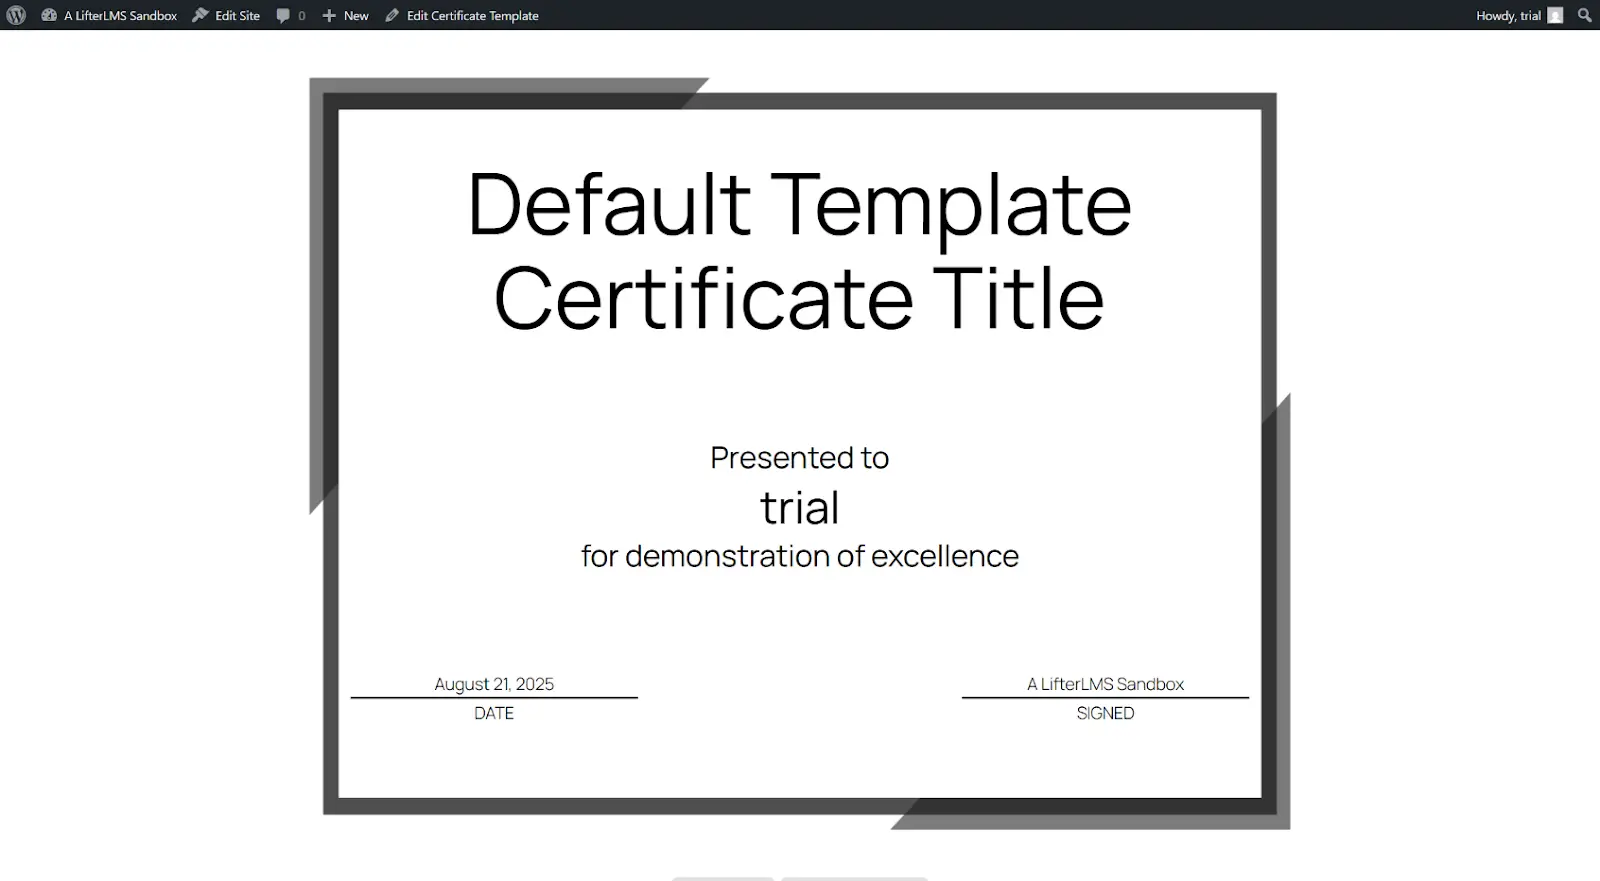
When viewed on the front end, this template looks like the one below.
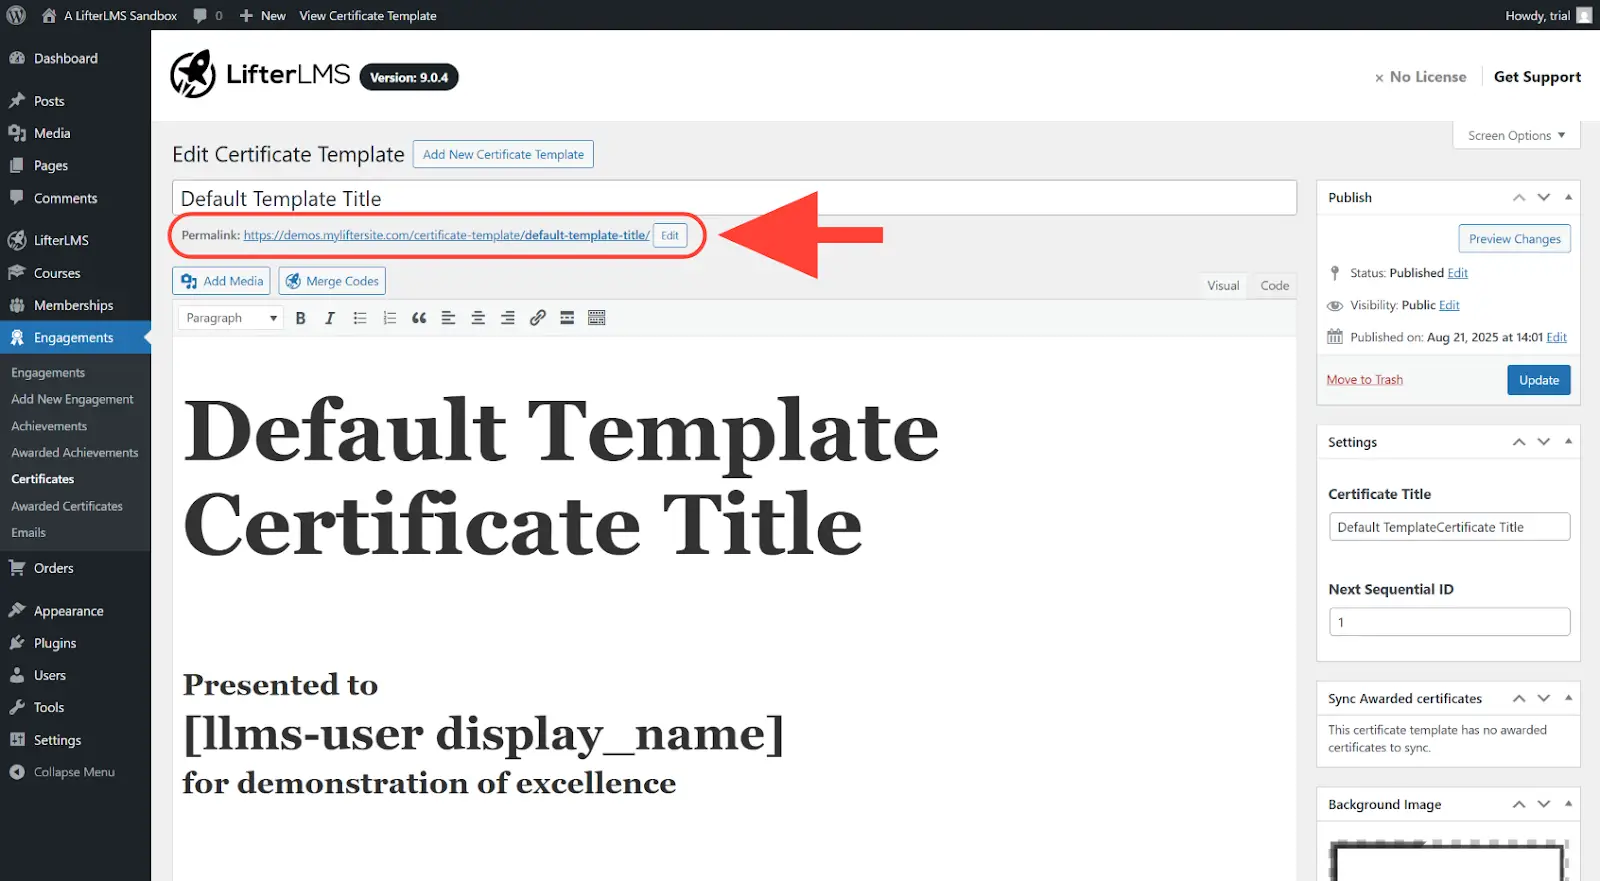
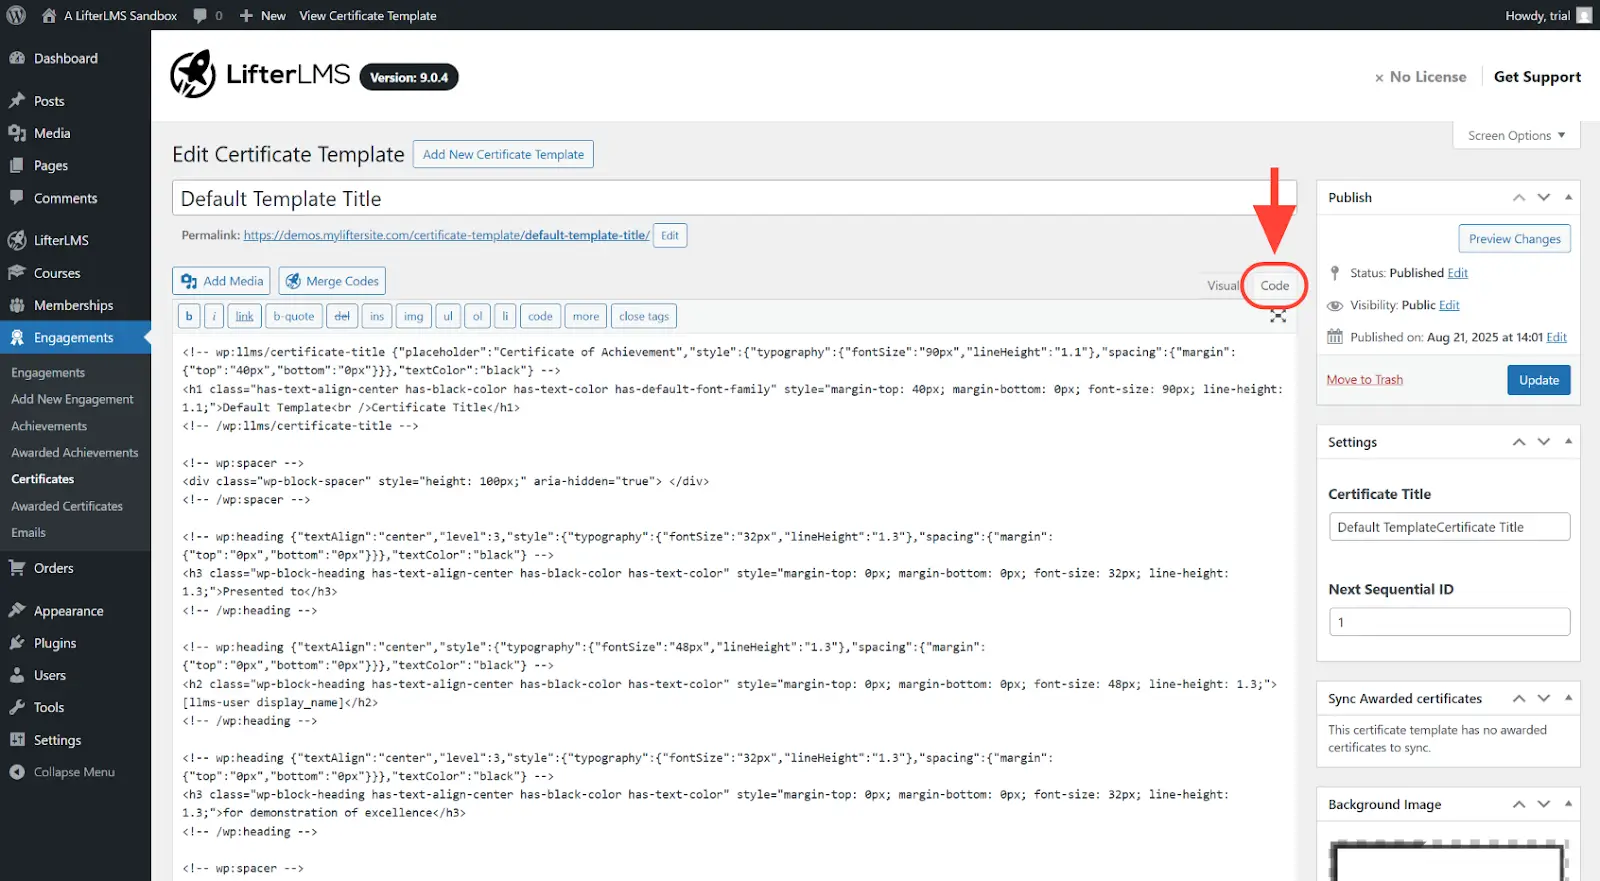
Step 5. Every time you want to create a new certificate template, just copy the HTML code of the “Default Template” in the “Code” tab, then paste it in your new certificate template.
Step 6. Edit your new template in the “Visual” tab by using the Add Media button and Merge Code buttons.
If you need to add extra data to your certificates, such as other user metadata, it is possible to add custom merge codes with some customization.


