Getting Started with LifterLMS Kit (ConvertKit)
LifterLMS Kit enables you to connect LifterLMS to Kit, enabling:
- Students to opt-in to Kit tags and sequences during account creation
- Consenting students can be added to tags and sequences based on their enrollment in courses and memberships
- You may optionally sync LifterLMS purchases to Kit via the Purchase API, enabling purchase automations in Kit. (Learn more in our purchases feature setup and FAQ support article.)
- Map LifterLMS user information fields to custom fields in Kit
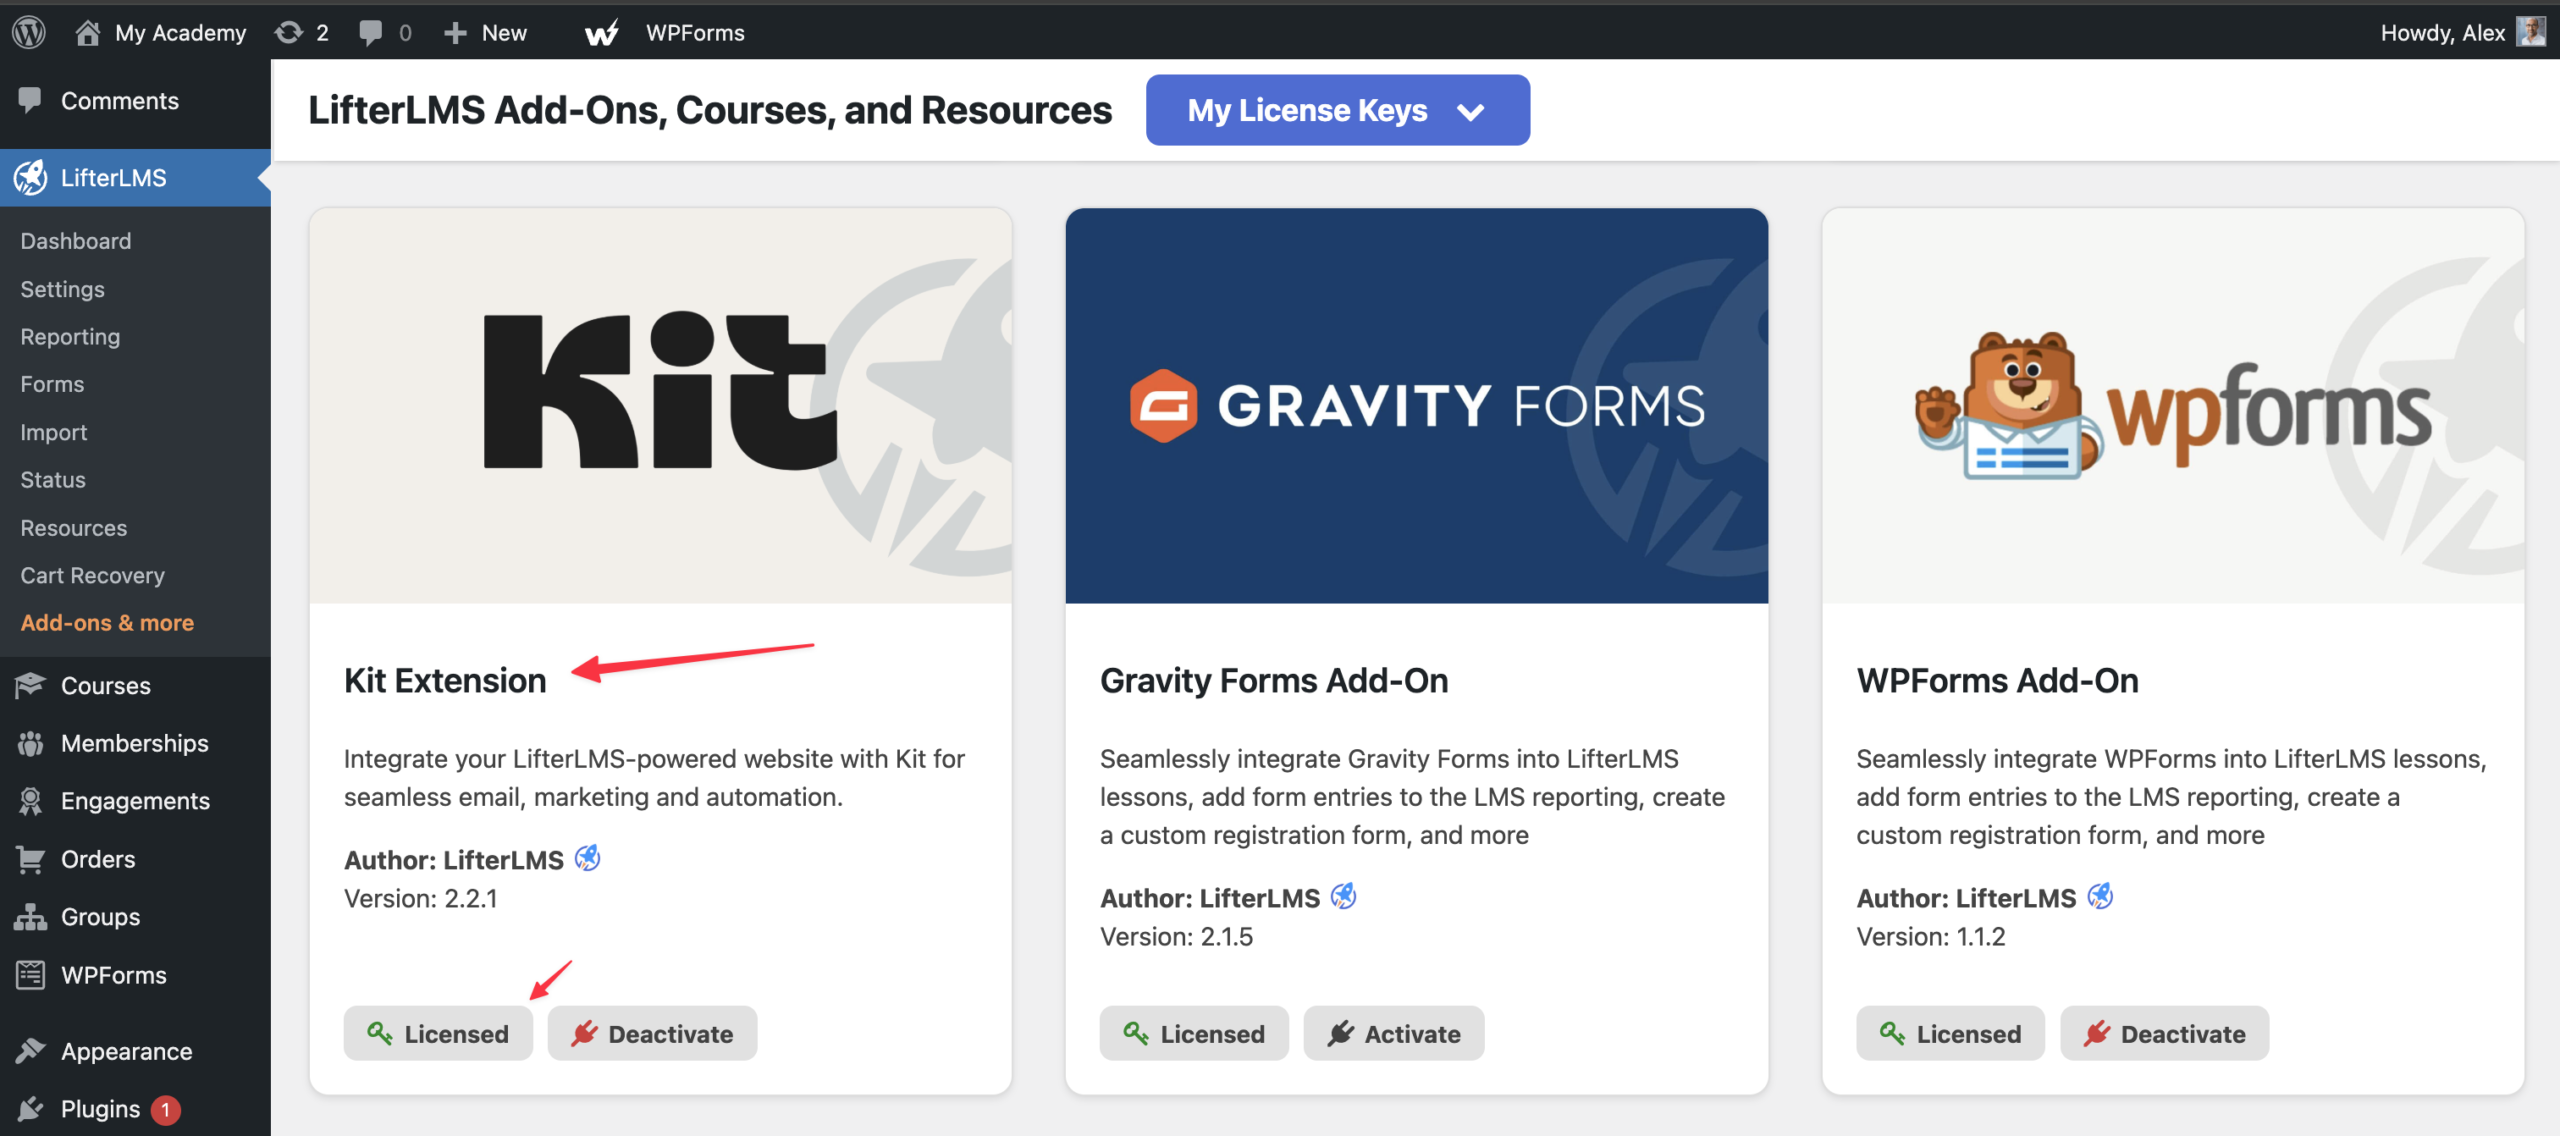
LifterLMS Kit is a WordPress plugin add-on to the LifterLMS Core plugin.
To use LifterLMS Kit:
This guide explains how to connect your LifterLMS website to your Kit account (formerly known as ConvertKit). Following these steps allows you to automate your email marketing based on student activity in your courses.
Please note that while the service is now called Kit, some menus in WordPress and on the website still use the name ConvertKit.
Connecting to the Kit API
To allow LifterLMS to communicate with Kit, you must retrieve a specific security key called an API Secret from your Kit account and paste it into your WordPress settings.
- Log in to your Kit account.
- Navigate to your advanced account settings page.
- Look for the “API Secret” section on that page.
- Click the “Show” link to reveal your hidden secret key.
- Copy this “API Secret” key to your computer clipboard.
- Open your WordPress dashboard in a new browser tab.
- Navigate to LifterLMS > Settings > Integrations > LifterLMS Kit.
- Check the “Check to Enable this Integration” box to turn on the connection.
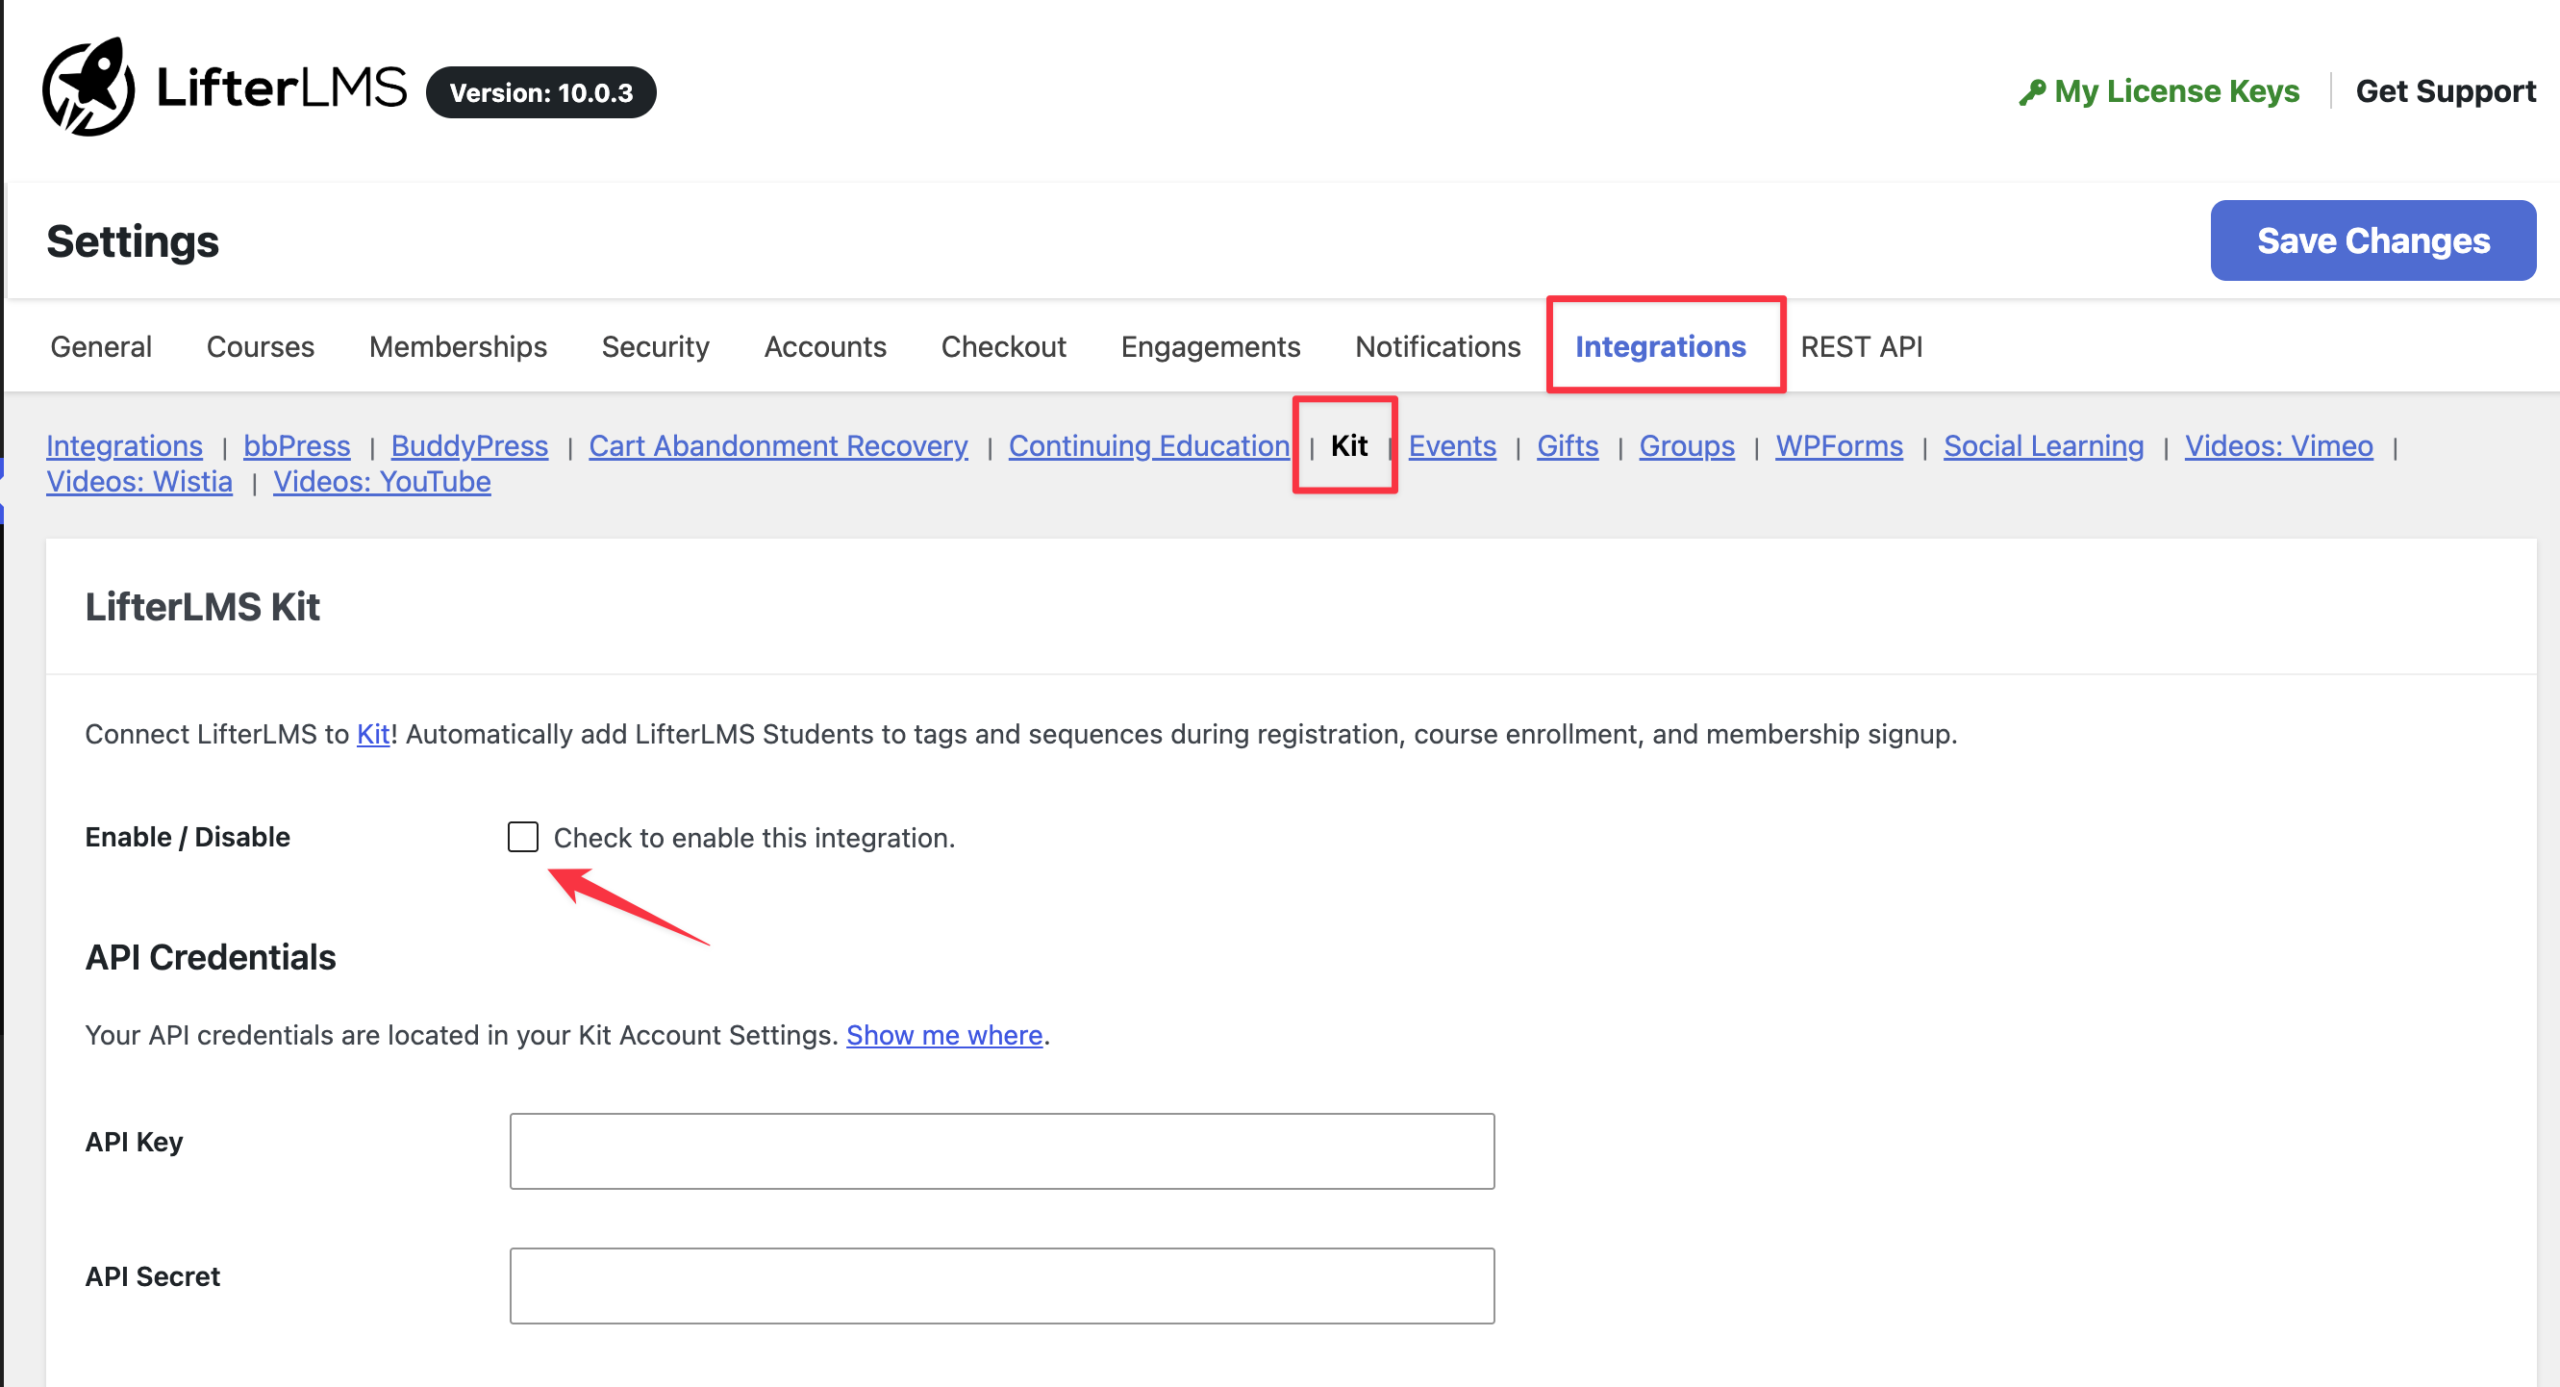
- Find the text field labeled “Kit API Secret”.
- Paste the key that you copied from your Kit account into this text field.
- Click the Save Changes button to finalize the setup.
Once you click the Save Changes button, LifterLMS will verify the connection with your Kit account. You can then begin using Kit tags and sequences to manage your students.
Consent messages are displayed to users and students on the LifterLMS checkout/enrollment form and on the account dashboard when open registration is enabled.
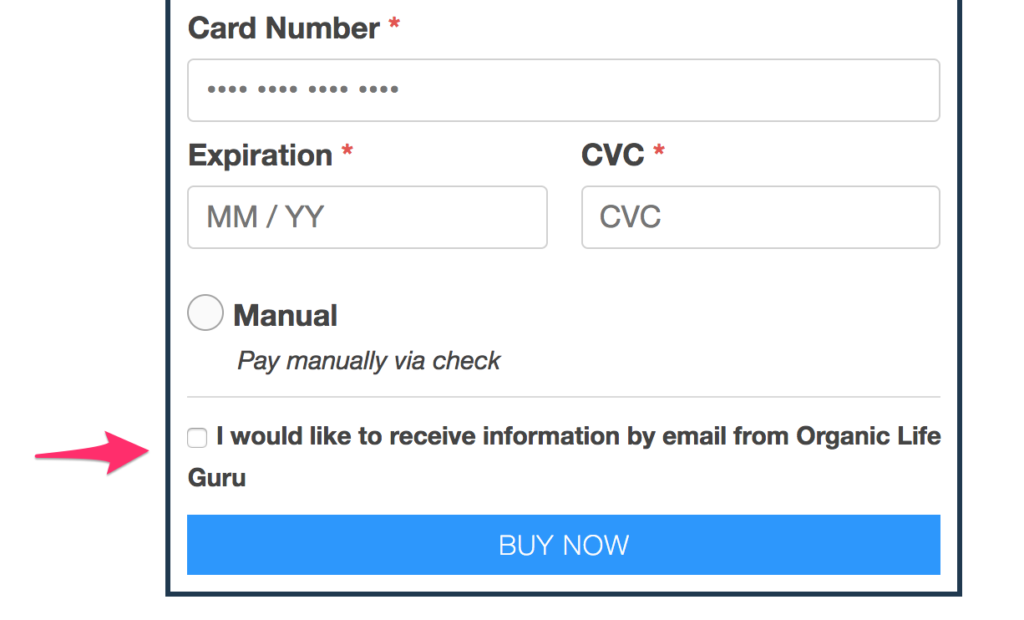
The Consent Messages settings let you customize what these messages display on the front end of your website.
The Subscriber Consent Message is displayed during enrollment, checkout, and registration, while the Unsubscribe Message is displayed on the Student Dashboard “Edit Account” tab, allowing users to cancel their subscription to all tags and sequences.
Note: A user who does not explicitly consent via the consent checkbox during an enrollment or registration event will not be added to the tags and sequences configured elsewhere in the LifterLMS Kit Add-On.
New User Registration Automations can automatically add consenting students to Kit tags and sequences when they create a new account on your website, whether via a LifterLMS registration form or during account creation on the LifterLMS checkout/enrollment form.
You may select one or more tags and sequences to be applied to users during these events.
When the Sync Subscriber Purchases option is enabled, LifterLMS will sync purchases made via a LifterLMS payment gateway to tKit. (Orders with a value of $0 are not passed to Kit)
This will enable you to create automations based on student purchases on your site using the “Purchase” event in the automation builder.
LifterLMS Kit considers each access plan a unique product. This allows fine-tuned segmentation in your automations based on the plan you purchased, rather than forcing segmentation based solely on the course or membership.
Read more about Purchases and Kit automations.
Note: LifterLMS and LifterLMS products will not appear in Kit until a purchase has been made for a given product. The best way to get started is to load purchases into Kit by creating them with a test user on your site. After you’ve made test purchases and can select your products in your automations, you can delete the test student and orders from your LifterLMS site.
The Custom Fields settings let you specify where to save LifterLMS user fields (such as address and phone number) in Kit.
For each LifterLMS field, you can map it to a custom field in Kit. During subscription events (when a student is added to a tag or sequence), the field information available in LifterLMS will be sent to the corresponding field in Kit, allowing you to populate Kit with all the user information you collected during account creation.
If you’re using LifterLMS with WooCommerce and LifterLMS WooCommerce, you can optionally enable the WooCommerce Checkout Actions option.
When enabled, WooCommerce customers will be shown the Consent Messages (as configured in your Consent Messages settings). The Subscriber Consent Message will be displayed on the WooCommerce Checkout form, and the Unsubscribe Message will be shown on the “Edit Account” tab of the “My Account” page.
Note: Purchases made through WooCommerce are not sent to Kit by LifterLMS Kit. If you wish to use purchase automations, we recommend using the (free and official) WooCommerce Kit add-on developed and maintained by Kit. You can read more about this plugin here: How to set up the Kit for WooCommerce plugin on your WordPress website.
For each course and membership, you can configure any number of tags and/or sequences to add a student to during enrollment into that course or membership.
These automations will be used in addition to the global-level registration automations.
To configure these settings, head to the admin panel and locate the “Kit” tab in the Course (or membership) options area.
Here, you can select any number of tags and any number of sequences that will be applied during enrollment.
As with the registration automations, these tags and sequences are only applied to consenting students. A student who has not consented will not be added to the configured tags and sequences for a given course or membership.
LifterLMS Kit caches API response data from Kit in order to improve performance for your students and administrators.
The following data is cached when successful responses are received from Kit:
- Tags
- Sequences
- Custom Fields
The cached data is stored for 24 hours; however, you can modify this time using the llms_ck_cache_duration filter, which you can read more about in our “LifterLMS ConvertKit Filters” article.
You may also clear the data manually from the LifterLMS Integrations settings screen. Simply locate and click the “Clear Local Cache” button. The cache will be cleared and automatically regenerated.


