How do I add a PDF to a LifterLMS lesson?
In LifterLMS lessons, you can easily add a PDF using several options. This documentation outlines all the possible solutions for adding a PDF to a lesson.
If you are using the block editor, you can add a PDF to a lesson with the help of the “File” block. Follow these steps:
Step 1: Go to Courses > Lessons and click “Edit” on the lesson.
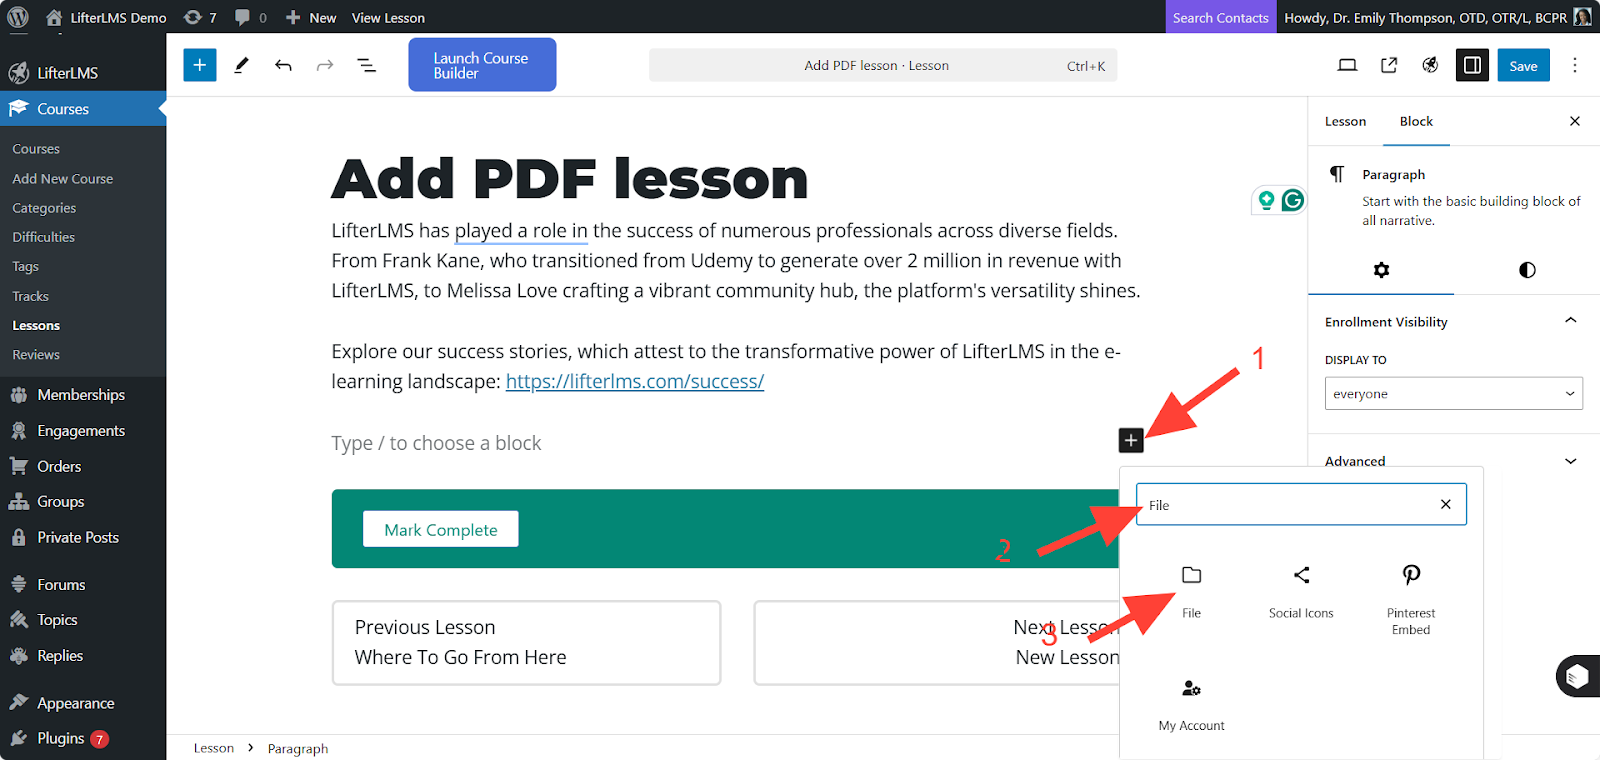
Step 2: Click the “+” icon to add a block, and search for the “File” block to add it.
Step 3: Click Upload, then select the PDF file you wish to upload.
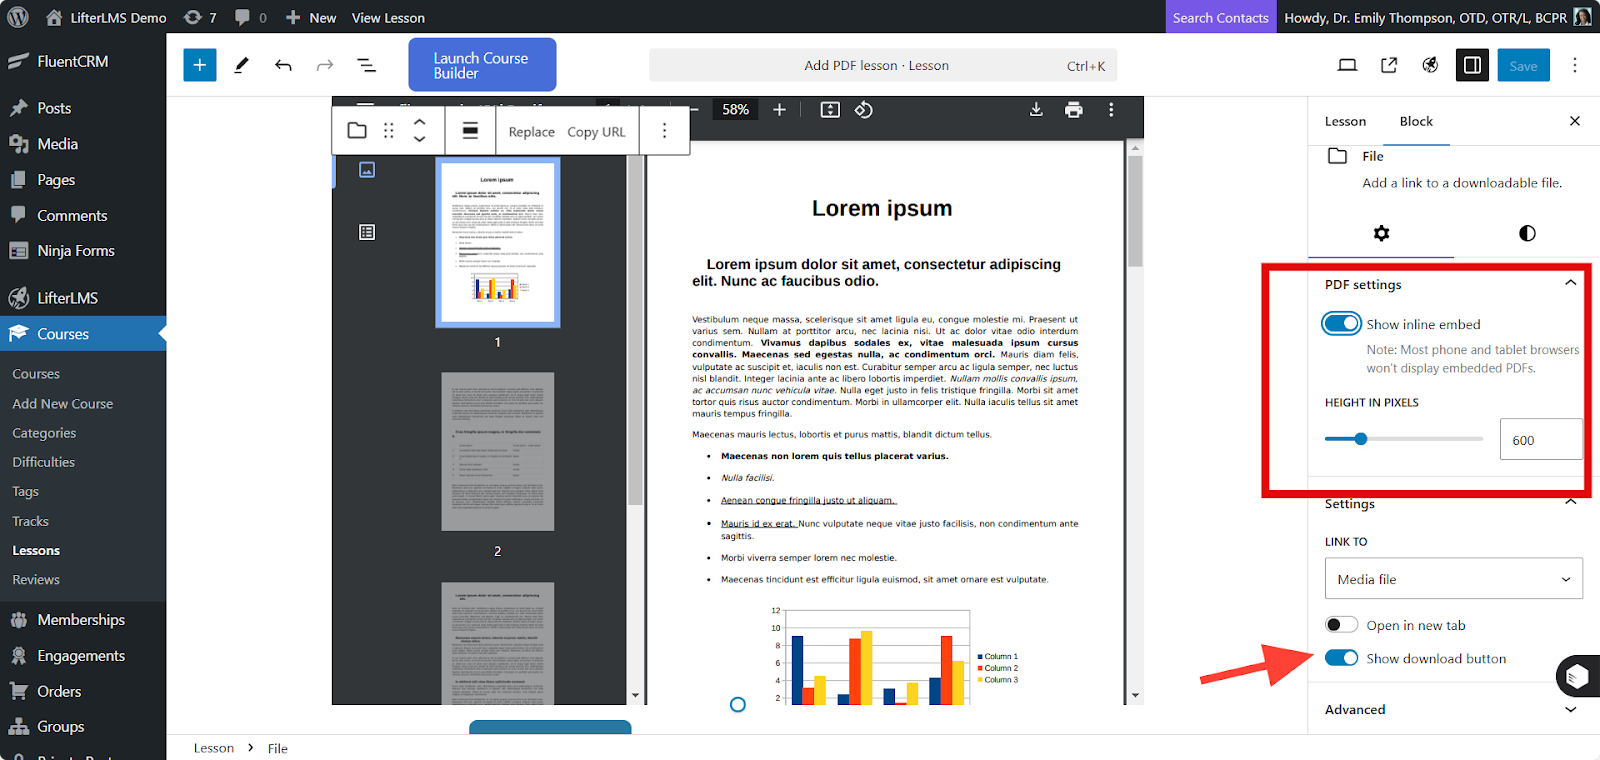
Step 4: You can configure the PDF settings from the right-hand panel. You can disable the download option by toggling the “Show download button” option off. You can adjust the “PDF height”, and modify other settings as needed. Click Save to save the lesson.
To add a PDF via the Media Library, upload the PDF file to your Media Library first and then embed it into your lesson.
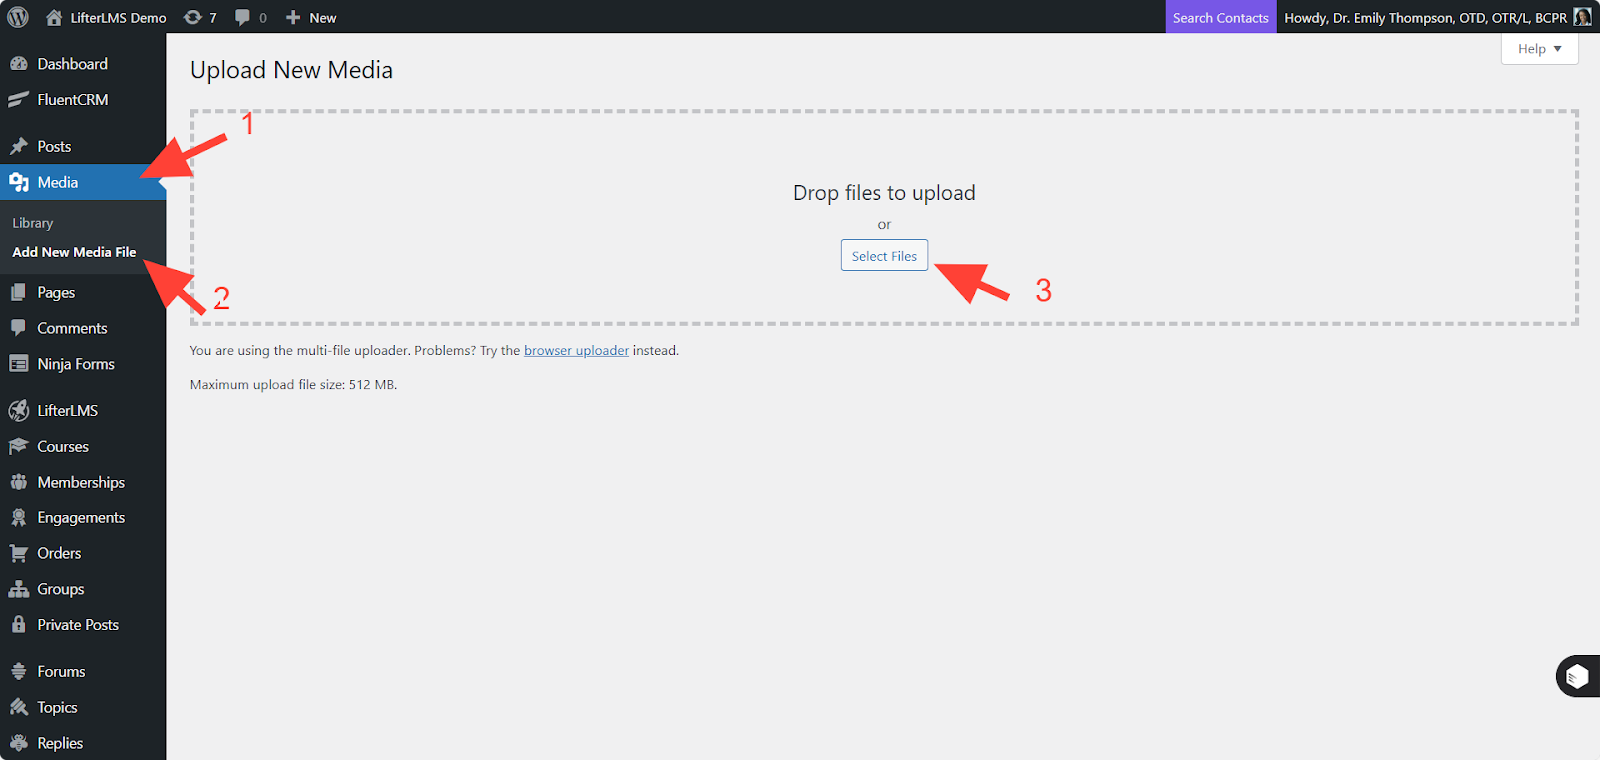
Step 1: Visit your WordPress Dashboard and go to Media >Add New Media File.
Step 2: Select Files or drag and drop the PDF file from your computer to upload the PDF file.
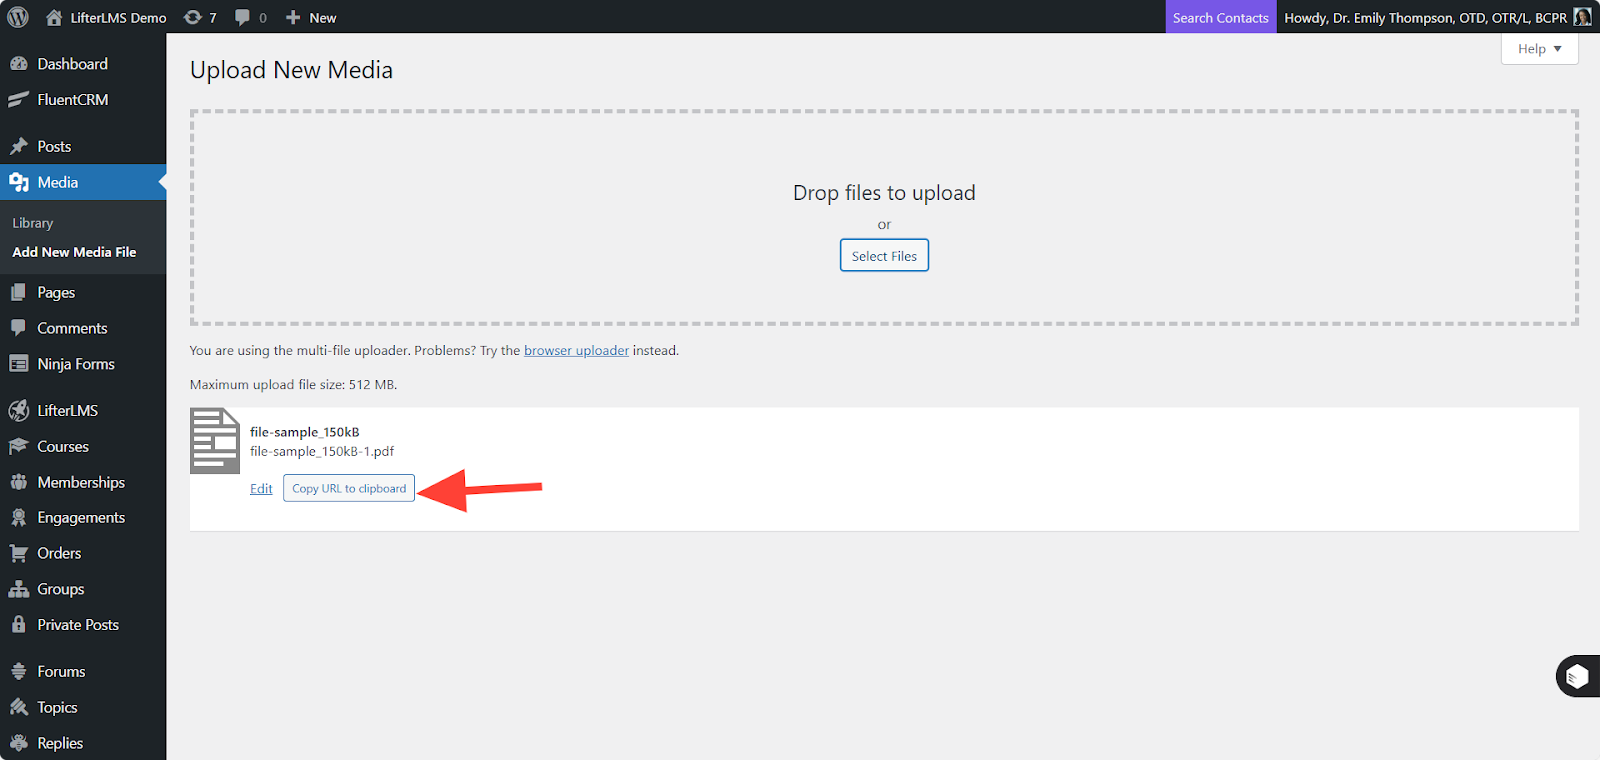
Step 3: Once uploaded, click Copy URL to Clipboard.
Step 4: Paste the copied URL into your lesson and click Save to save the lesson.
Step 5: You can link the PDF file URL from an image or button you insert into your lesson post.


