Getting Started With Notes
Short Demo:
Long Demo:
The LifterLMS Notes add-on is only available for LifterLMS 7.5.0 and above. If you are using a version of LifterLMS below LifterLMS 7.5.0, you will not be able to enable the LifterLMS Notes add-on even if you were able to activate it.
Make sure to first follow these instructions on how to use your license key to be able to install our paid LifterLMS add-ons. Once the LifterLMS Notes add-on is installed and activated, you can then go back here to learn how to enable it.
To enable the LifterLMS Notes add-on after activation, follow the steps below.
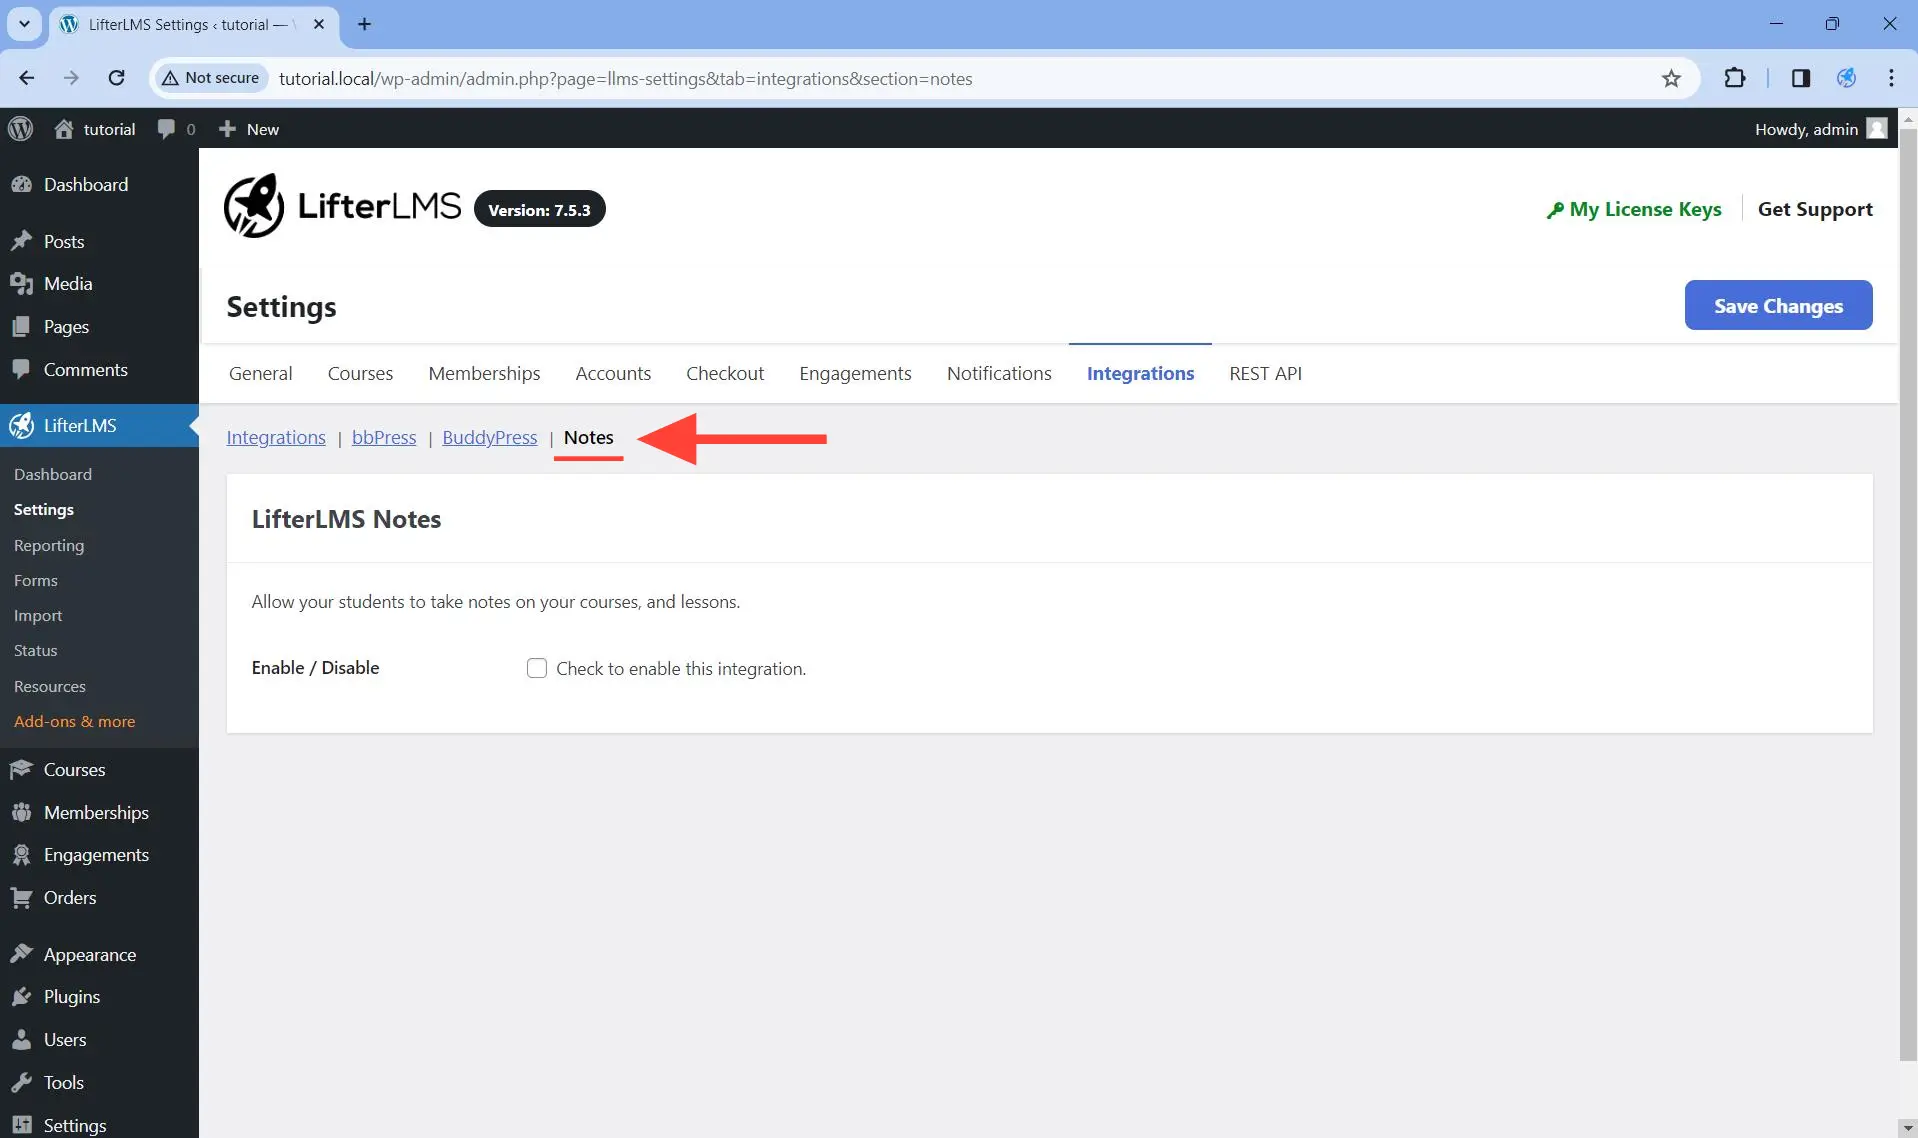
Step 1. In the WordPress admin, navigate to LifterLMS > Settings > Integrations > Notes.
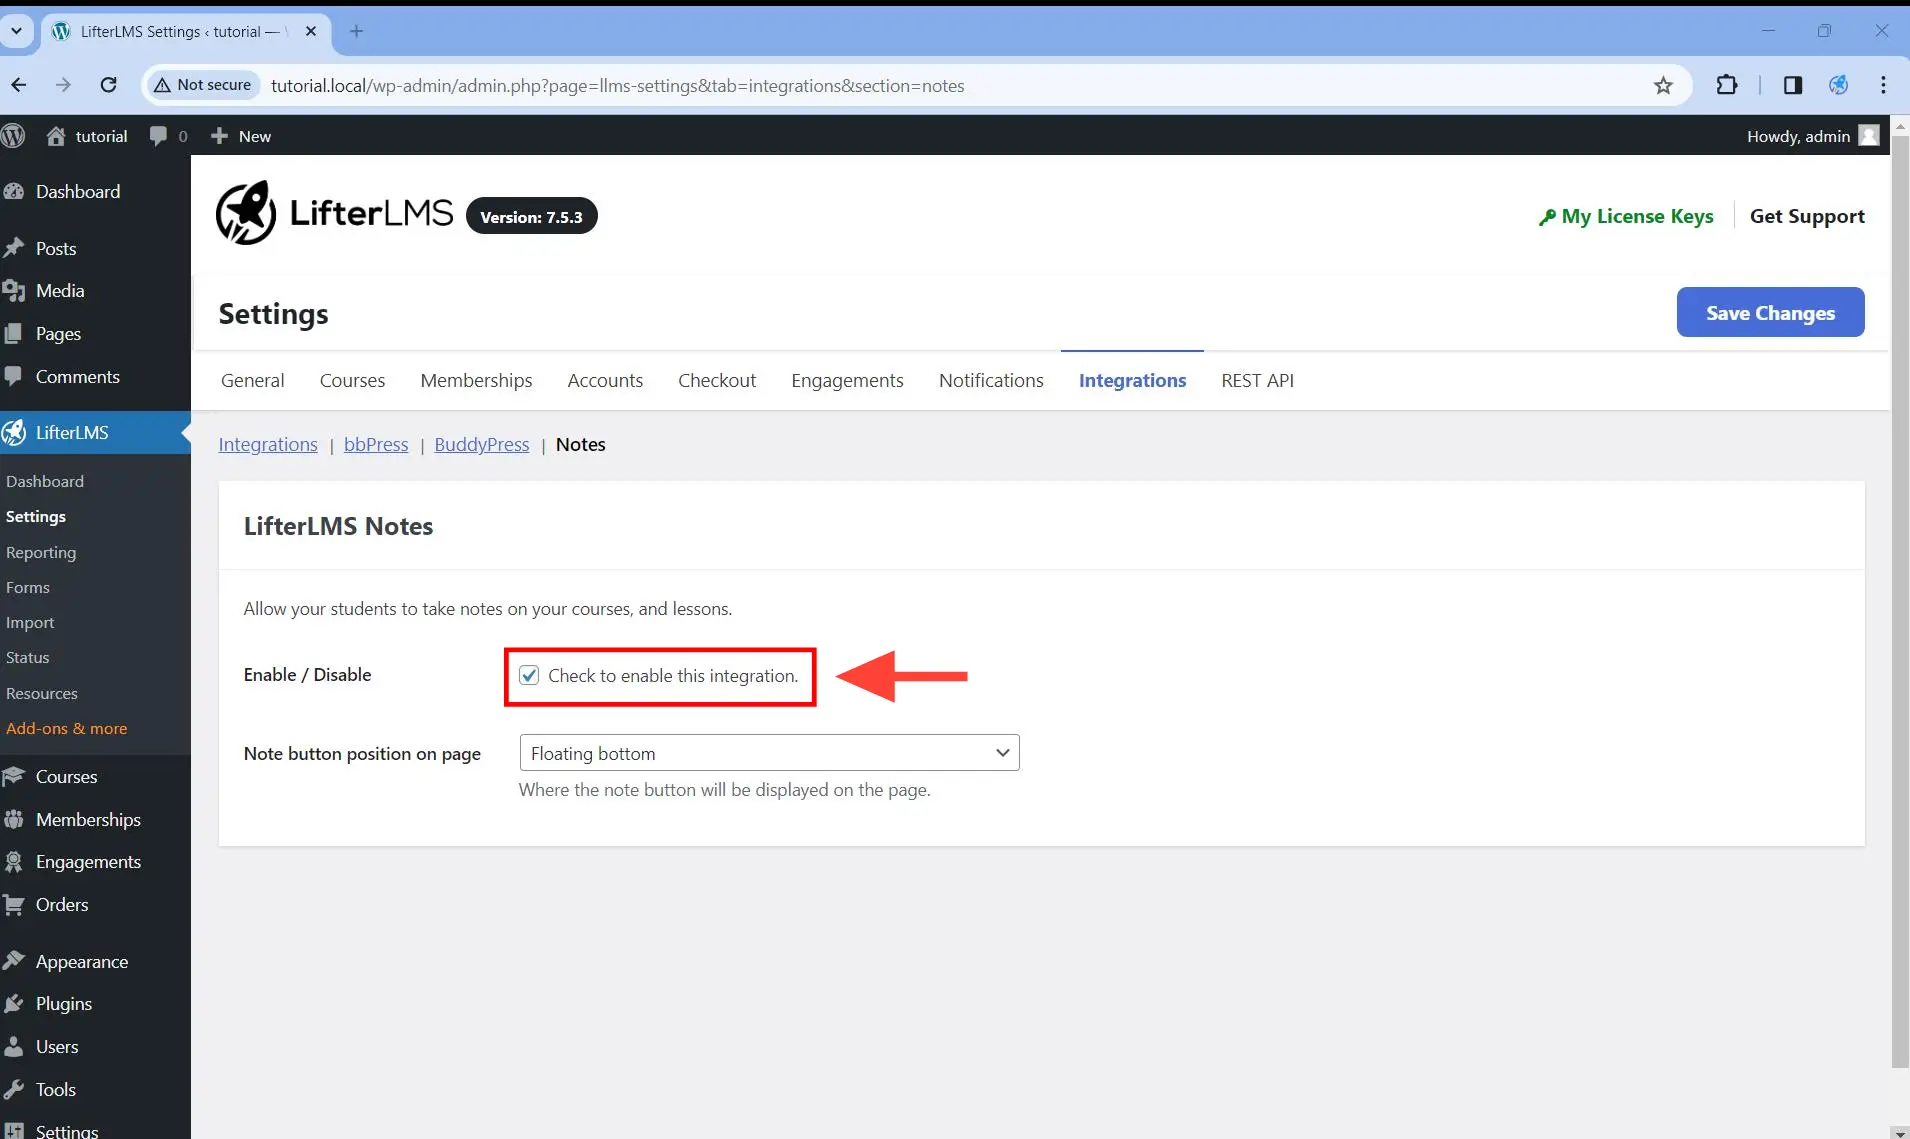
Step 2. Under Enable / Disable make sure that the Checkbox to enable this integration is checked.
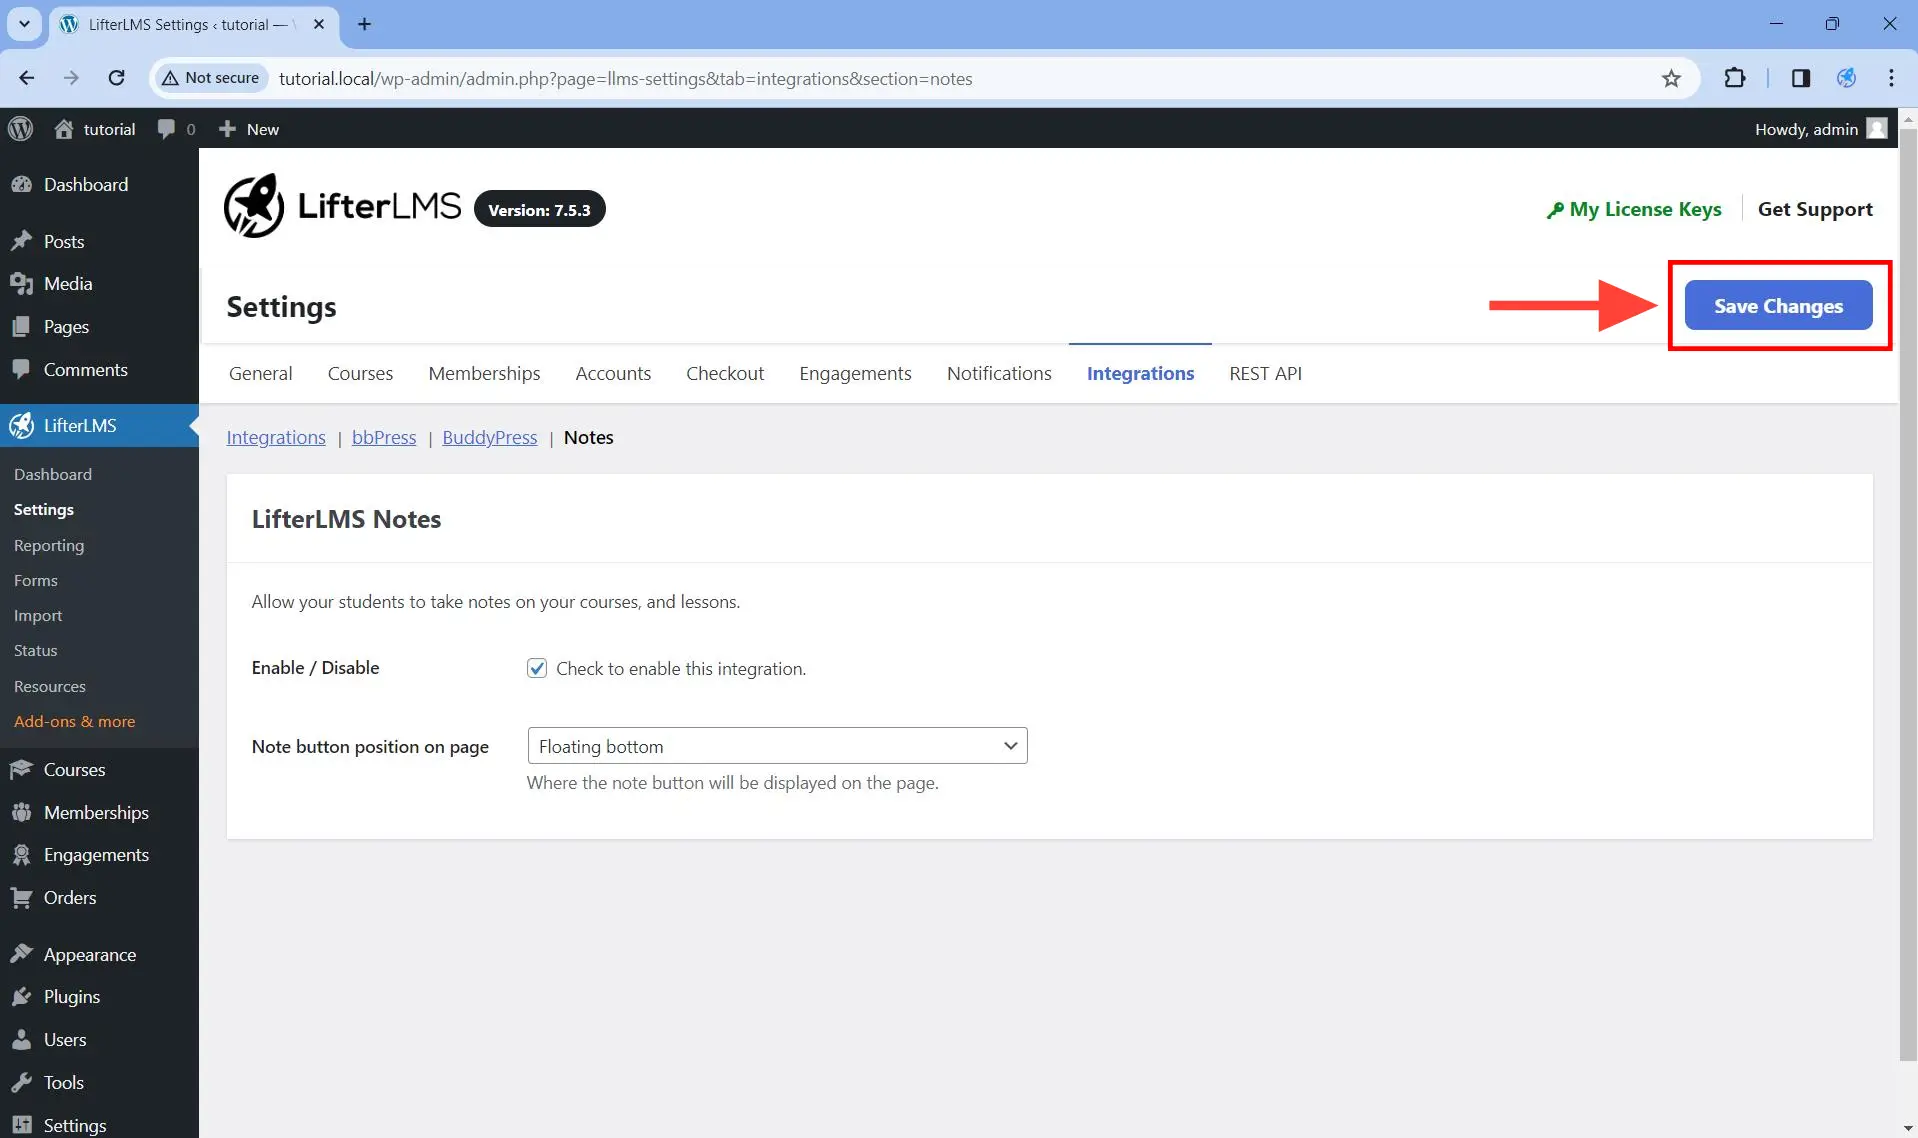
Step 3. Click on the Save Changes button.
Step 1. In the WordPress admin, navigate to LifterLMS > Settings > Integrations > Notes.

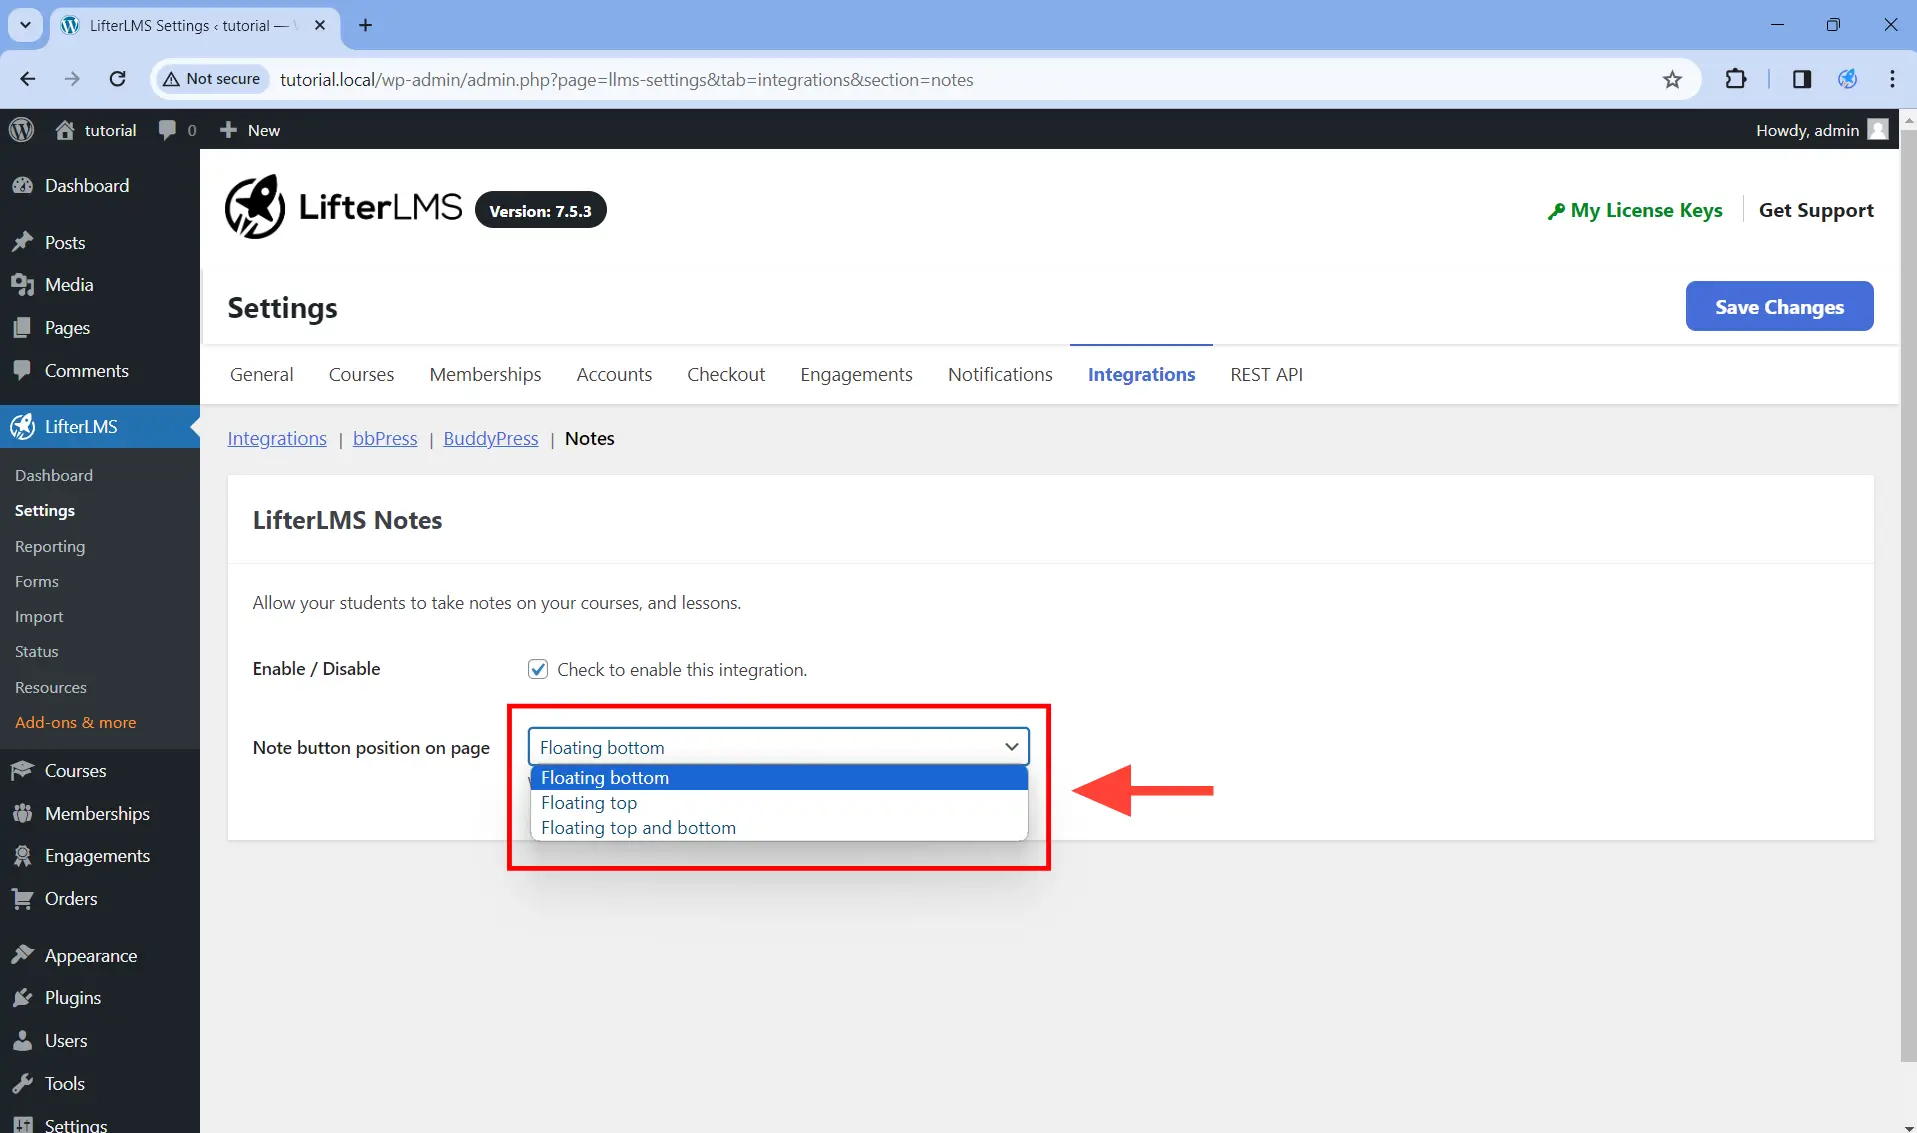
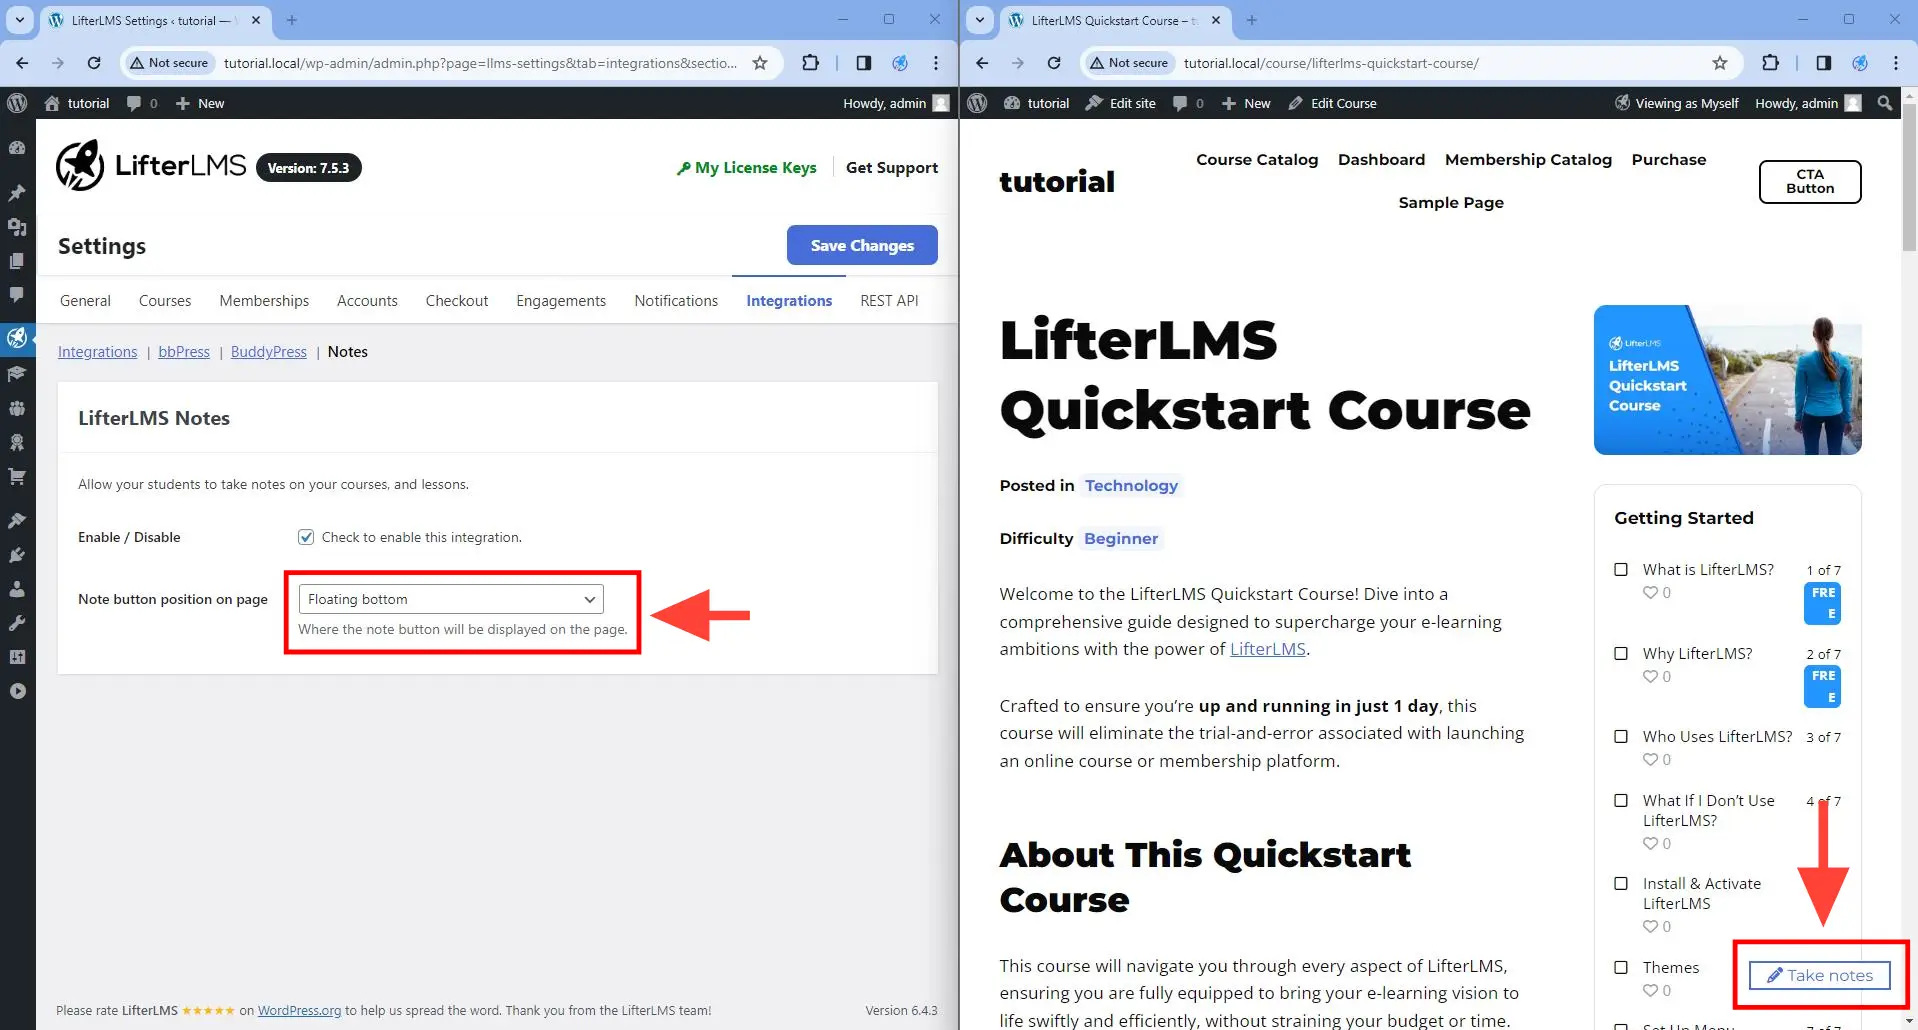
Step 2. Under “Note button position on page” you can select one of the options below. By default, Floating bottom is selected.
- Floating bottom.
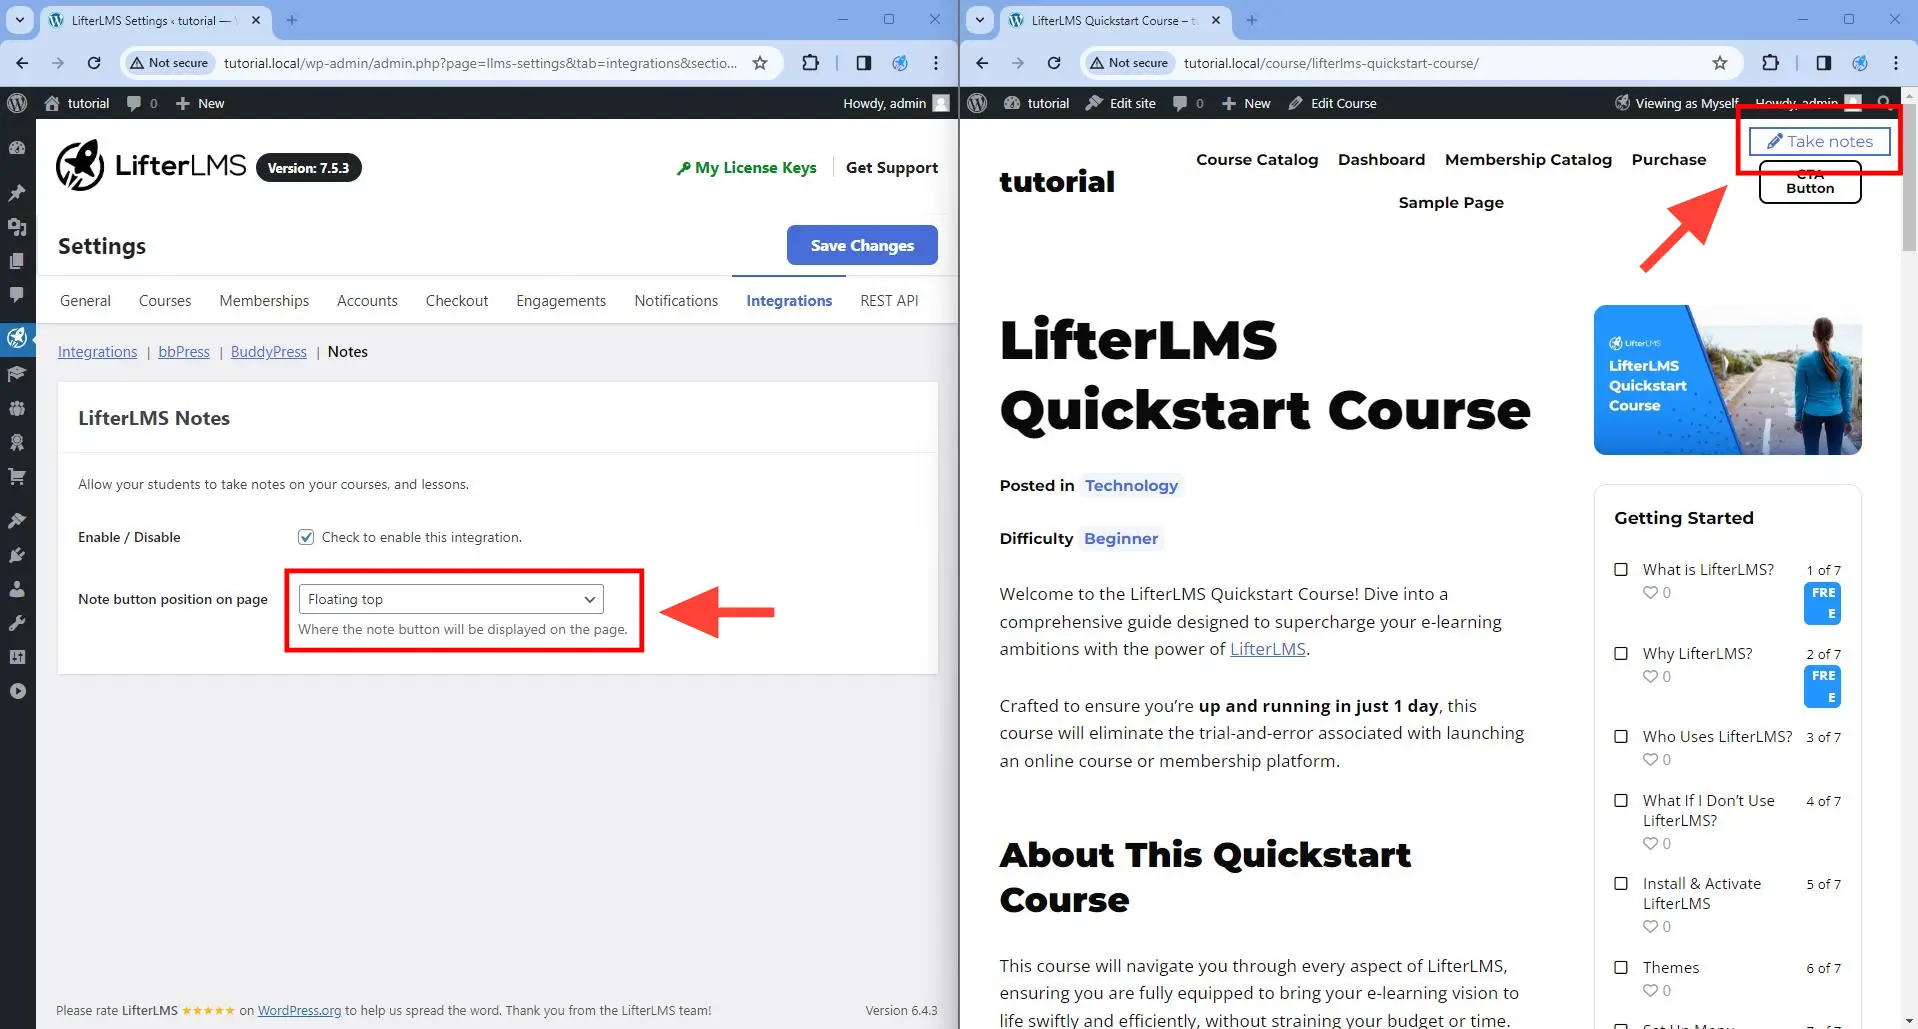
- Floating top.
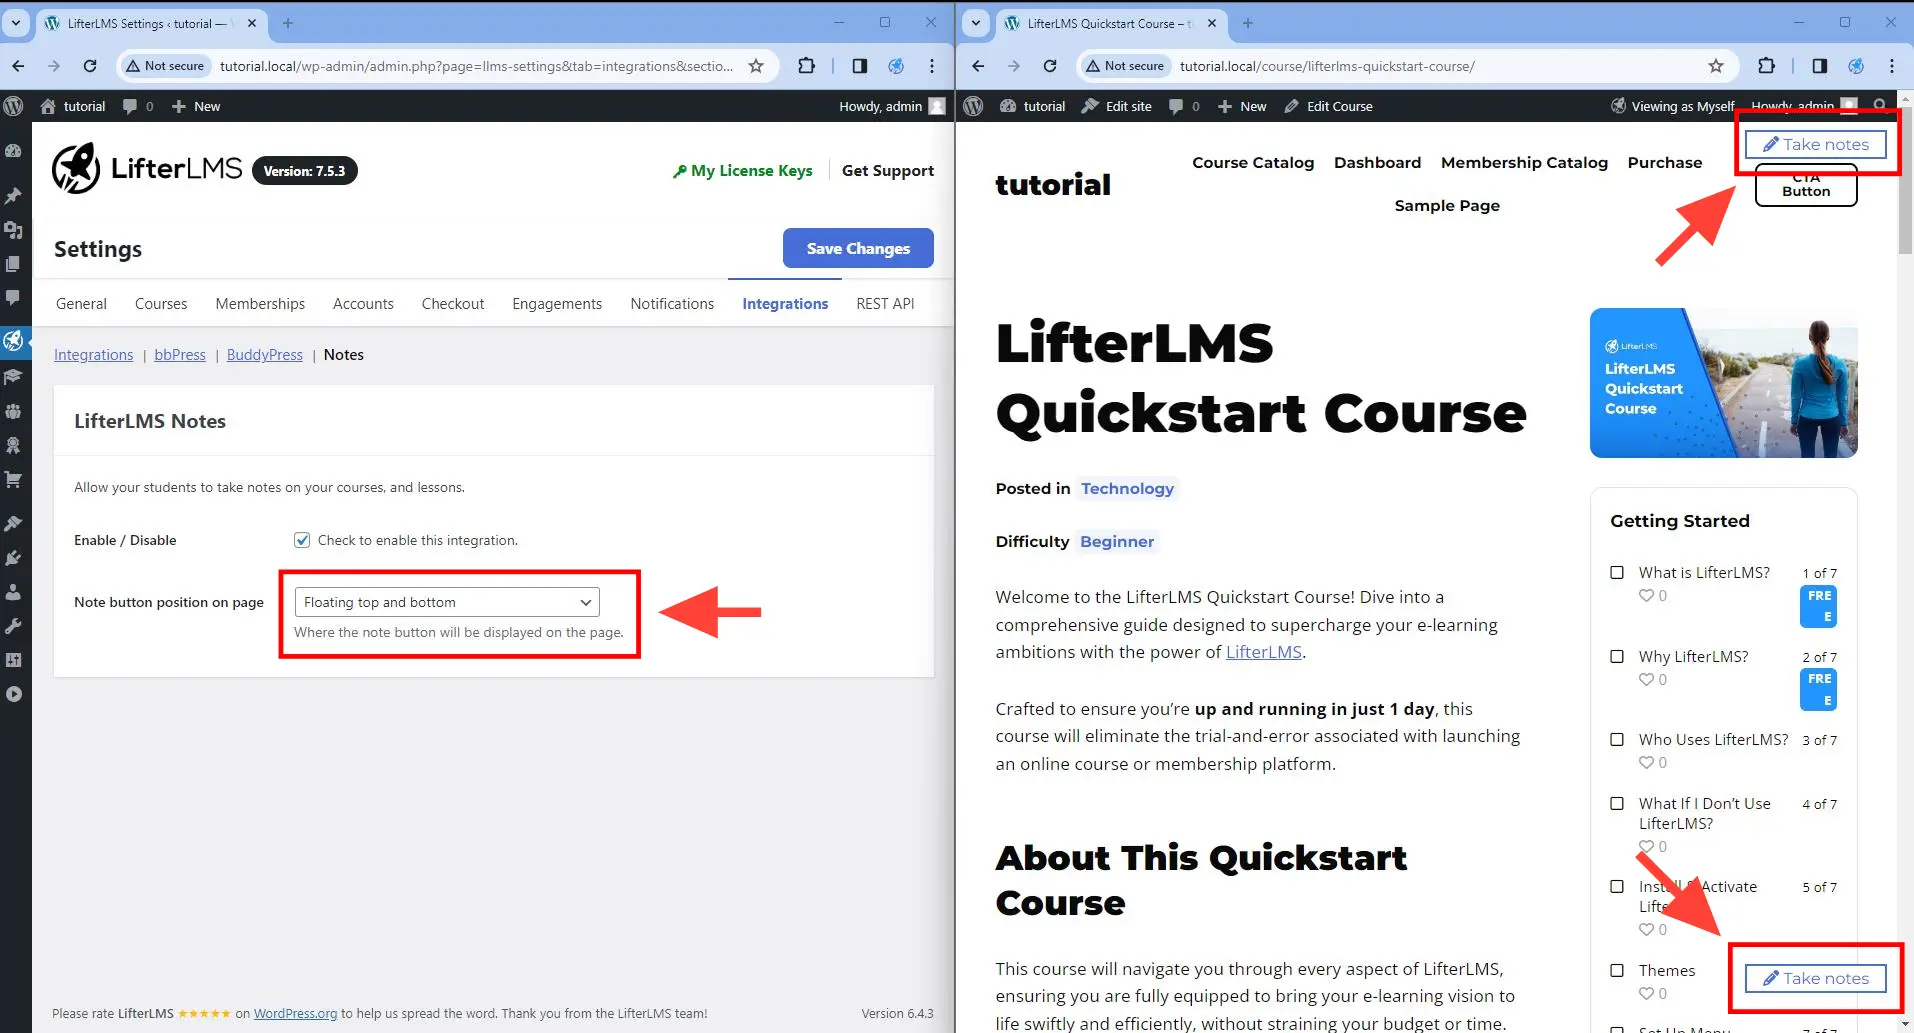
- Floating top and bottom.
Step 3. Make sure you click on the Save Changes button to save your changes.
Floating bottom
Floating top
Floating top and bottom
You can take notes for each course. Each note that you create will be associated with the course you are currently viewing. If you are taking a note for “Lesson 1” and that lesson falls under ”Course A”, then your note will be associated with “Course A”.
Since you will be able to take notes anywhere the “Take notes” button appears, note that the “Take notes” will appear on:
- Any course page.
- Any lesson page.
- Any quiz page.
- Any question page when you are taking a quiz.
- Any quiz results page after you are done taking a quiz.
- Any assignment page.
- The assignment page after you submit an assignment.
The “Take notes” button will not appear on membership pages, regular blog posts, regular pages, and any other place not mentioned above.
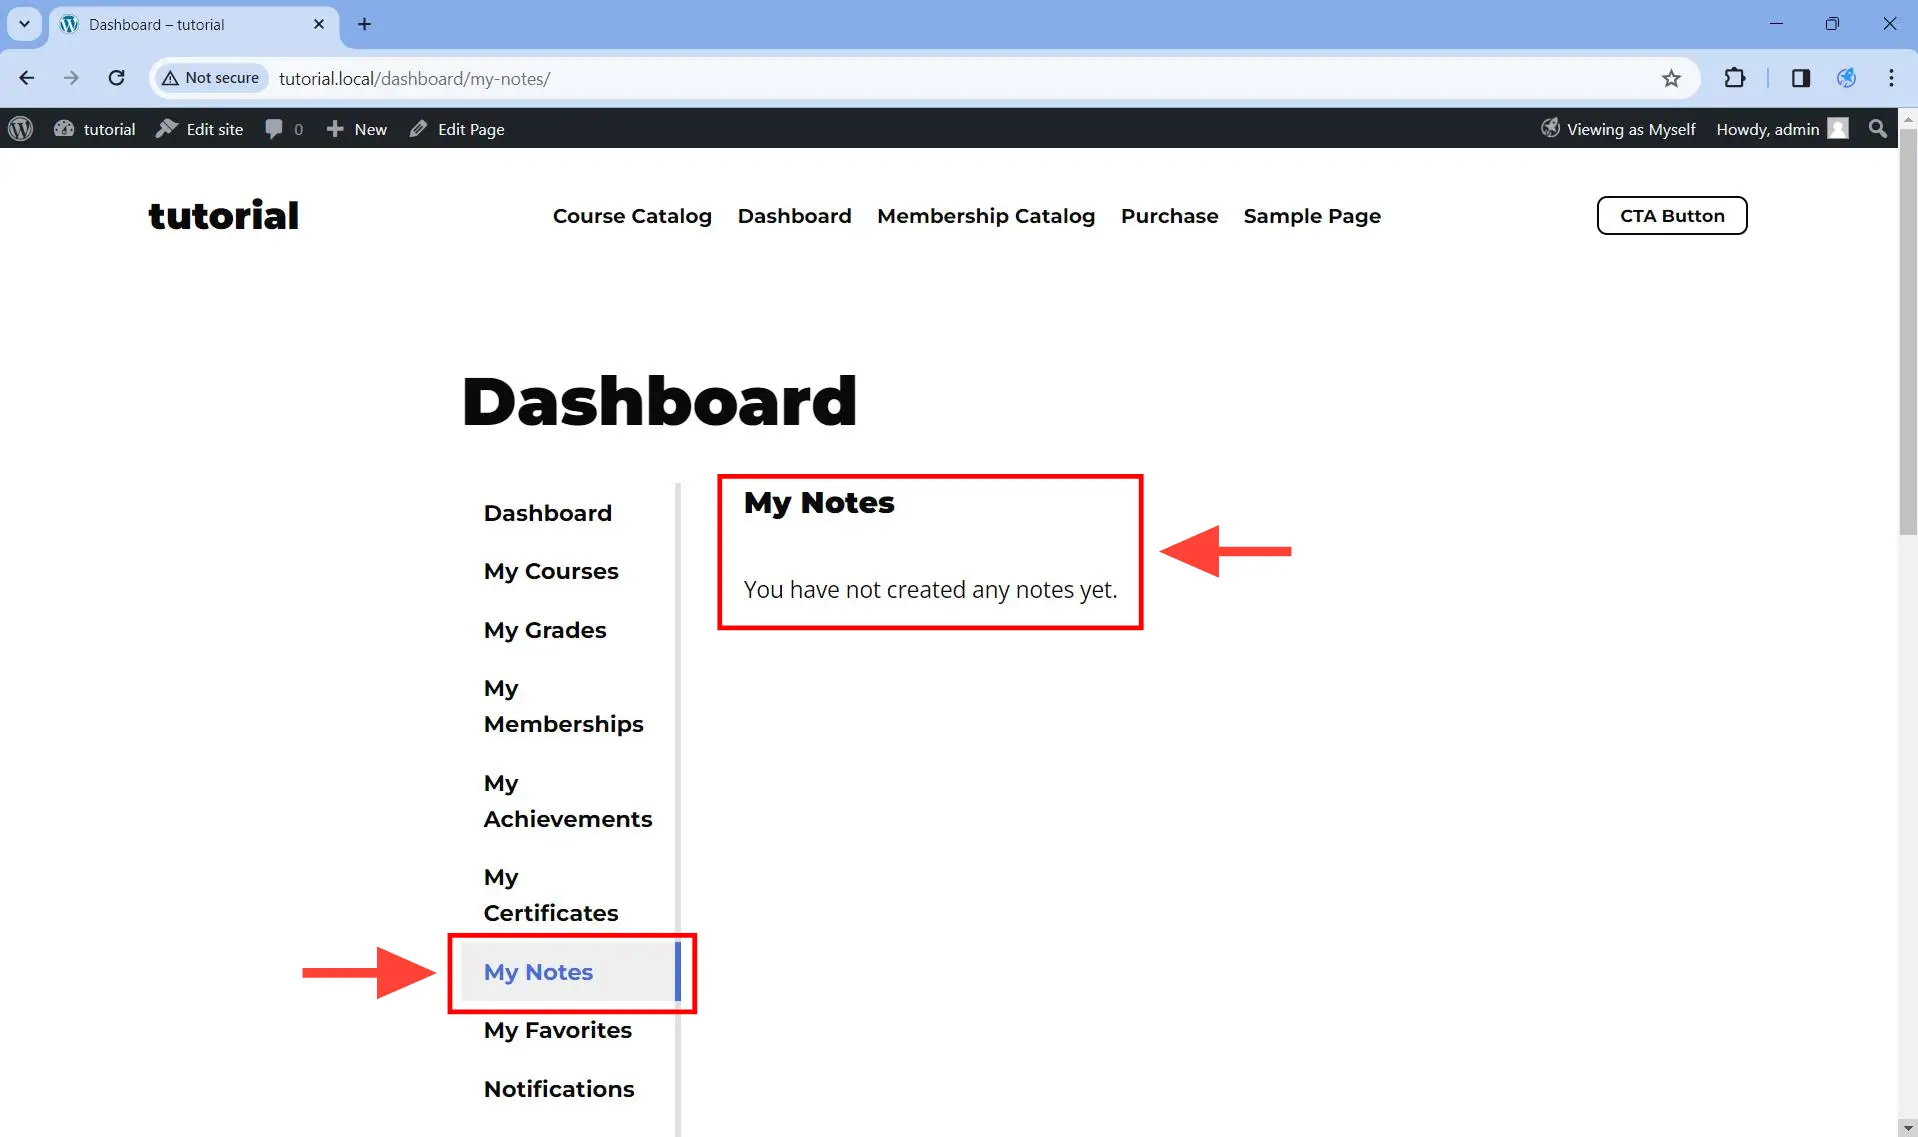
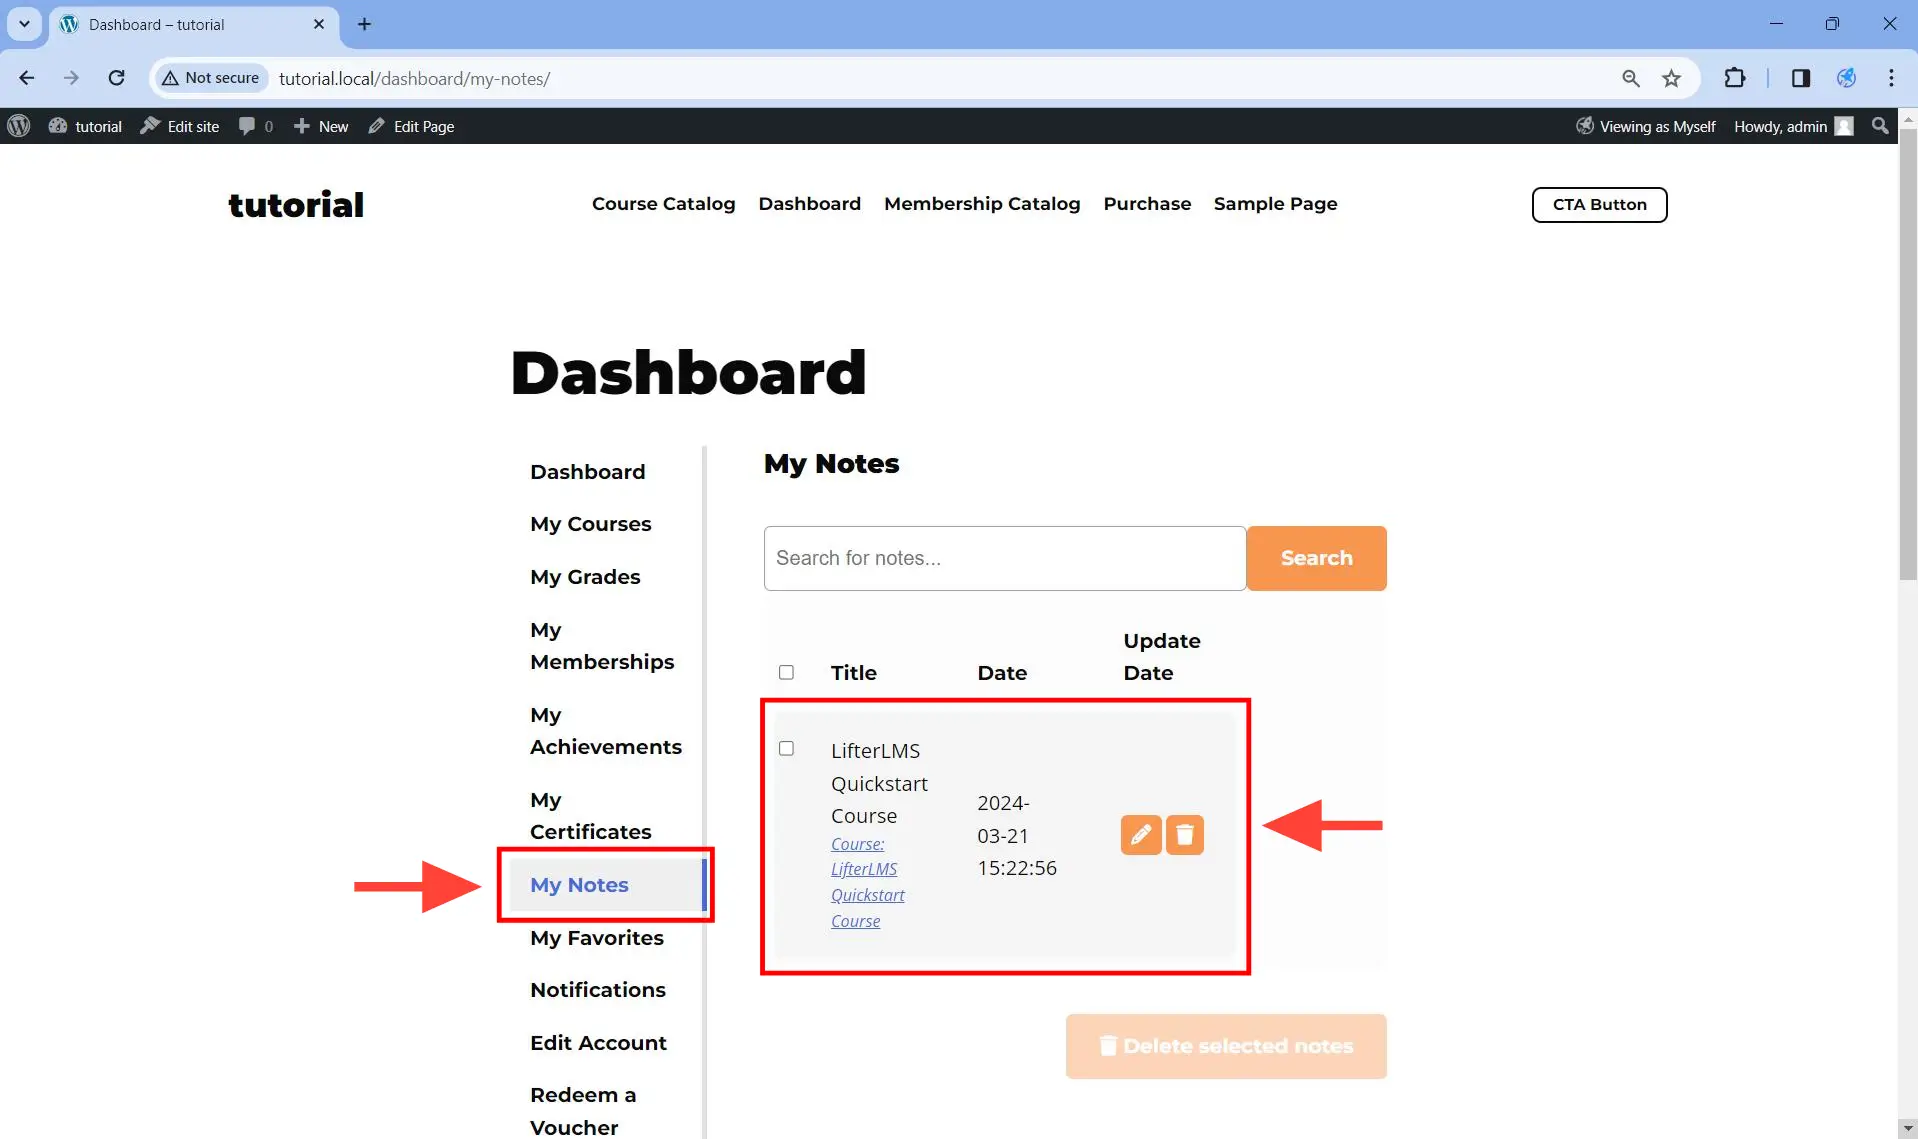
You need to navigate to the student dashboard page to see your notes. Once you are on the student dashboard page, navigate to the My Notes section to see your notes.
If your student does not have any notes yet, this is what it would look like when using the Sky Pilot theme.
If your student already has at least one note, then this is what it would look like when using the Sky Pilot theme.
Step 1. One way for your students to edit their notes is to visit the “My Notes” section of the student dashboard page. Since each note is mapped to exactly one course, you just need to decide which course you want to edit the notes for.
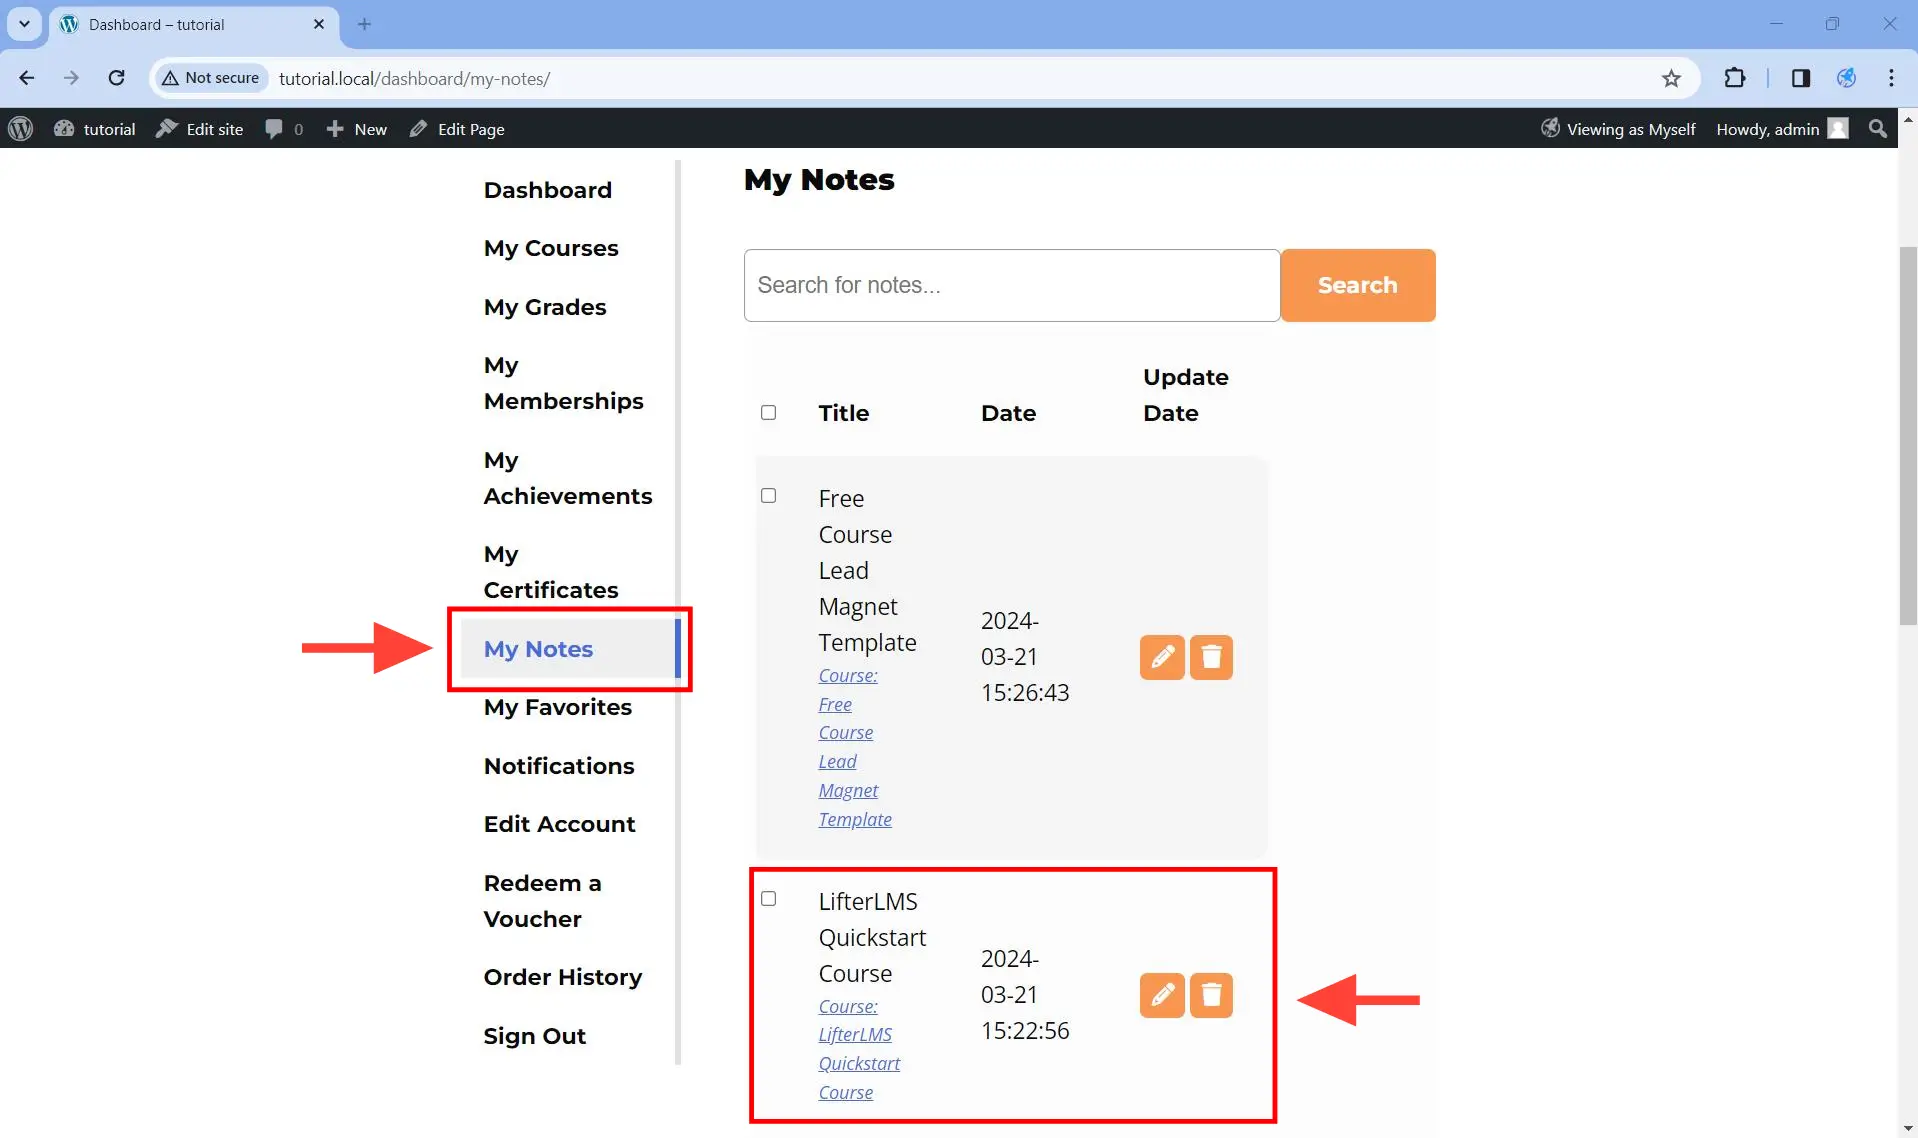
Step 2. On the list of notes, click on the pencil icon of the note you want to edit. This will open the note-taking pop-up.
![]()
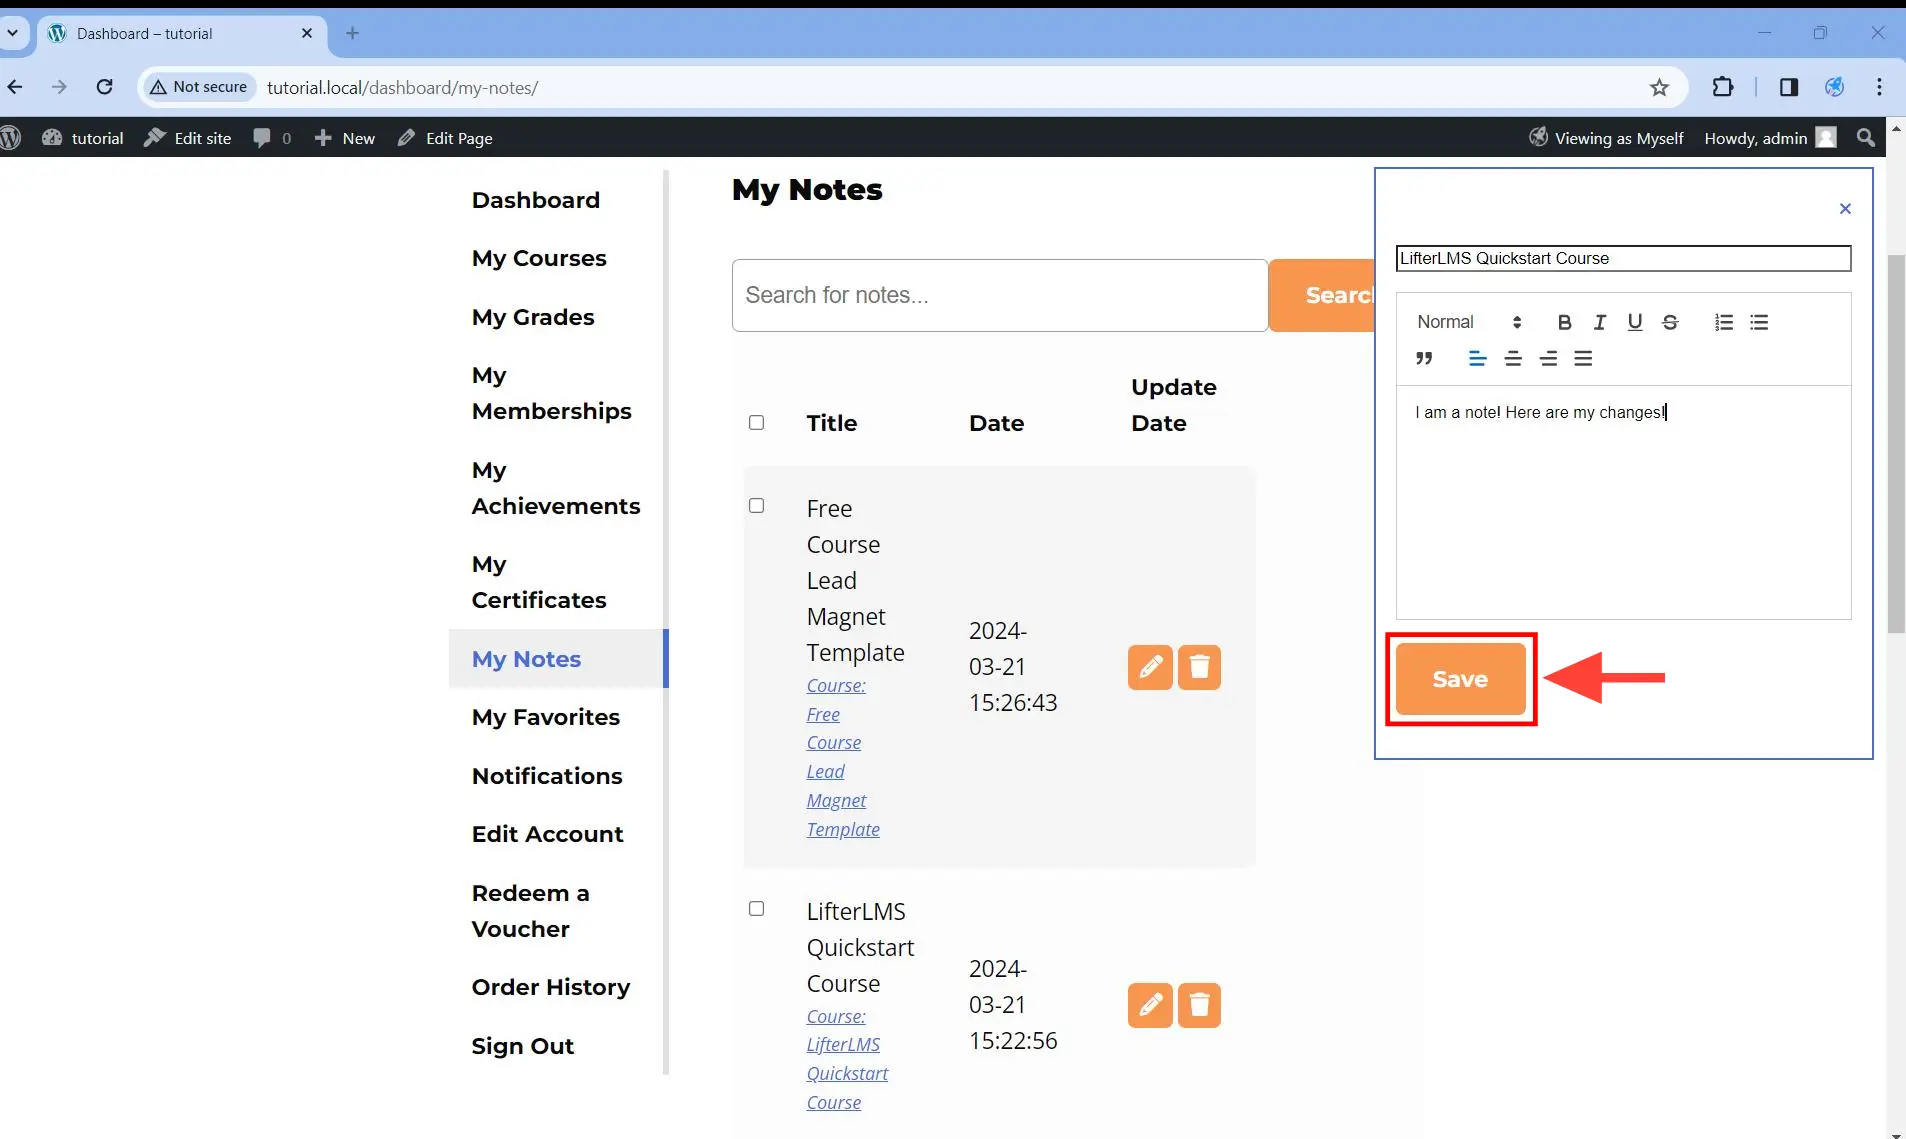
Step 3. Make your changes to the note, then click on the Save button to save the changes.
Step 1. Visit the “My Notes” section of the student dashboard page. Since each note is mapped to exactly one course, you just need to decide which course you want to delete the note from.
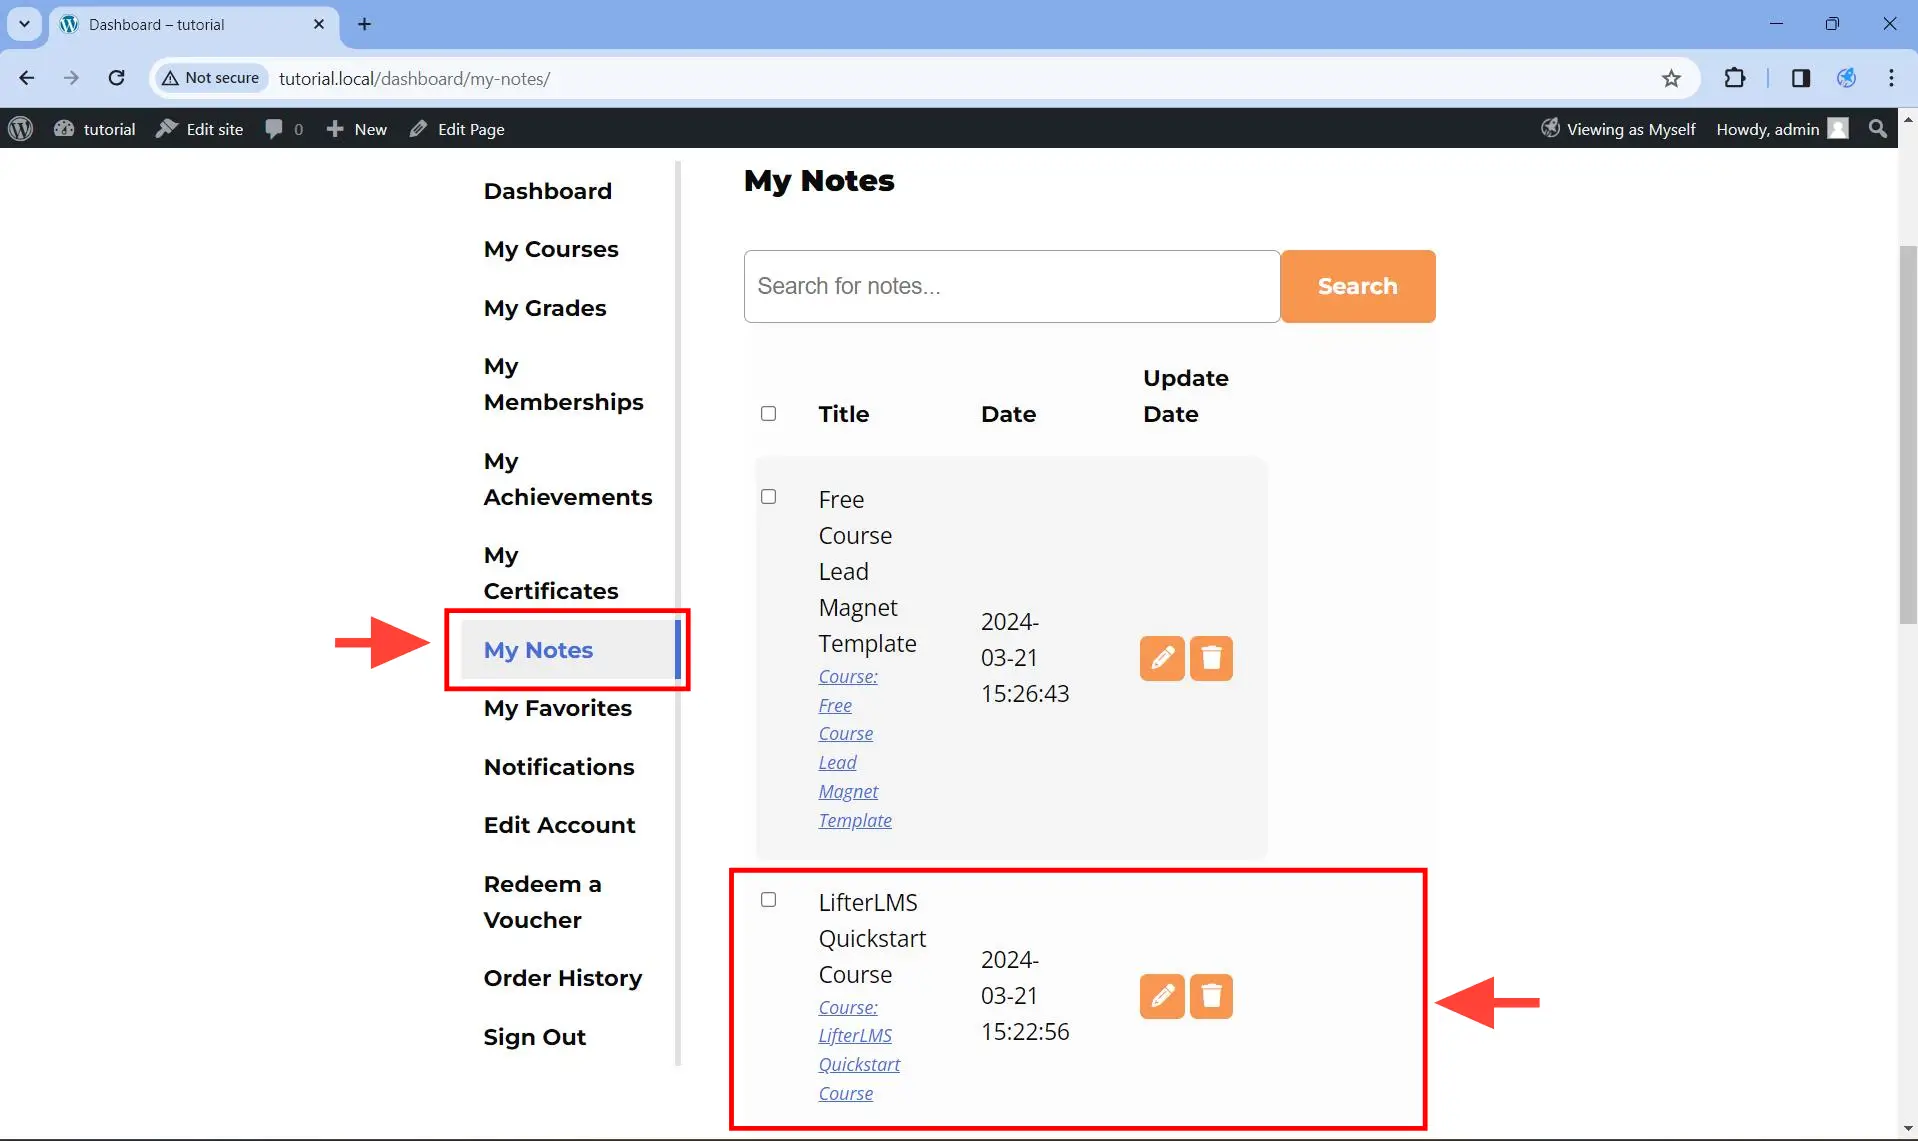
Step 2. On the list of notes, click on the trash icon of the note you want to delete.
![]()
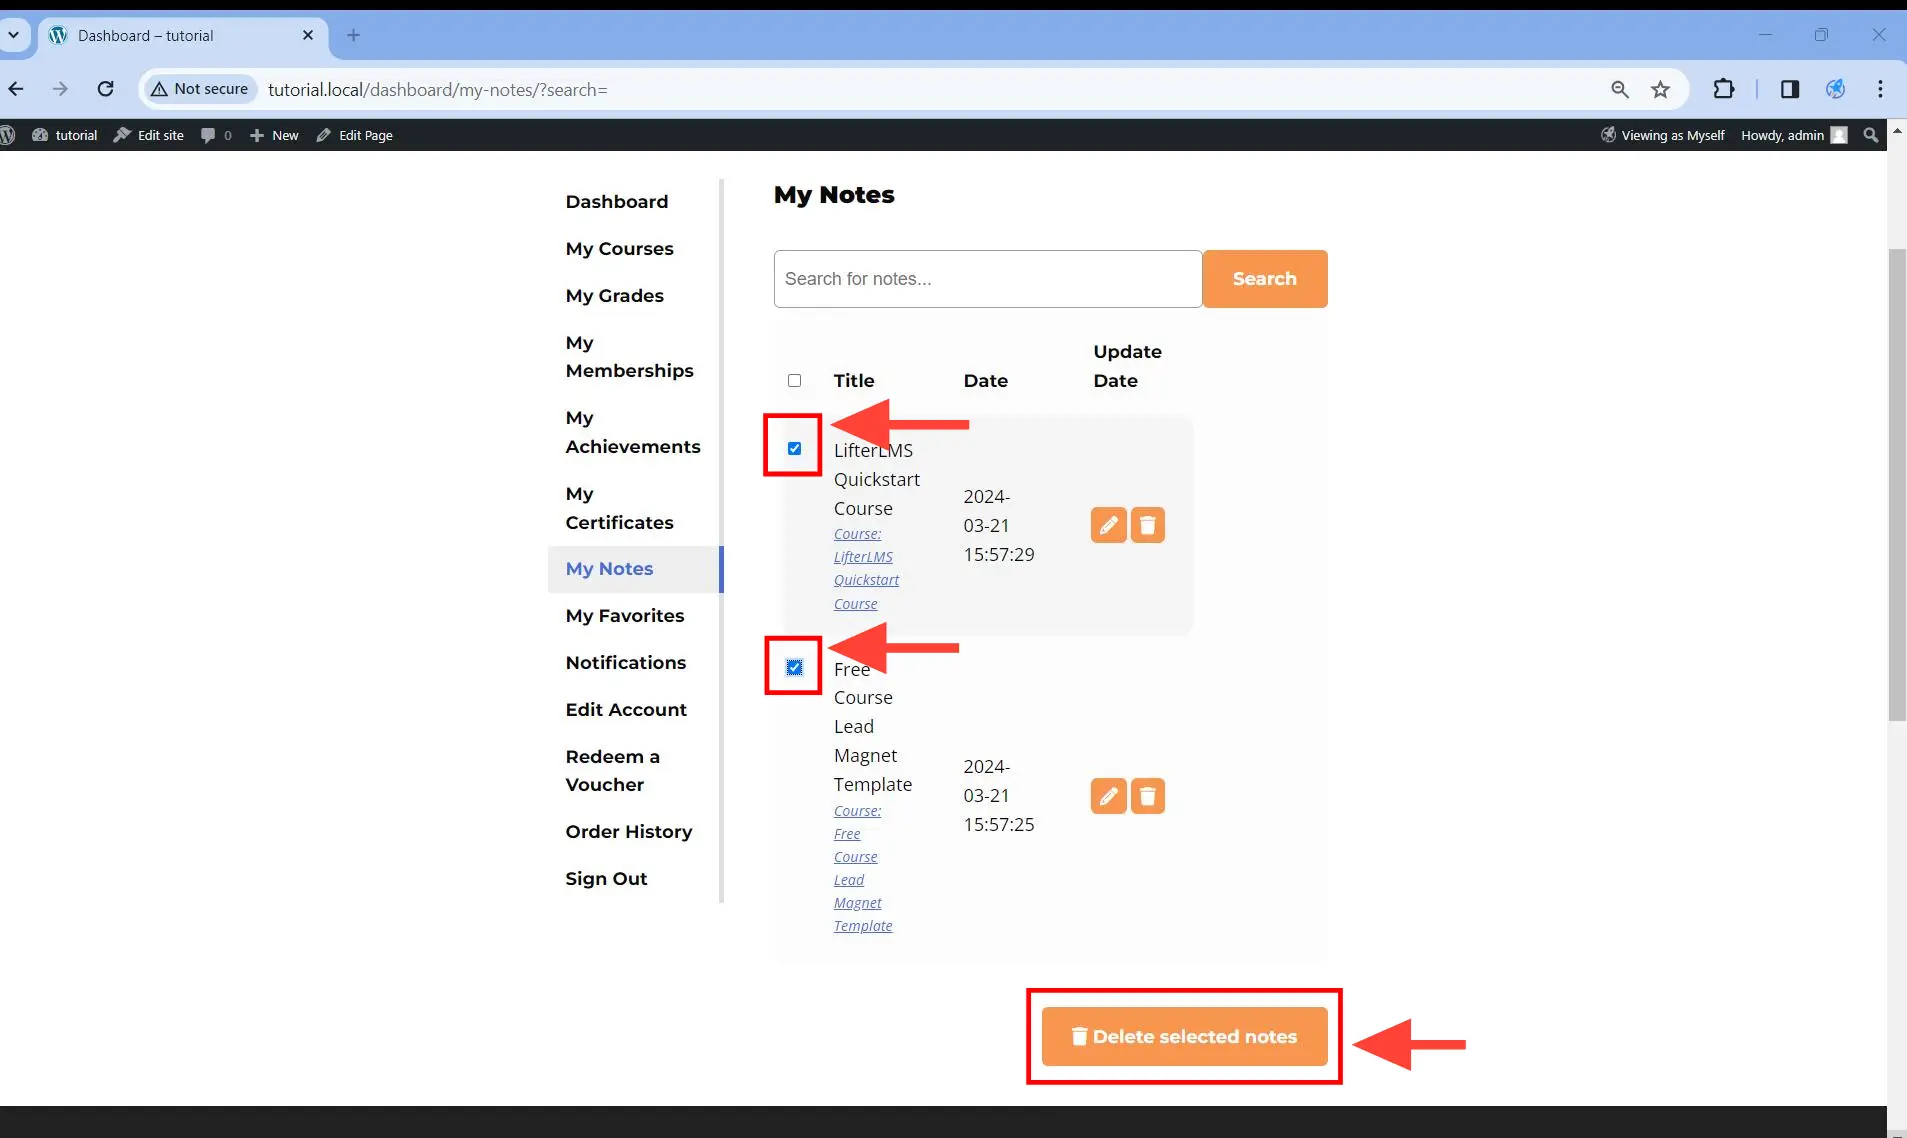
You can also bulk-delete your notes by selecting the checkbox next to the note and then clicking on the Delete Selected Notes button at the bottom of the page.
Step 1. To search which notes contain a specific text, just navigate to the “My Notes” section of your student dashboard page then locate the Search for notes… field.
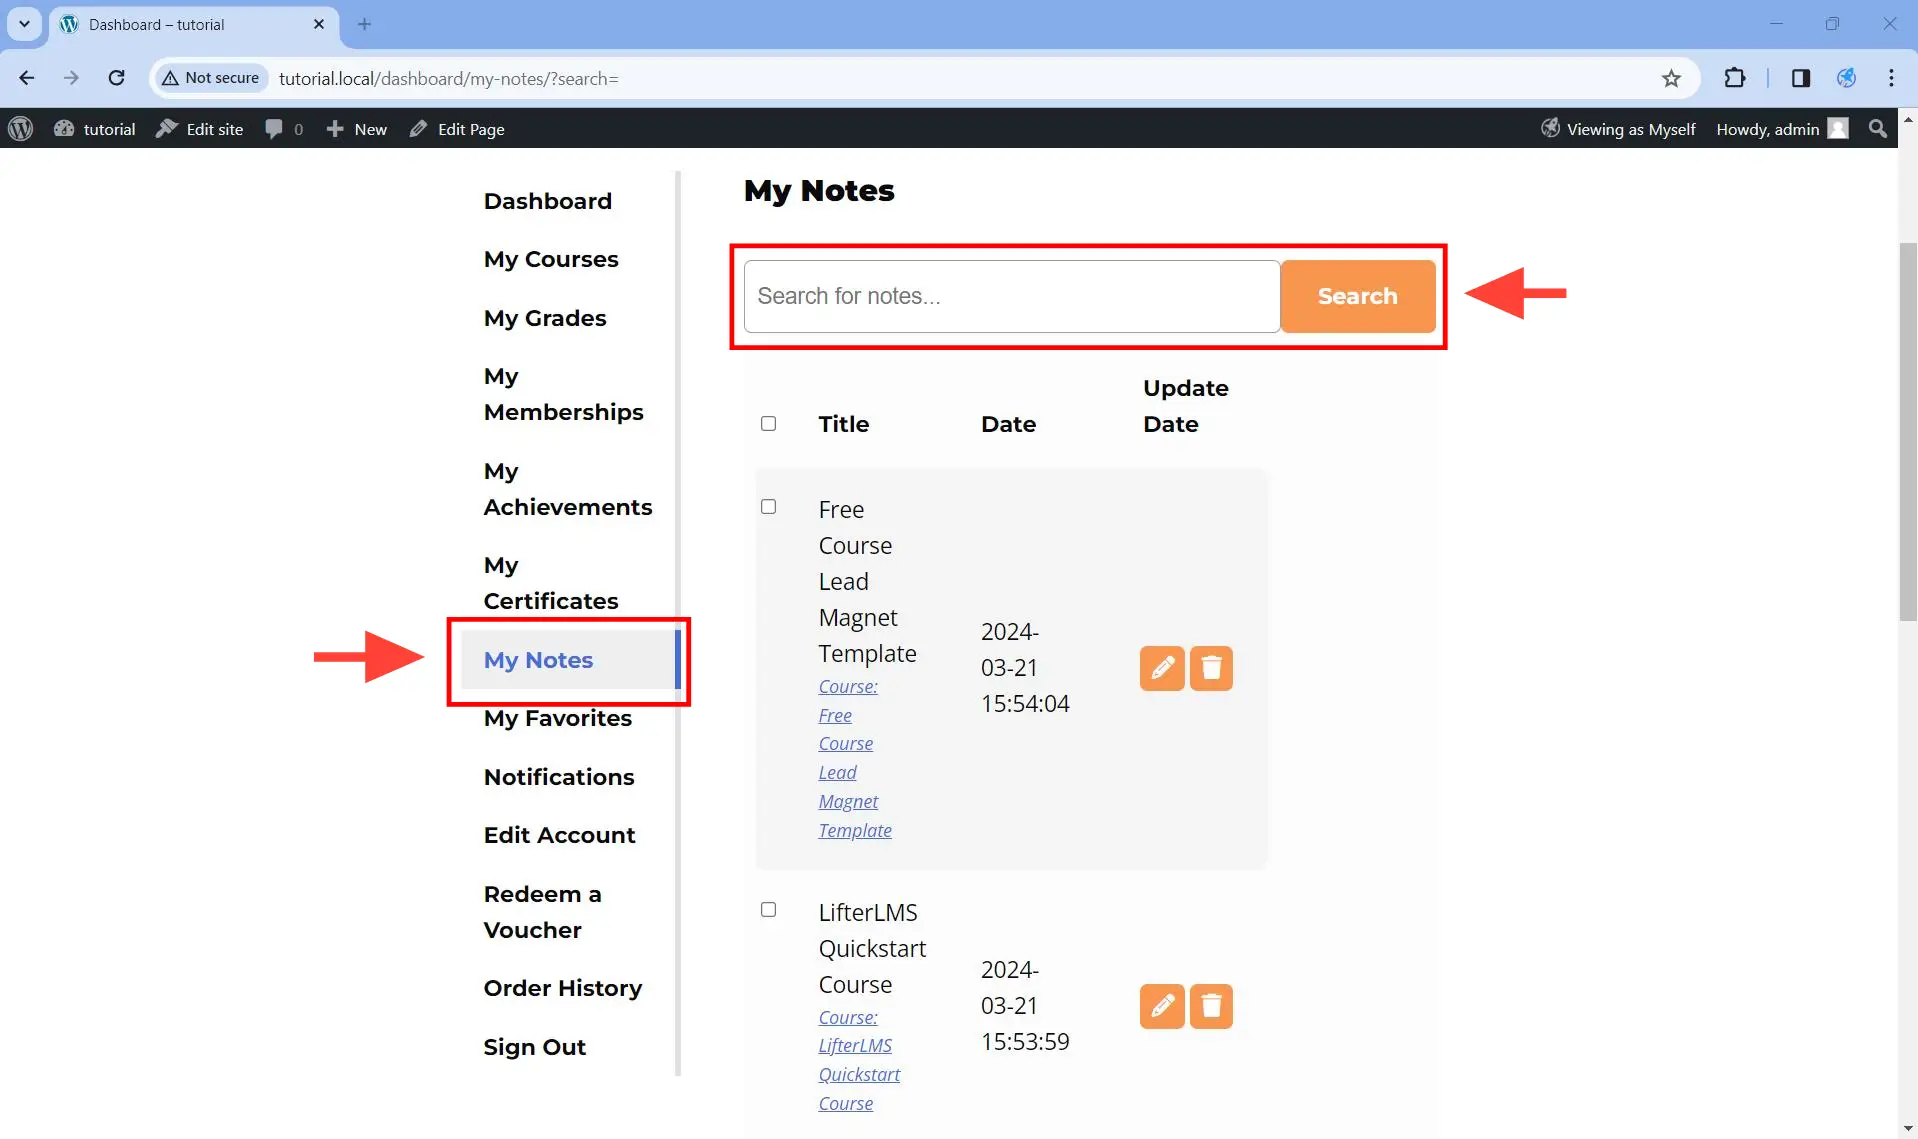
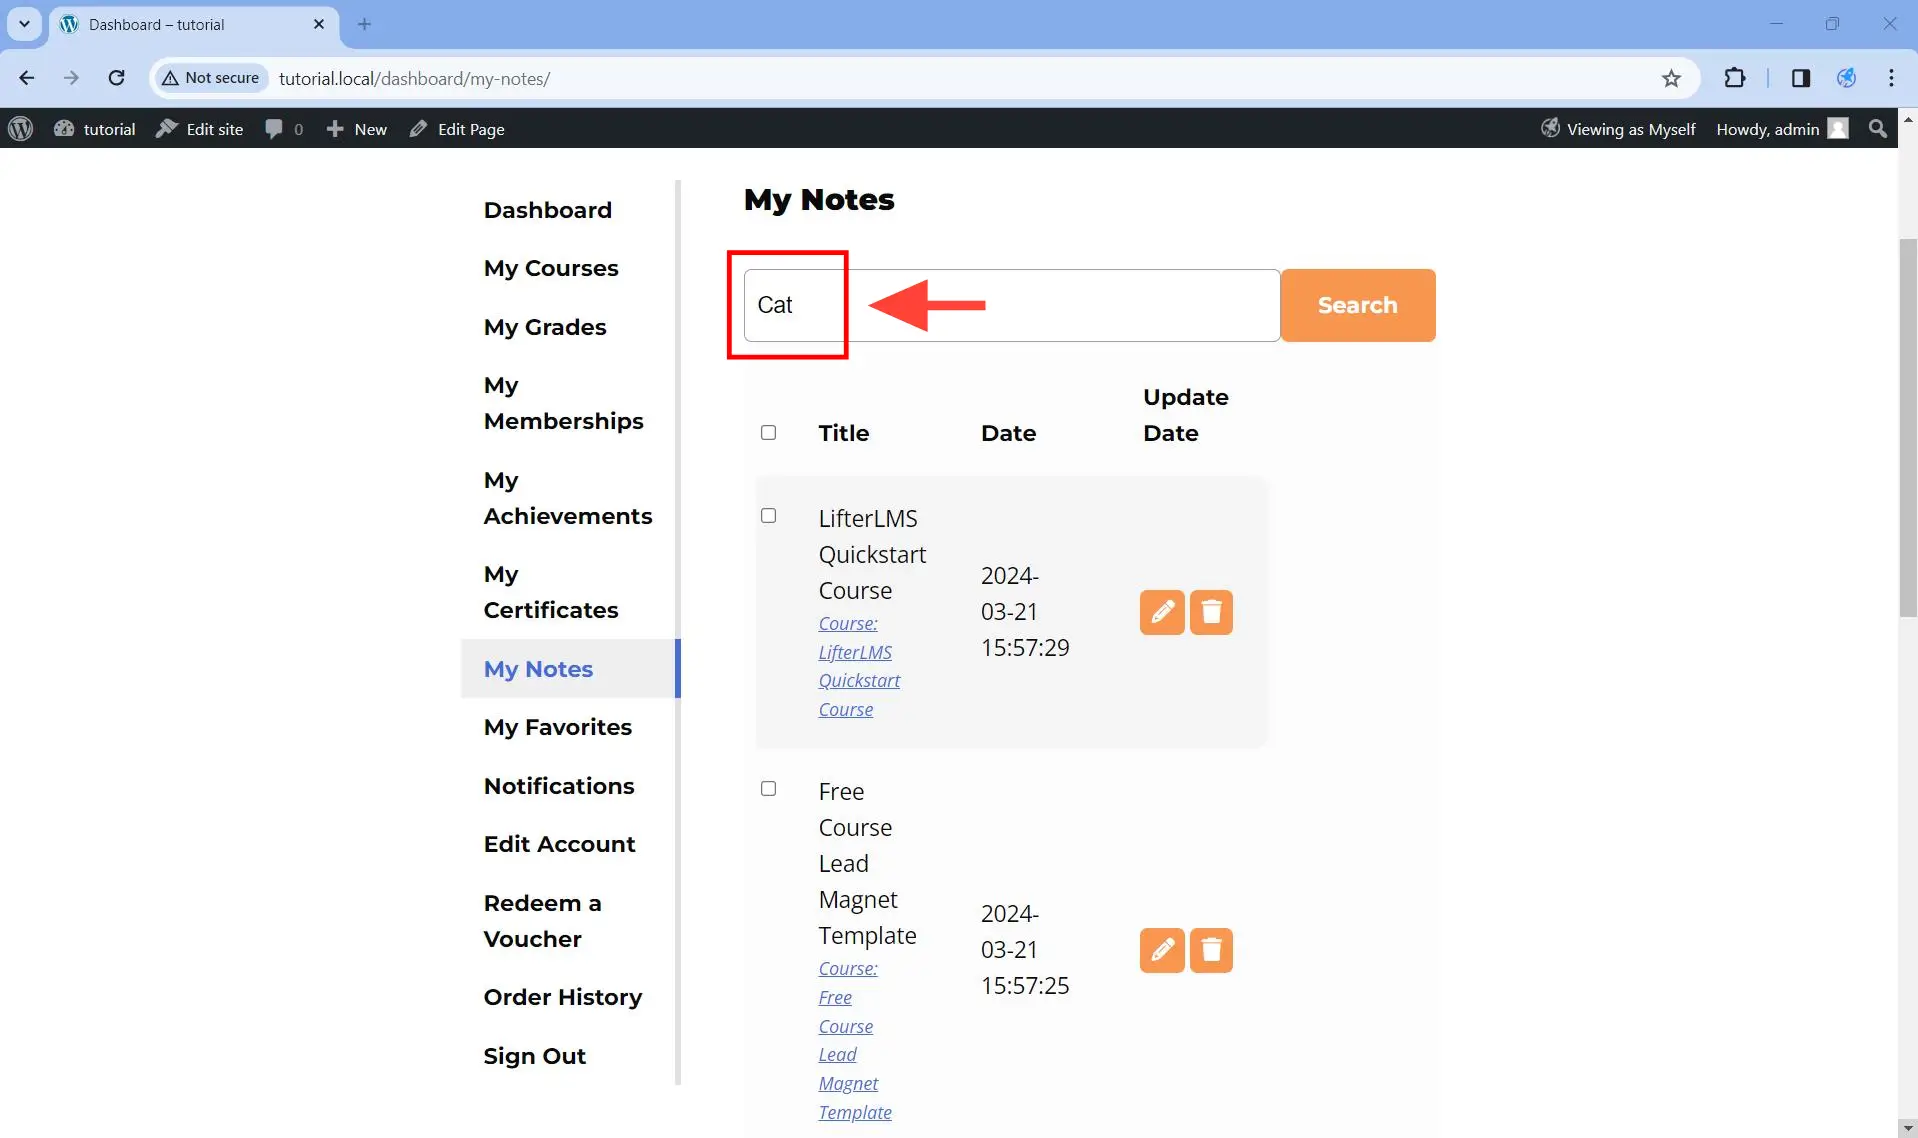
Step 2. Type the text you want to search for in the Search for notes… field.
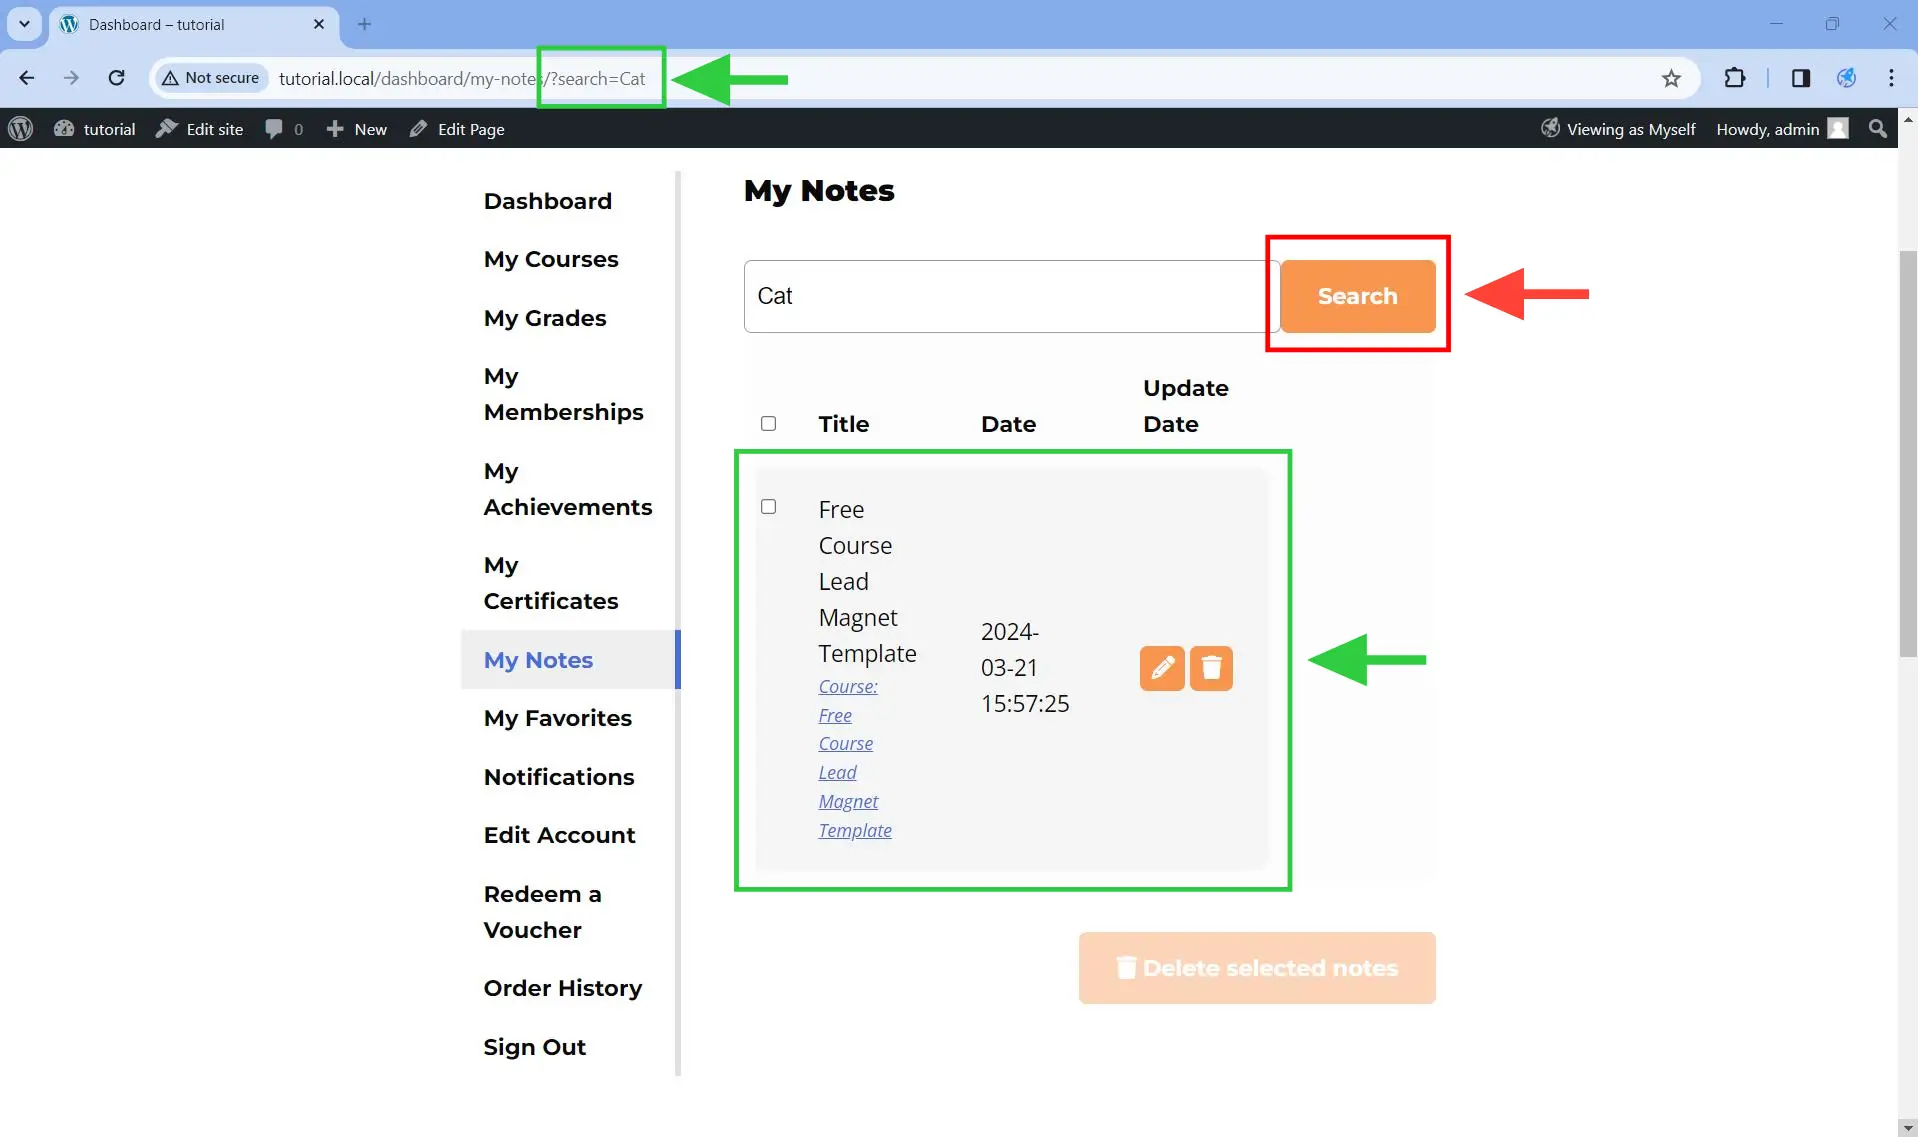
Step 3. Click on the Search button. This will load only the notes that contain the text you are searching for.
The notes are not visible from within the WordPress administration dashboard (i.e., from inside /wp-admin/). As a result, users with any LifterLMS role will not be able to see the students’ notes from within the WordPress administration dashboard. The notes are like a private notebook that each individual student has access to.
However, any WordPress administrator will be able to see the students’ notes if they use a plugin like the free User Switching plugin.
If you have the LifterLMS PDFs add-on active on your site, students can download their notes from the “My Notes” area of the student dashboard by clicking on the download icon next to their notes.
Step 1. Ensure you have the LifterLMS PDF add-on installed and activated.
Step 2. Navigate to the My Notes section of your student dashboard page.
Step 3. Click on the download icon next to the note that you wish to download.
![]()


