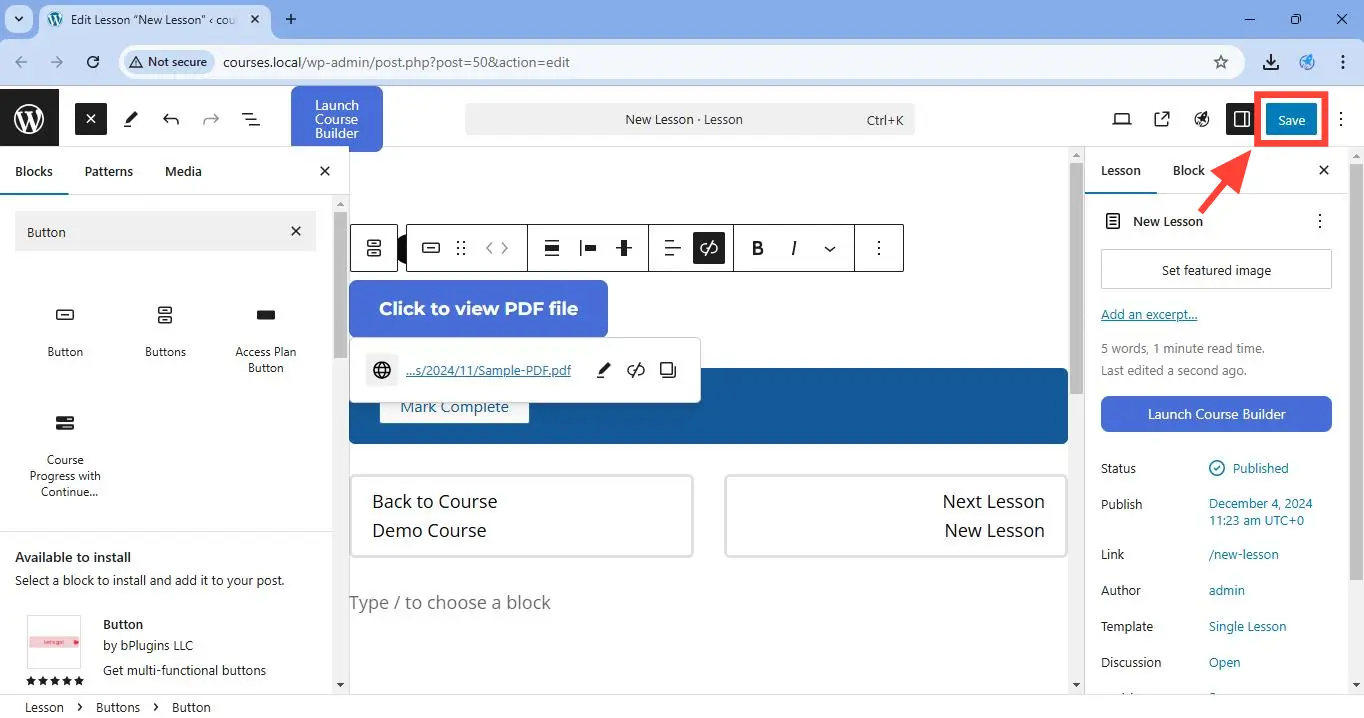
How do I add a PDF to a LifterLMS lesson?
There are times when it is helpful to add a PDF to a lesson.
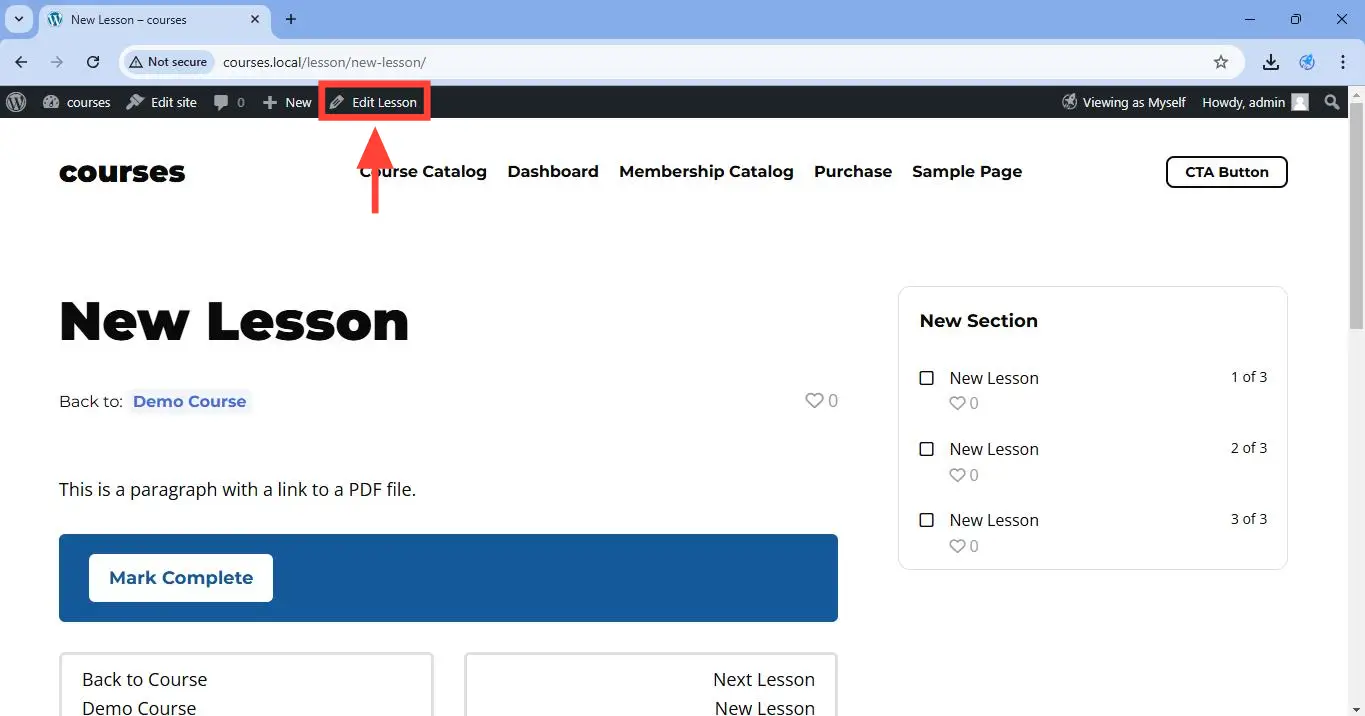
Step 1. Open the lesson you want to edit in the block editor. To do this, open the lesson on the frontend, and then click on the Edit Lesson button.
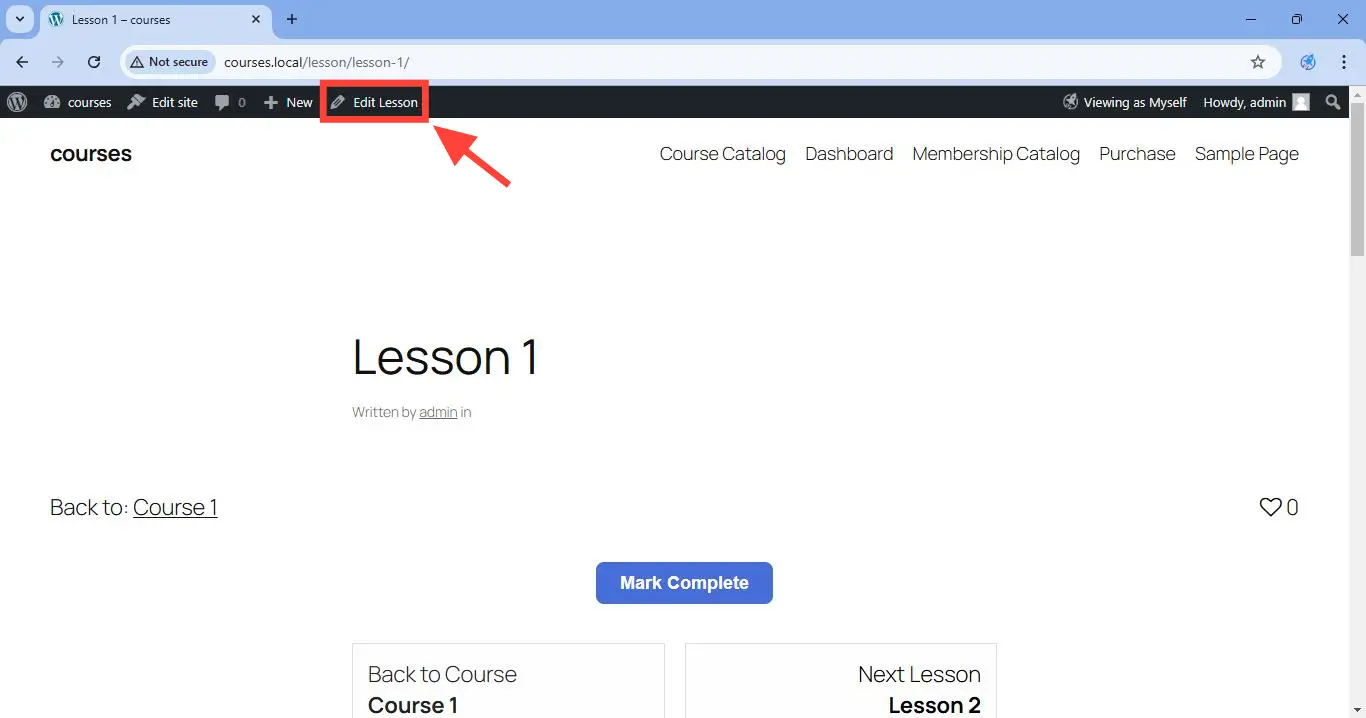
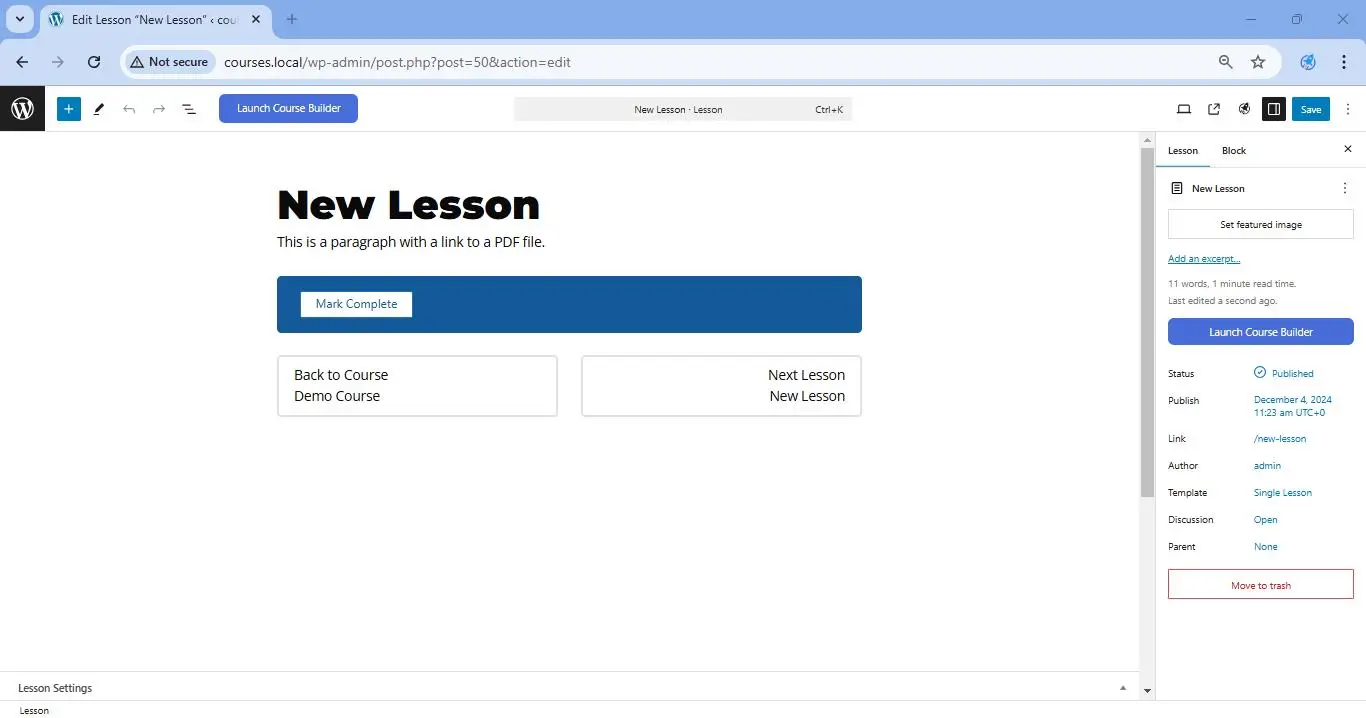
This would open the lesson page in the block editor, as shown below.
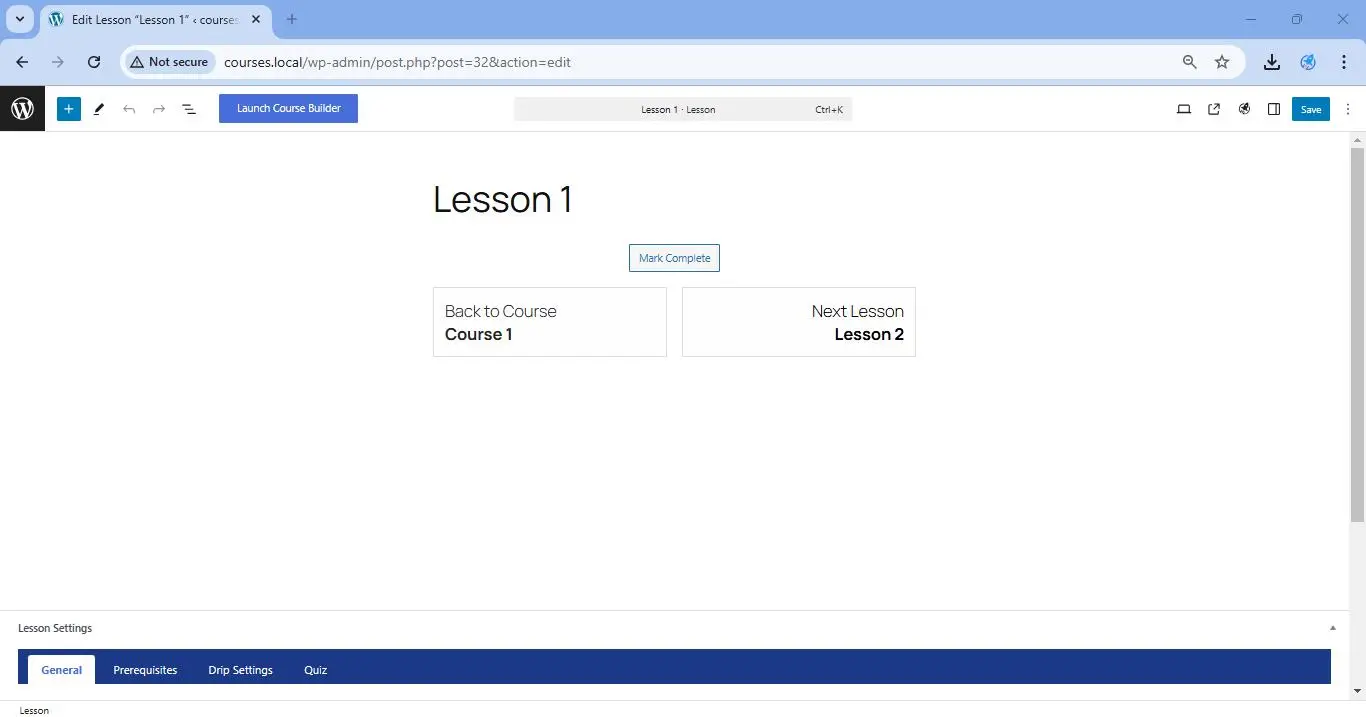
Step 2. Click on the Toggle block inserter button.
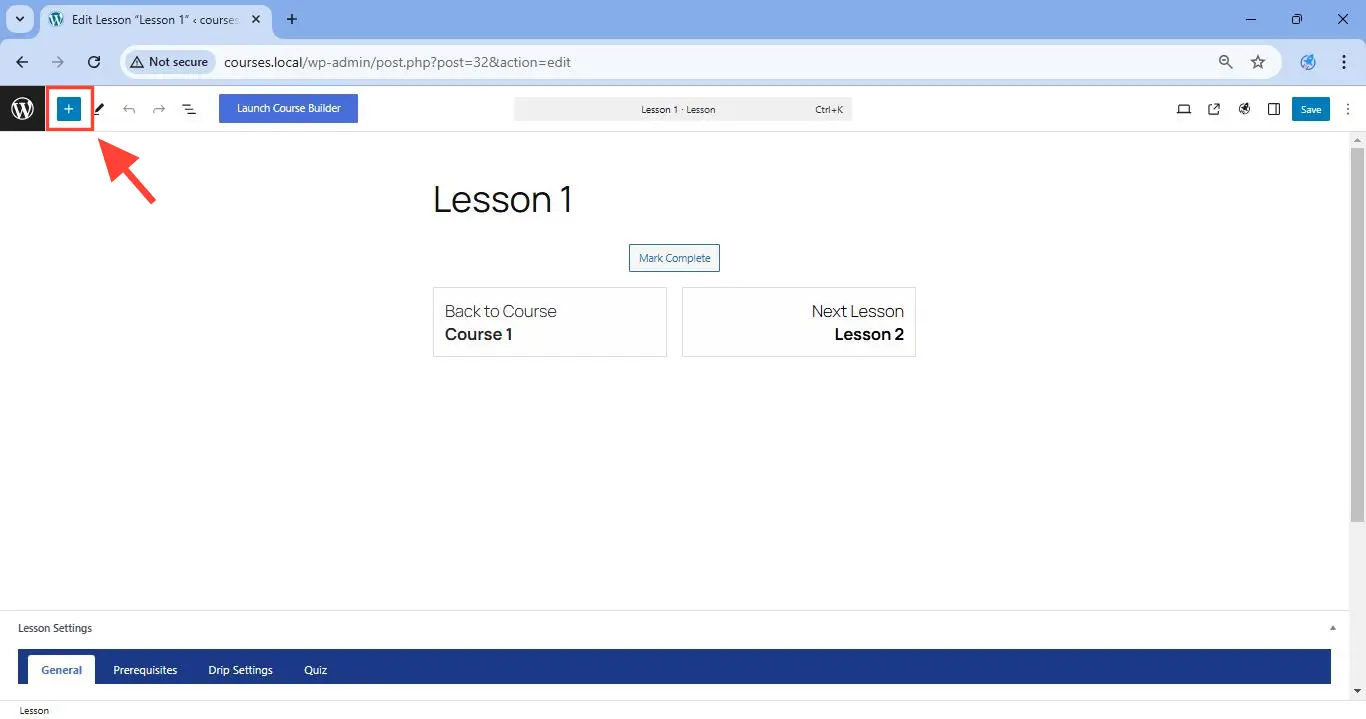
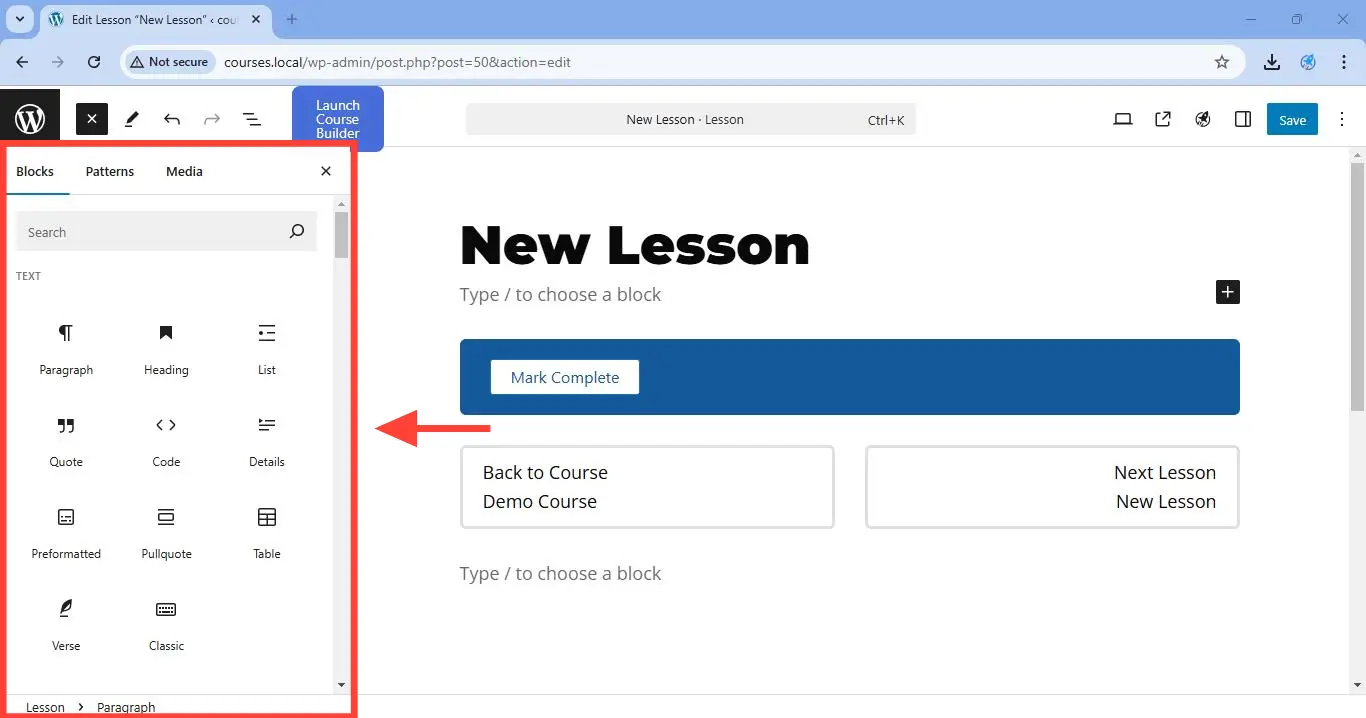
This will open up the block inserter sidebar, as shown below.
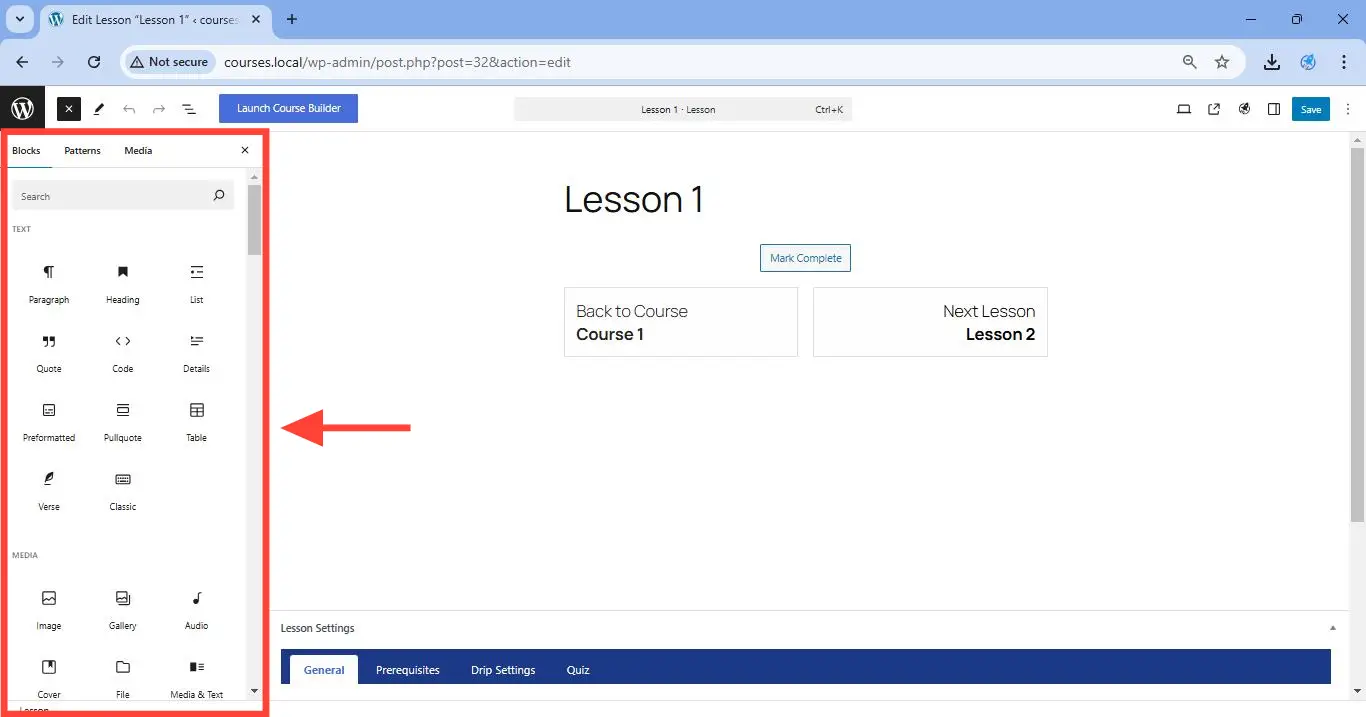
Step 3. Click on the Search field.
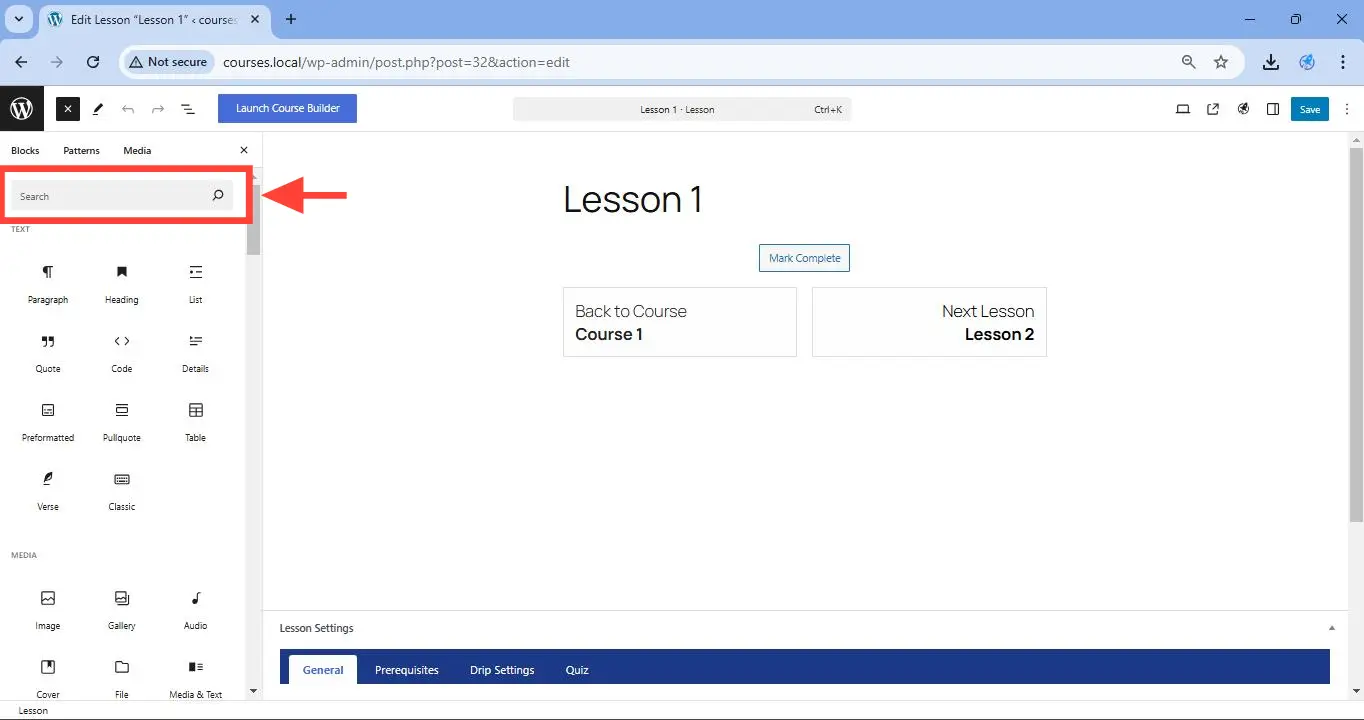
Step 4. Type “File” in the Search field.
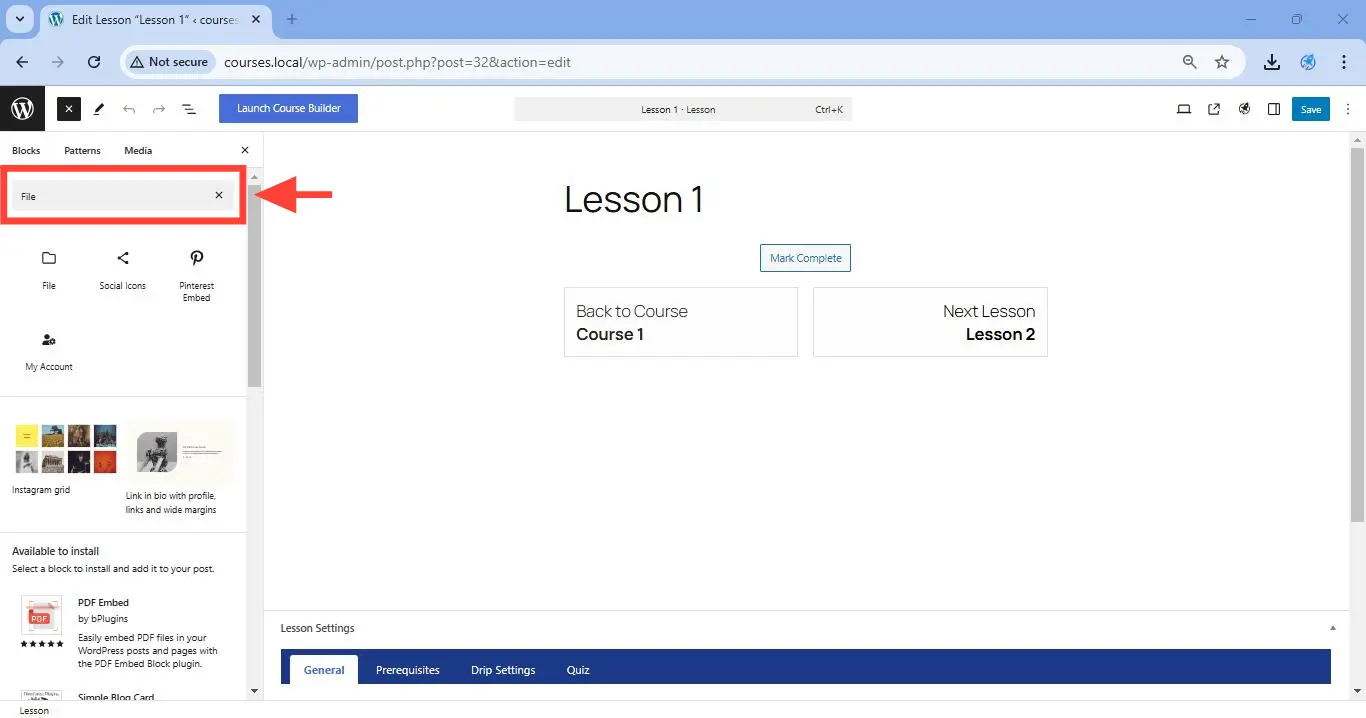
Step 5. Click on File block and drag-and-drop it to the lesson content area.
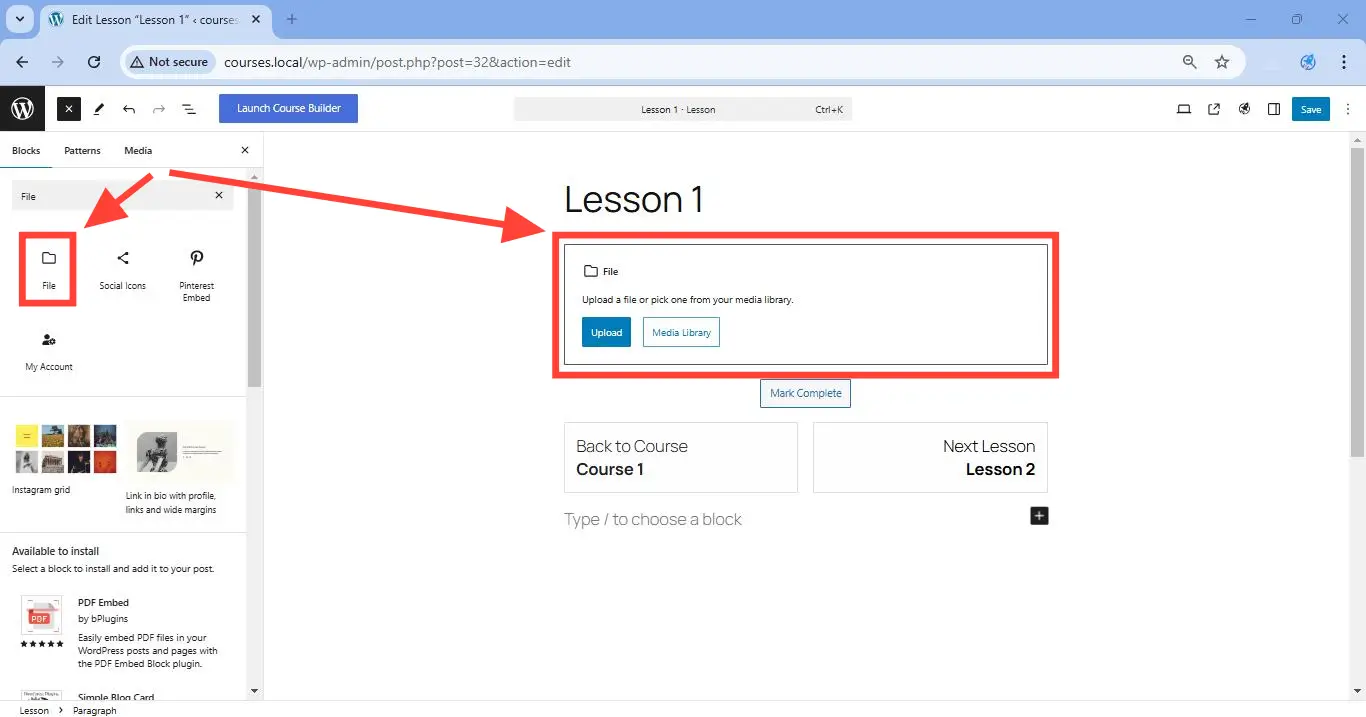
Step 6. If your PDF file is already in the WordPress media library, click on the Media Library button.
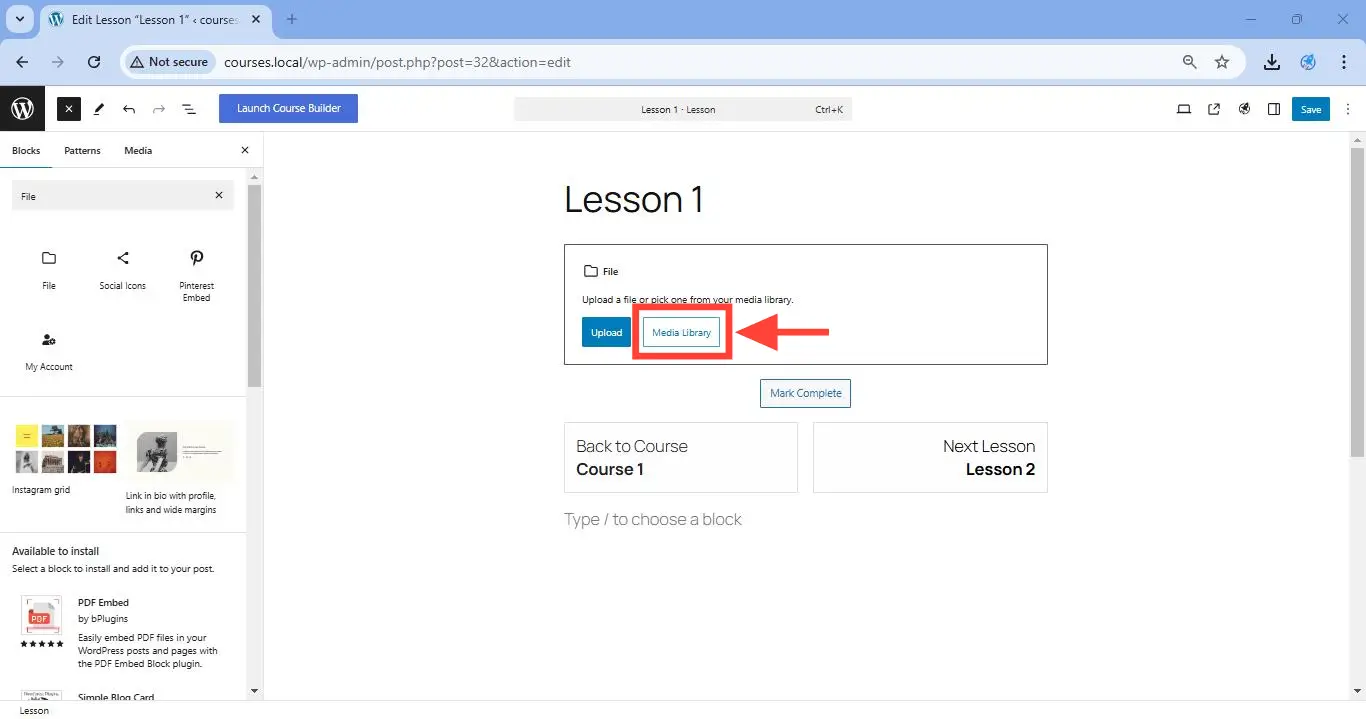
This will open up a pop-up box where you can select the items from your media library.
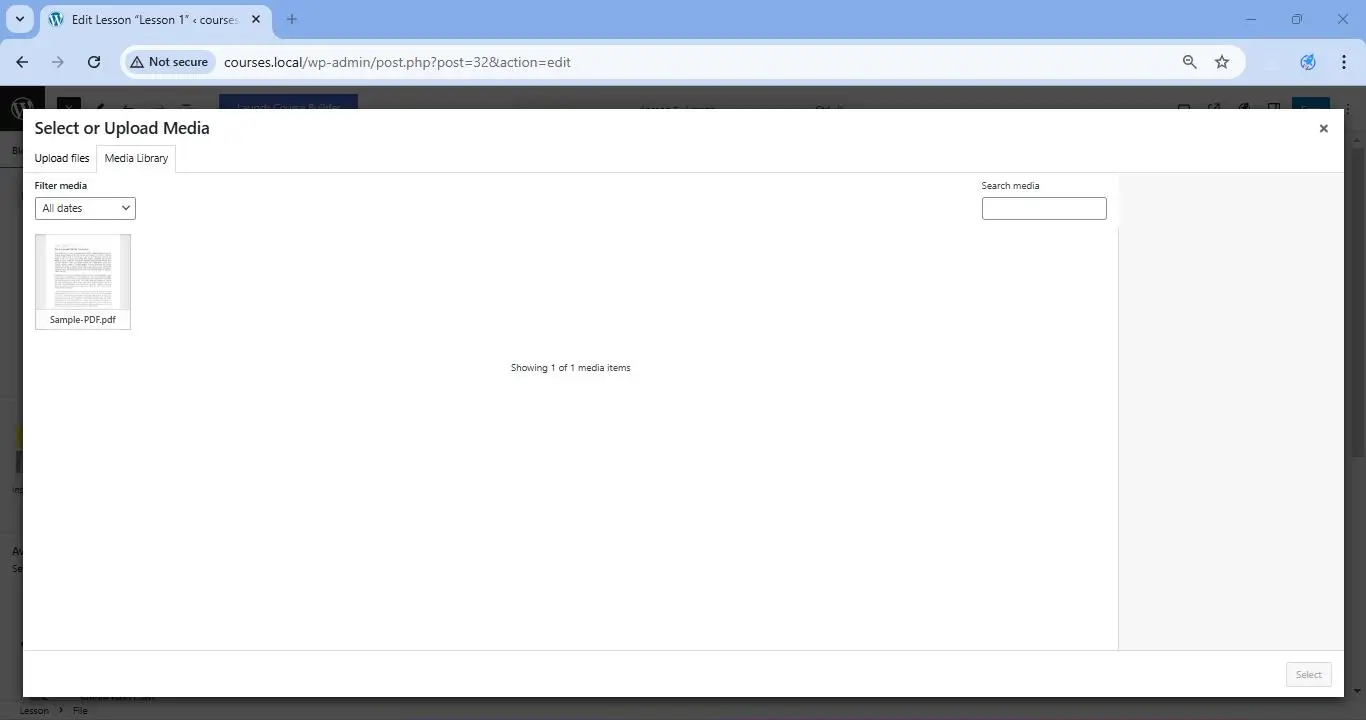
Click on the PDF file you want to insert in your lesson page.
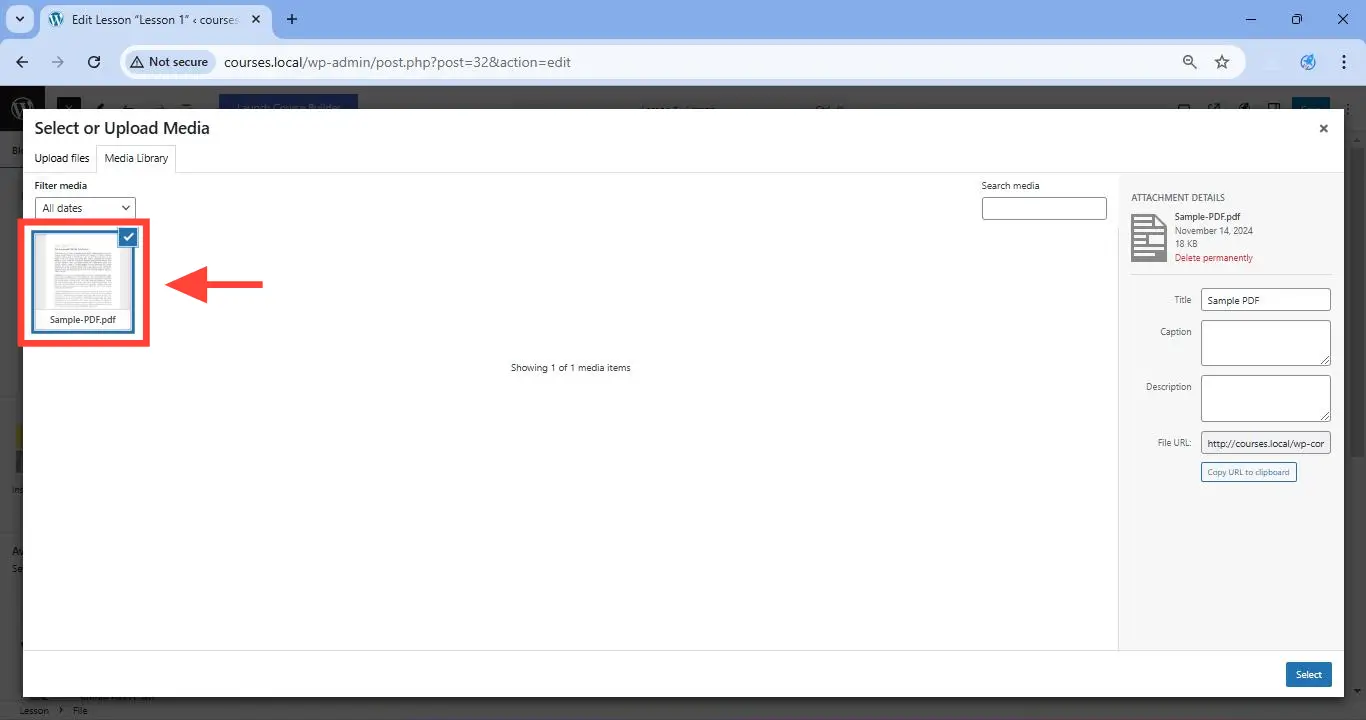
Click on the Select button at the bottom.
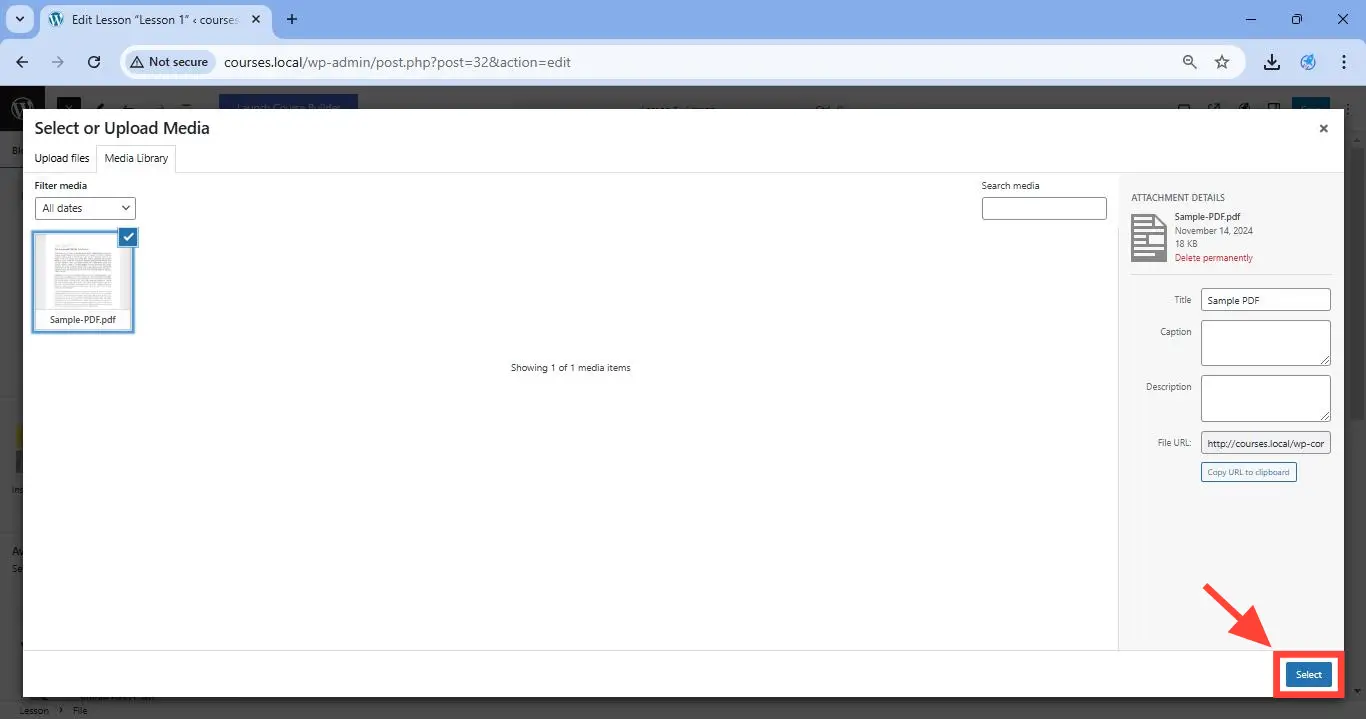
This will insert the PDF file to the lesson page.
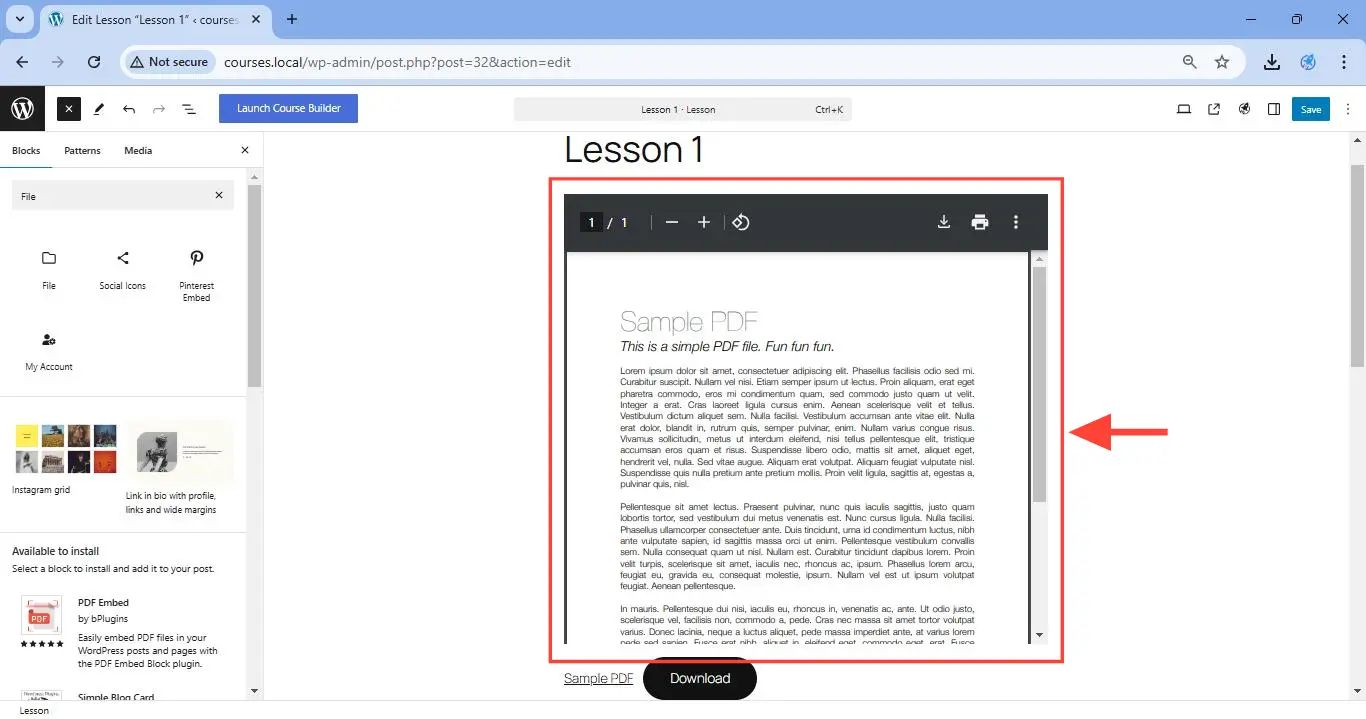
Step 7. If your PDF file is not yet in the WordPress media library, click on the Upload button. Select the file you wish to upload from your computer.
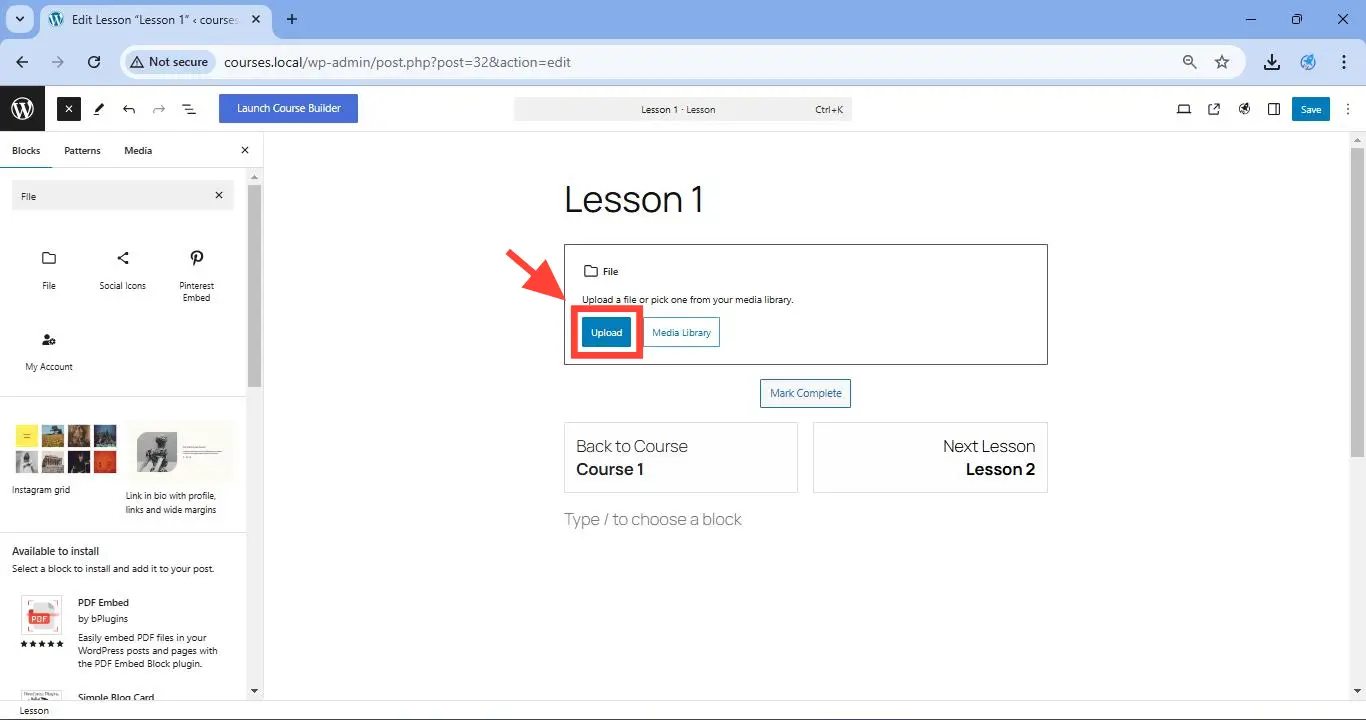
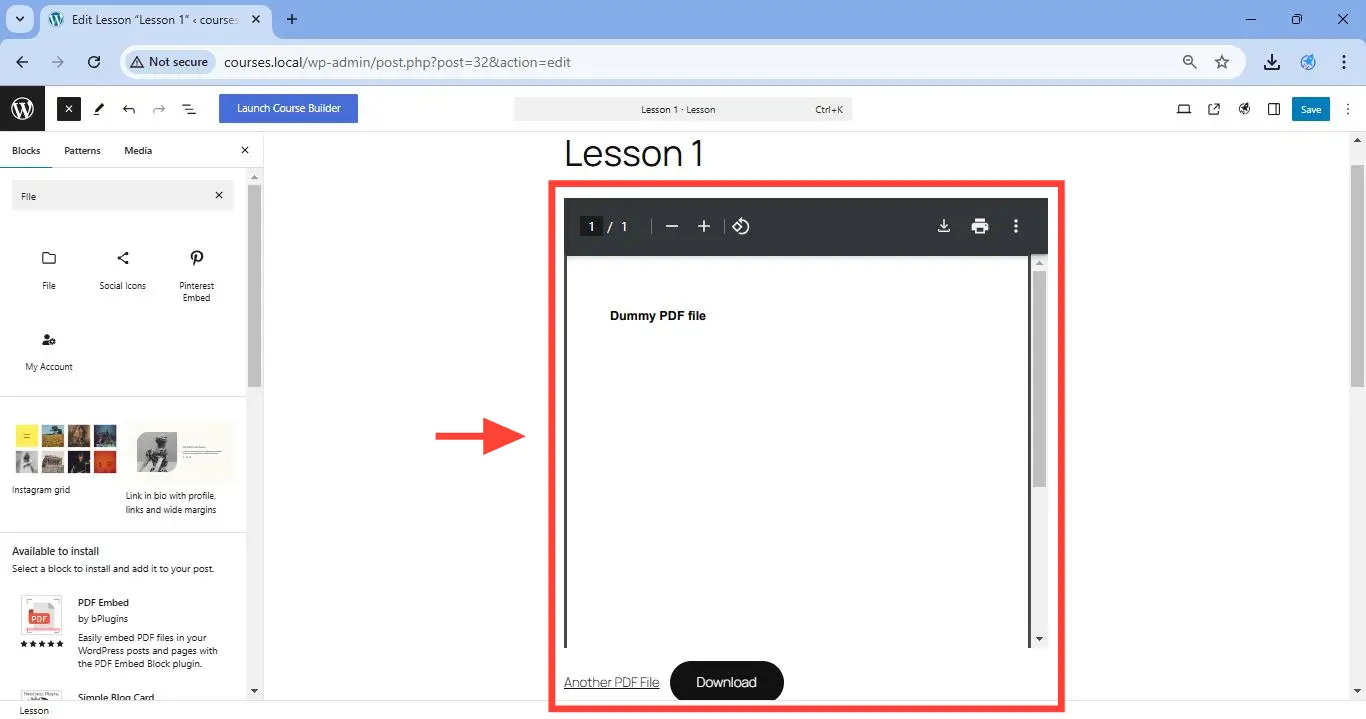
This will insert the PDF file on your lesson page.
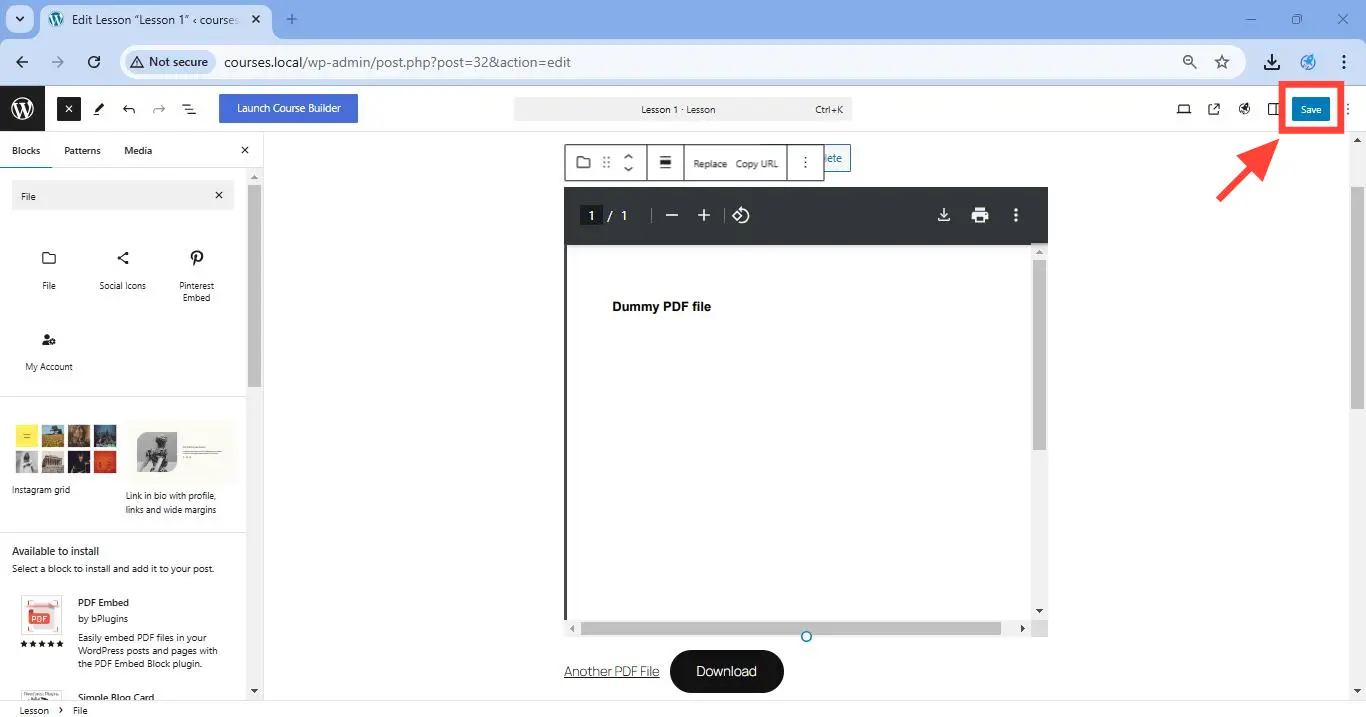
Step 8. Click on the Save button to save the changes.
The steps below show how to link a file to several words inside a paragraph. This file used in this tutorial is a PDF file. But any type of file can be used: images, videos, etc.
Step 1. Navigate to Media > Library from the WordPress dashboard.
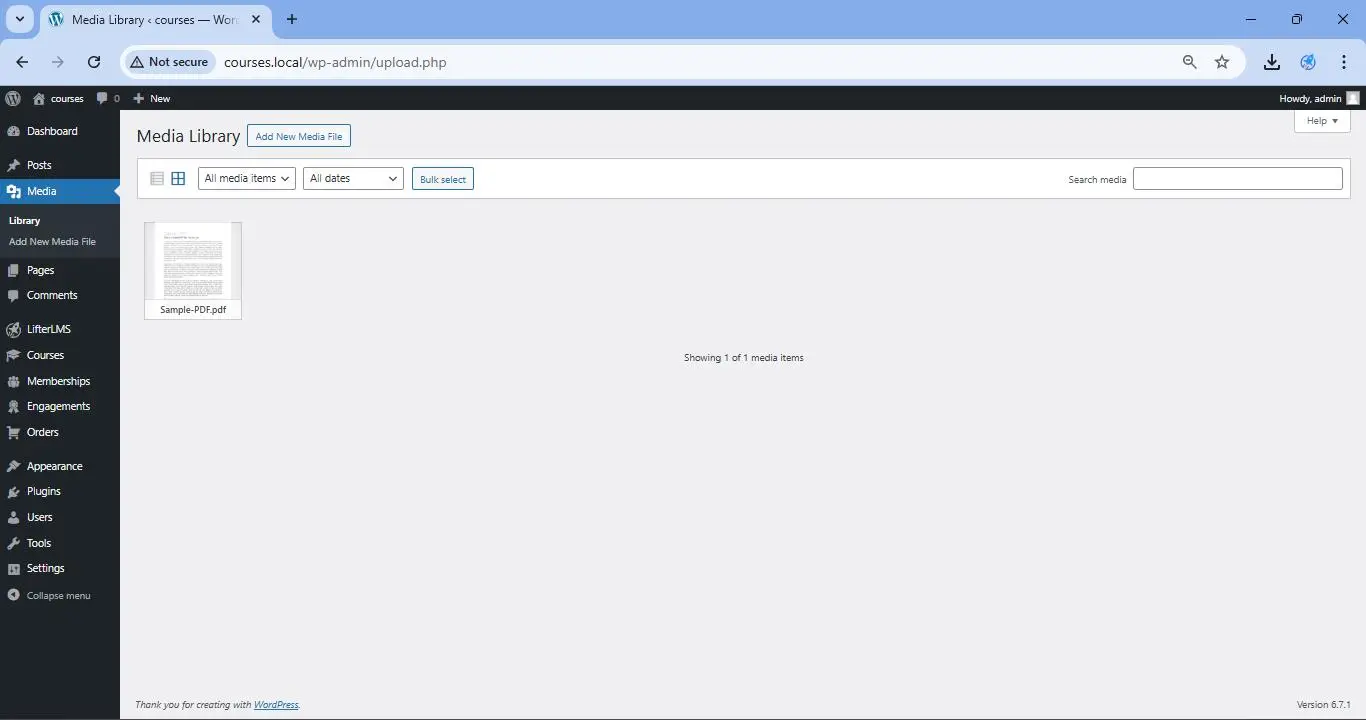
Step 2. Click on the file you want to link to. If the media library is empty, you can just upload assets to it.
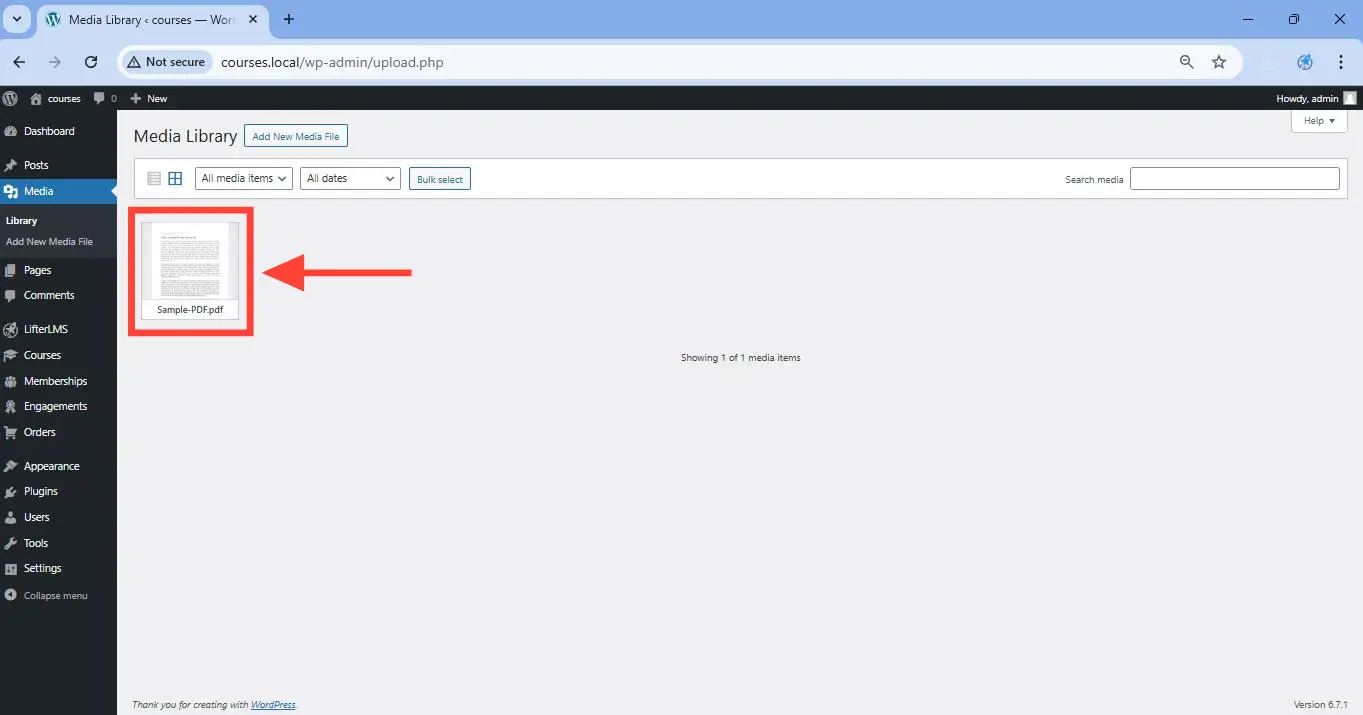
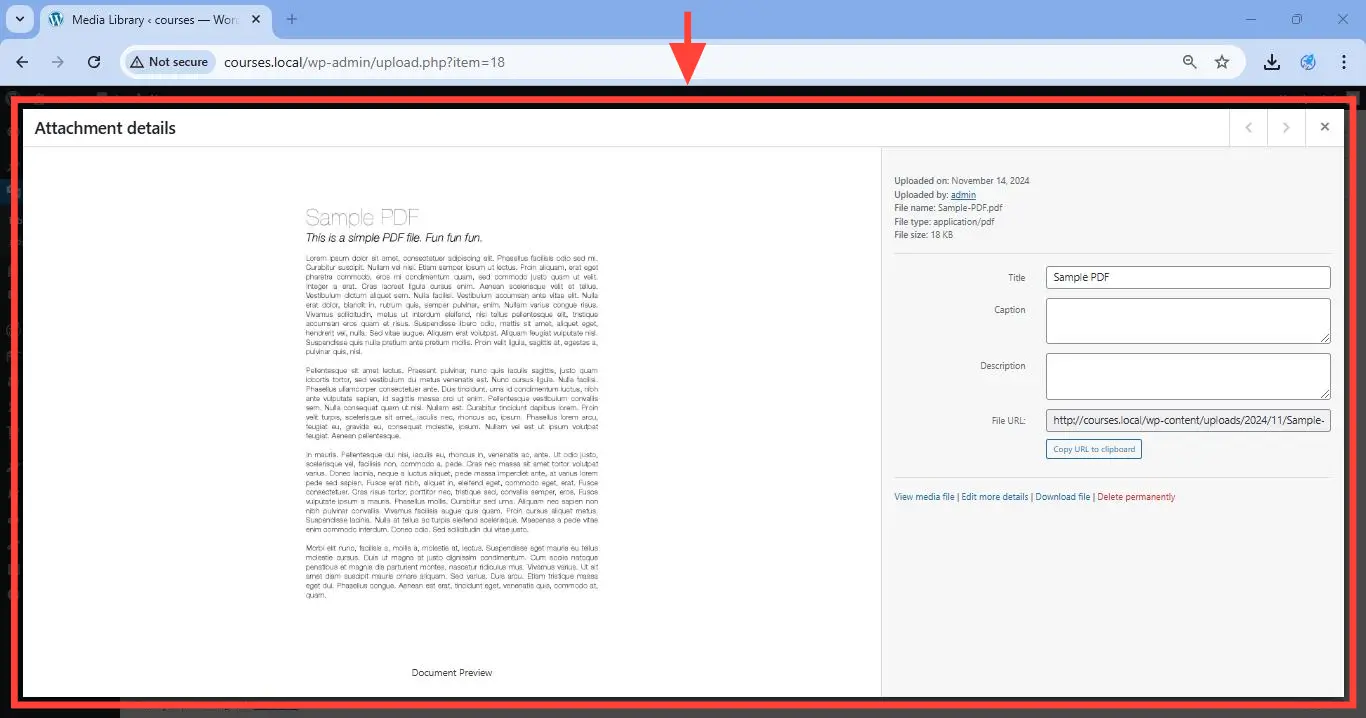
This will open up a popup box where you can view the file in detail.
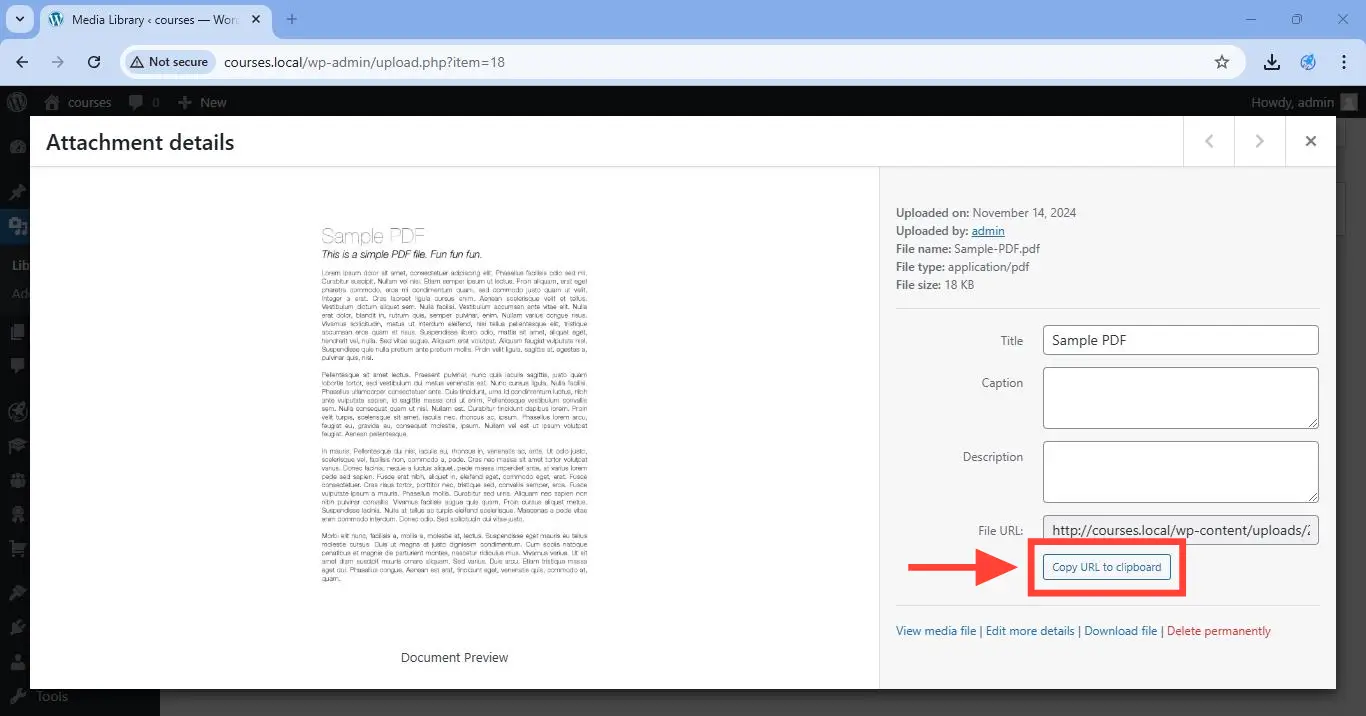
Step 3. Click on the Copy URL to clipboard button. This will copy the URL.
Step 5. Go back to the WordPress dashboard or backend of your site.
Step 6. Visit the lesson you want to edit.
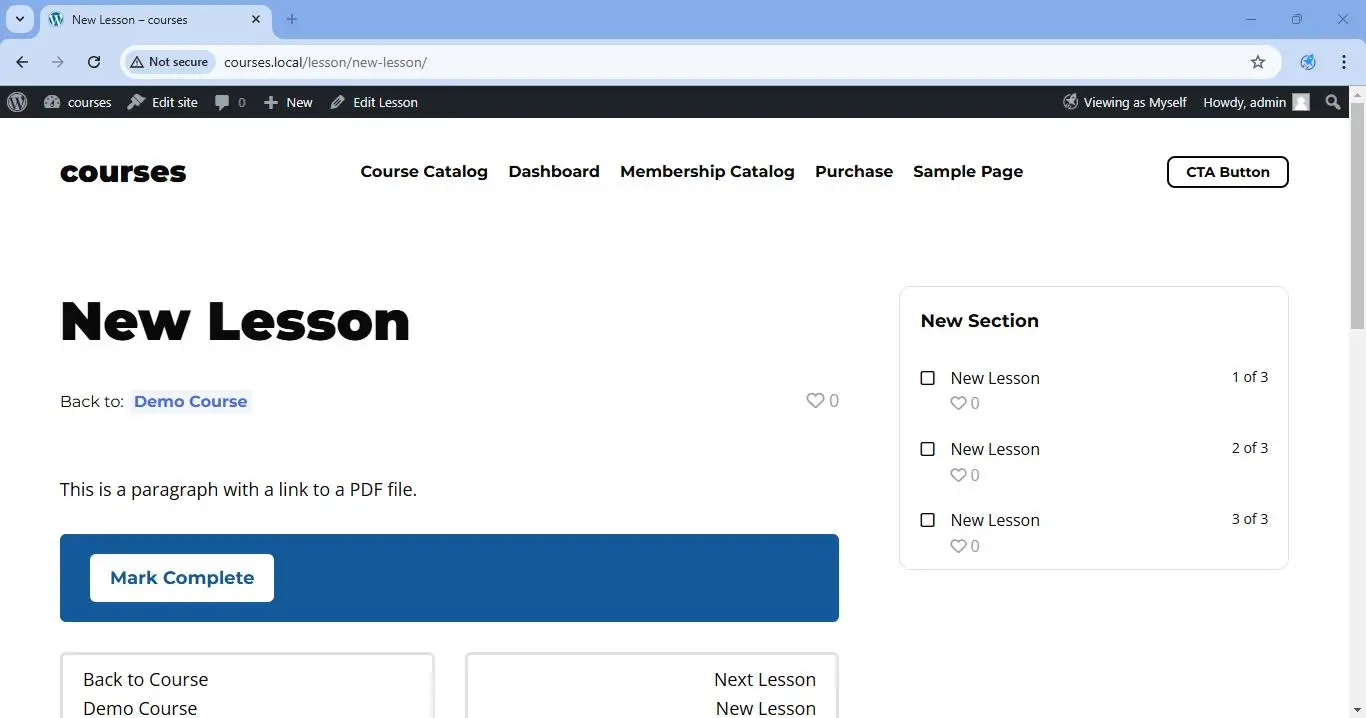
Step 7. Click on the Edit lesson button in the admin toolbar.
This will open the lesson in the editor.
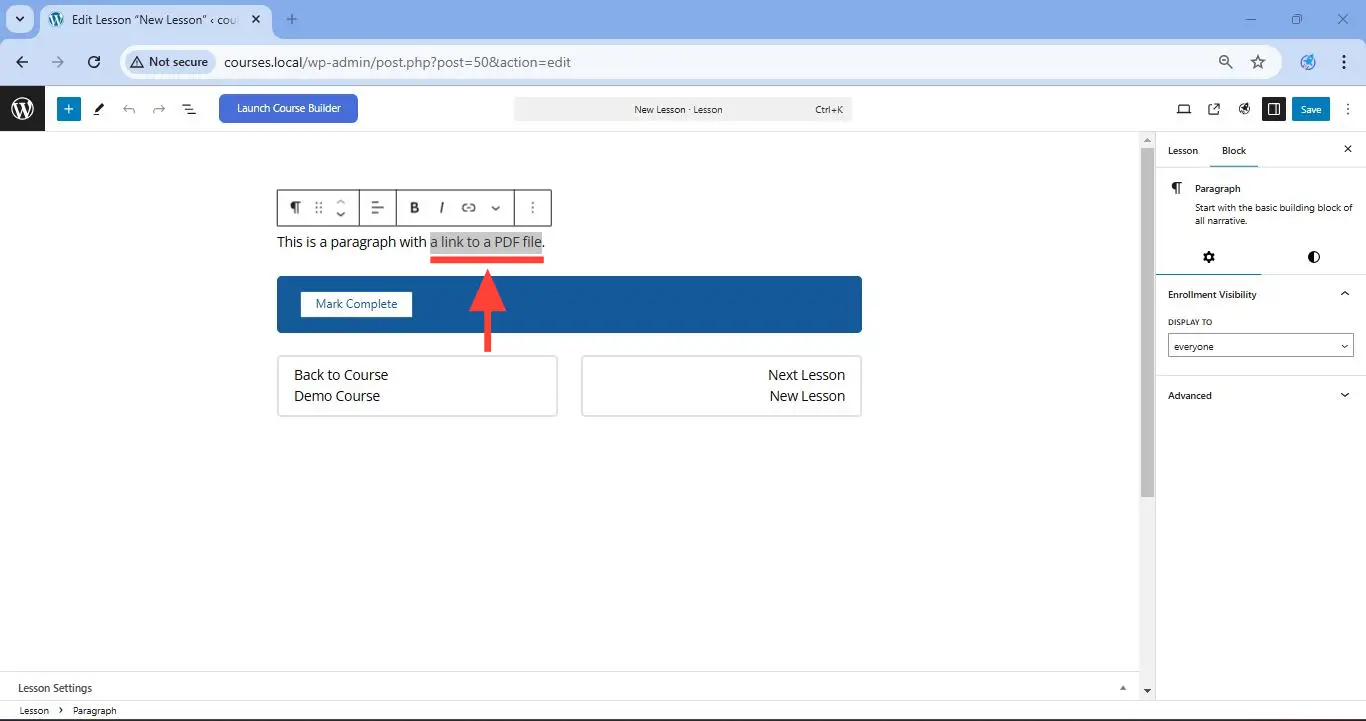
Step 8. Highlight the text or image you want to add a link to.
Step 9. Click on the Link icon.
![]()
This will open up a pop-up where you can paste the URL you copied from Step 3.
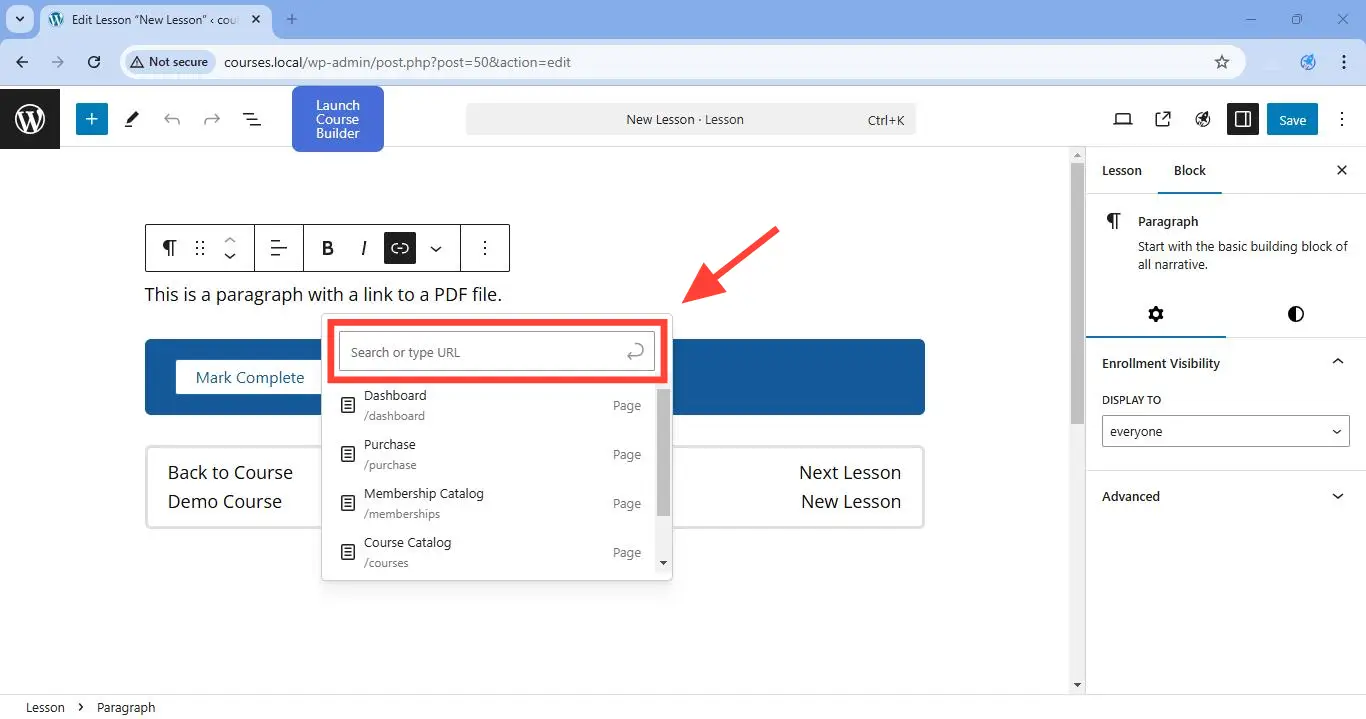
Step 9. Paste the URL you copied from Step 3.
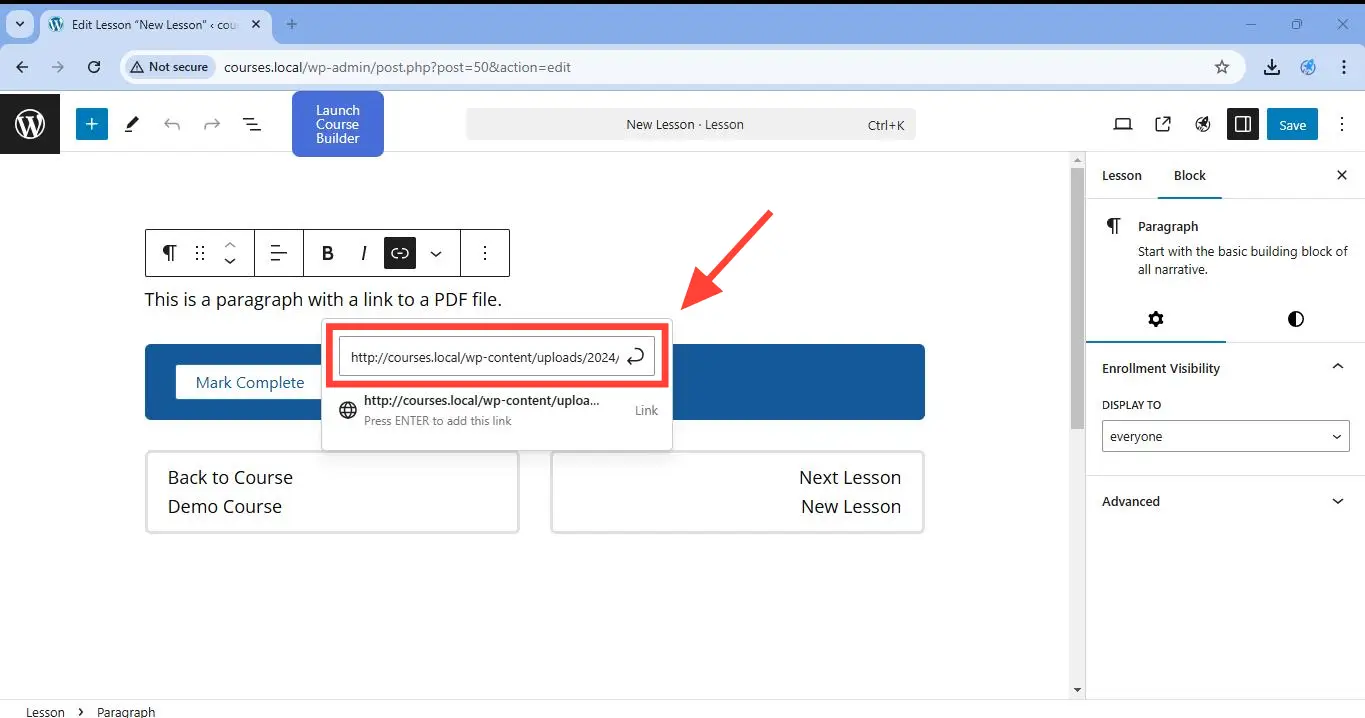
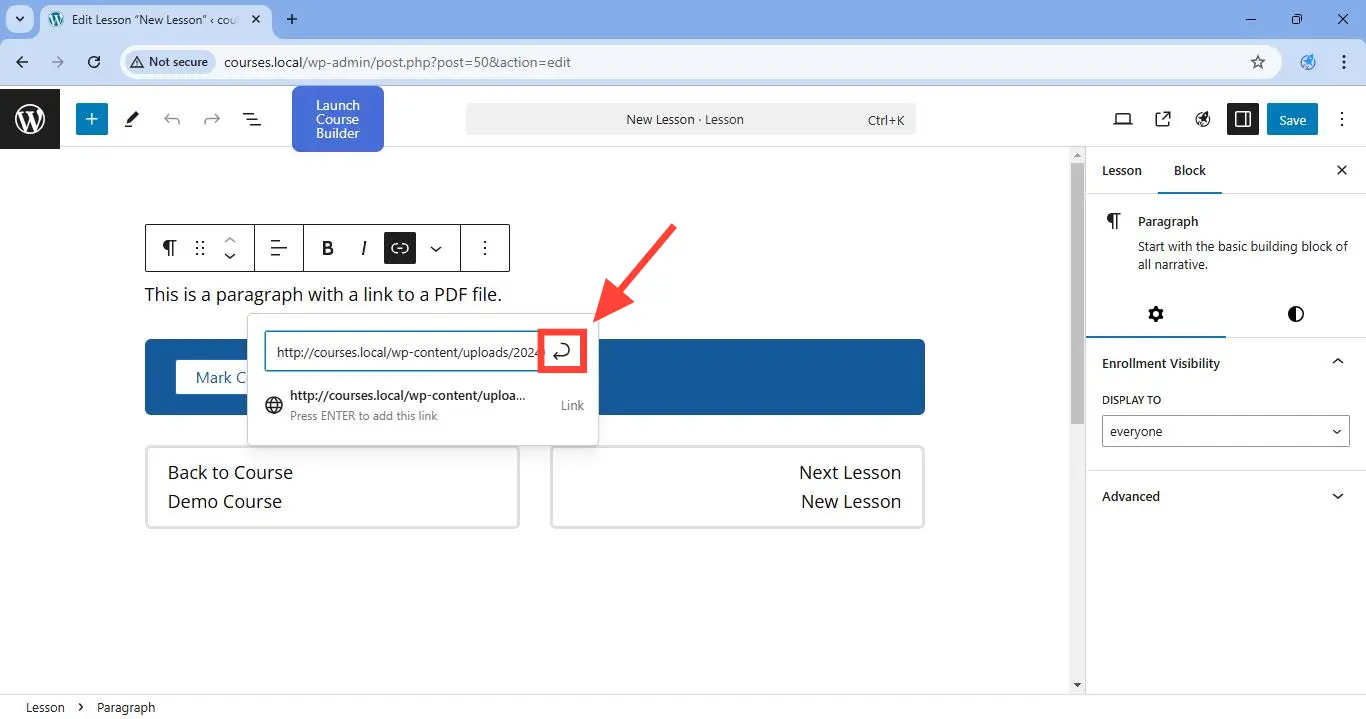
Step 10. Click on the Submit button.
This will attach the link to the text you highlighted.
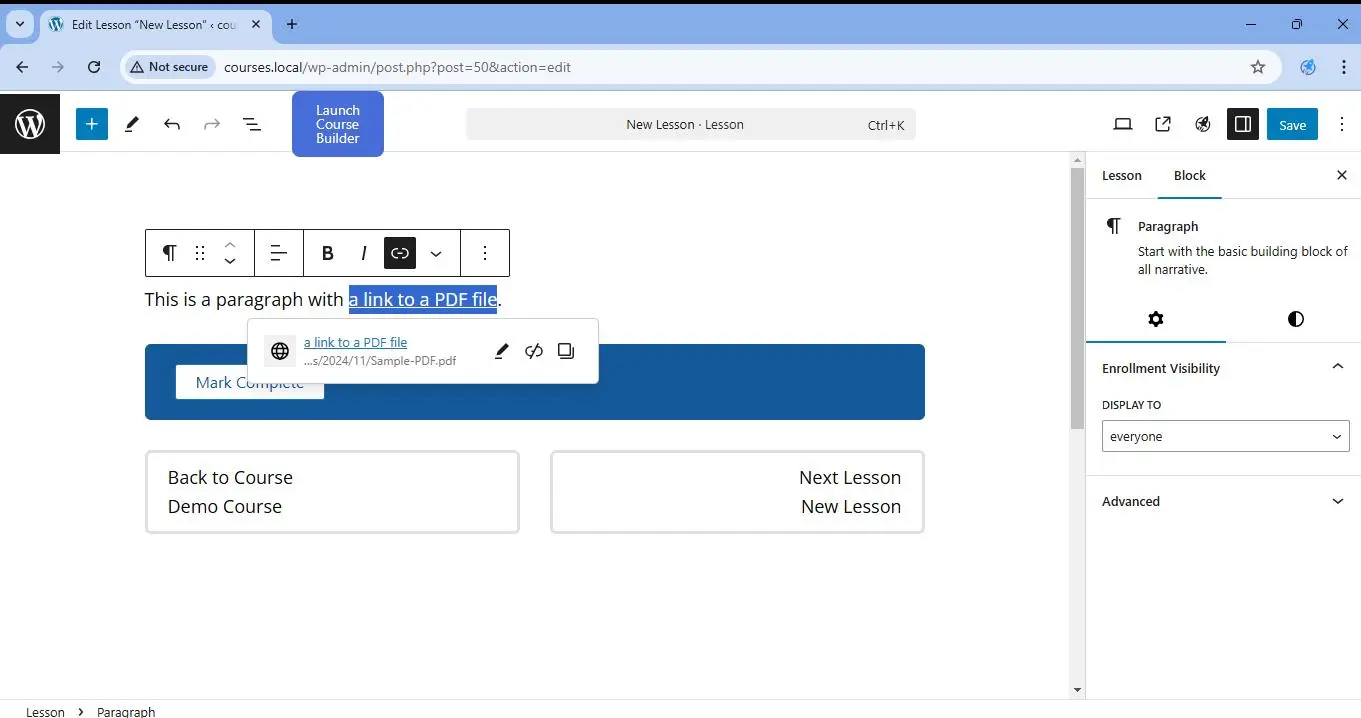
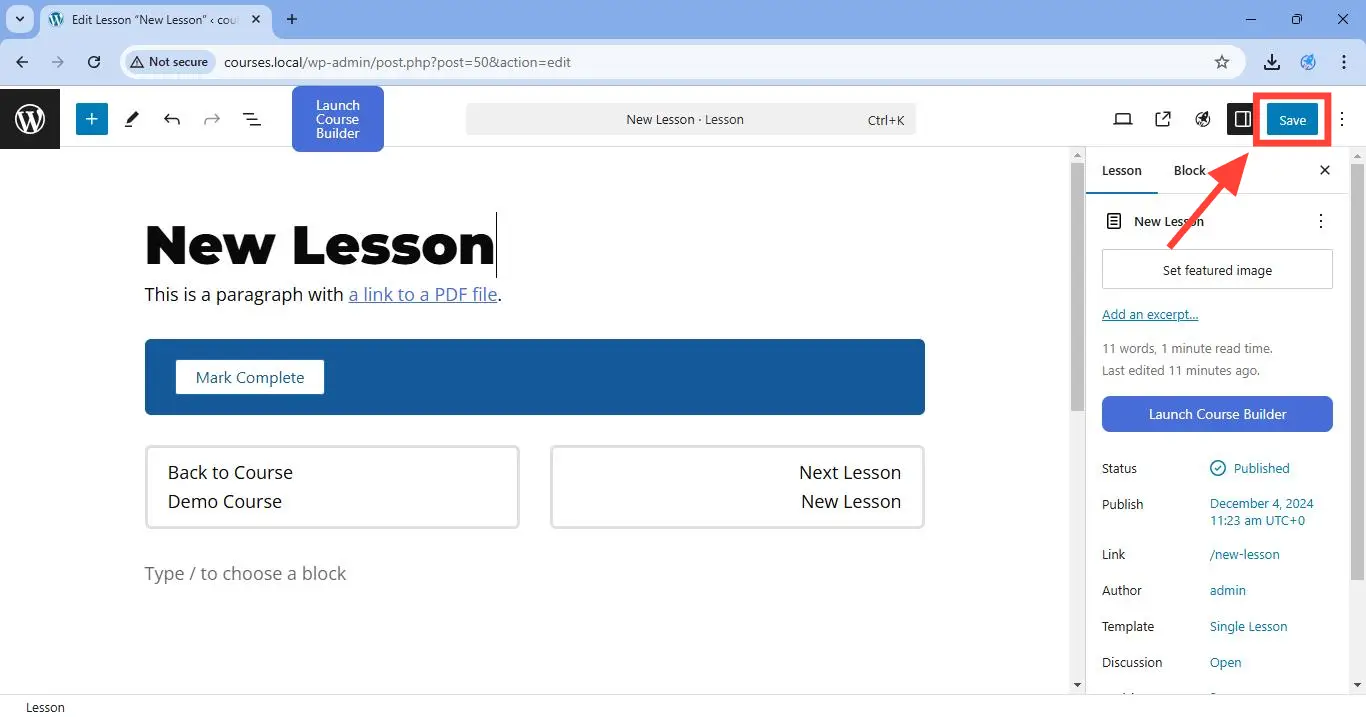
Step 11. Save the changes by clicking on the Save button.
The steps below show how to link a file to a button. This file used in this tutorial is a PDF file. But any type of file can be used: images, videos, etc.
Step 1. Follow the same steps for adding a link to some words inside a paragraph, but only up to (and including) Step 7.
Step 2. In the block editor, click on the Toggle block inserter button.
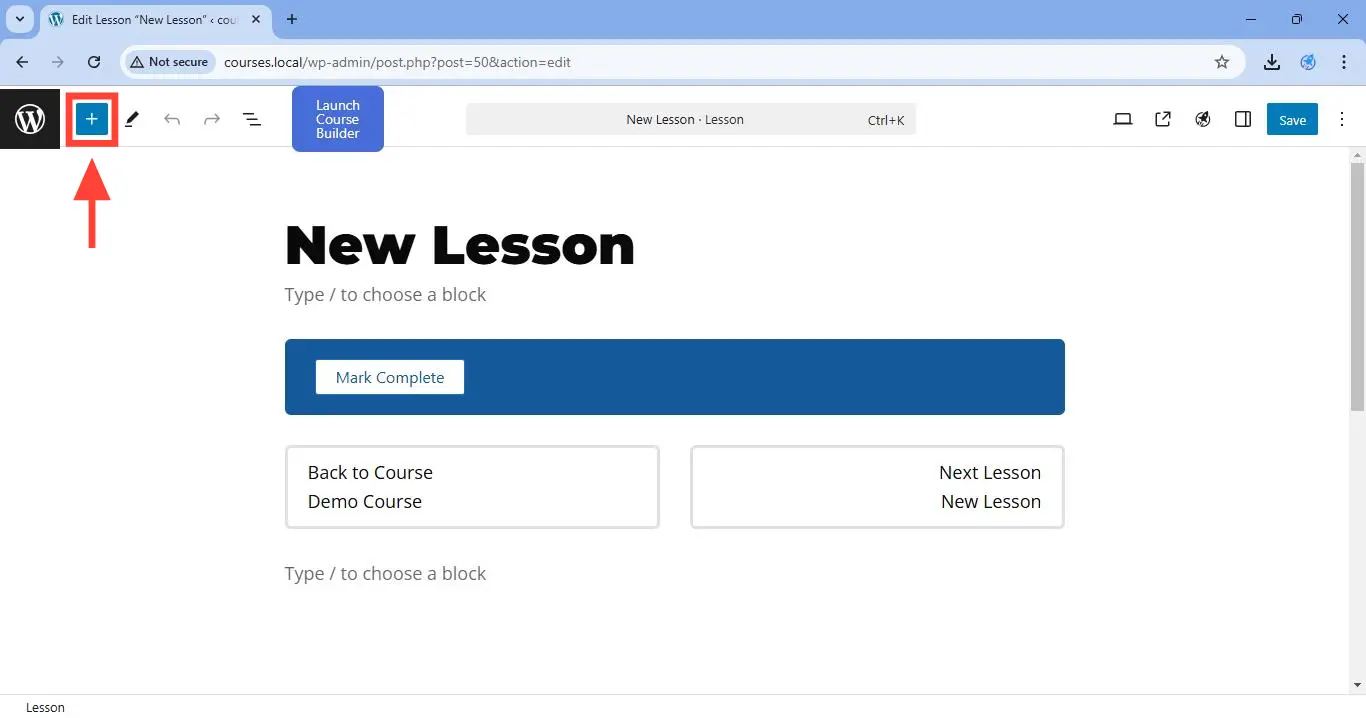
This will open up the block inserter.
Step 3. On the Search field, type “Button”.
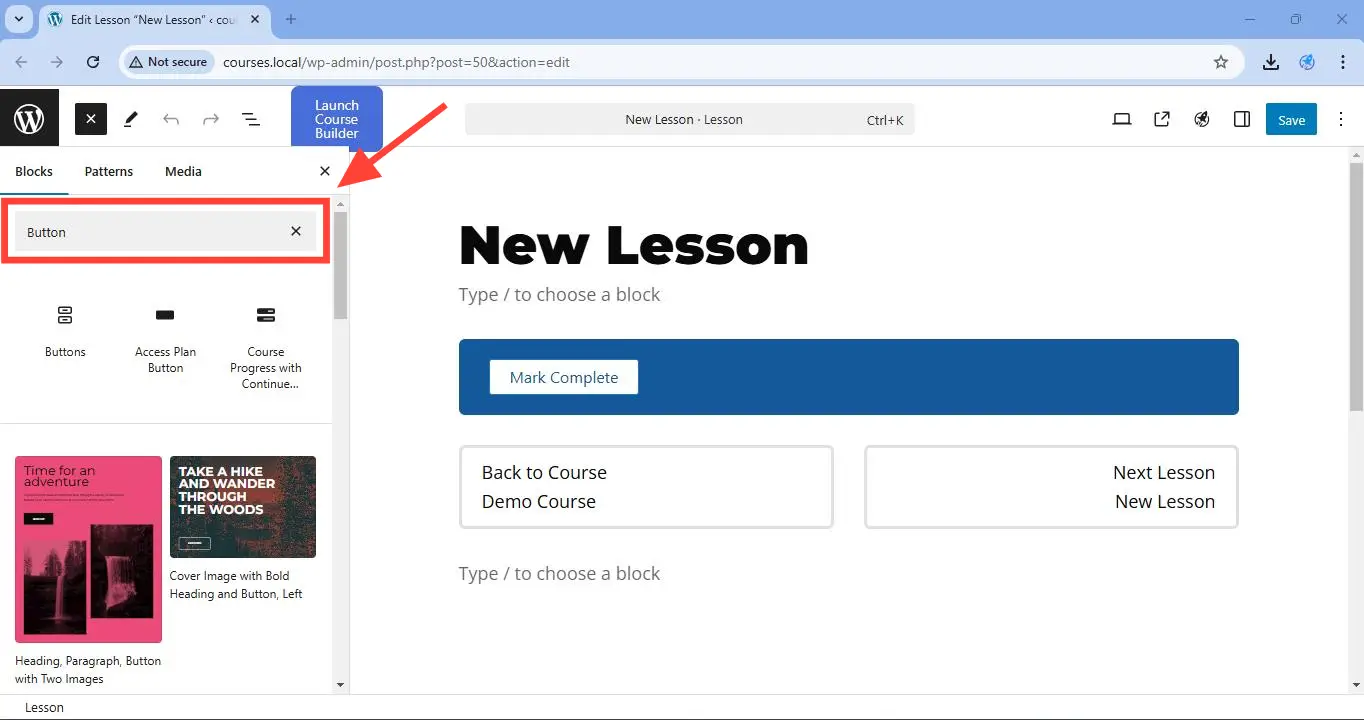
Step 4. Click on the Buttons block, and then drag it to where you want it to appear in the content area.
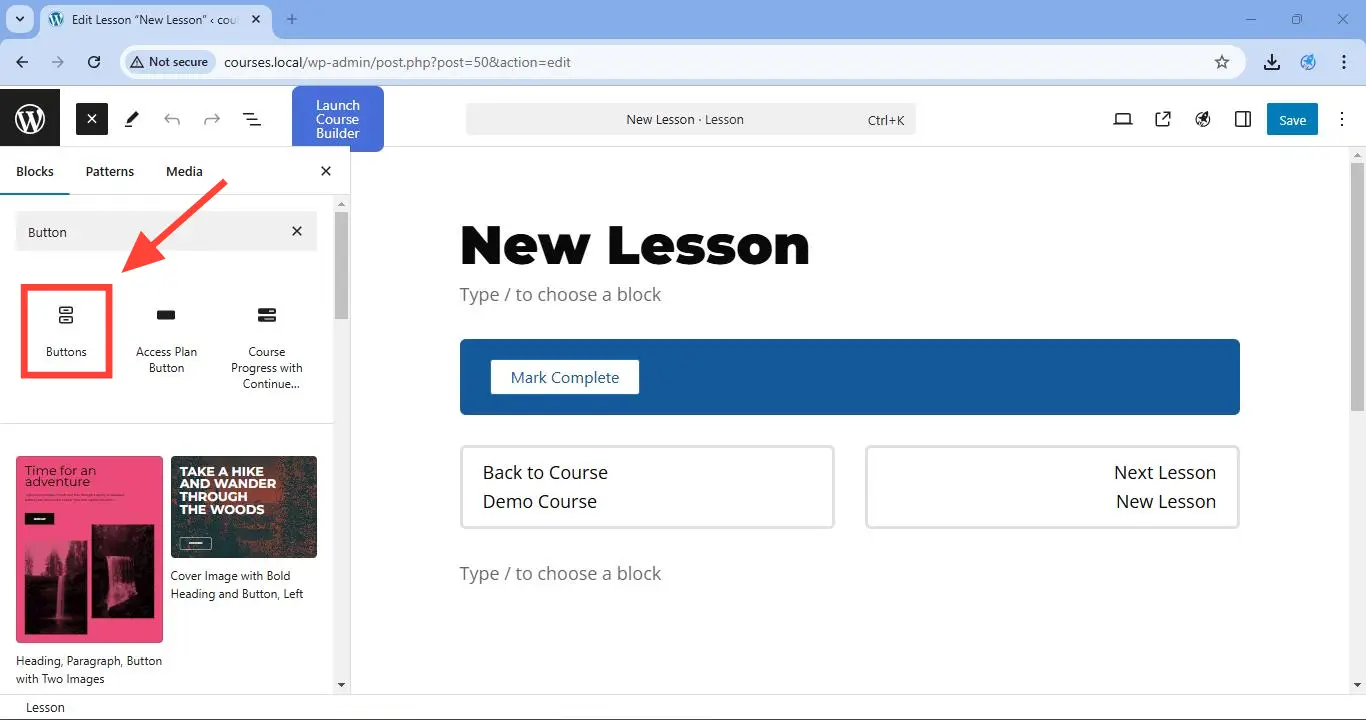
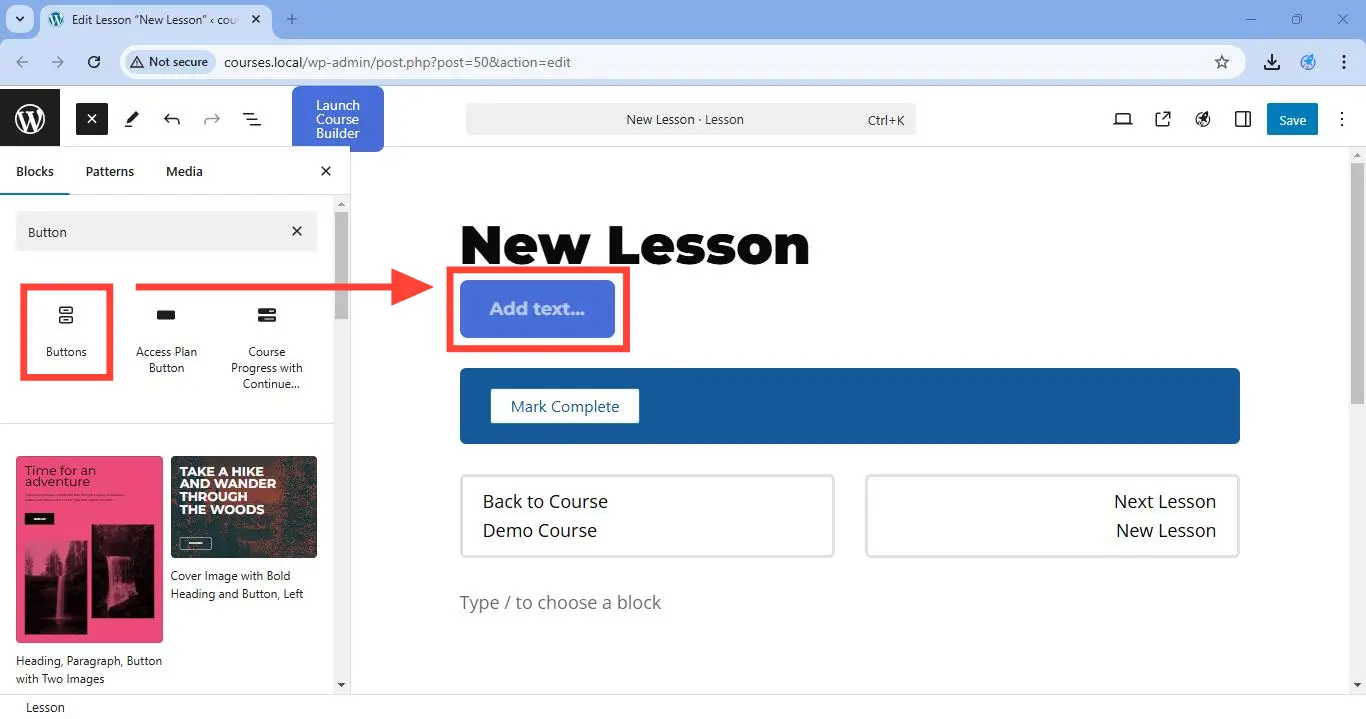
Step 5. Click on the button (i.e., on the Add text… area).
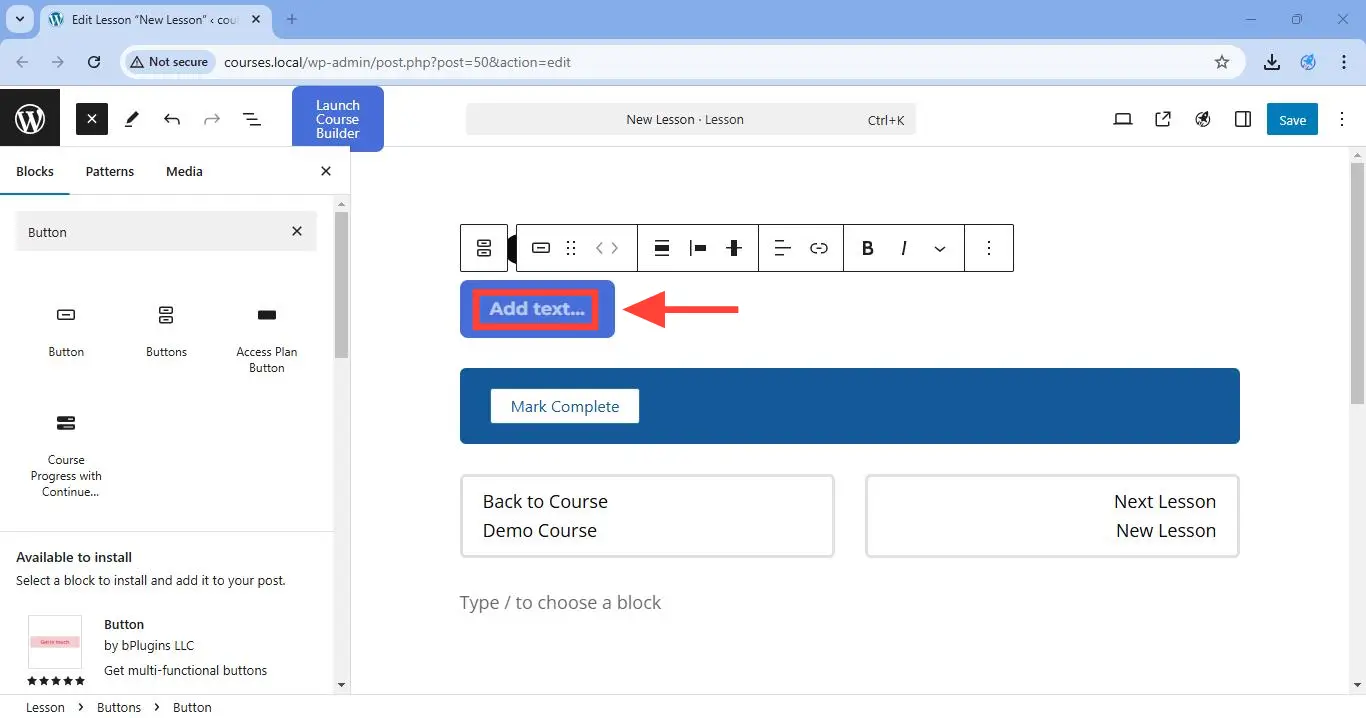
Step 6. Type some text on that button. In the example below, we have typed “Click to view PDF file”.
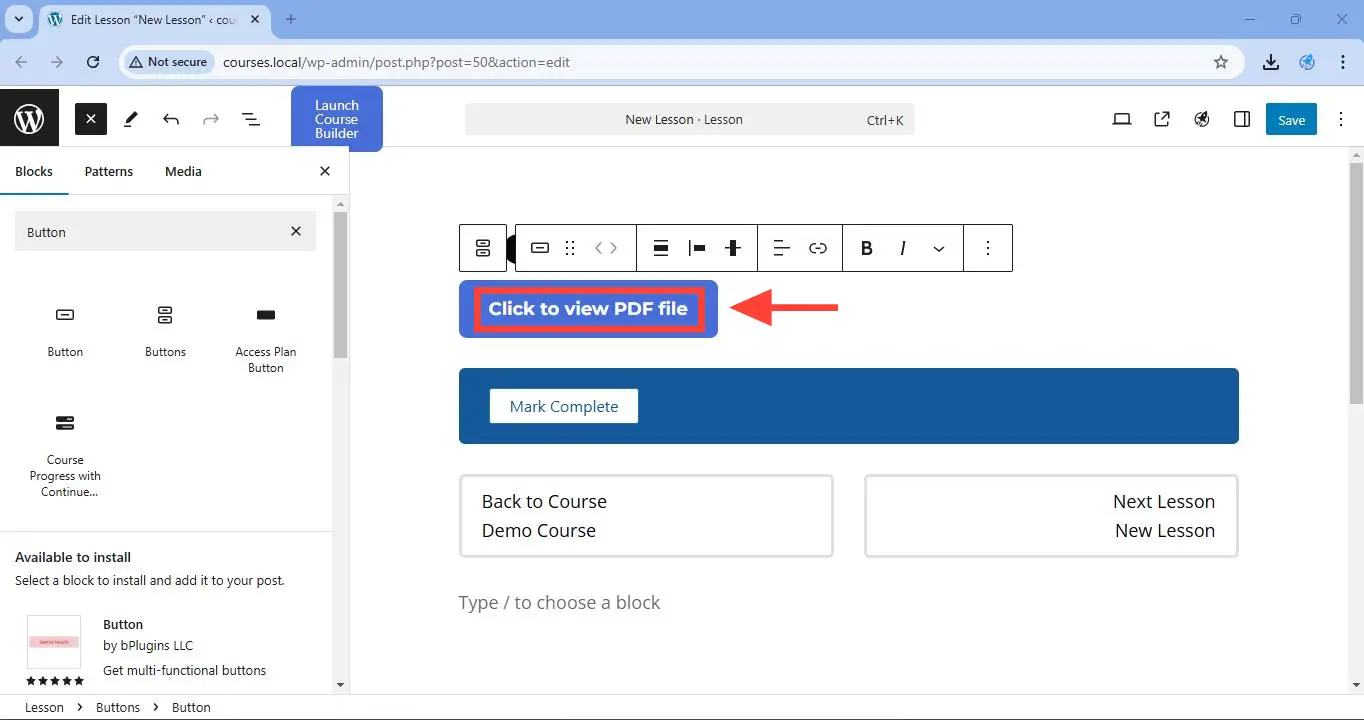
Step 7. Click on the Link icon.
![]()
This will open up a pop up box where you can type the URL or paste any URL you just copied.
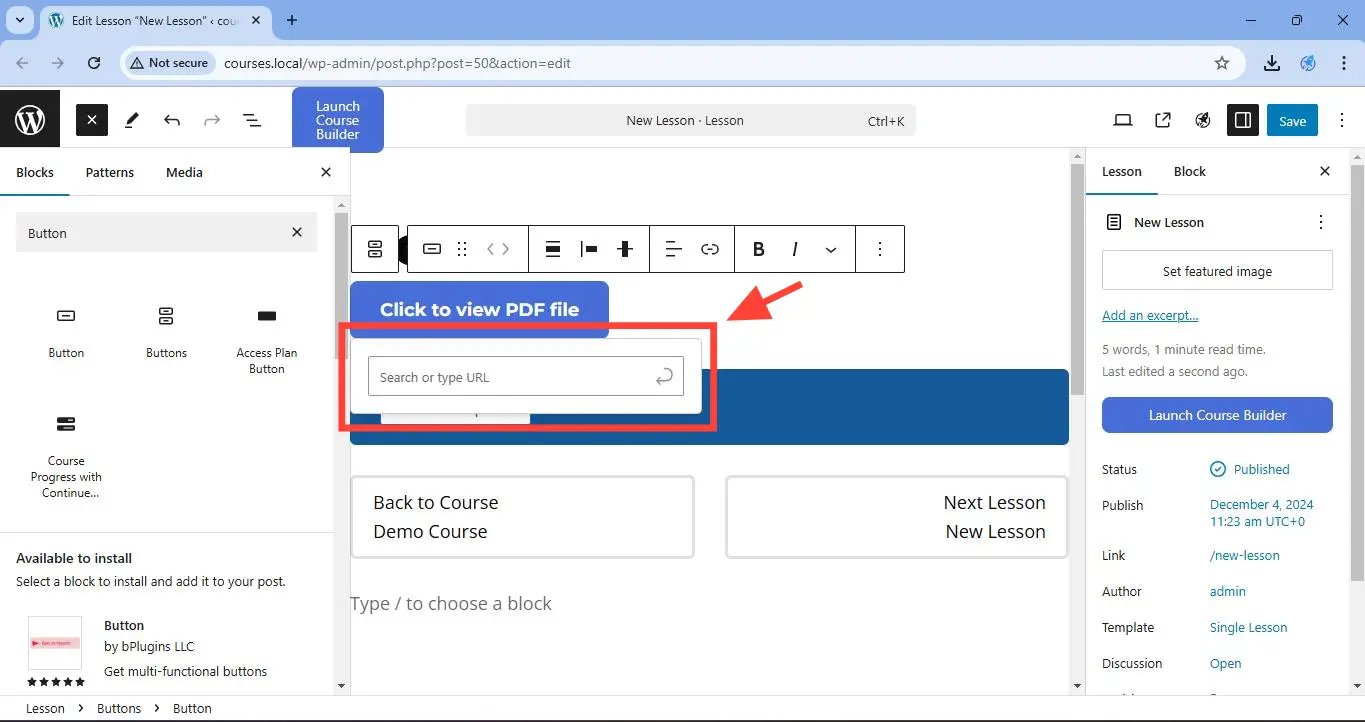
Step 8. Paste the URL of the file in the “Search or type URL” field.
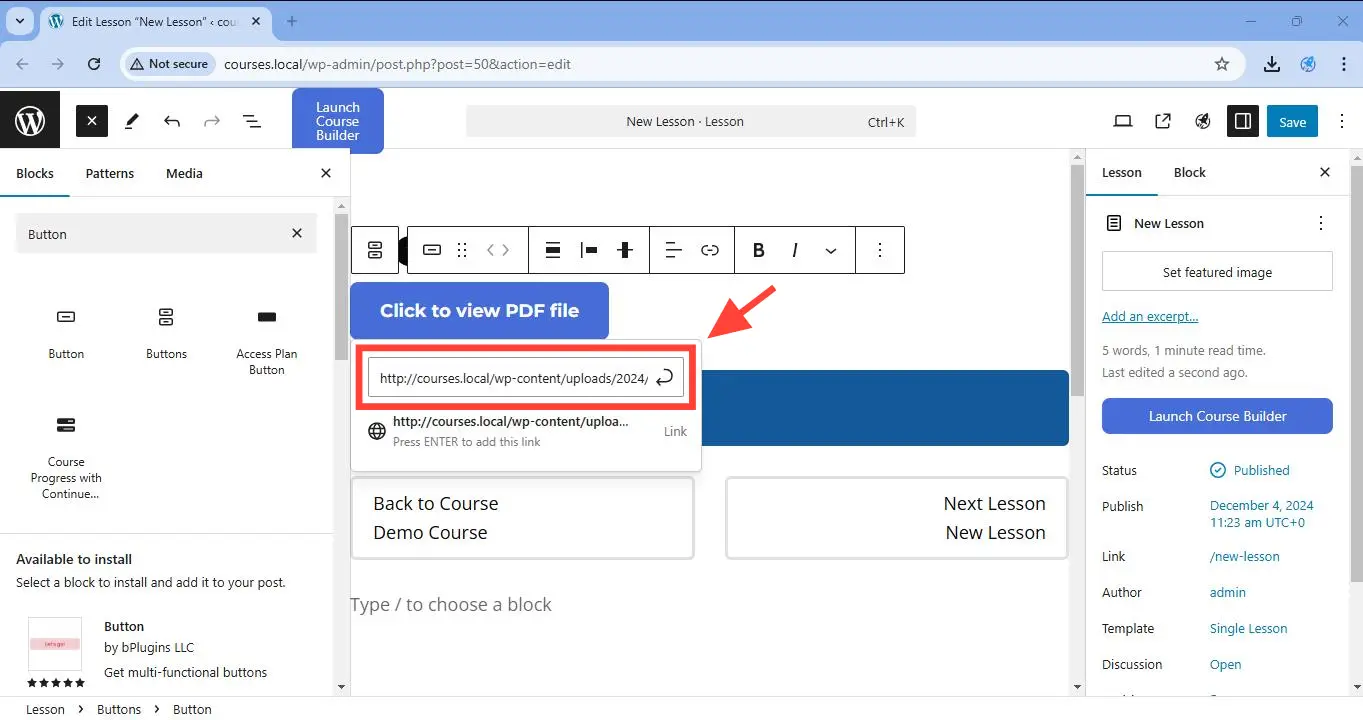
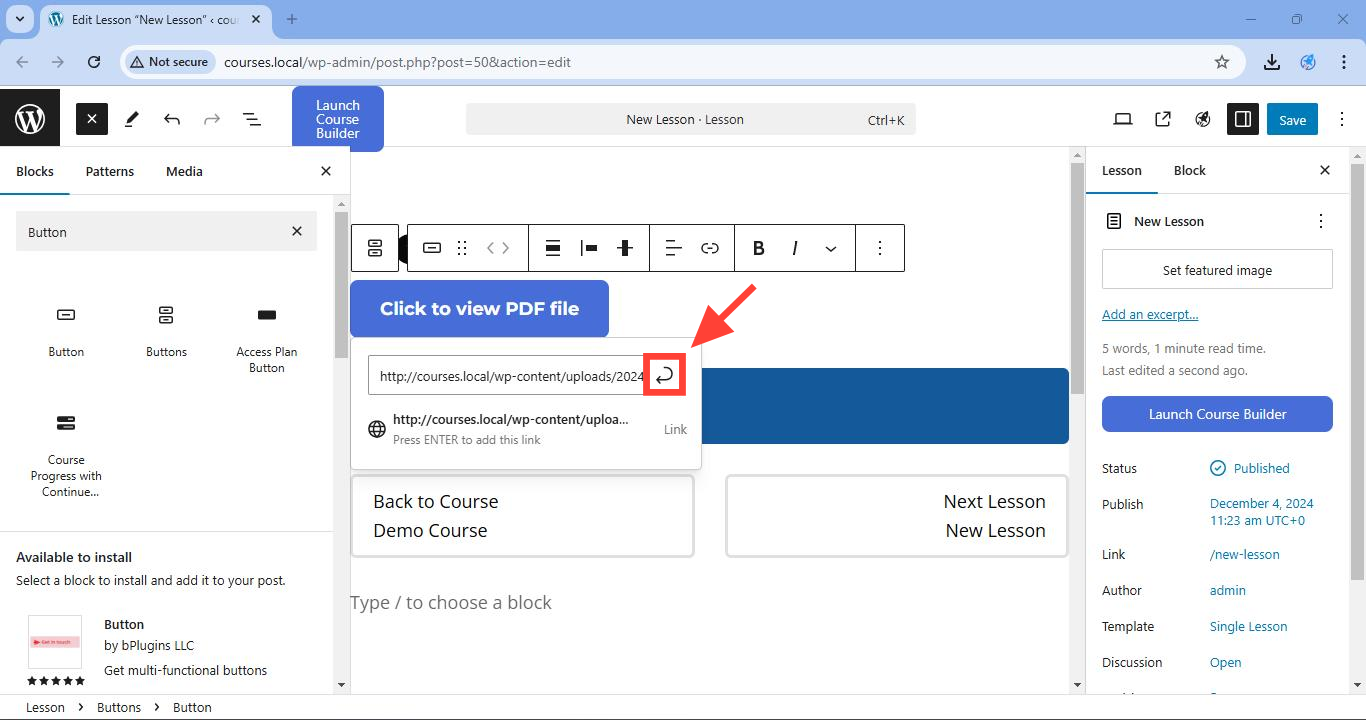
Step 9. Click on the Submit button.
Step 10. Save the changes by clicking on the Save button.
