How to create sidebar widgets
Your currently active theme will determine how you can create sidebars in your website. If you have a classic theme, where and how your sidebars will be displayed on the frontend is determined by your theme. Regardless, classic themes allow you to add content to your theme sidebars in WordPress Dashboard > Appearance > Widgets.
If you have a full-site editing theme, you need to manually create the sidebars by editing the templates provided to you by your theme. These templates can be edited in ordPress Dashboard > Appearance > Editor > Templates. The same template where you add the sidebar will also be the same template where you add content to the sidebar you created.
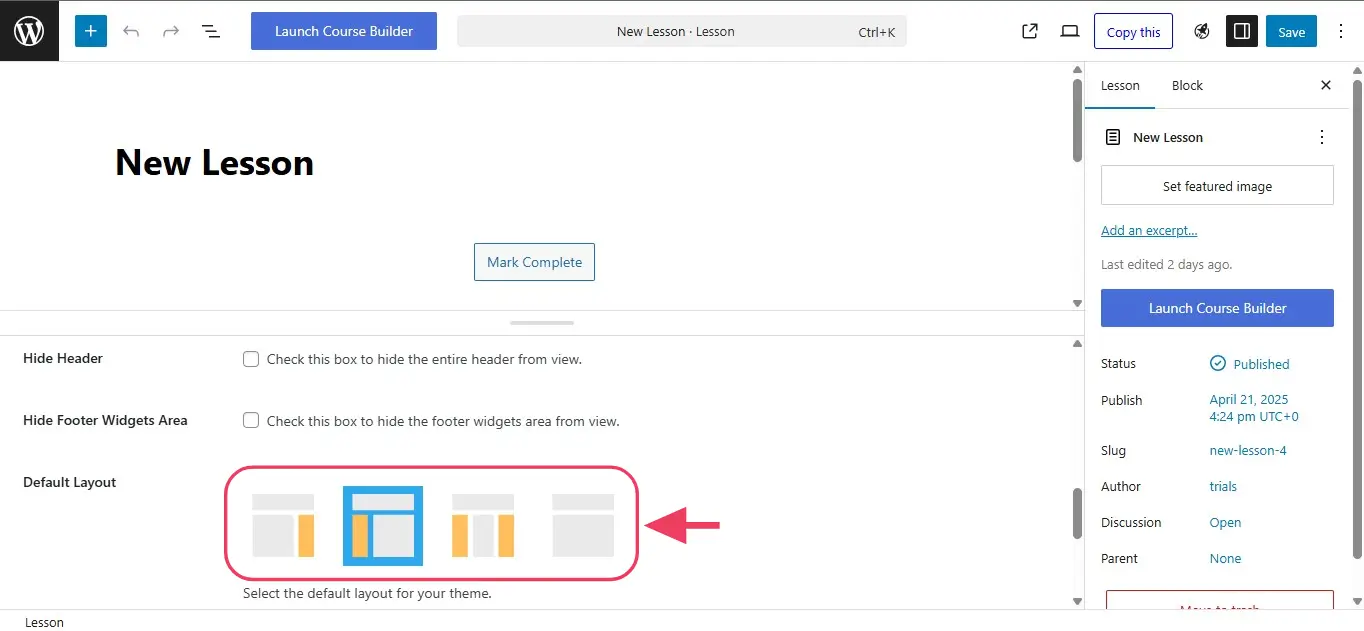
An example of a classic theme is the LifterLMS LaunchPad theme. This theme allows you to decide where your sidebars will appear in your course and lesson pages, as you can see in the screenshots below. As you can see in these screenshots, the theme allows you to have no sidebars at all, or to put the sidebar on the left side or on the right side.

Another example of a classic theme is the Kadence theme. As you can see in the screenshots below, the Kadence theme also allows you to decide where your sidebars will appear in your course and lesson pages, as you can see in the screenshots below. However, since this is a different theme, where you can change the layout of the sidebar is also different.
The general lesson to learn from the screenshots above is that it is not LifterLMS that controls your sidebar layout — your active theme does. If you are having trouble finding where to control the sidebar layout of your course and lesson pages, you need to reach out to the authors or support team of your currently active theme.
What is common across all classic themes is where to add the content of your sidebar. For example, regardless of whether you are using the LifterLMS LauchPad theme, the Kadence theme, or most other classic themes, you can follow the instructions below to add content to your course and lesson sidebar. If these don’t work for you, contact your theme author or see our instructions for ways you can try adding sidebar support.
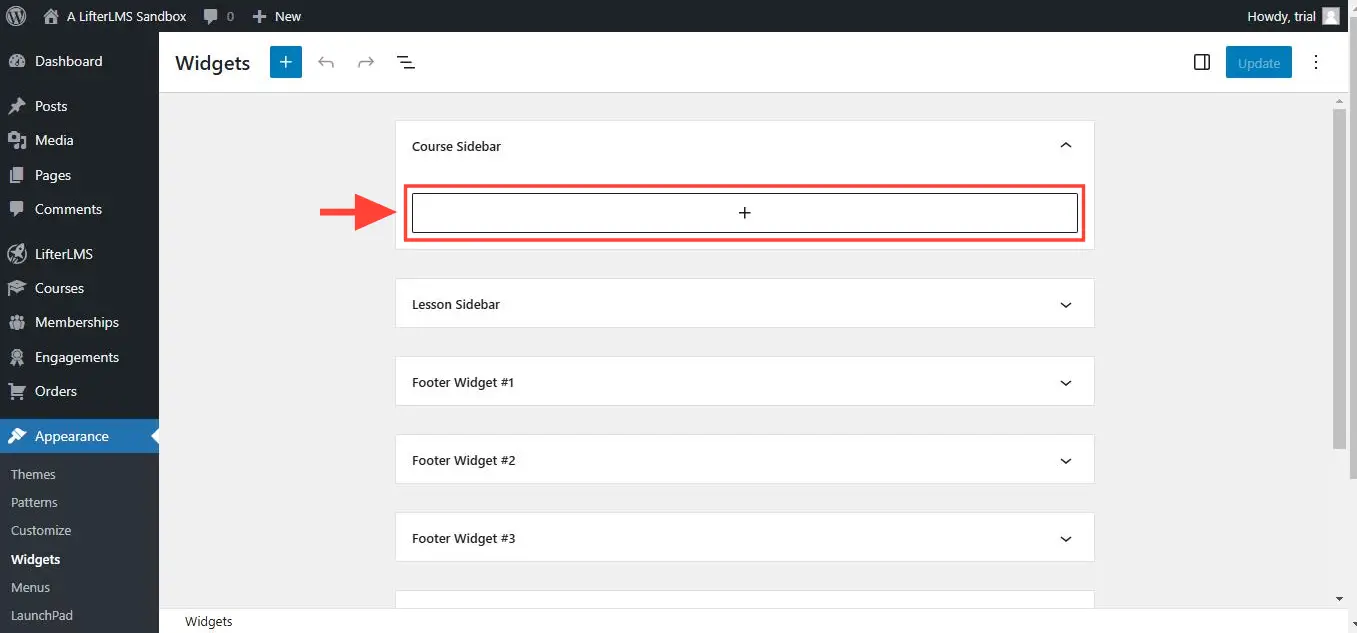
Step 1. Navigate to Appearance > Widgets in your WordPress dashboard.
Step 2. You will see two widget areas named “Course Sidebar” and “Lesson Sidebar”. To add content to the course sidebar of all courses, click on the “+” button in the Course Sidebar widget area.
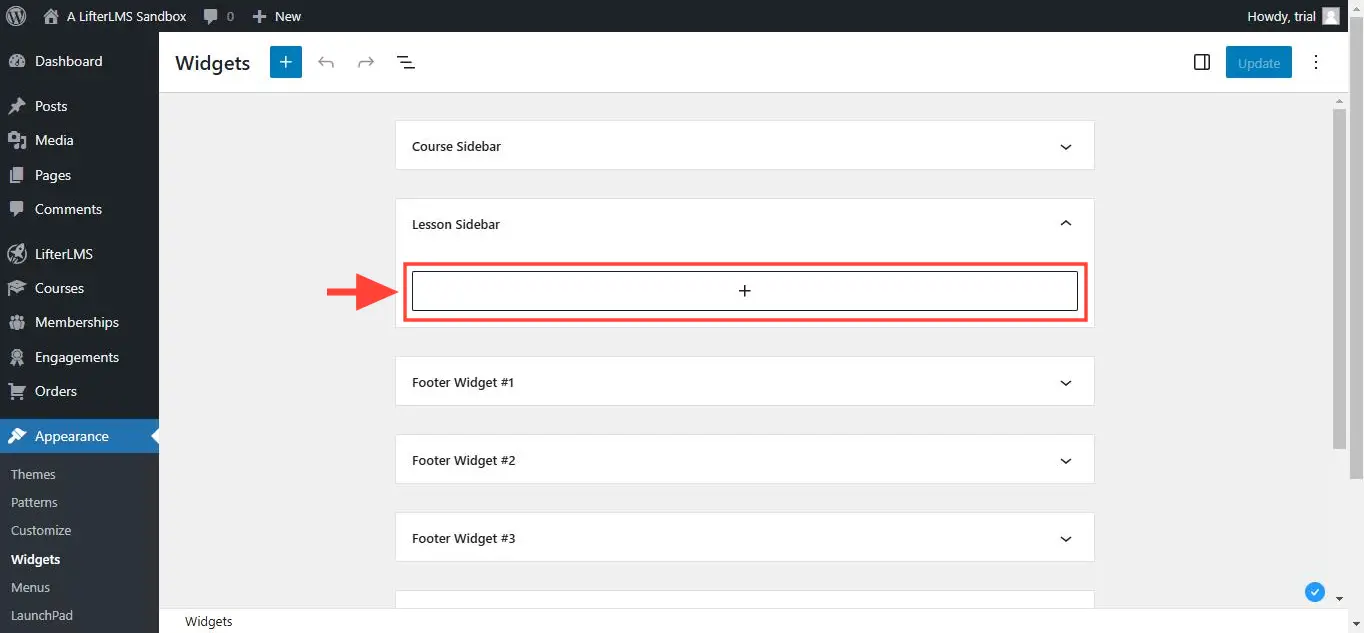
To add content to the lesson sidebar of all lessons, click on the “+” button in the Lesson Sidebar widget area.
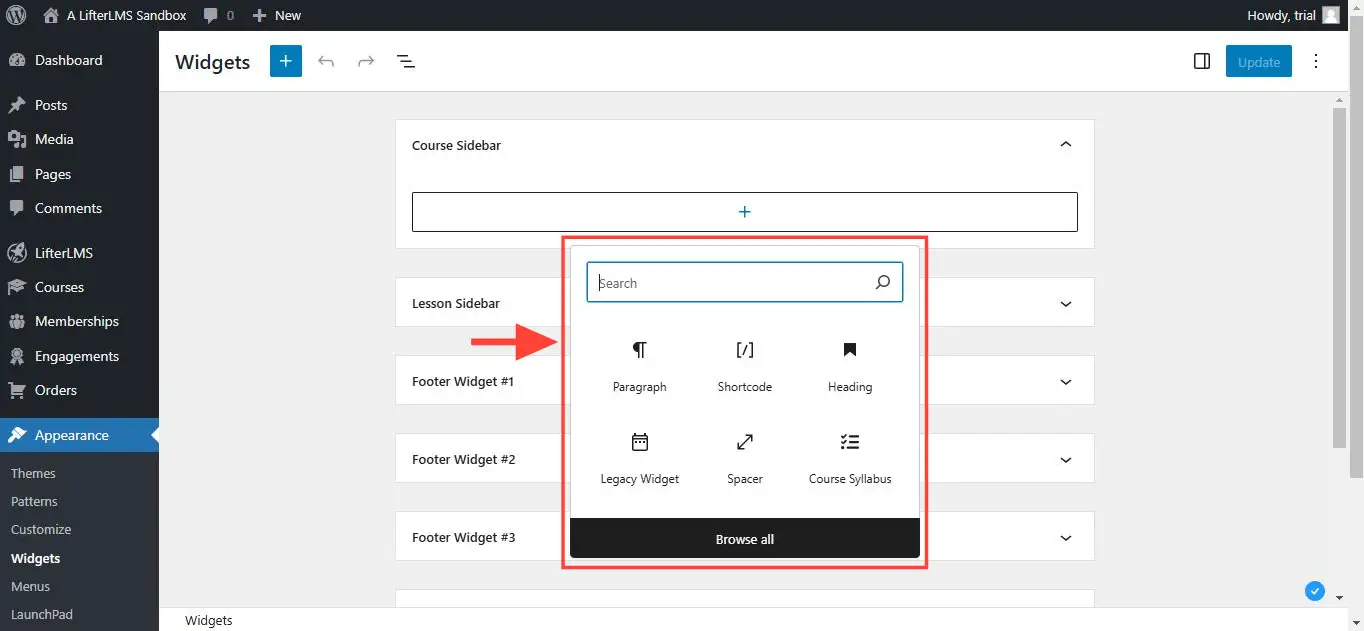
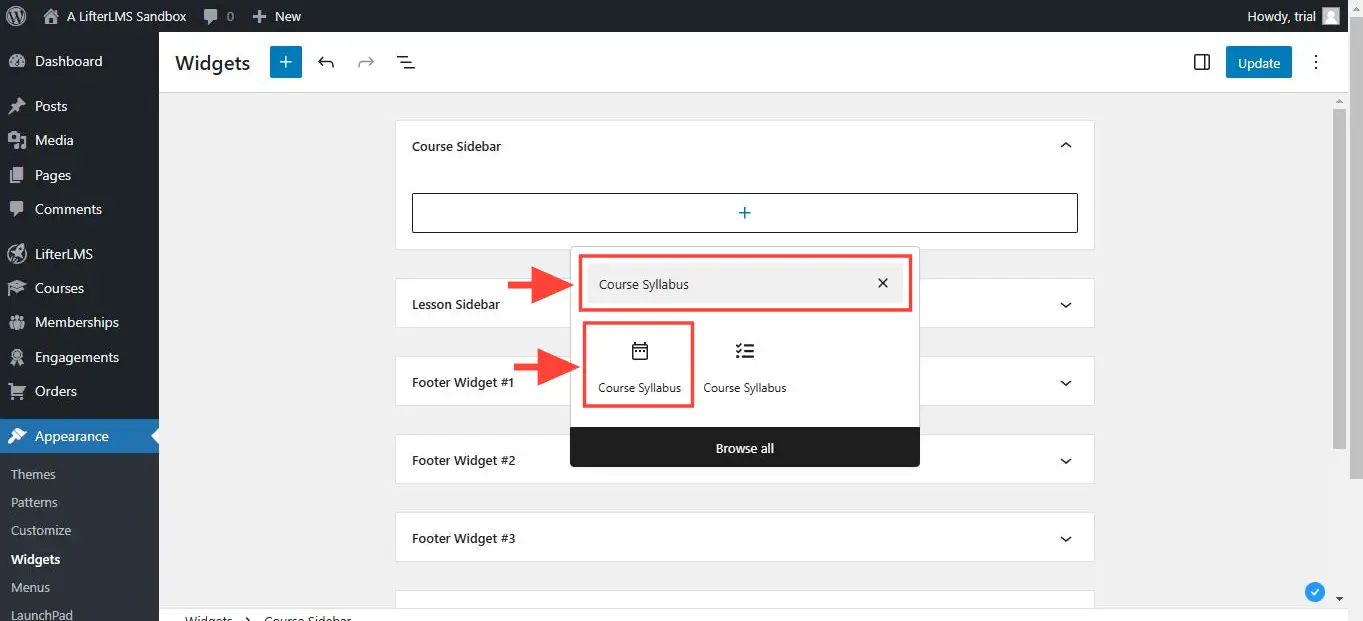
Step 3. On the “Search” field popup that loads, type the name of the widget you want to add in the widget area. This process is the same whether you are adding a widget to the “Course Sidebar” or to the “Lesson Sidebar.”
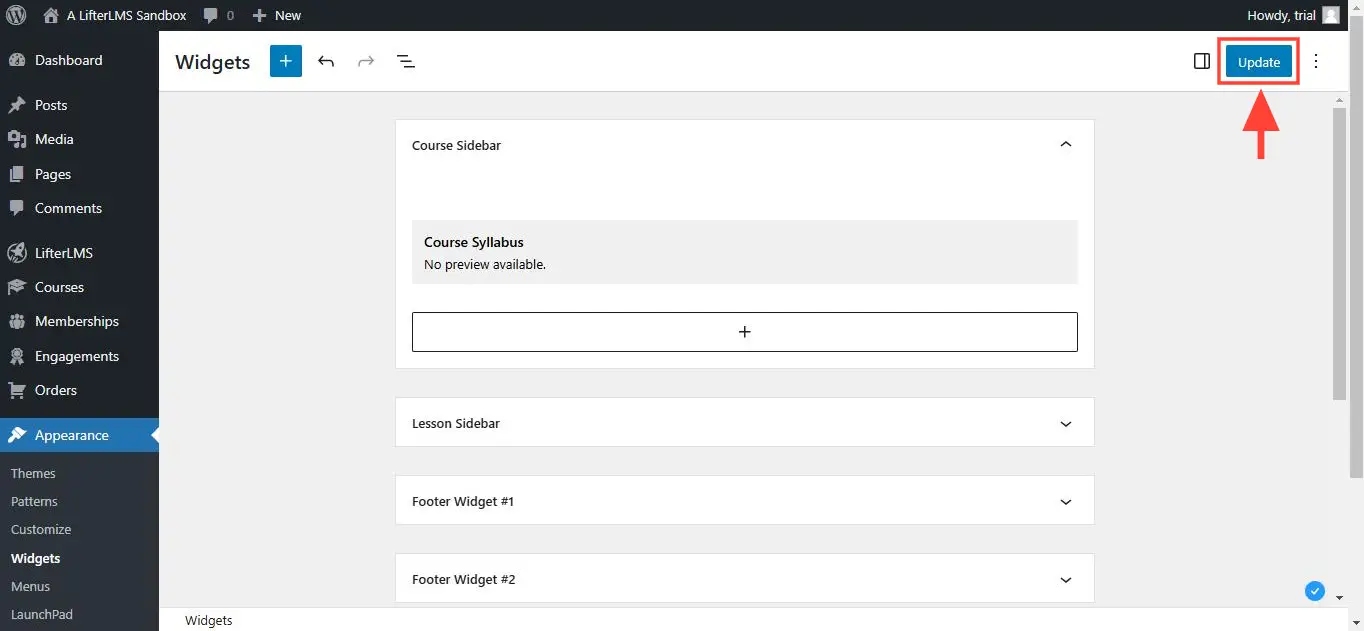
Step 4. Once you are done adding widgets to the widget areas, save the changes by clicking on the Update button.
Adding sidebars to WordPress sites that use a full-site editing theme, such as the Sky Pilot theme, is a straight-forward process:
- Open the template in the WordPress site editor.
- Add the column which would be your sidebar using the WordPress Column block.
- Add content to that column using the available WordPress blocks in your site.
For a more concrete example, follow the instructions below to edit the course category template. Unlike the course catalog archive and the membership catalog archive, this course category template is a template that you cannot design directly by editing a page in WordPress Dashboard > Pages. So this serves as a good example of why and how to use the site editor to design your templates.
The instructions below use the Sky Pilot theme, but the steps will be the same even if you are using another full-site editing theme like the Twenty Twenty-Five theme.
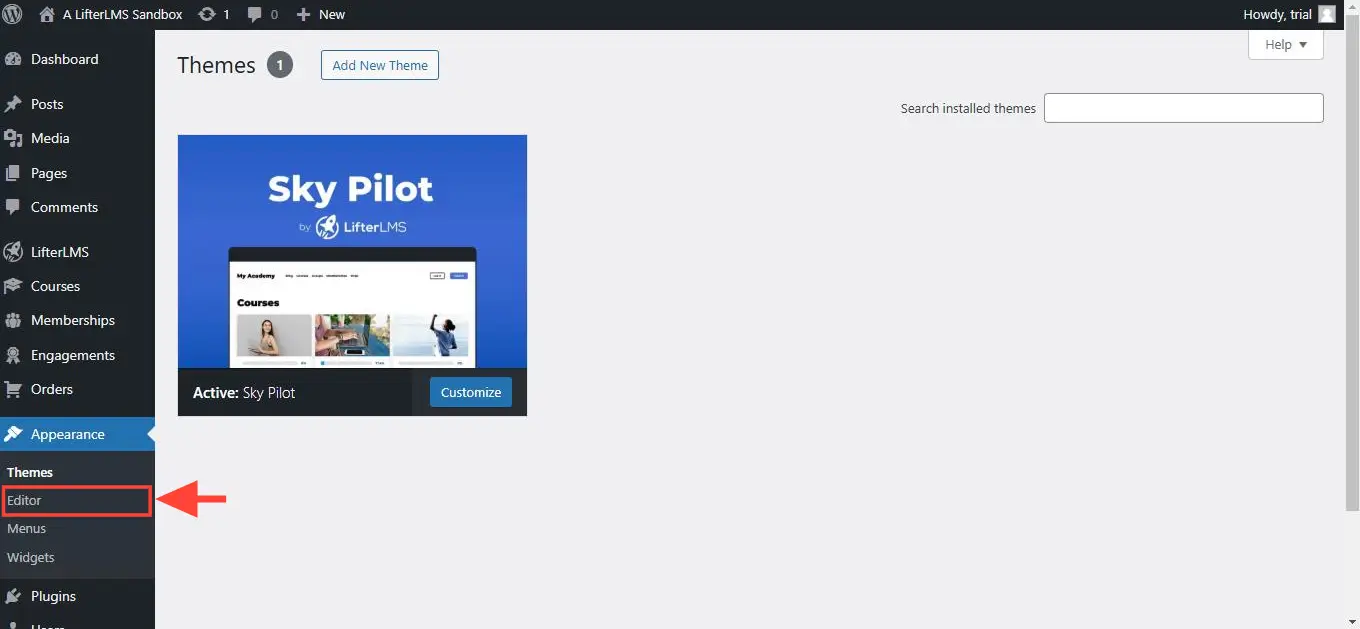
Step 1. Navigate to WordPress Dashboard > Appearance and then click on Editor.
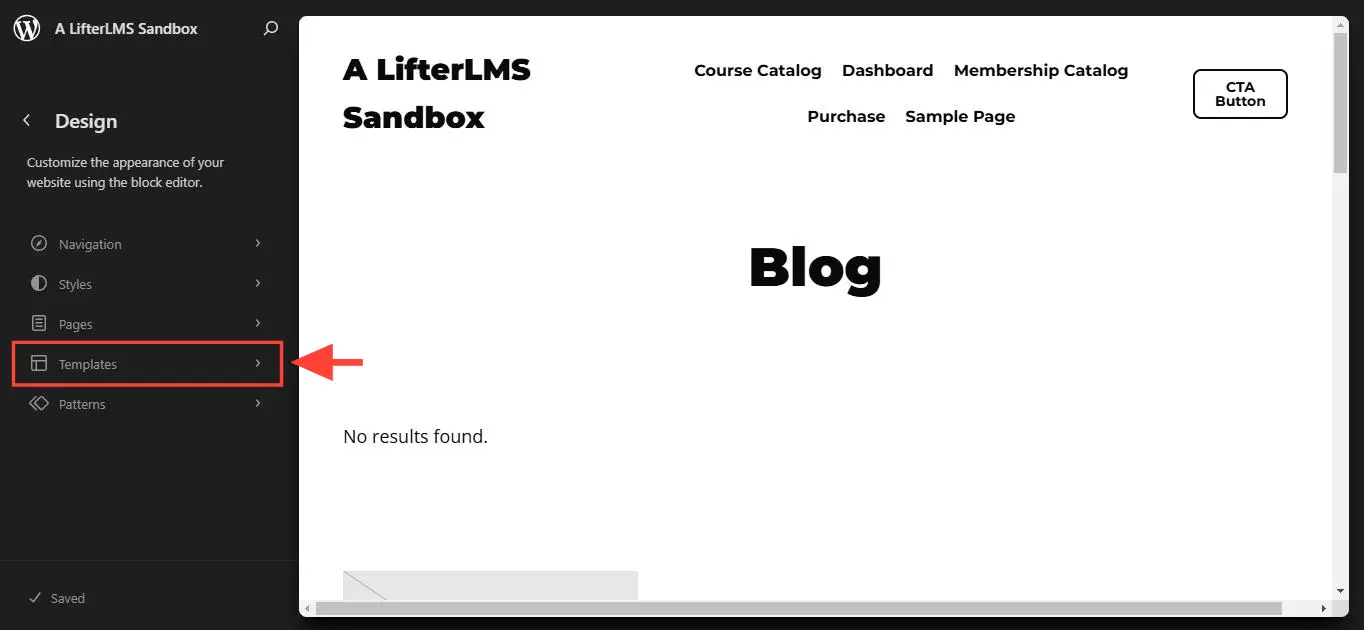
Step 2. Click on Templates.
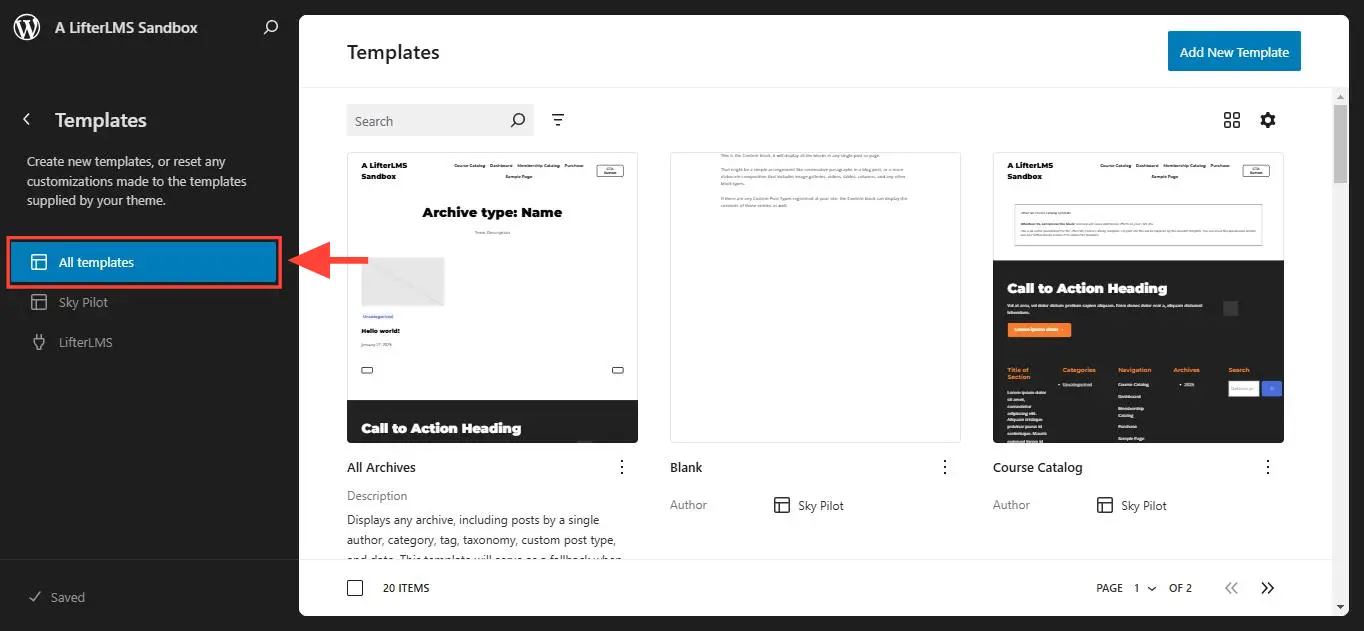
Step 3. Click on All Templates.
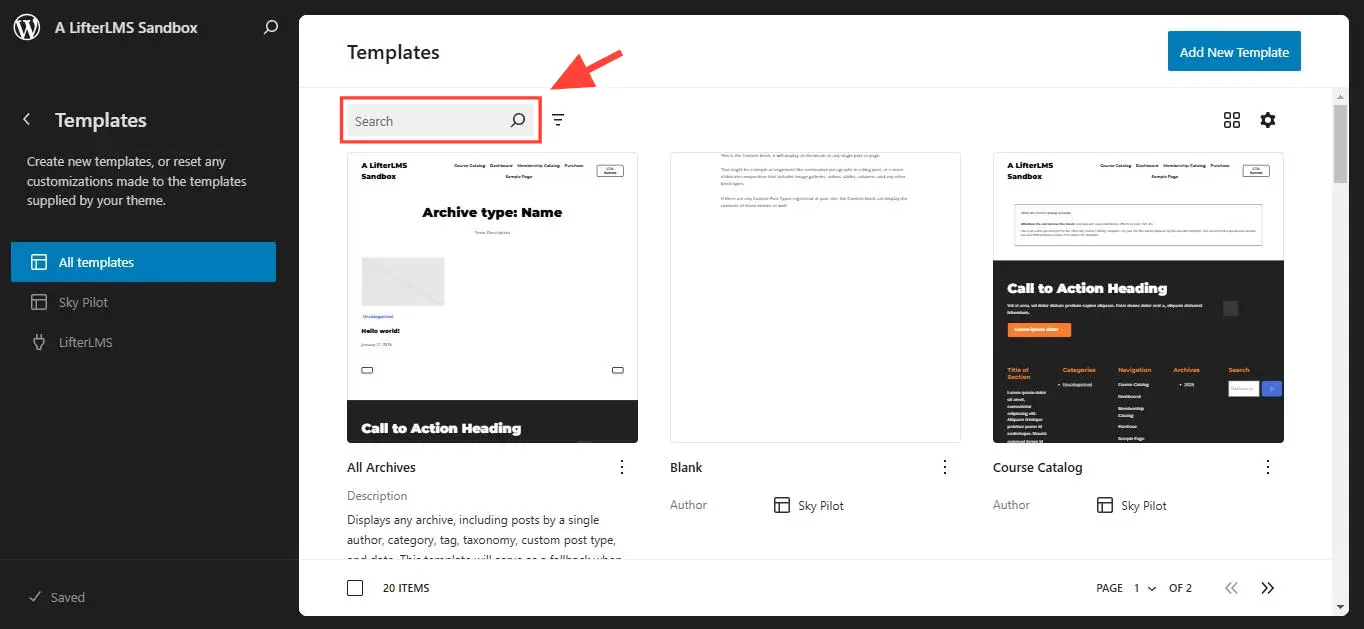
Step 4. On the search field, type “Course Category”.
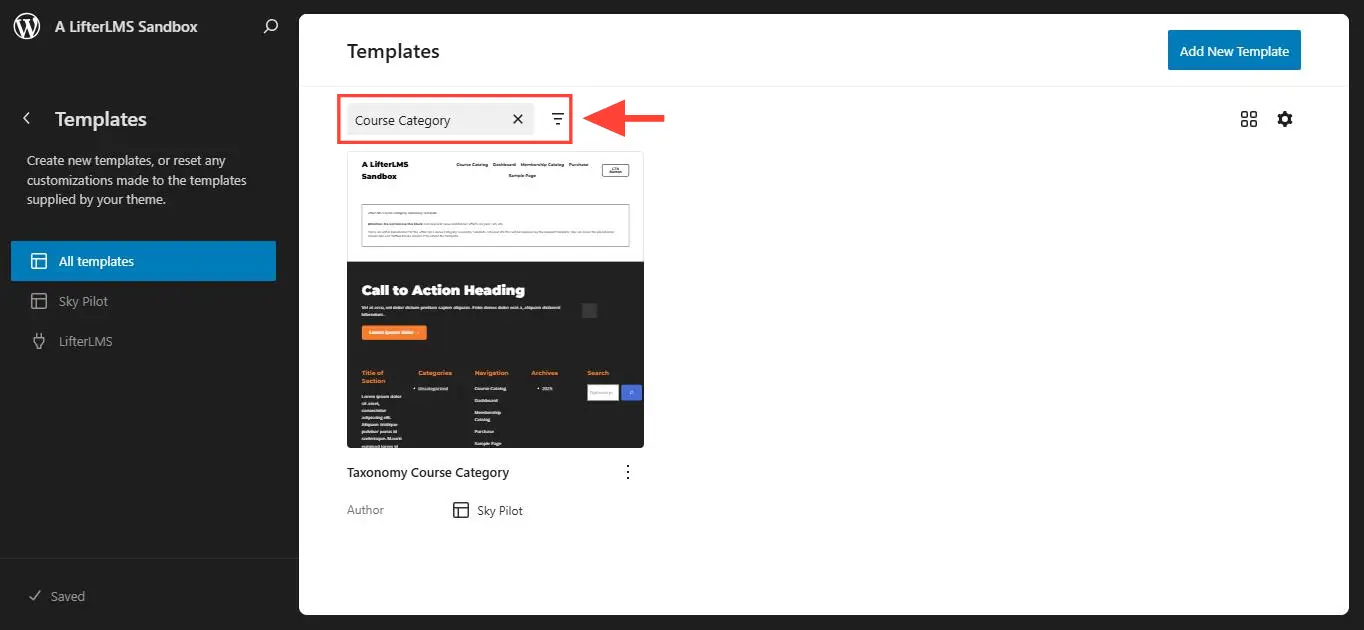
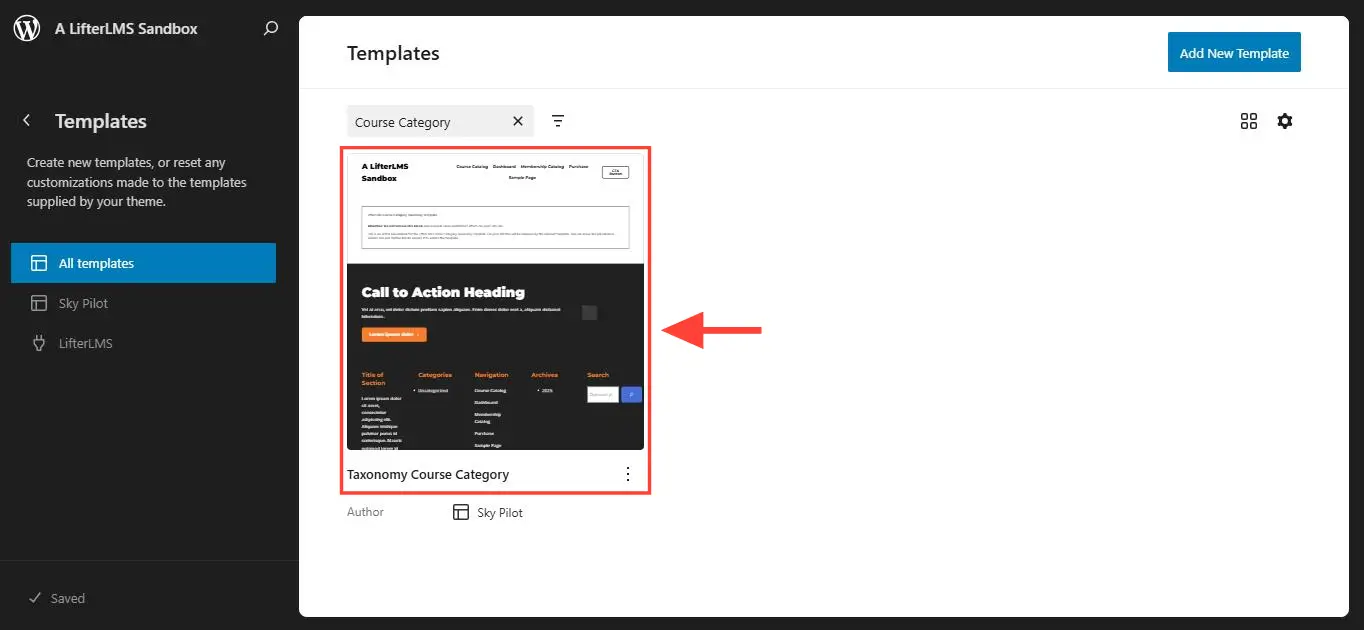
Step 5. Click on Taxonomy Course Category in the results that load.
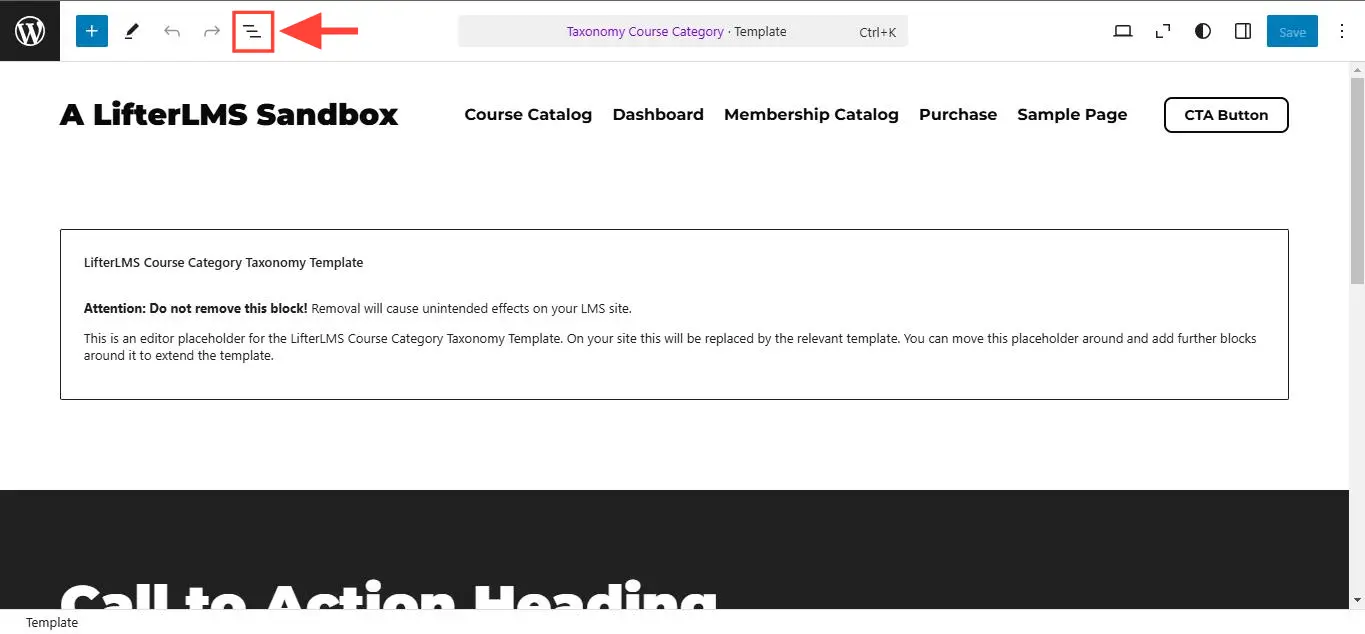
Step 6. On the template that loads, click on the Document Overview.
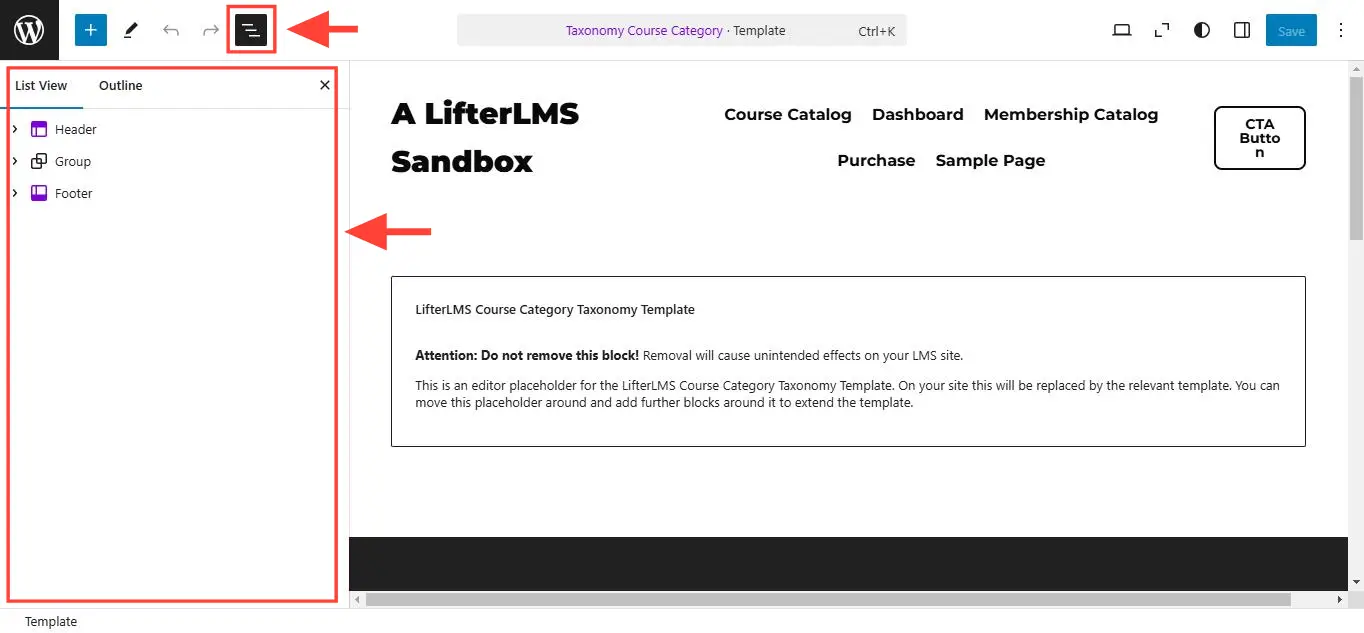
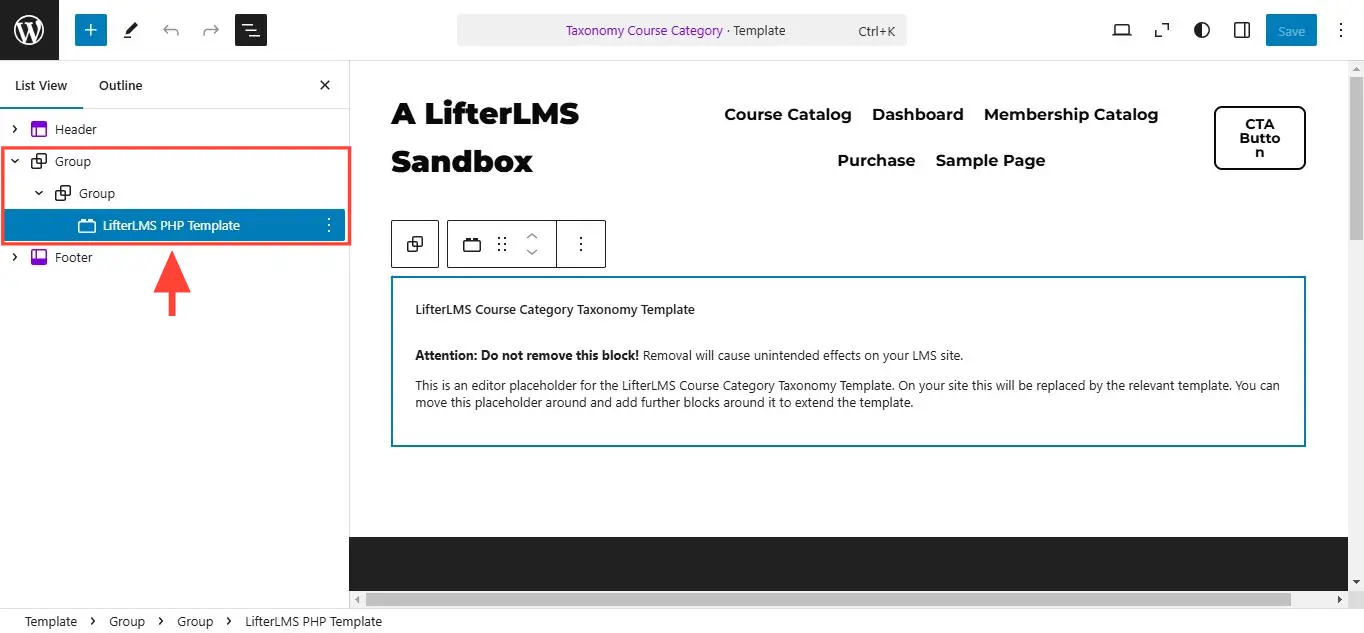
Step 7. Open the Group block until you see all the blocks under it.
Step 8. Add a Columns block so that one column contains the content of the template, while another column serves as the sidebar. In the example below, we use the 66 / 33 column layout.
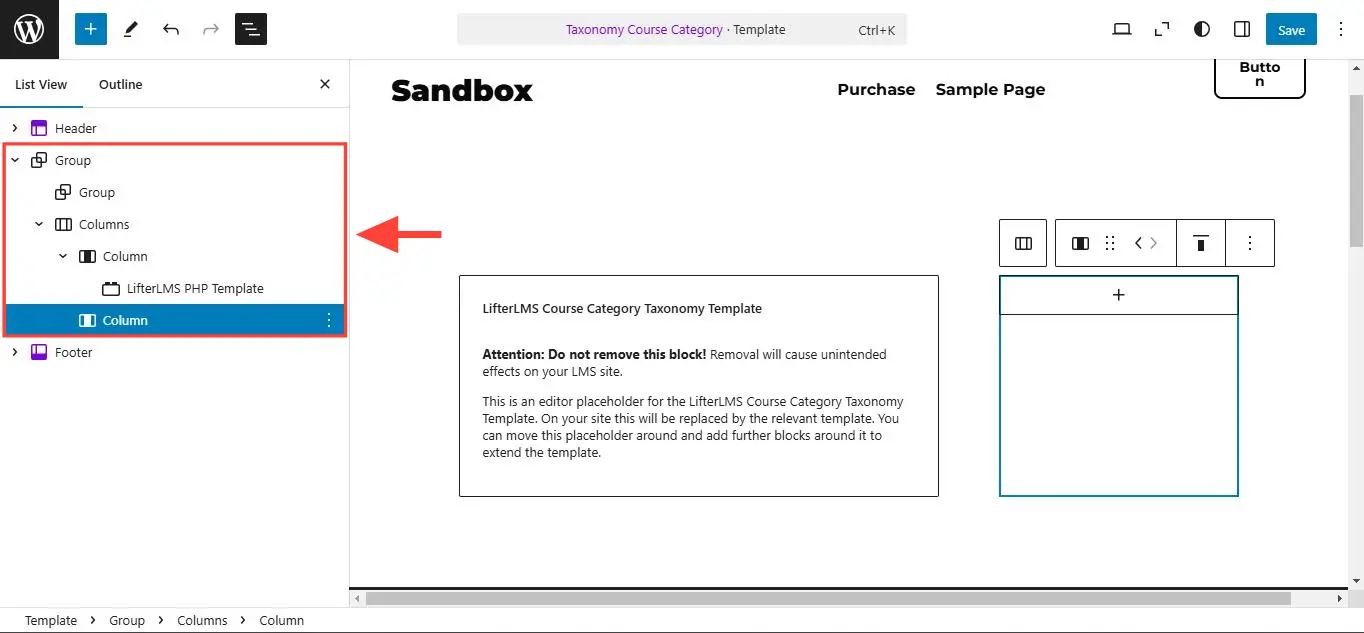
Step 9. Click on the second column. Note that in a 66 / 33 layout, the second column is your sidebar. In a 33 / 66 layout, the first column becomes your sidebar.
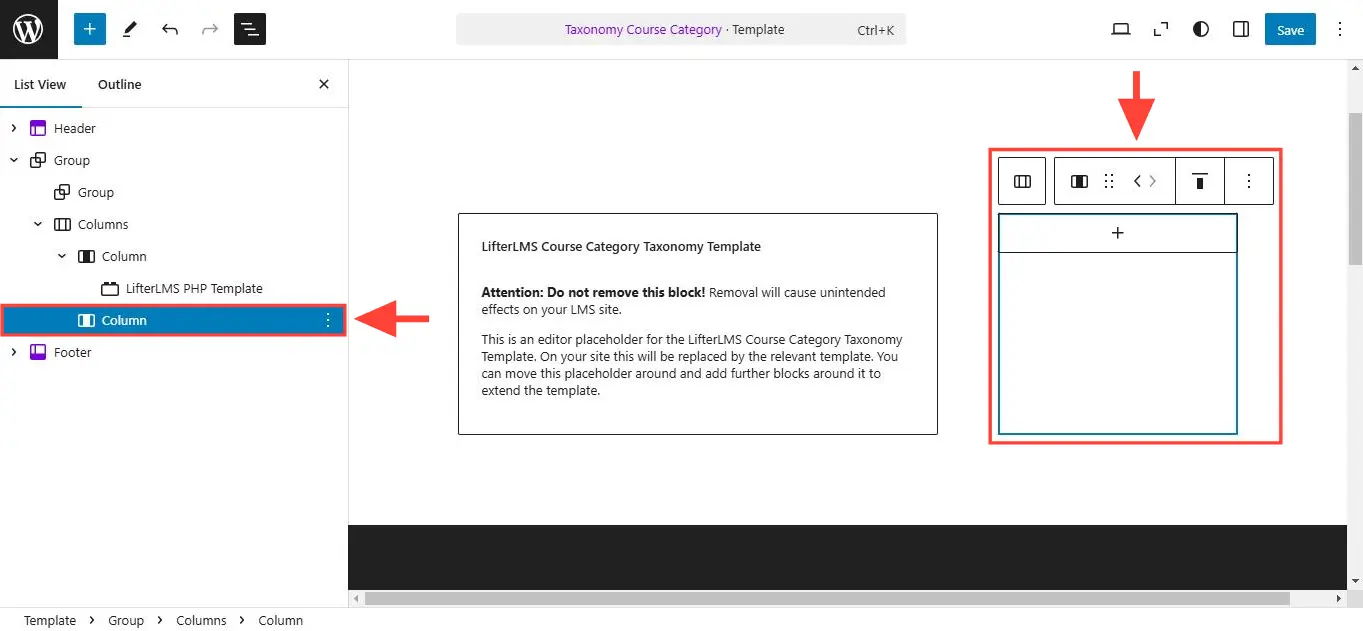
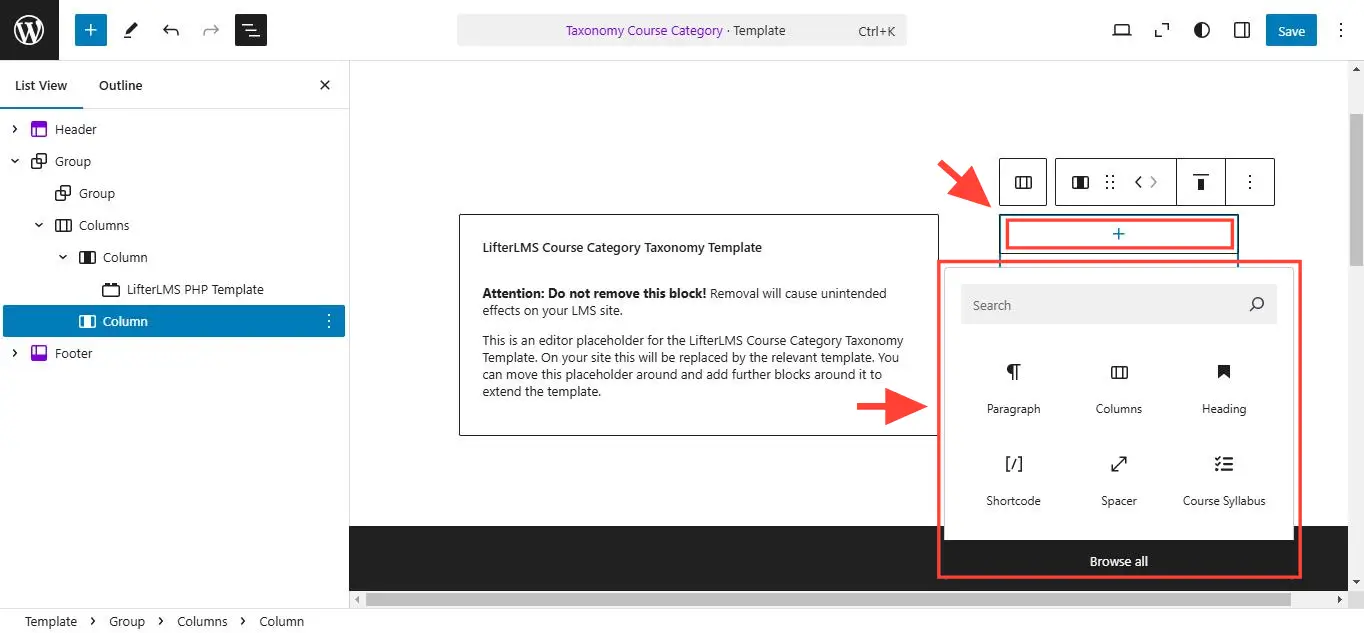
Step 10. Add WordPress blocks inside that second column. These blocks will be your sidebar content.
Step 11. Save all the changes once you are done.


