The Course Catalog
The LifterLMS Course Catalog is the page used by LifterLMS to display a paginated list of all the courses you have published and made available.
You can select any WordPress page to be your Course Catalog, but ensure that this page is not also configured to be one of the other 3 primary LifterLMS Pages (Membership Catalog, Purchase, or My Courses).
The course catalog page is the central hub where students browse your available courses. To make this page work, you must first tell LifterLMS which WordPress page to use as your catalog. Once you select the page, you can customize how many courses appear on it, and how they are sorted.
How to Choose or Create Your Course Catalog Page
Before you can display your courses, you must designate a specific page on your WordPress site to act as your course catalog. If you didn’t use the LifterLMS setup wizard to automatically create this page, you can set it up manually.
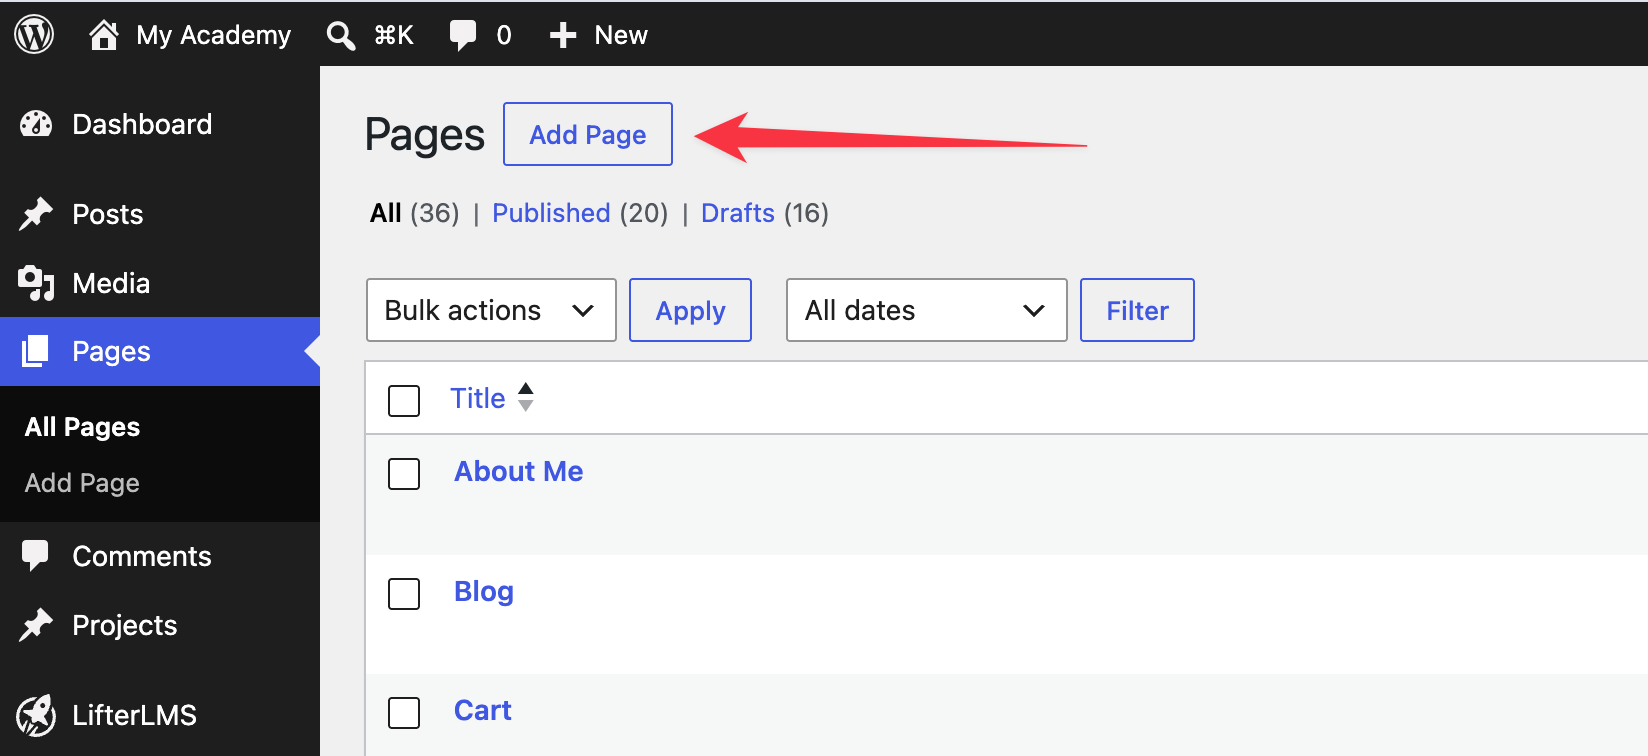
- Navigate to Pages > Add Page in your WordPress dashboard to create a new page, title it “Courses” or “Course Catalog”, and publish it. If you already have a page you want to use, you can skip this step.
- Navigate to LifterLMS > Settings in your WordPress dashboard.
- Click on the Courses tab at the top of the page.
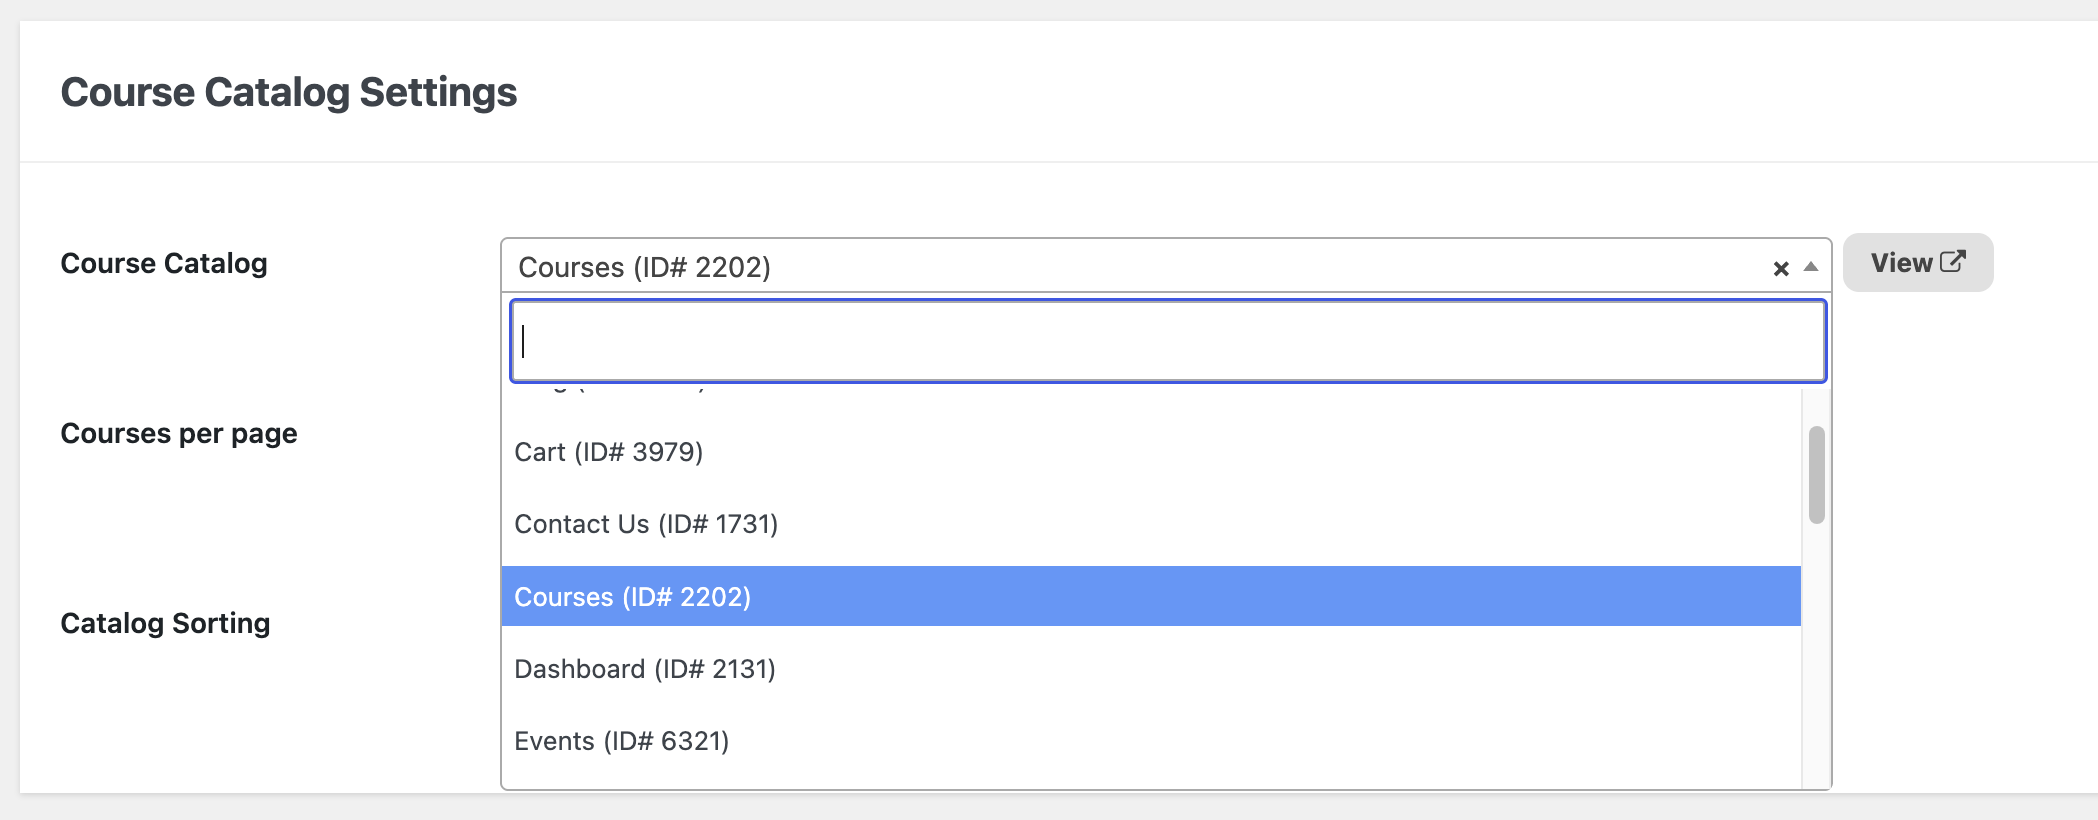
- Locate the “Course Catalog” option.
- Click the dropdown menu next to “Course Catalog” and select the page you want to use.
- Scroll to the bottom of the page and click the Save Changes button.
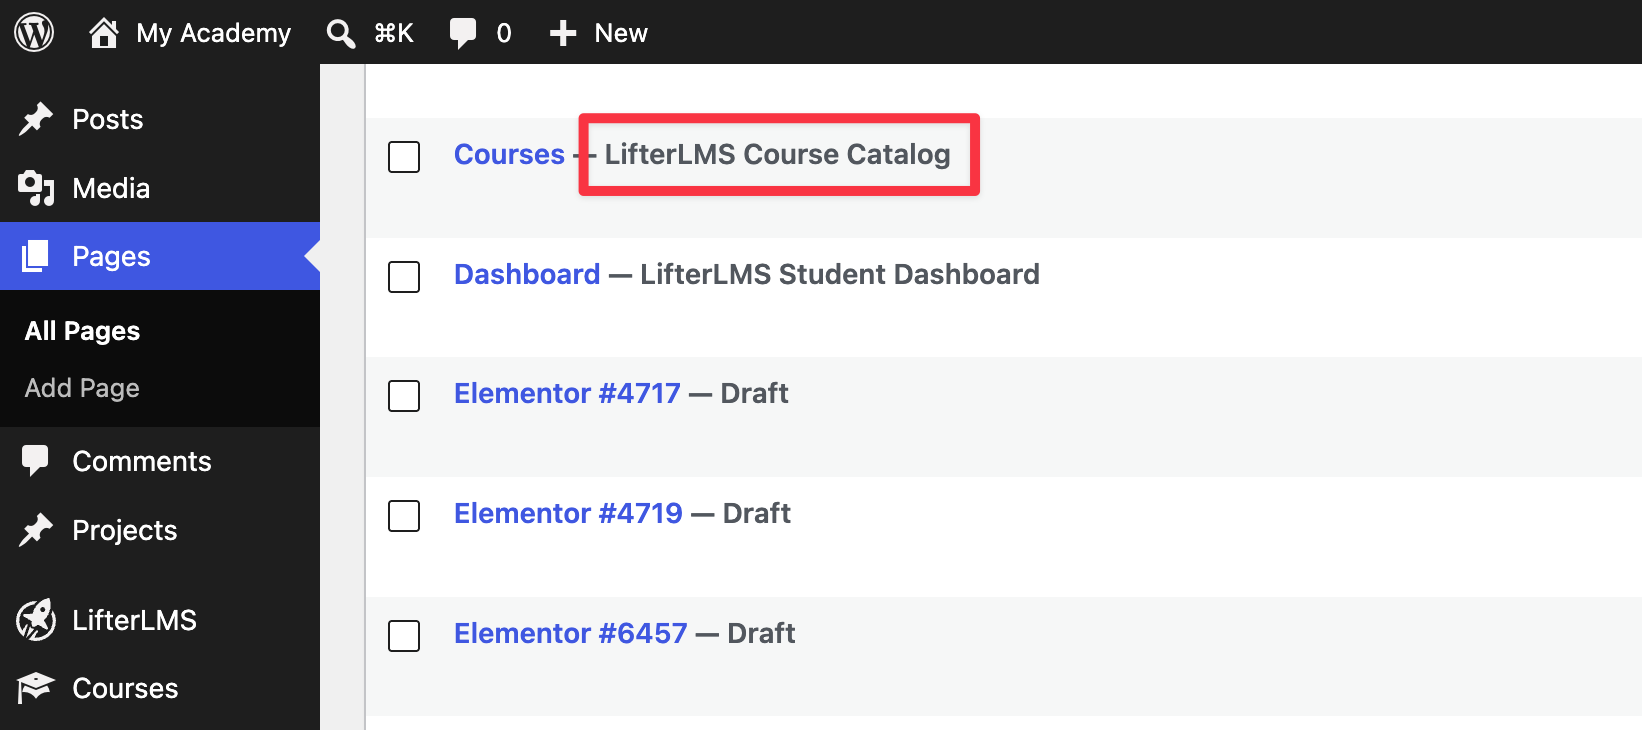
Once you save these settings, LifterLMS will automatically display your published courses on the selected page. You can verify your changes by checking for the LifterLMS tag next to the page name in your WordPress admin dashboard.
How to Sort and Set the Number of Courses on Your Catalog Page
You can control the order in which your courses appear to visitors, and also limit how many courses display on a single page before pagination links appear.
- Navigate to LifterLMS > Settings in your WordPress dashboard.
- Click on the Courses tab at the top of the page.
- Scroll down to the “Catalog Sorting” section.
- Click the dropdown menu next to “Catalog Sorting” to choose your preferred order. You can sort courses by popularity, most recent, or alphabetical order.
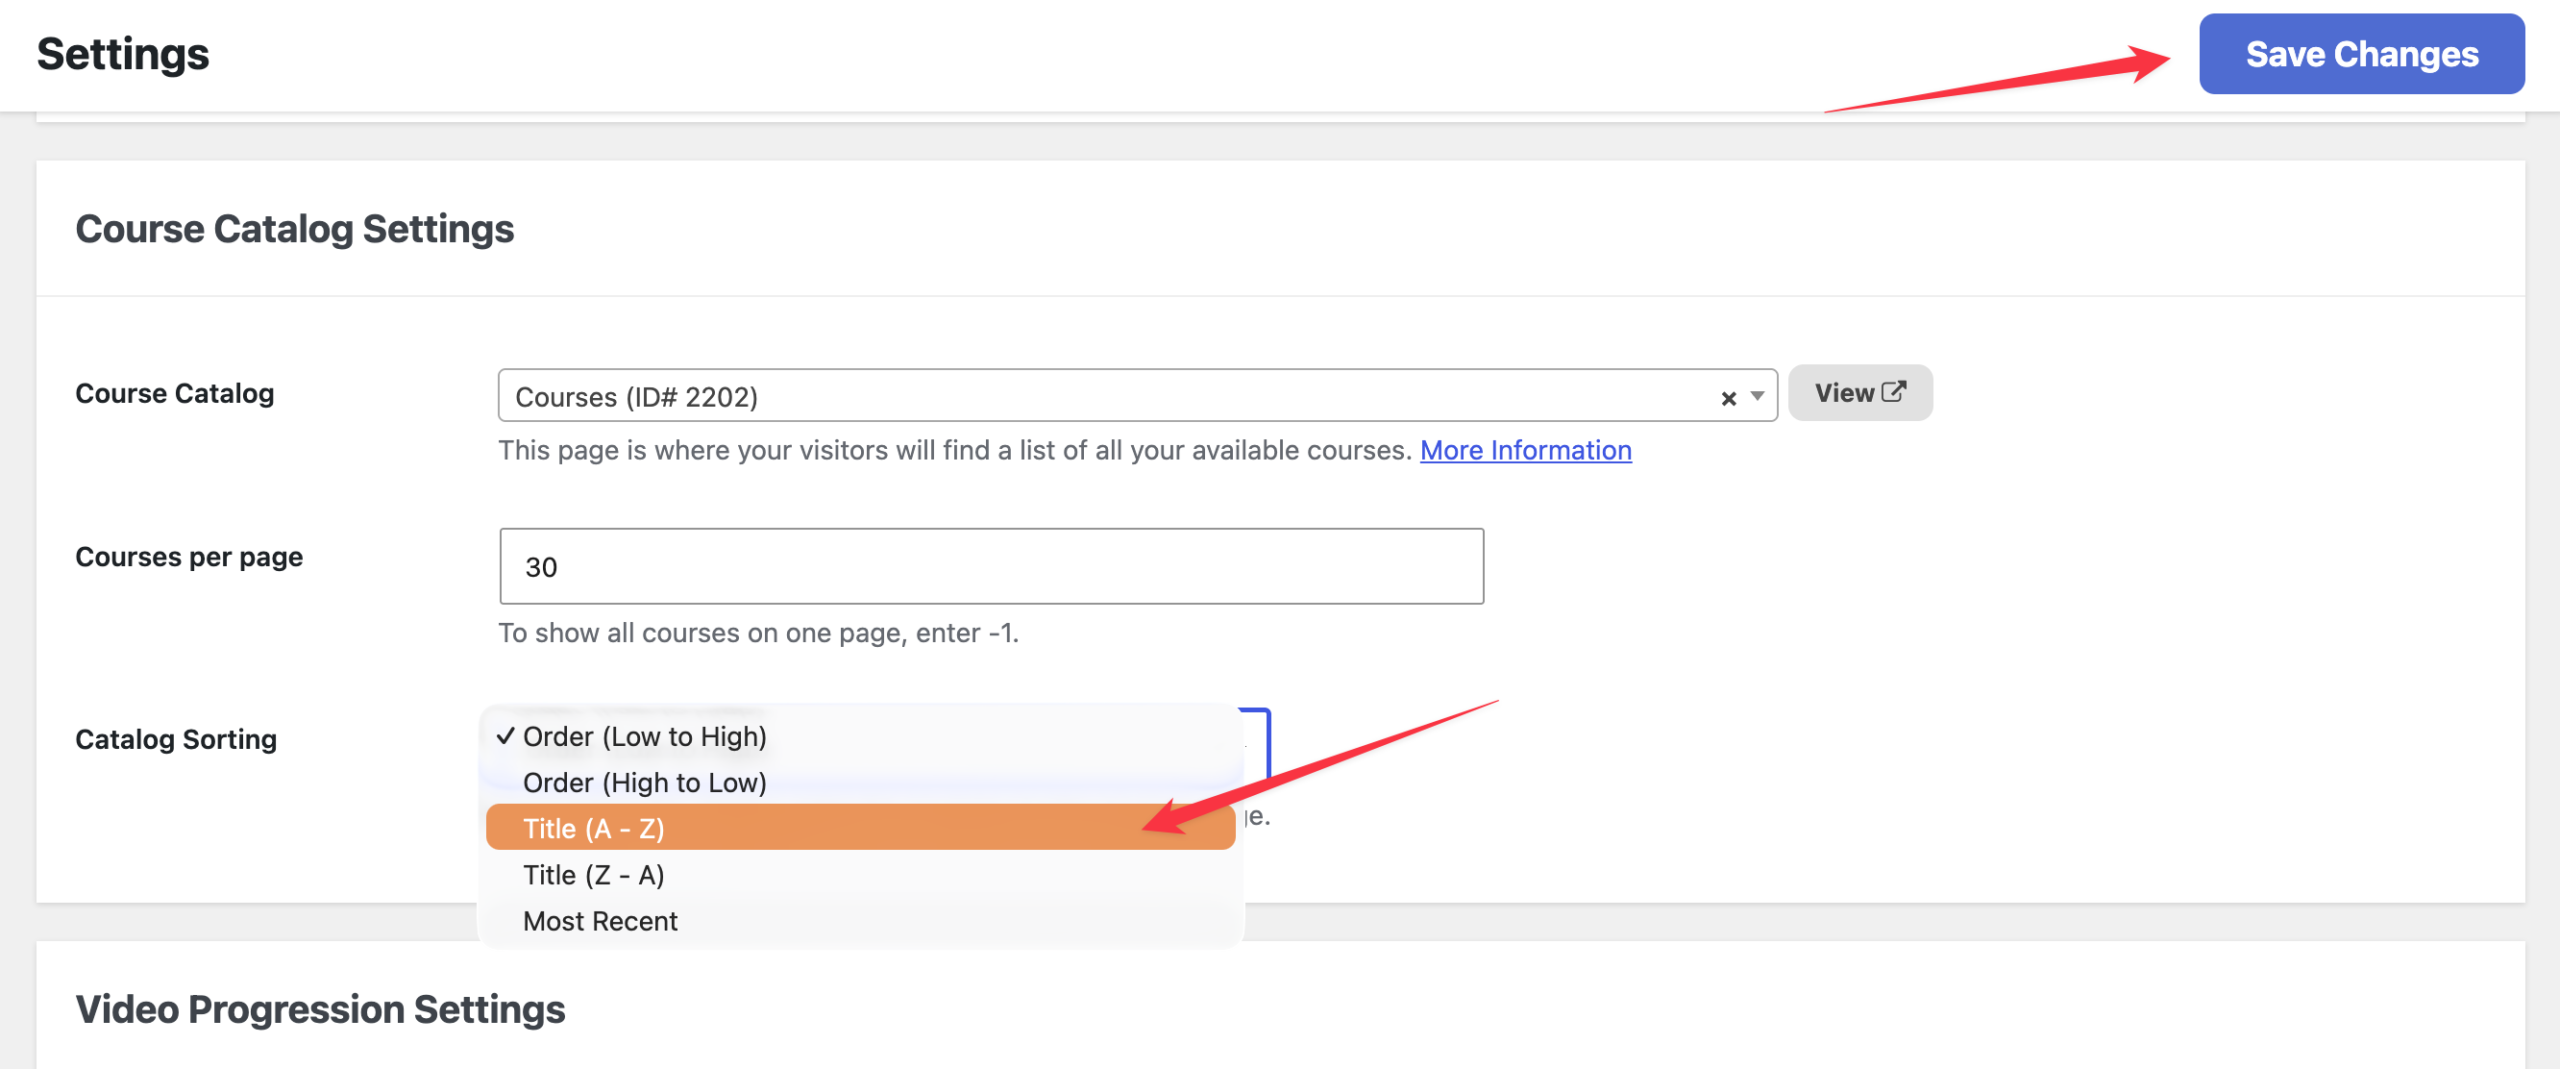
- Optionally, you can edit the “Courses Per Page” option to enter the maximum number of courses you want to display on a single page in the input field.
- Once you have finished editing, click the Save Changes button.
Video Tutorial
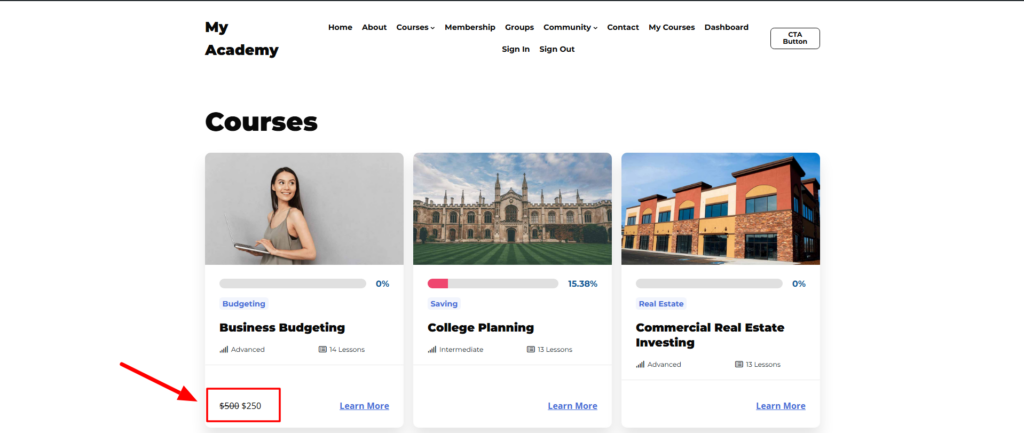
Featured Pricing Information lets you display a price comparison, such as a sale price, directly in the course catalog. This helps users quickly identify discounts without needing to click into the details.
Below are the steps to add Featured Pricing Information for Courses:
Step 1. Navigate to LifterLMS > Courses and select the course you want to edit.
Step 2. Go to the “Course Options” section.
Step 3. Click on the “General” tab.
Step 4. Locate the “Featured Pricing Information” field.
Step 5. Enter the original price (e.g., $500), apply strikethrough formatting, and add the new sale price (e.g., $250).
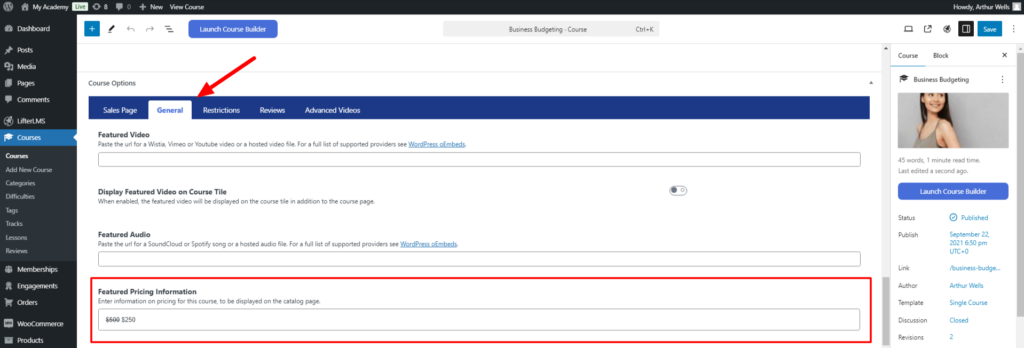
Step 6. Save your changes. The updated pricing will be displayed in the course catalog, helping users see the discount at a glance.
LifterLMS automatically generates the list of courses on your catalog page. However, you can still add your own text, images, or videos to this page to provide a custom introduction for your students.
Follow these steps to add content to your catalog page:
- Navigate to Dashboard > Pages.
- Find the page you selected as your “Course Catalog” in the LifterLMS settings.
- Hover over the page title and click Edit.
- Add your text, images, or other blocks using the WordPress editor.
- Click Update to save your changes.

Any content you add in the editor appears at the top of the page, before the list of courses. The dynamic course grid always displays automatically below your custom content.
Please note that this method only adds content to the top of the page.
You cannot use the WordPress page editor to change the layout, order, or design of the individual course cards within the grid. To change how the courses look or function, you must use the LifterLMS settings or a compatible theme.


