How to Configure Single Sign-On (SSO)
Single sign-on (SSO) lets users log in to your LifterLMS site (powered by WordPress) using an external account, such as Google, a company portal, or an institutional identity provider.
LifterLMS does not include built-in SSO or social login. Instead, it works with third-party WordPress plugins that handle authentication and pass the logged-in user back to LifterLMS.
Implementing SSO offers several advantages for both site administrators and users:
- Seamless User Experience: Students and employees enjoy a “one-click” login experience. Once authenticated to your main system, they gain immediate access to their courses without needing to re-enter their credentials.
- Improved Security: Users no longer need to create and remember an additional set of credentials, which reduces the risk of weak or reused passwords. Authentication is handled by your central IdP, which enforces strict security policies like Multi-Factor Authentication (MFA).
- Automated User Management: This is particularly powerful for organizations using systems like Azure Active Directory. You do not need to manage users separately in WordPress. When employees or students join your institution, they are automatically granted access. Conversely, when they leave, their access to your courses and site is automatically revoked when their account is disabled in Azure AD.
There are two common ways to add third-party login to LifterLMS:
Social login (OAuth)
- Best for public-facing courses and memberships.
- Users log in with accounts like Google or Facebook.
- Setup is usually quicker and works well for general audiences.
SAML-based SSO
- Best for organisations, schools, and internal training portals.
- Authentication is handled by a central identity provider such as Azure AD or Okta.
- This approach is typically used in enterprise or education environments.
Both options rely on third-party WordPress plugins and integrate with the standard WordPress login system used by LifterLMS.
While LifterLMS does not have a built-in social login feature, it is compatible with several third-party plugins that integrate with the standard WordPress login system used by the LMS.
LifterLMS works with the standard WordPress login system, while third-party login plugins are developed and supported by their own vendors. LifterLMS support can help with course access and student account behaviour after a successful login, but plugin configuration and identity provider setup should be handled by the plugin’s support team.
There are several third-party plugins that can be used to add external login to LifterLMS, including:
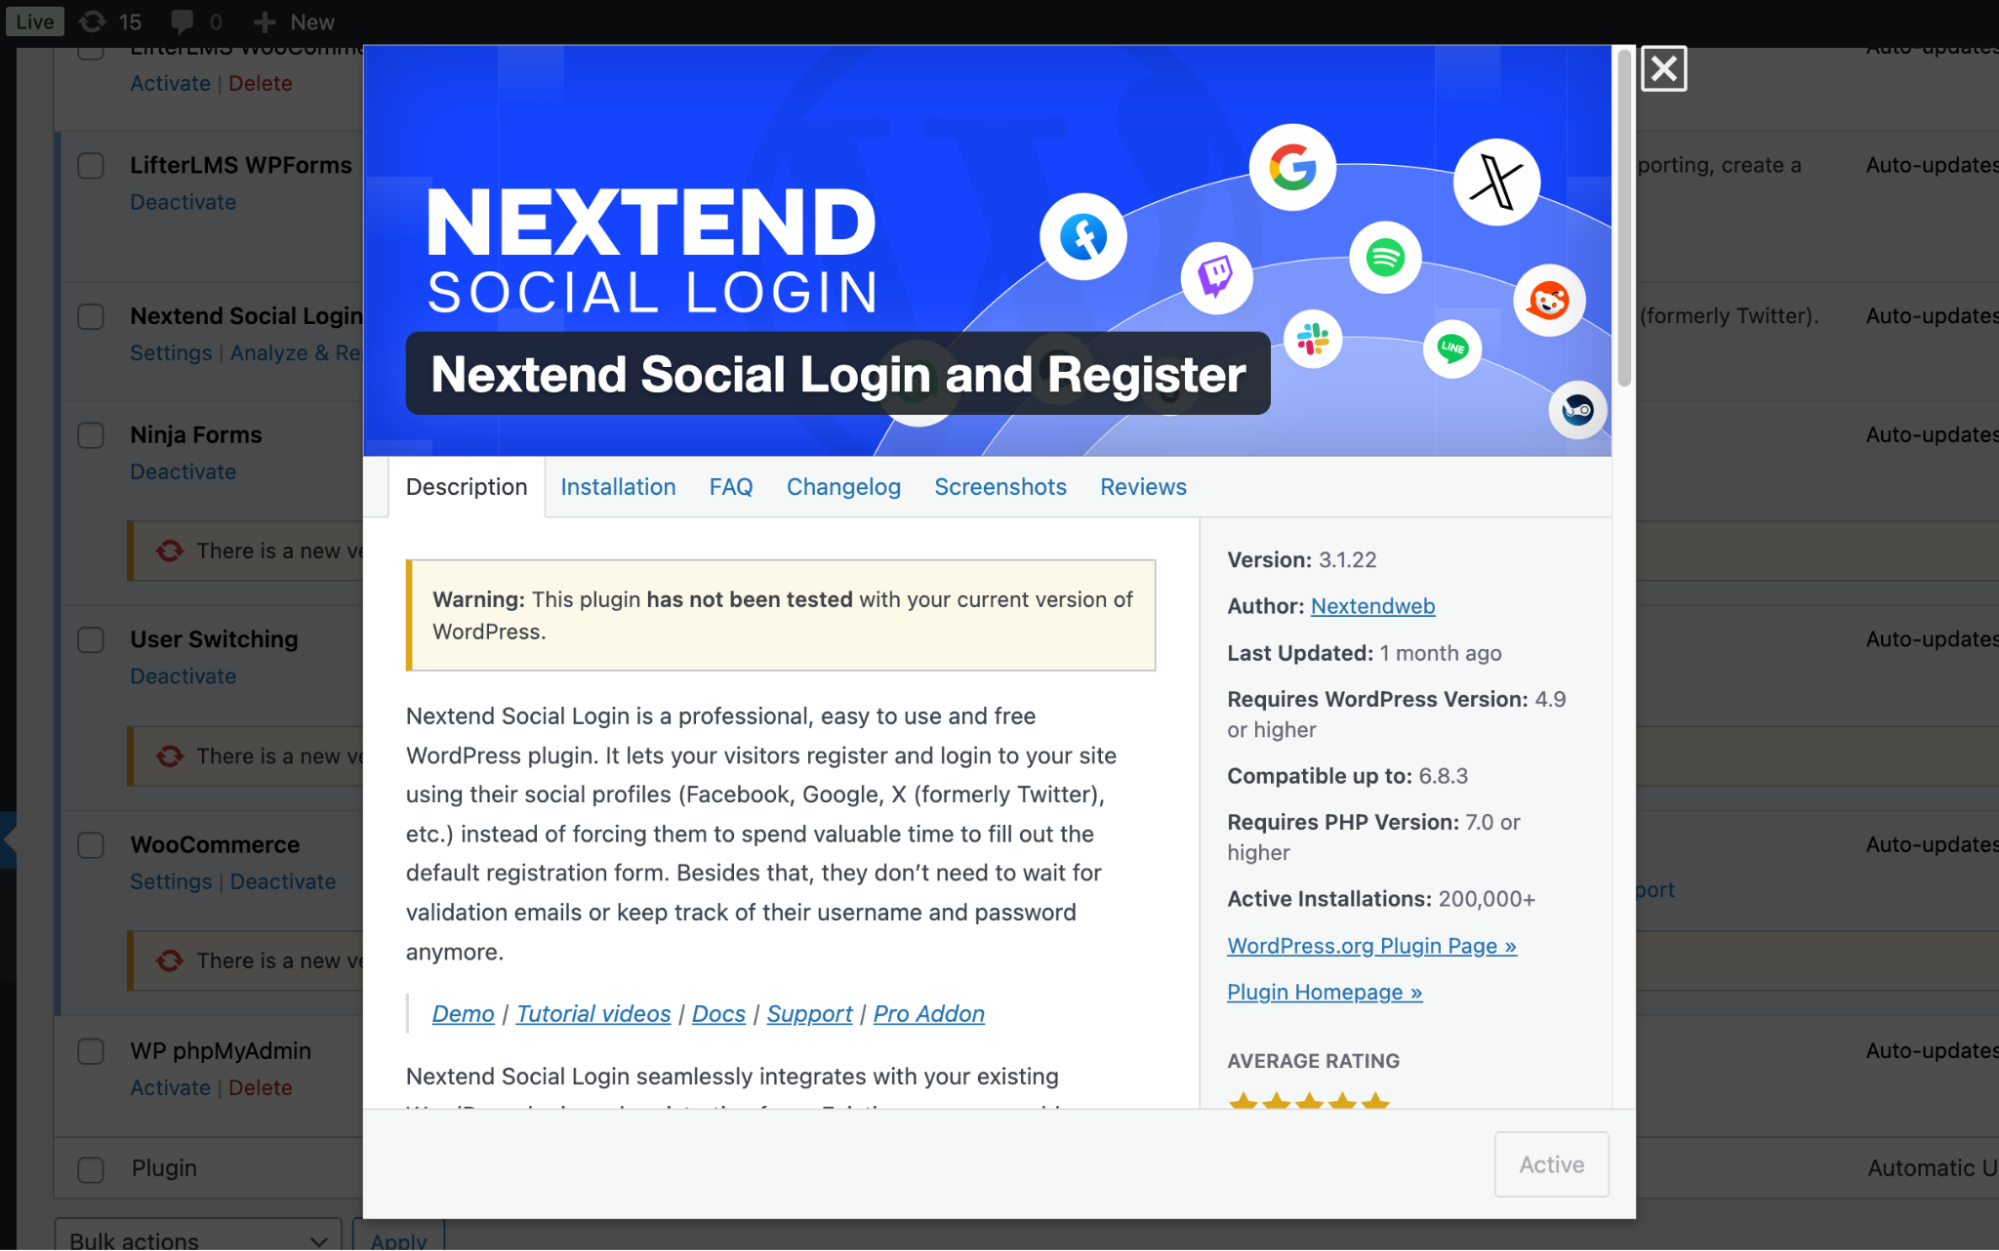
This guide uses Nextend Social Login as an example because:
- It offers a free version that supports major providers like Google and Facebook.
- It is widely used and actively maintained.
- Its documentation is clear and consistently updated.
Other social login plugins follow a similar setup process, even if menu names or configuration steps differ slightly.
If you need SAML 2.0–based single sign-on for an organisation or institution, SAML Single Sign On – SSO Login by miniOrange is a commonly used option and is often recommended by LifterLMS support for enterprise setups.
This article uses Nextend Social Login as an example because it provides a simpler, user-friendly setup for social login providers, while following the same overall authentication flow.
SAML plugins follow the same overall flow shown in this guide, but setup steps vary depending on the identity provider you use. For detailed SAML configuration, refer to the plugin’s documentation or support team.
- Navigate to Plugins > Add New.
- Search for “Nextend Social Login”.
- Click Install Now and then Activate.
- Navigate to Settings > Nextend Social Login.
- Find the Google tile and click Getting Started.
To connect your site to Google, you must create an application in the Google Cloud Console.
- Navigate to https://console.cloud.google.com/auth and log in with your Google credentials.
- In the Google Cloud Platform, make sure that your new project is selected in the top bar menu.
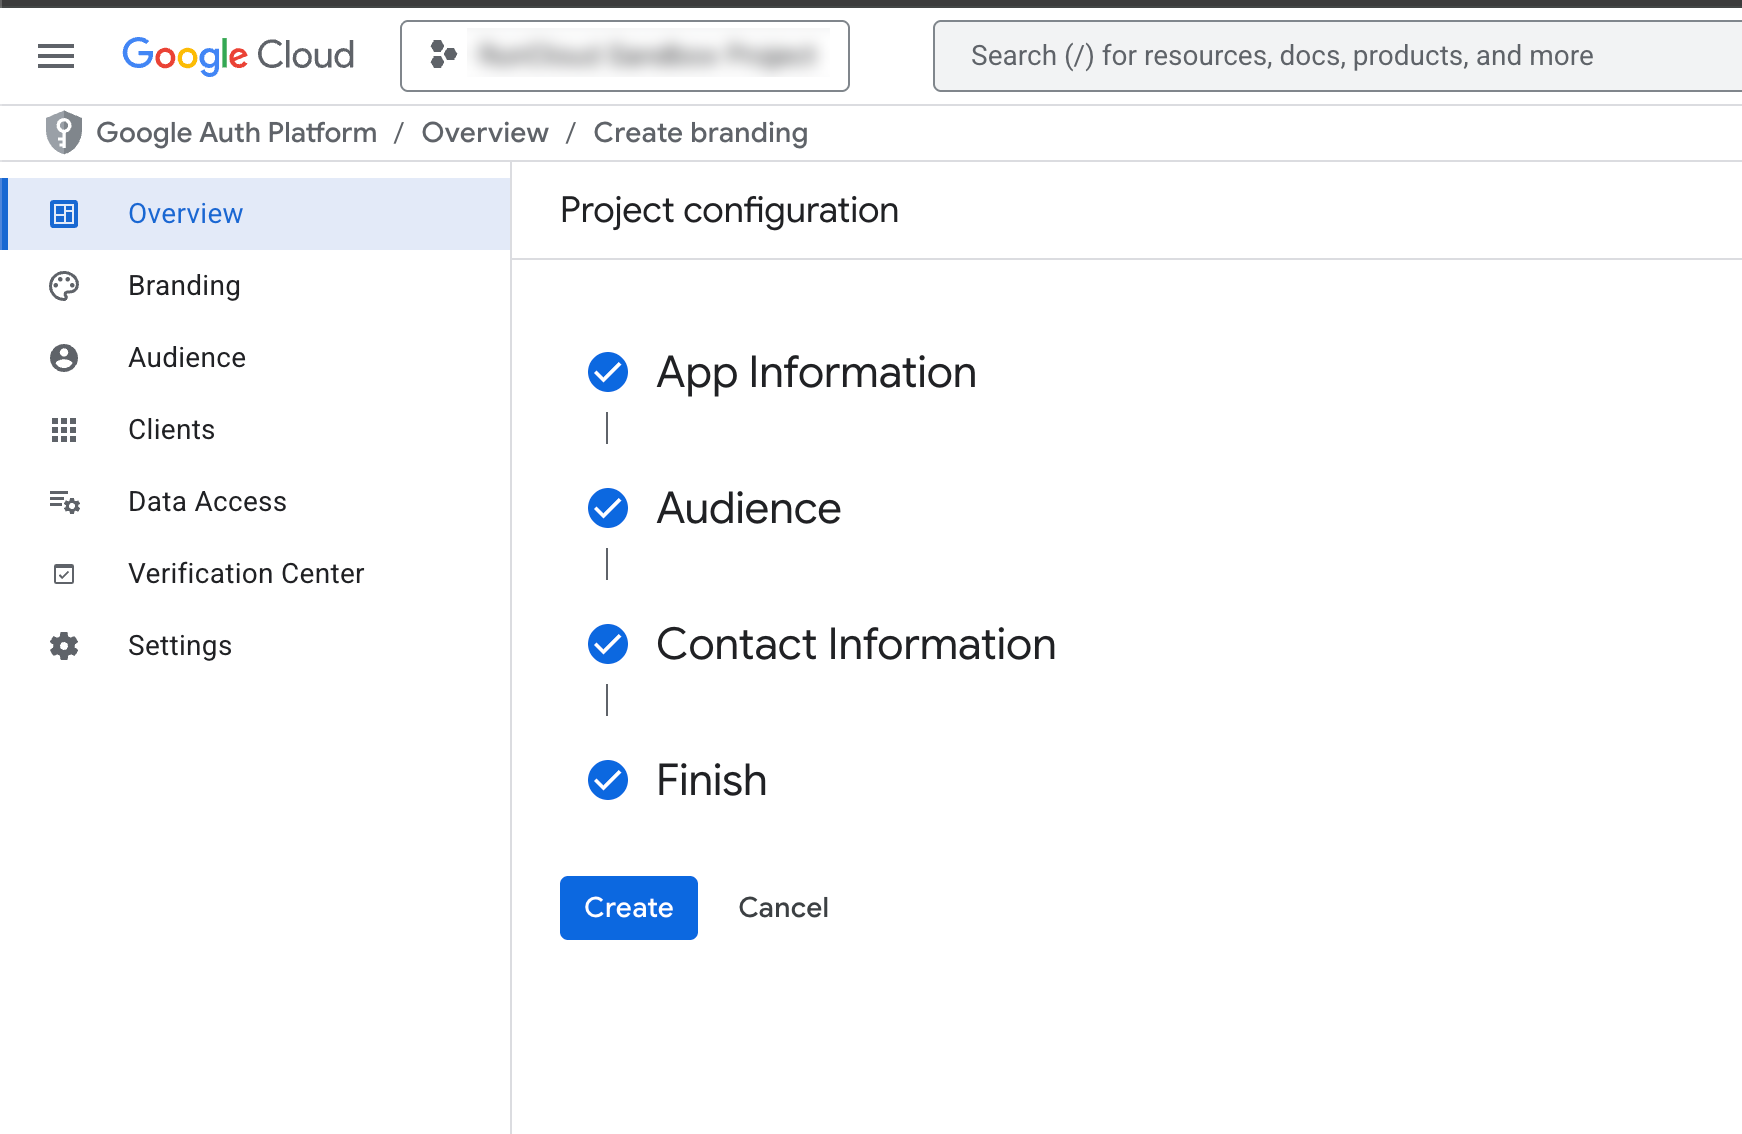
- Open the navigation menu and navigate to APIs & Services > OAuth consent screen.
- On this screen, we will create a new app and enter your “App name” (this is what students will see).
- Select your email for the “User support email” field.
- Click Next.
- Under “Audience”, select “External” for the “User Type” to allow any student with a Google account to log in.
- Click Next.
- Enter your email address under “Contact Information” and click Next.
- Agree to the “Google API Services: User Data Policy” and click Continue.
- Click Create.
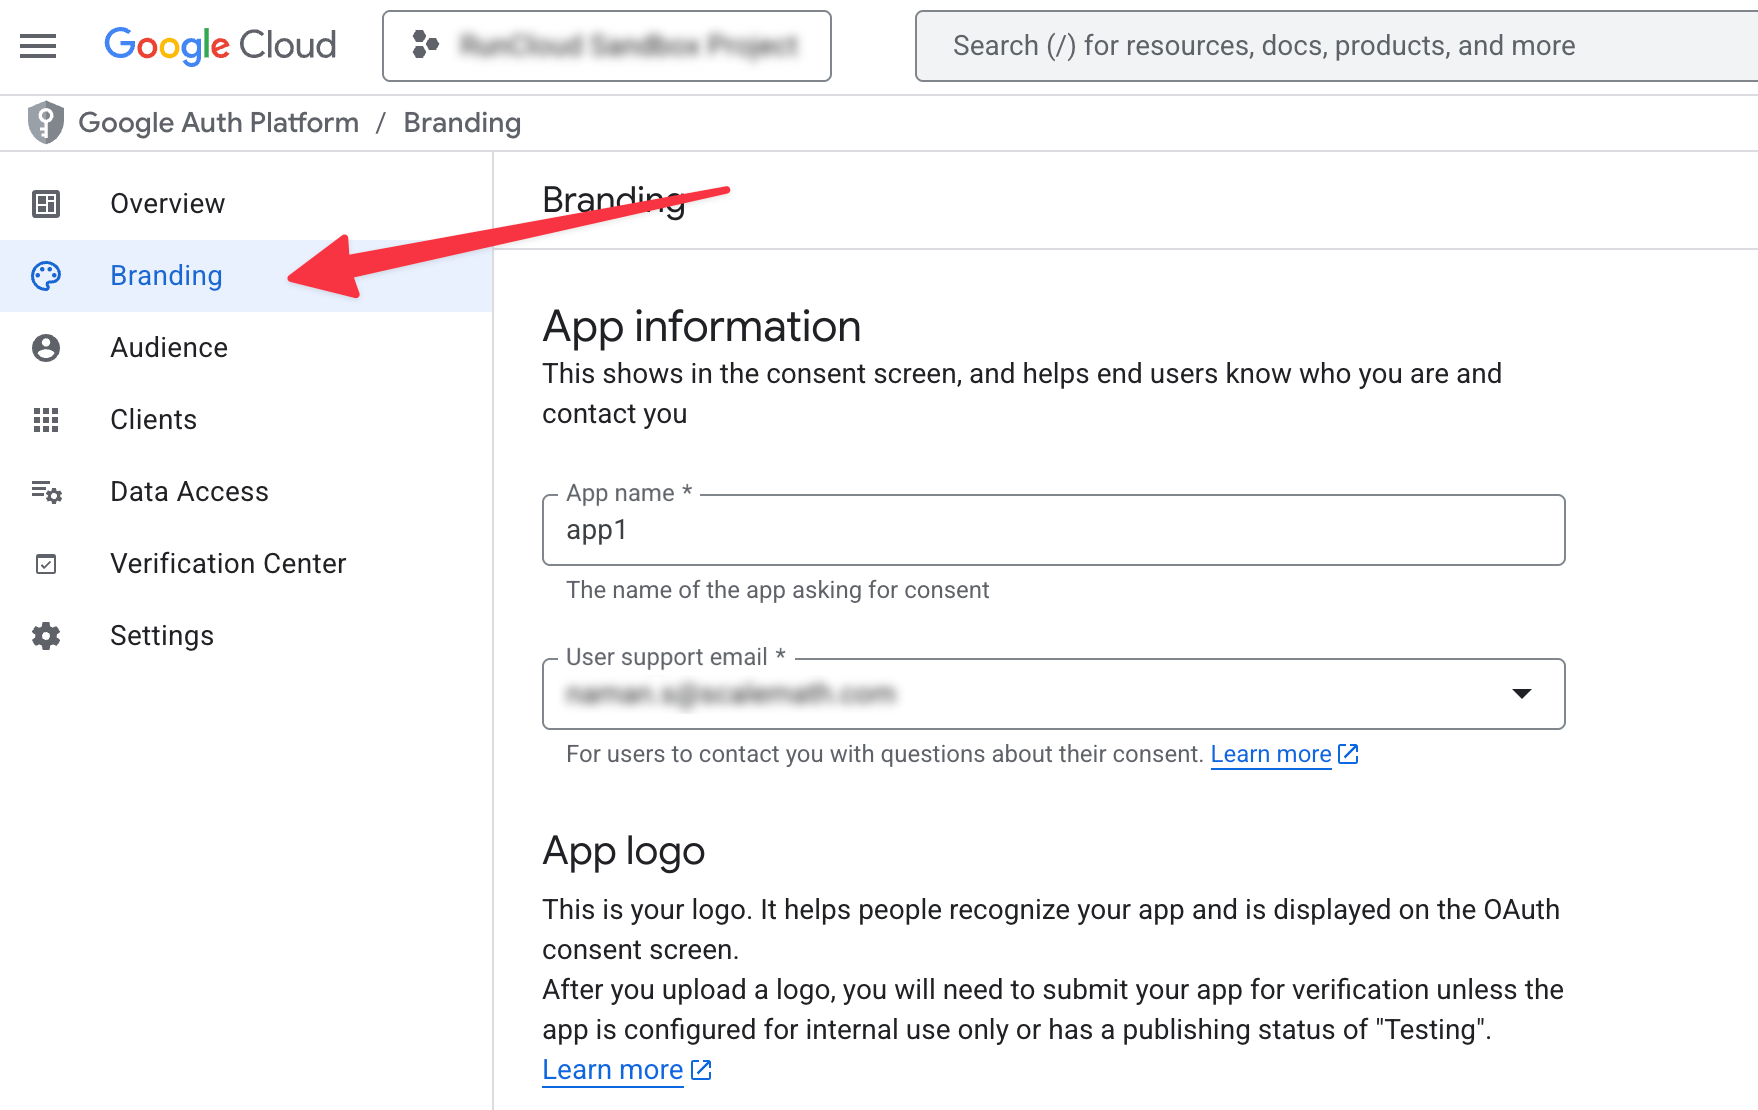
- Select “Branding” from the left-hand menu.
- Upload an “App logo” if you wish to customize the consent screen.
- Provide your site links for the “Application home page”, “Application privacy policy link”, and “Application terms of service link”.
- Locate the “Authorized domains” section and click Add Domain.
- Enter your domain name without subdomains (e.g., “example.com”).
- Click Save.
- Select “Clients” from the left-hand menu.
- Click Create client.
- Select “Web application” as the “Application type”.
- Enter a name for this client.
- Locate the “Authorised redirect URIs” section and click Add URI.
- Enter the redirect URL provided by the Nextend plugin settings. It should look something like: https://yourdomain.com/wp-login.php?loginSocial=google.
- Click Create.
- A modal will appear with your “Client ID” and “Client Secret”. You can copy these values or download the JSON file to use it later in the next step.

- Return to your WordPress dashboard and navigate to Settings > Nextend Social Login > Google.
- Paste your “Client ID” and “Client Secret” into the appropriate fields.
- Click Save Changes.
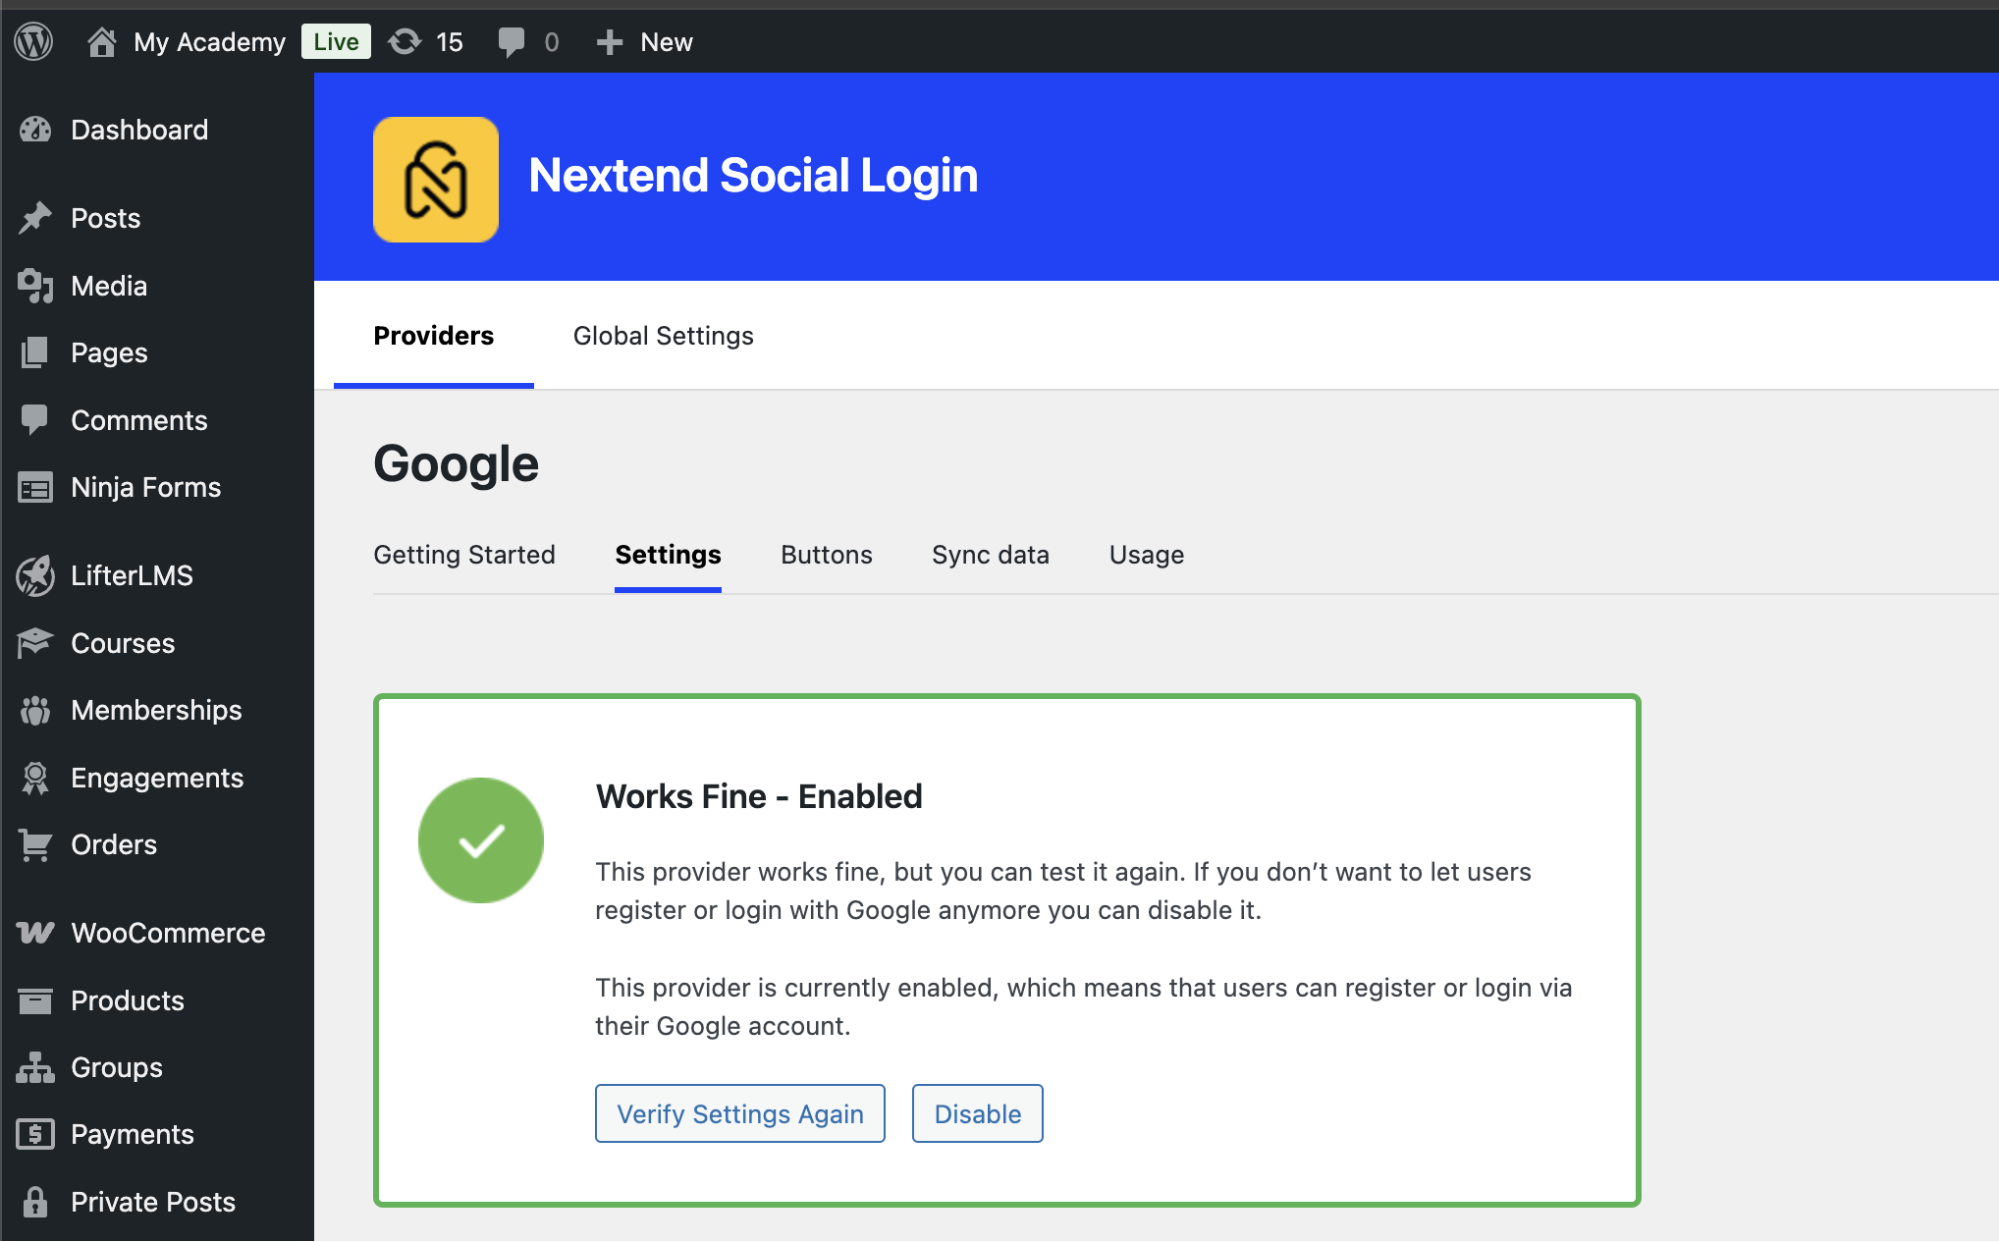
- After saving the settings, you will need to verify the connection by performing a test login yourself.
- If the test is successful, click Enable.
Once enabled, the Google login button will automatically appear on the default WordPress login page. If you are using a custom login page or the LifterLMS student dashboard, you will need to add the buttons manually using shortcodes or HTML.
By default, LifterLMS students log in via the student dashboard located at /dashboard/. You can edit any WordPress page or post to serve as a custom login page and display the social login buttons. The default login form on this page cannot be easily replaced with an SSO button. To resolve this, you must create a separate login page.
- Navigate to Pages > Add New.
- Title the page “Login” (or a name of your choice). This will set the permalink to /login/.
On your custom login page, you can insert the following shortcodes or HTML into the page’s content editor. Remember that these codes will only render the social login buttons if the user is currently logged out:
Using Shortcodes
| Shortcode | Description | Example Output |
|---|---|---|
[nextend_social_login] |
Shows buttons for all enabled social providers. | Google, Facebook, Twitter buttons |
[nextend_social_login provider="google"] |
Shows the button for a specific provider (Google in this case). | Google button only |
[nextend_social_login provider="google" style="icon"] |
Shows a small icon instead of a full button for a specific provider. | Google icon only |
Finally, you need to modify the shortcode to ensure students are sent back to the dashboard after logging in by adding the redirection parameter. Your final shortcode should look like this:
[nextend_social_login redirect="https://www.your-domain.com/dashboard/"]
Using Custom URLs or Images for Social Login
If you want to use a specific social login link (like a direct “Login with Google” link) or an image button in your menu or site header, you can use a custom URL or HTML.
Finding Your Custom Social Link
Every site has a unique redirect URL for social login. To find yours:
- Navigate to Settings > Nextend Social Login.
- Click on the “Usage” tab for the specific provider (e.g., Google).
- Look for the “OAuth Redirect URI” or the “Simple Link” section to copy the specific URL for your site.

Adding a Custom Link to the Menu
- Navigate to Appearance > Menus.
- Click on the “Custom Links” dropdown.
- Paste your social login URL into the “URL” field.
- Enter the desired text (e.g., “Login with Google”) into the “Link Text” field.
- Click Add to Menu.
For SAML-based single sign-on, many LifterLMS users choose miniOrange SAML Single Sign On – SSO Login, which is a different plugin from the social login solution used in this article.
Nextend Social Login is used here as an example of social login via OAuth providers, while miniOrange is typically used for SAML-based enterprise or institutional SSO setups.
These plugins are not interchangeable and are chosen based on the authentication method your organisation requires.
If you have questions regarding the configuration of the Identity Provider or the functionality of the shortcodes, please contact the support team of the third-party plugin. For issues related to LifterLMS course display or student accounts after a successful login, please submit a ticket to LifterLMS support.


