Getting Started with the Course Template
The Course Template is helpful for building your personalized course, offering a conversion-optimized course sales page and an organized proven teaching framework for the course syllabus.
It serves as the foundation for constructing your solid course structure, ensuring a professional and instructional design that enhances both the content delivery and the overall learning experience for students.
Instant Courses
1) You can access the course template during the initial setup in the Wizard Setup when you first install or activate the LifterLMS plugin.
If you have already completed the setup but forgot to install the course template, you can rerun the LifterLMS Wizard. Follow this documentation on how to Rerun LifterLMS Setup Wizard.
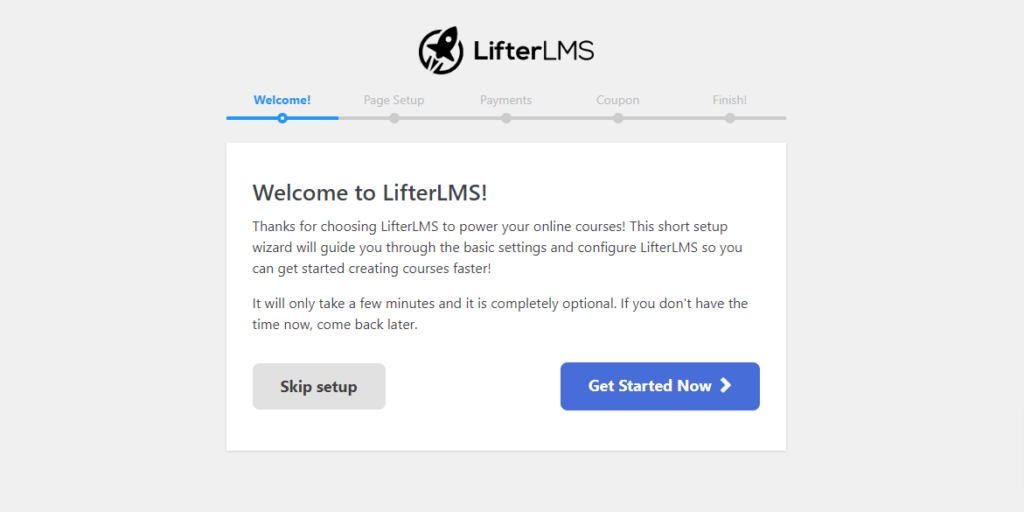
2) When you first activate your LifterLMS or Rerun the wizard, you will see the Setup Wizard screen.
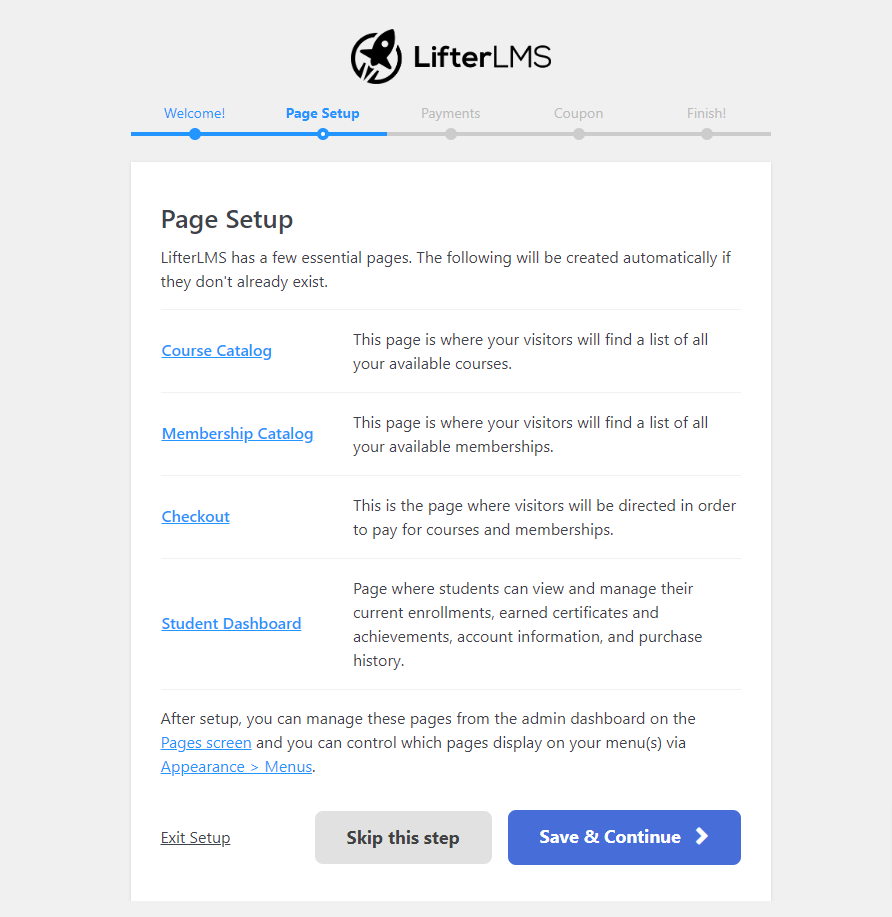
3) Proceed to the Page Setup step.
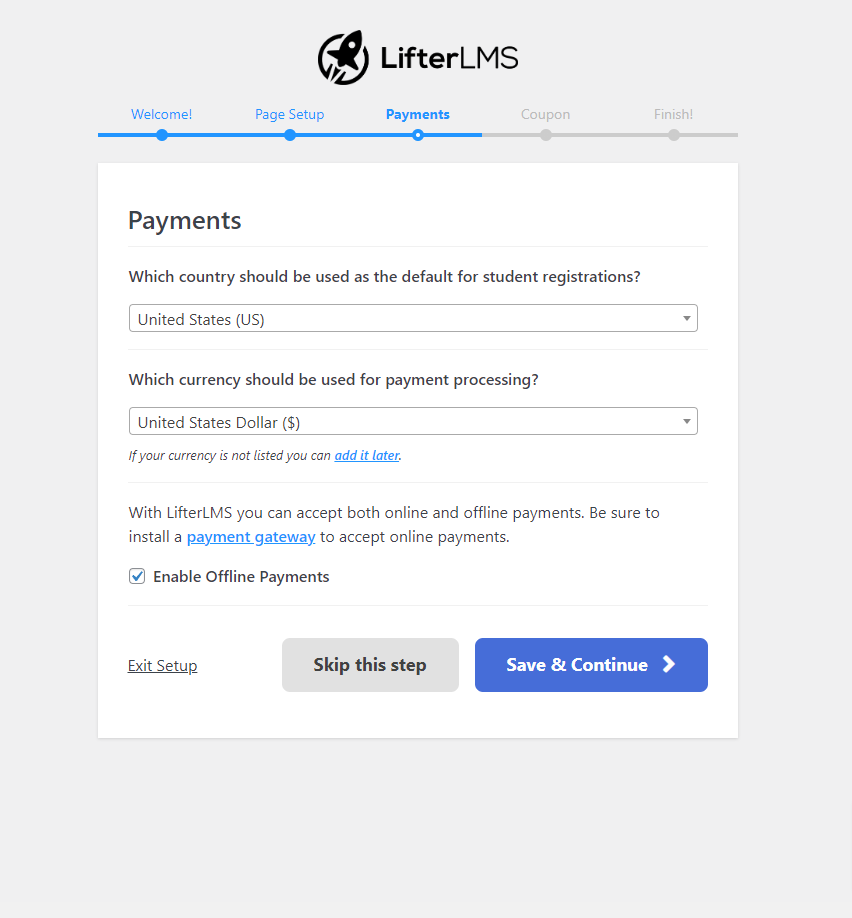
4) Choose your preferred currency.
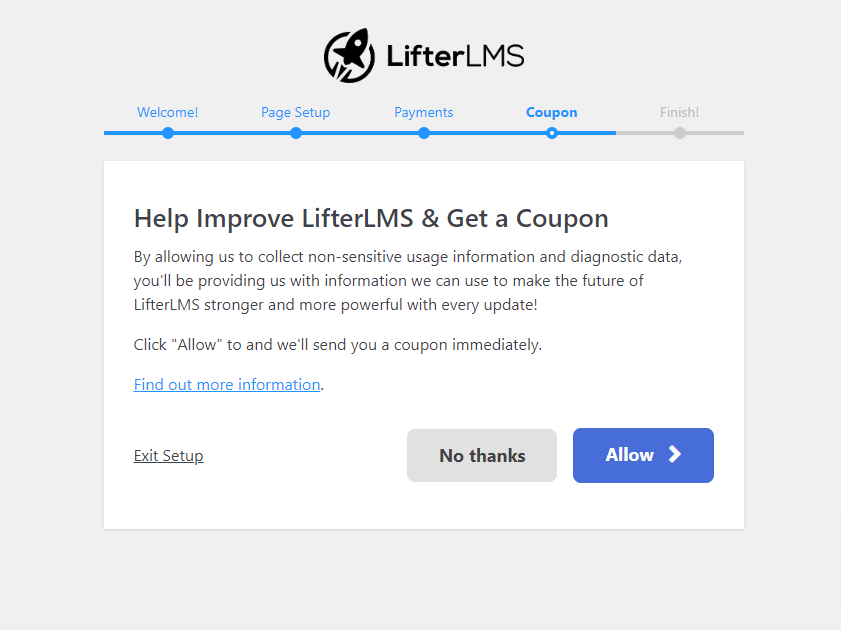
5) Review and configure the coupon option.
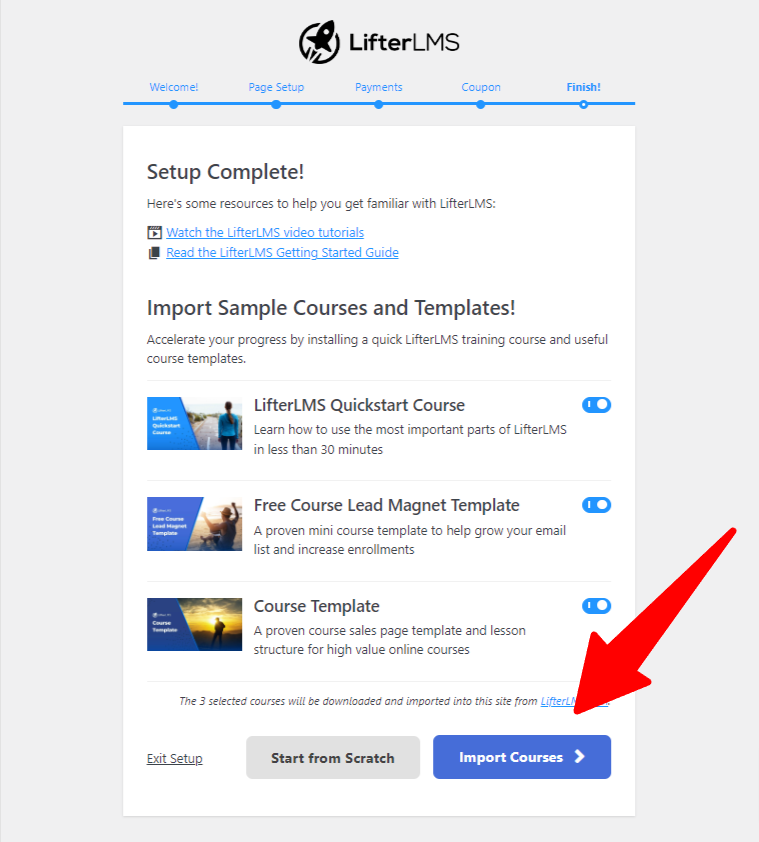
6) You will see the Course Template option. Enable the templates you want to add to your site.
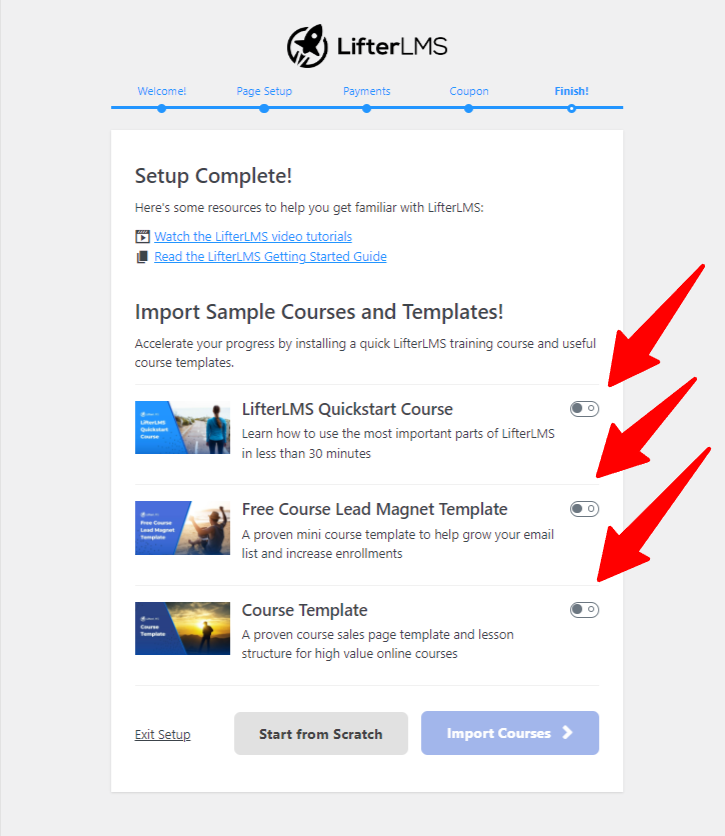
7) Select the courses and templates you want installed on your website, and complete the setup by clicking the Import Courses button.
1) Swap out the placeholder text, images, and video with your own content.
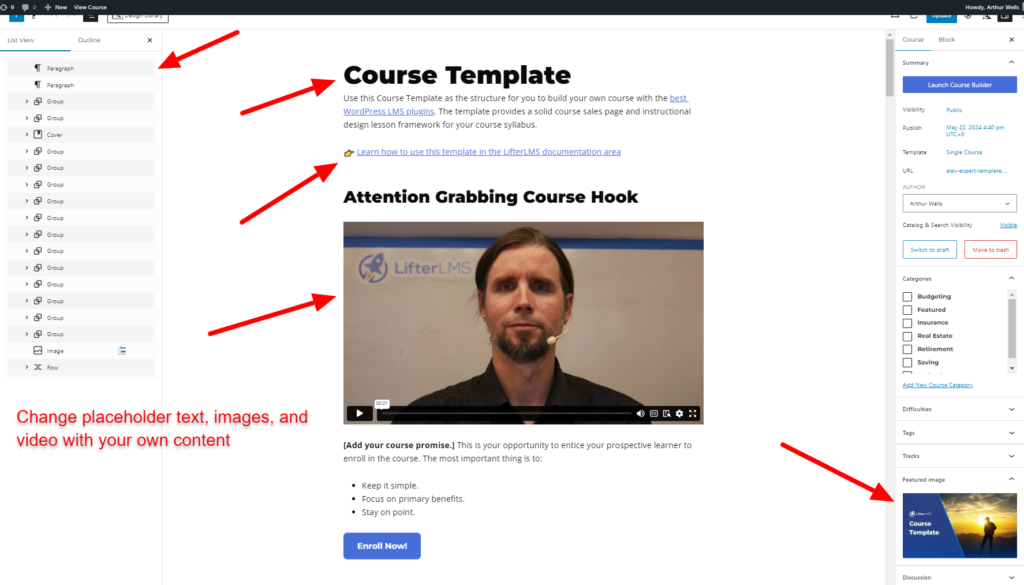
2) Feel free to modify or remove sections of the template based on your specific goals.
1) If you would like to create a new course using a template, go to LifterLMS > Import > Download & Import the template you want to use.
Video Demo of Importing Template
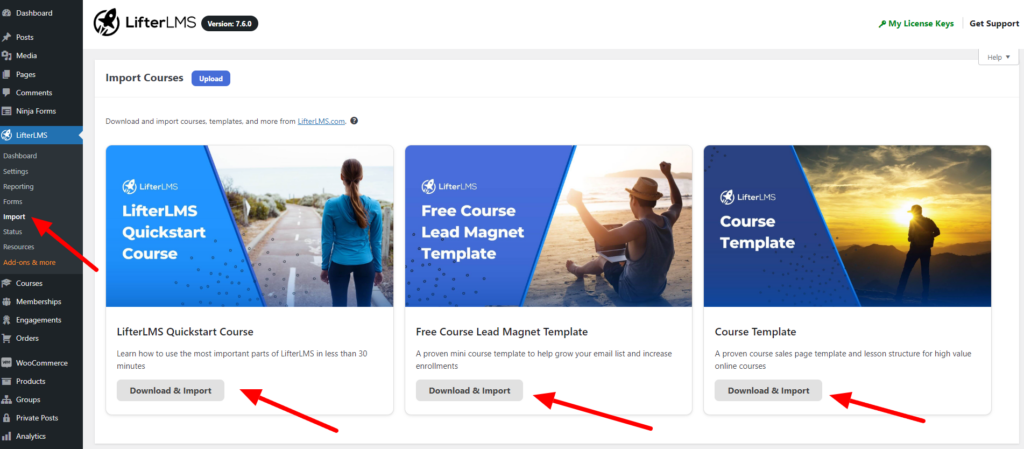
2) Once you click the “Download & Import” button, you will see a notification bar.
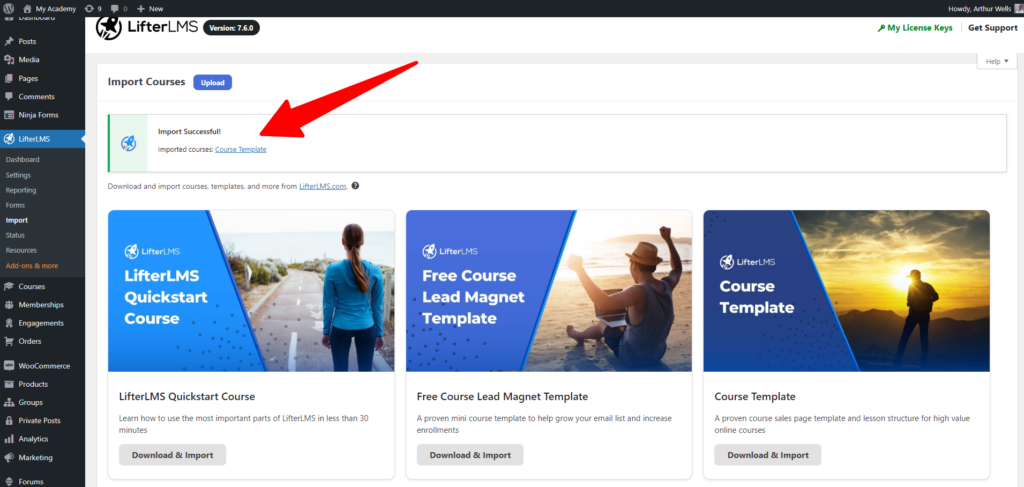
3) After importing, you will see it added to your course list.
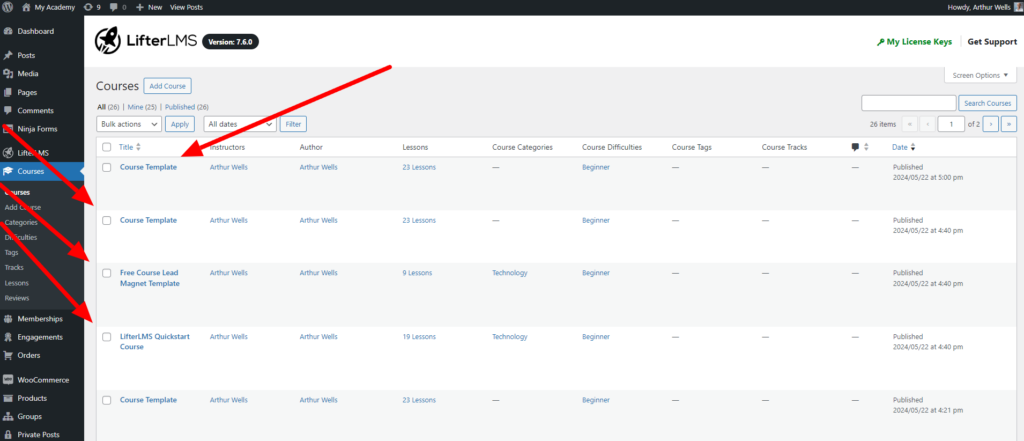
4) You can repeat the process to continue building out your new course from a template starting point.


