How to Add a Header & Footer When Using the LifterLMS Private Site Add-on
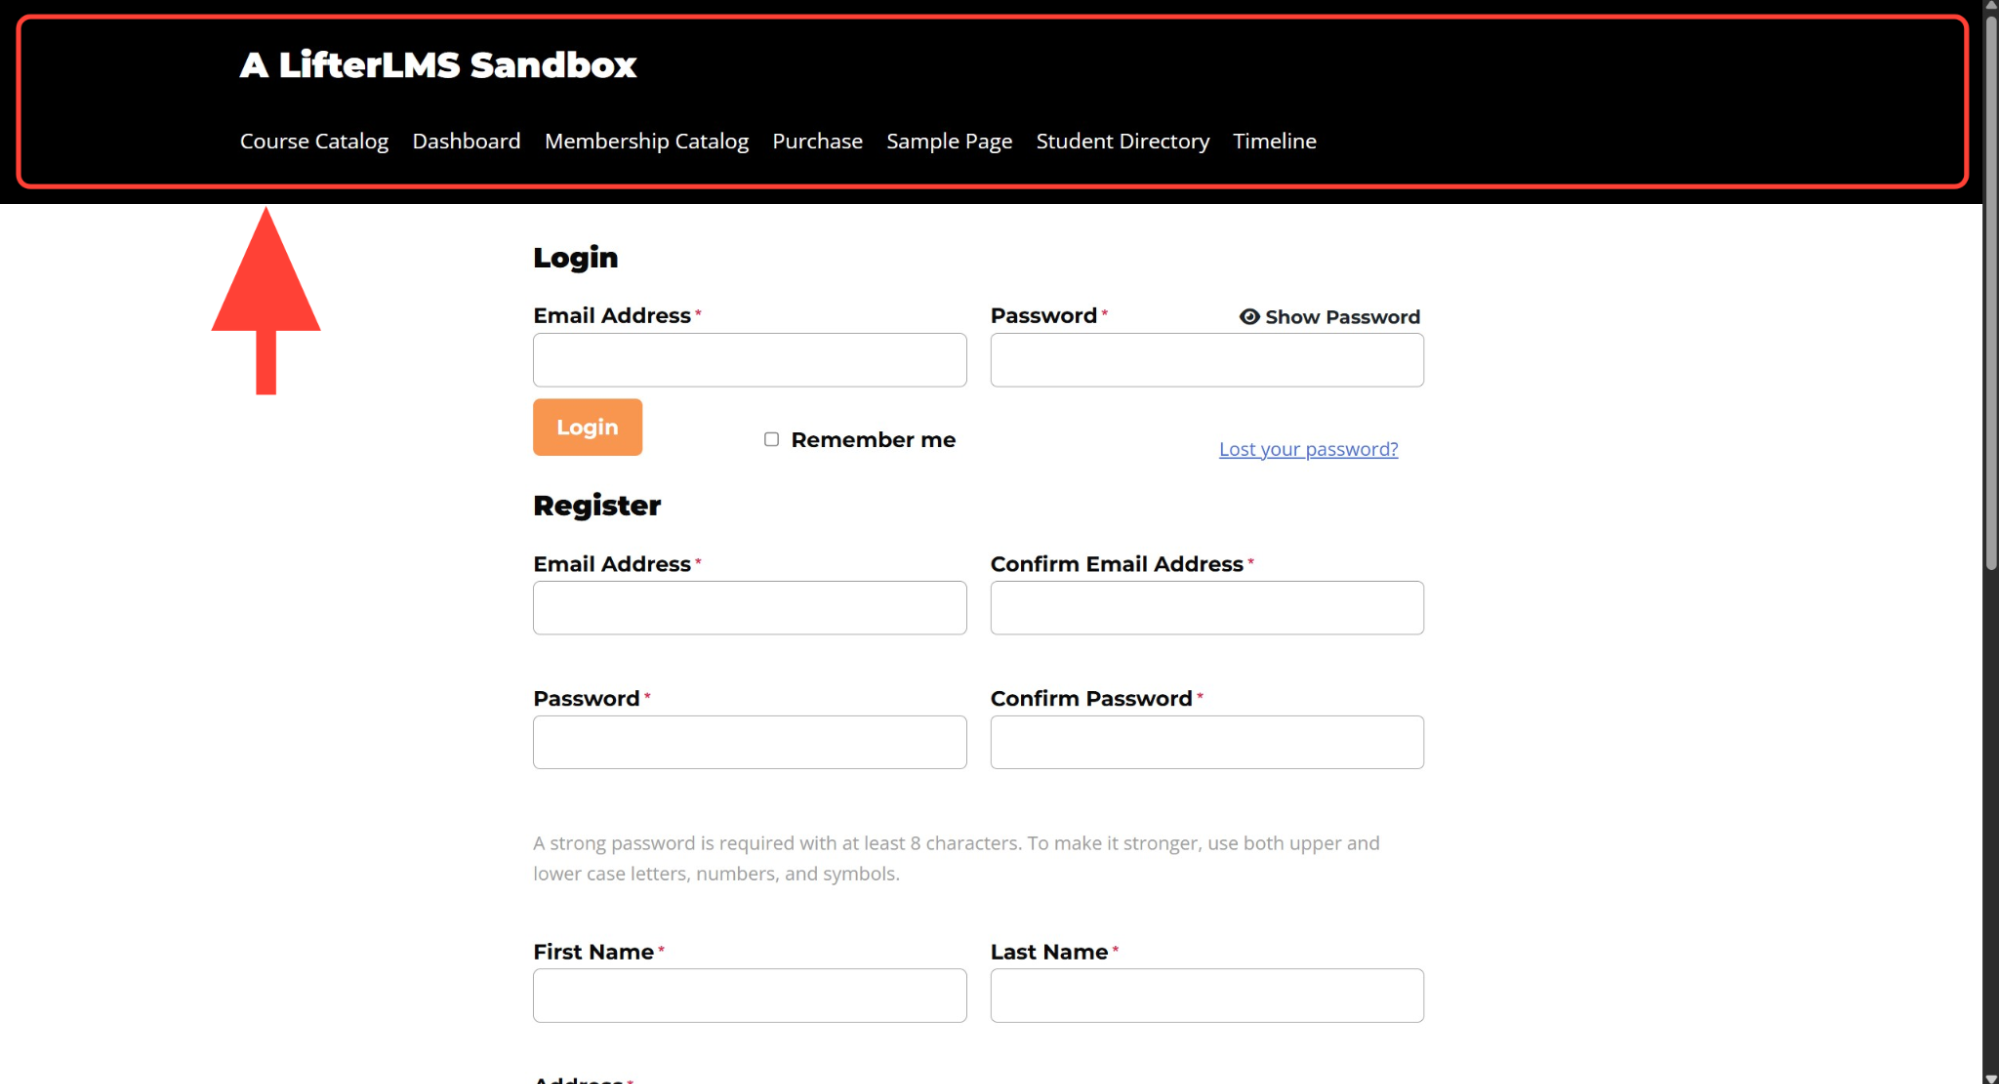
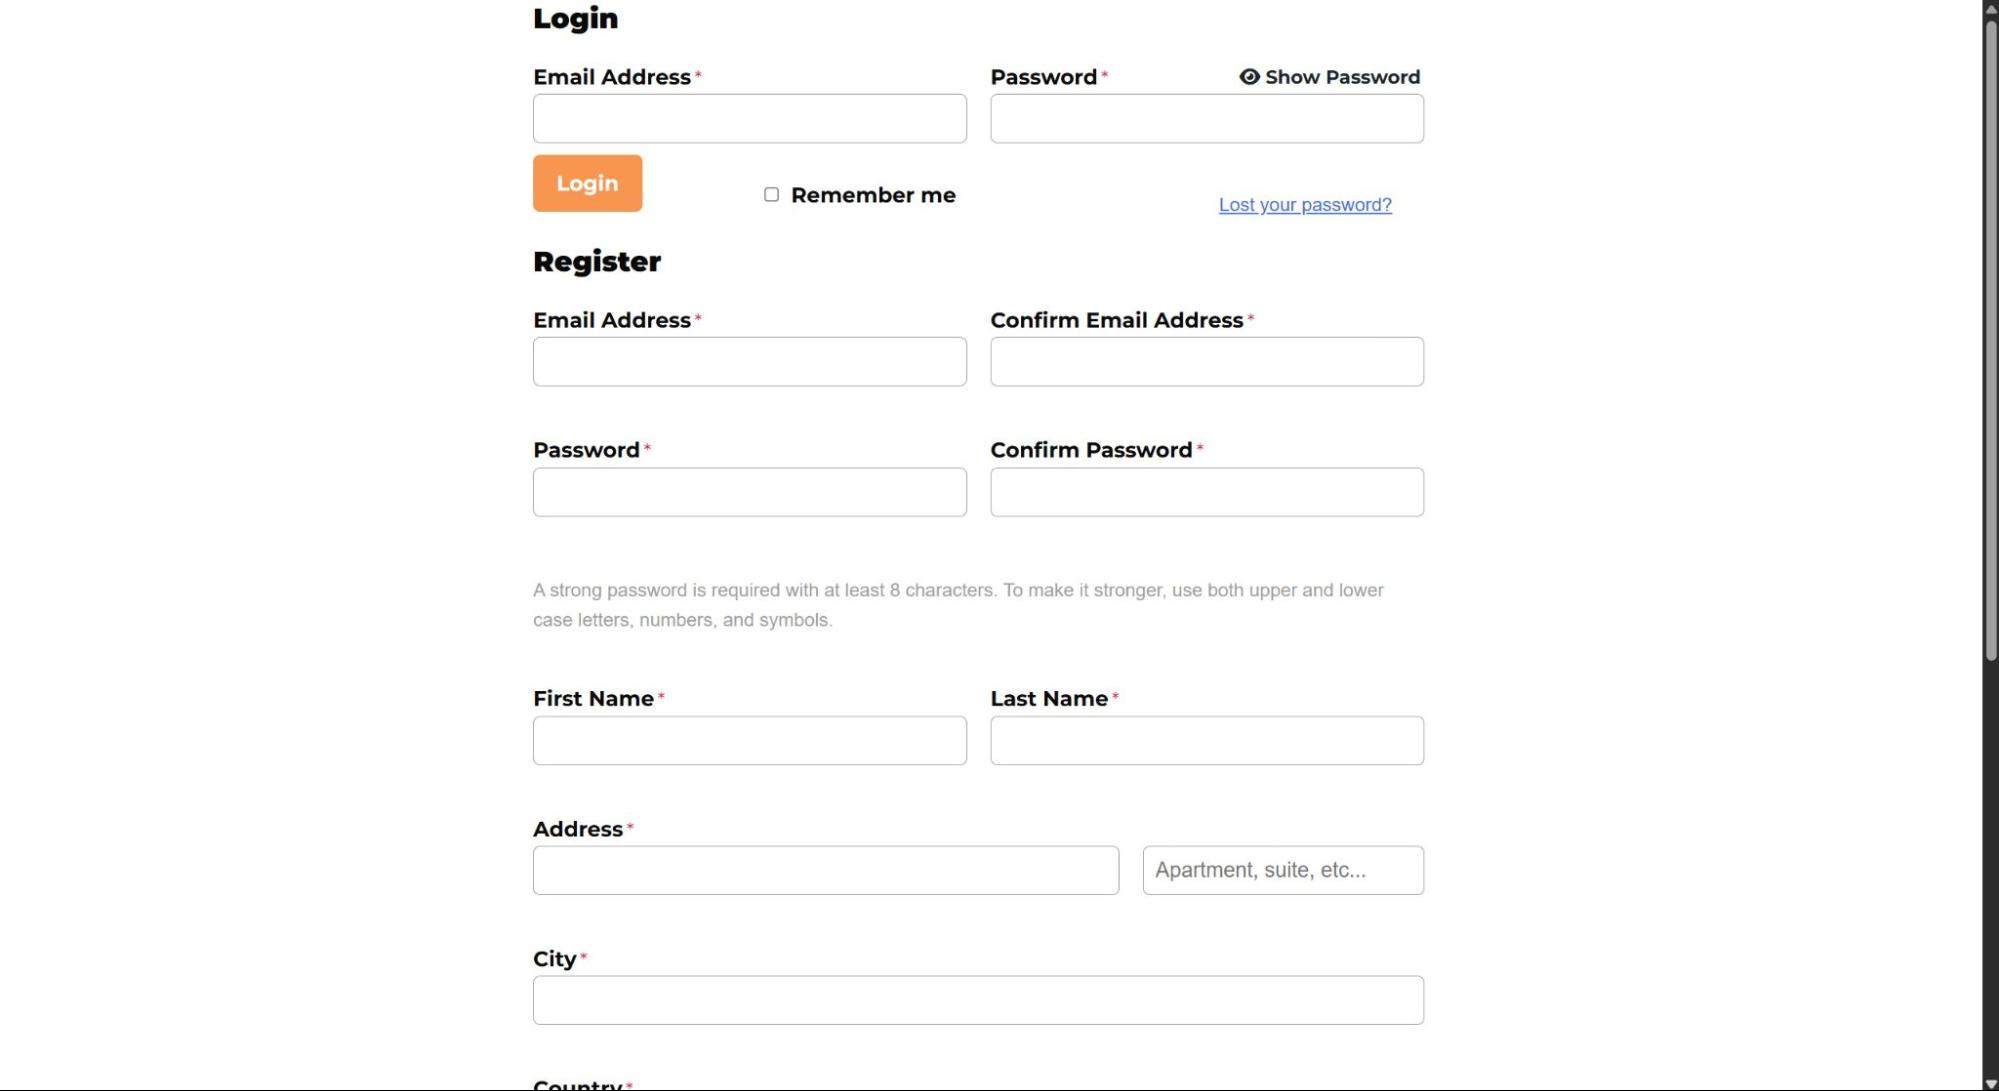
When you use the LifterLMS Private Site add-on, your site’s visitors will only see a login and registration form when they visit your website’s home page. By default, this login and registration page doesn’t include a header, as shown below.
To add a header to this login and registration page, follow the steps below.
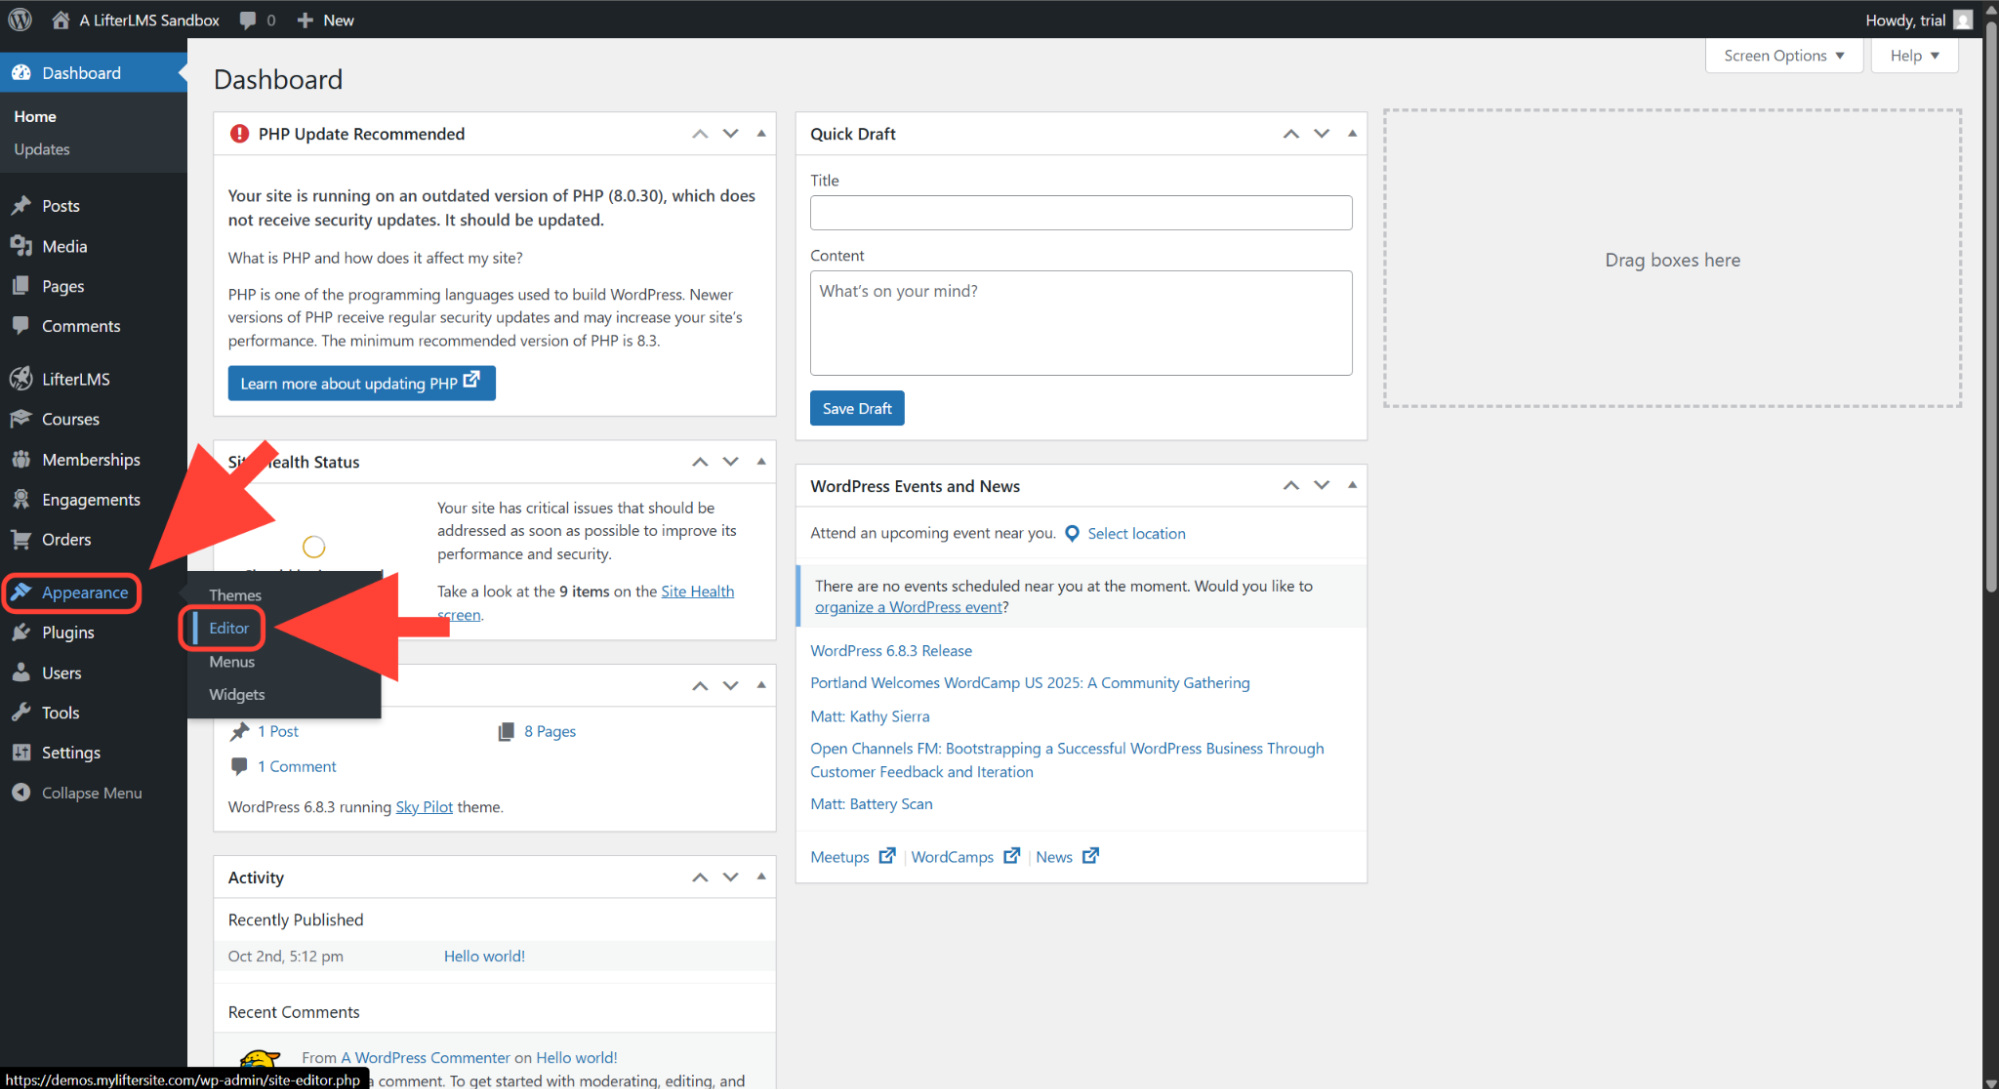
Go to Appearance > Editor in your WordPress dashboard to open the Site Editor.
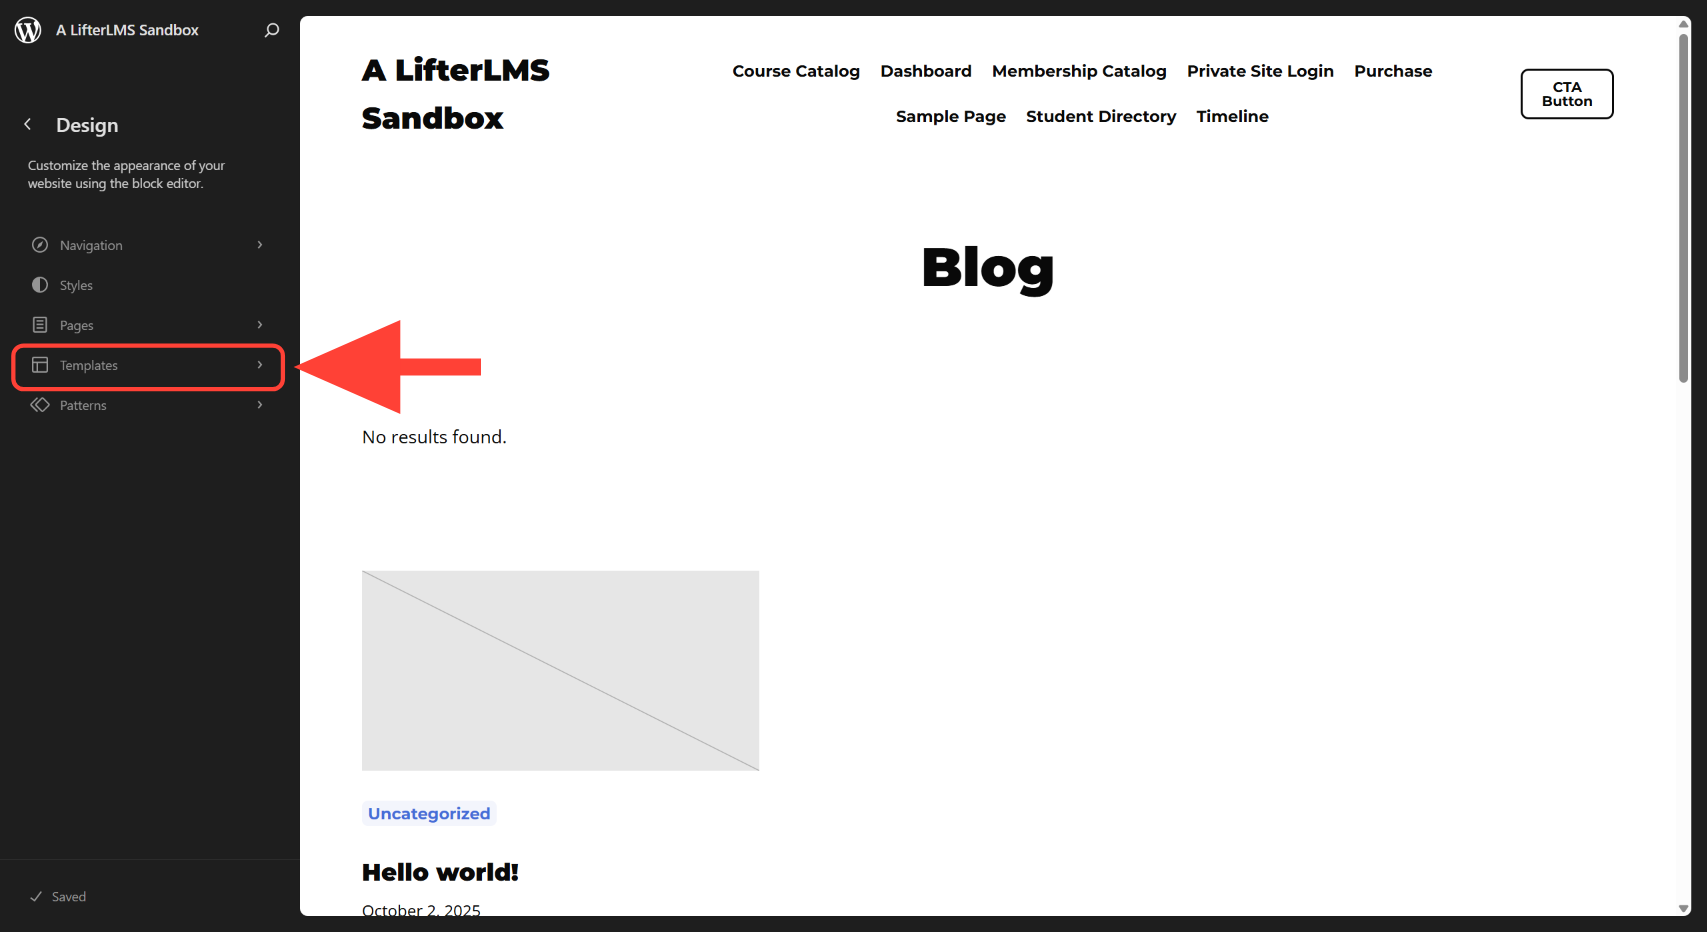
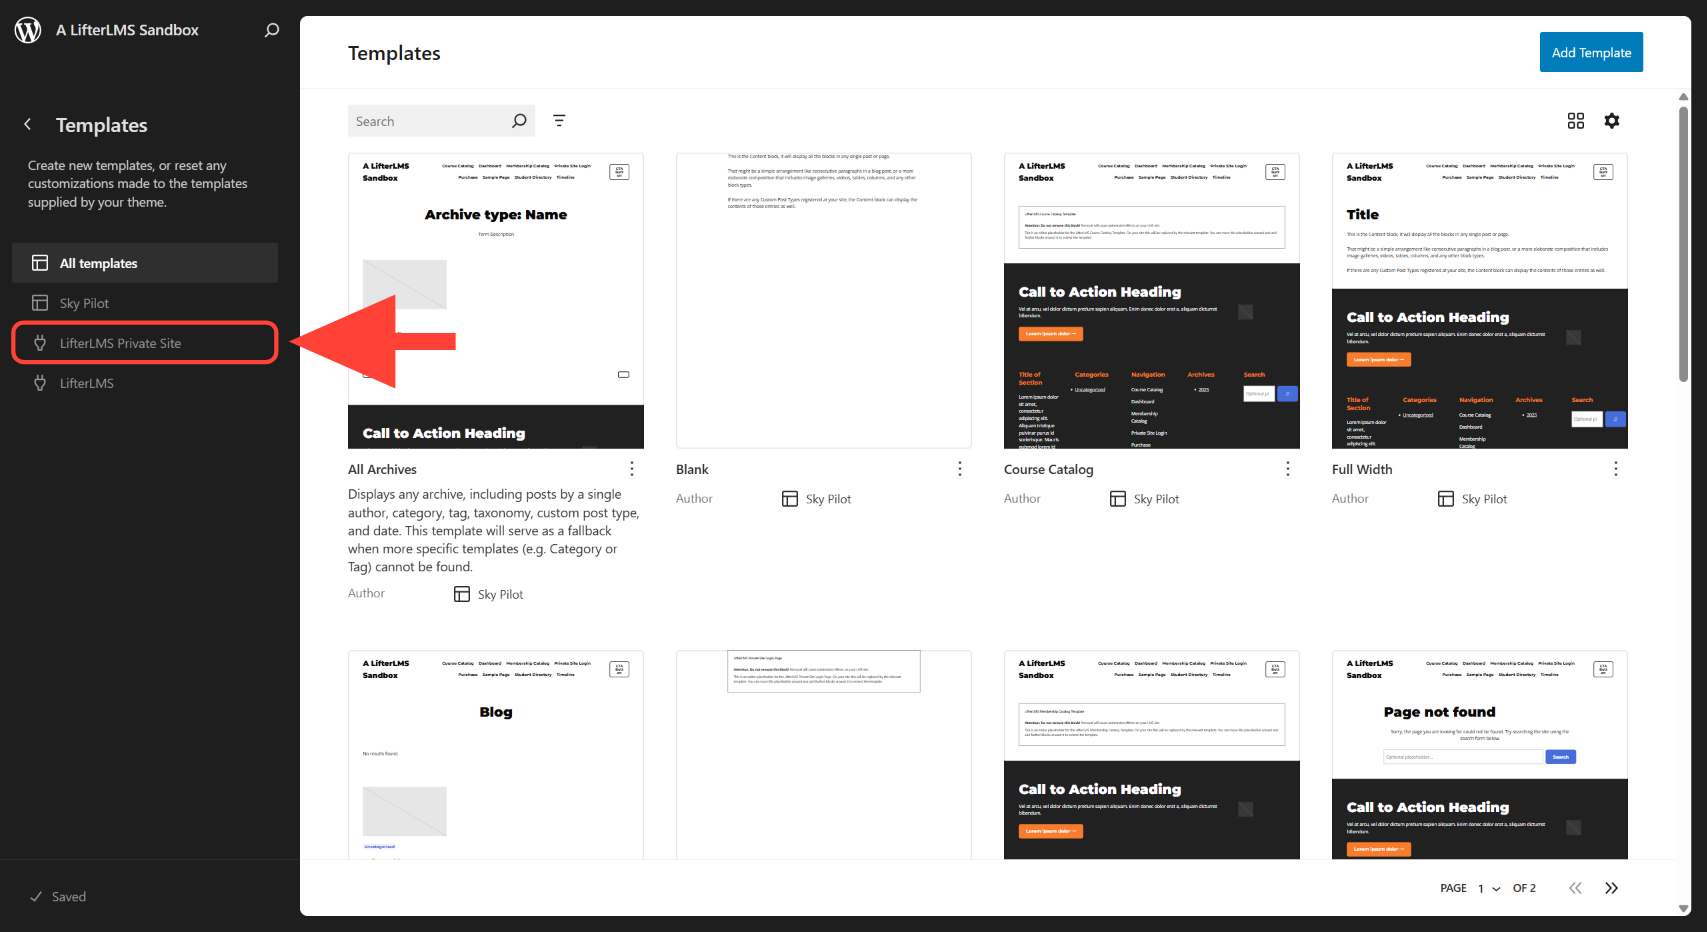
Click on Templates.
Click on LifterLMS Private Site.
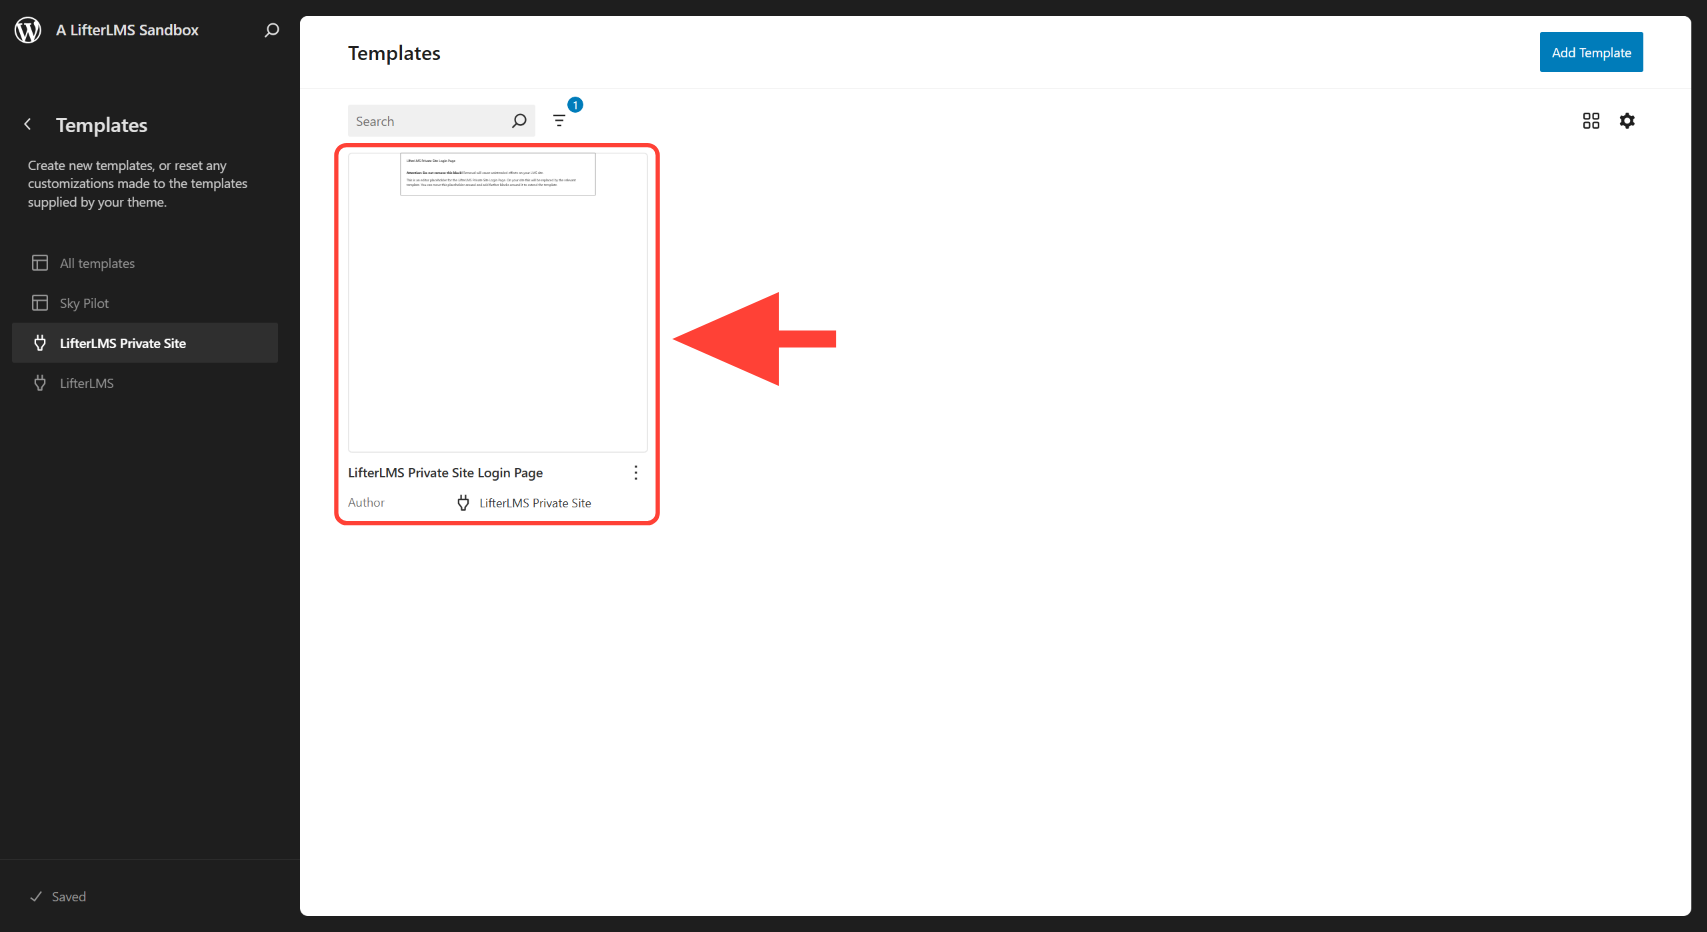
Select the LifterLMS Private Site Login Page template.
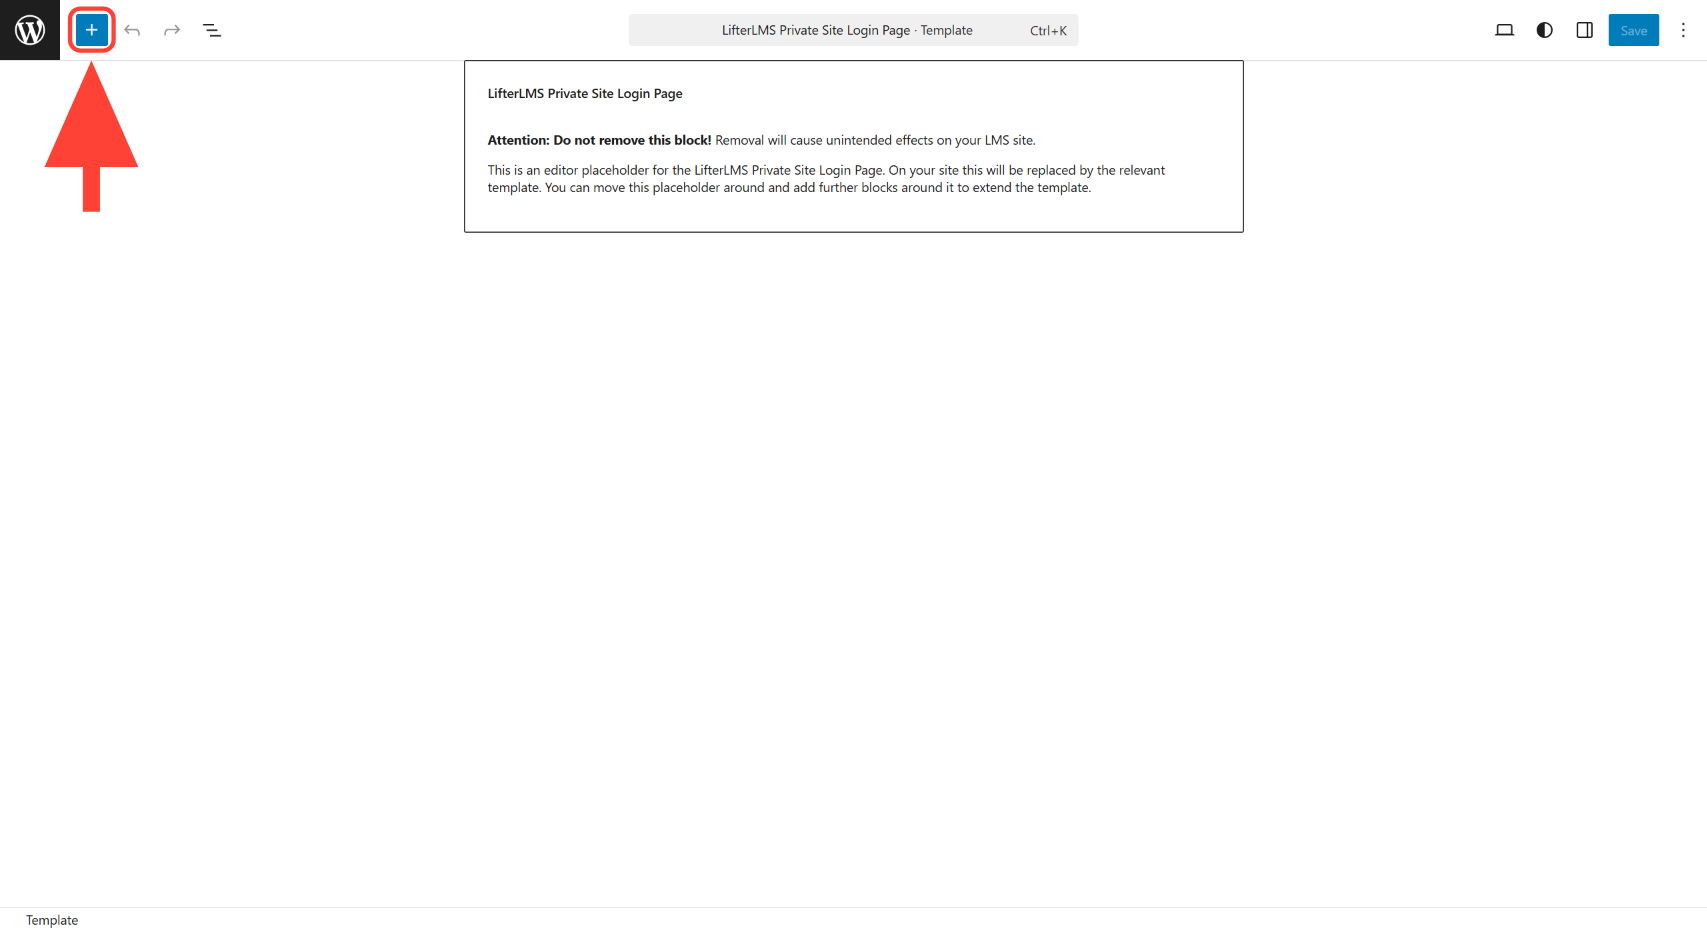
Click the “+” icon in the editor to open the available blocks, patterns, and media options.
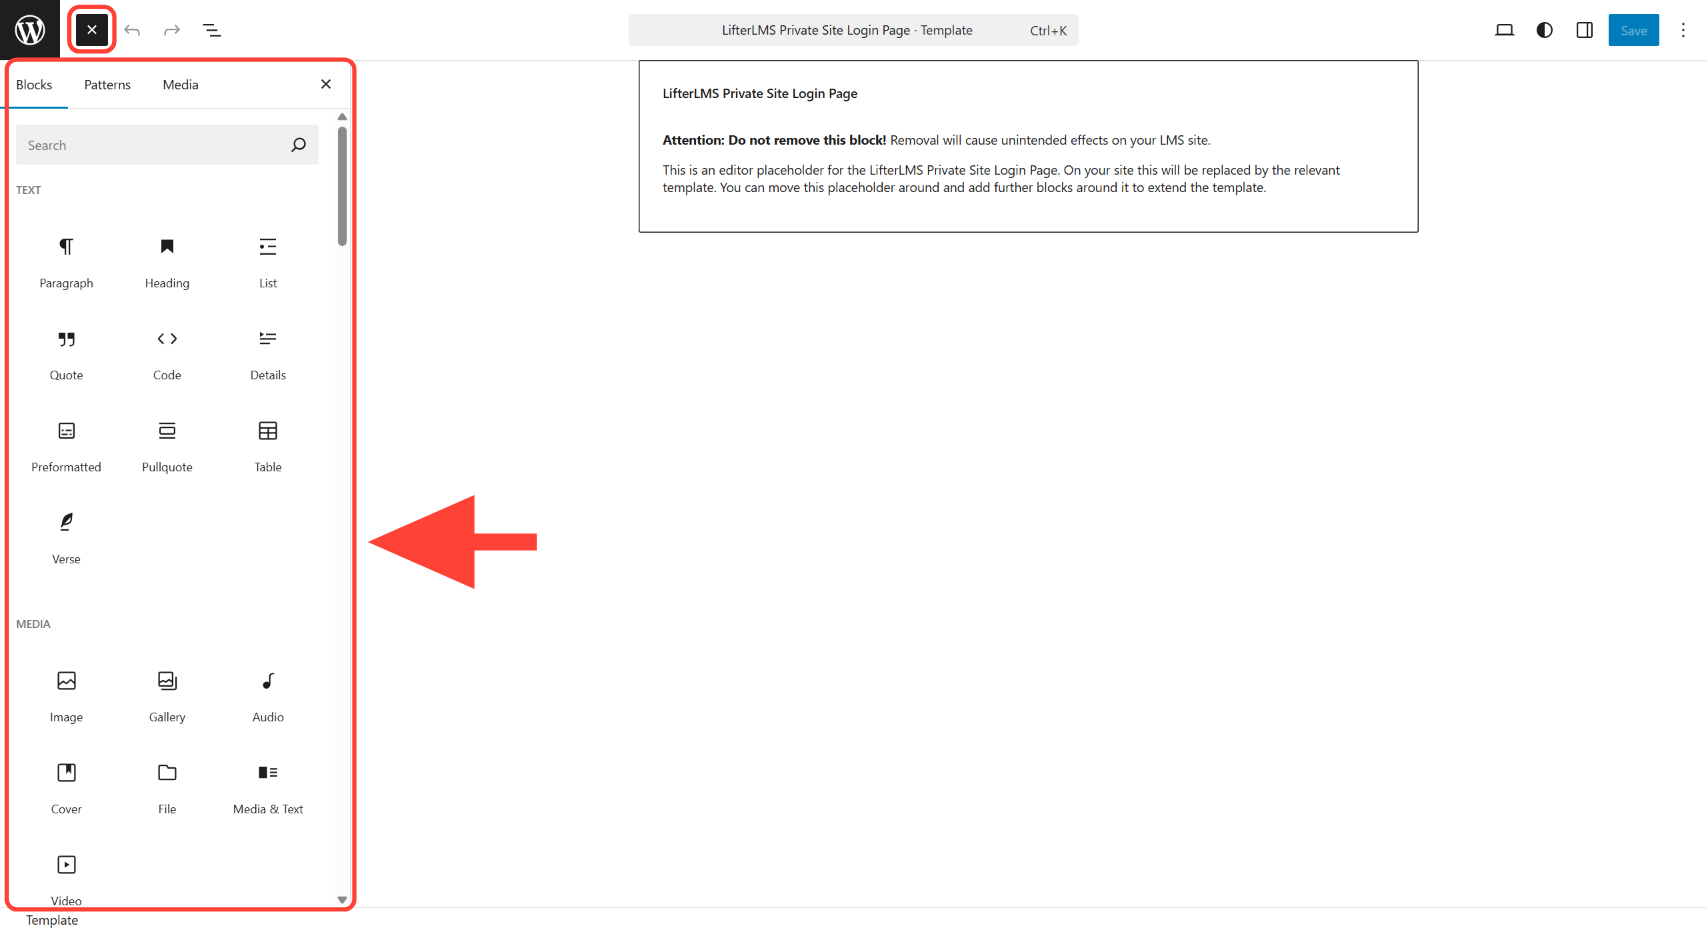
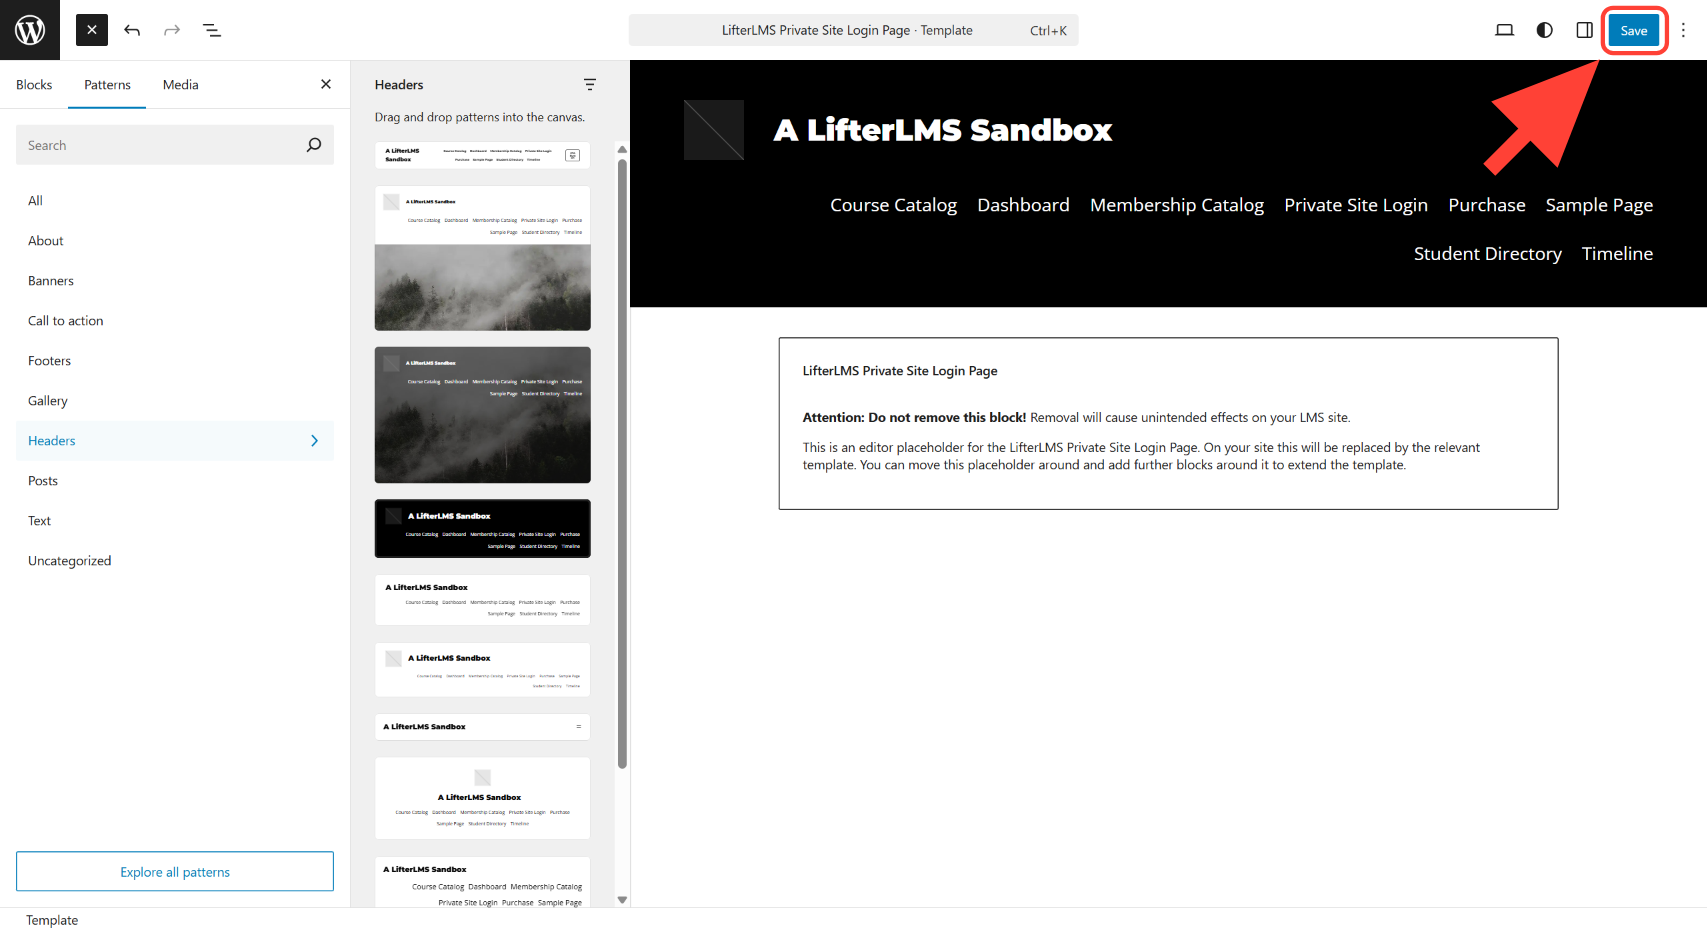
Click on Patterns > Headers.
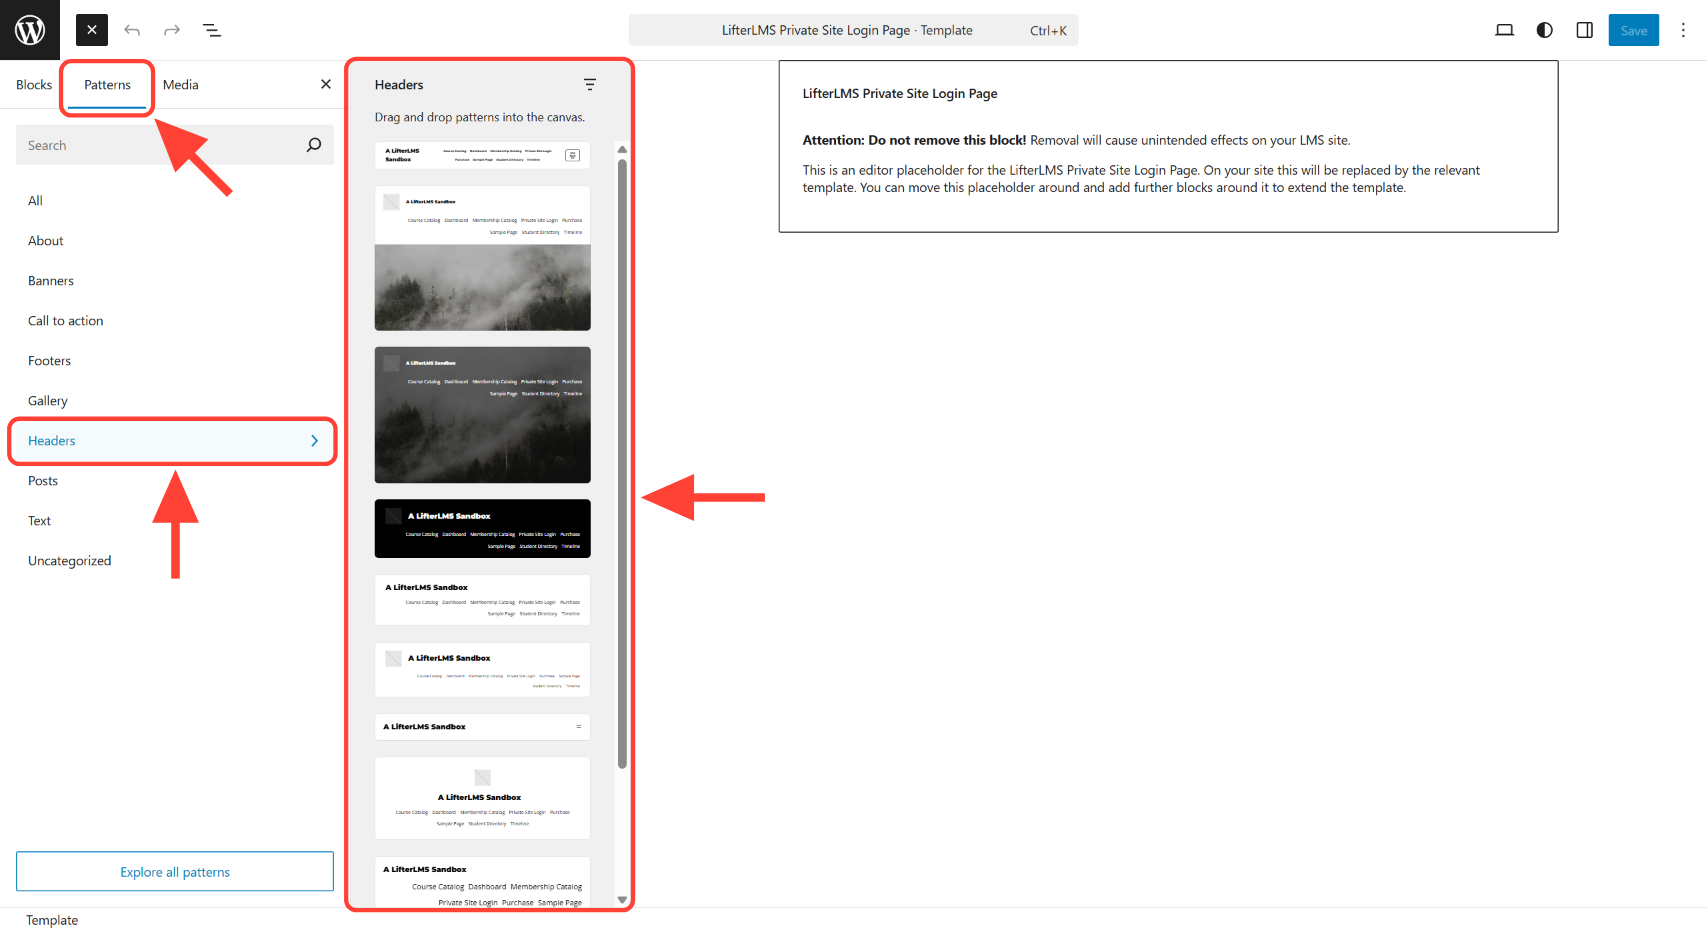
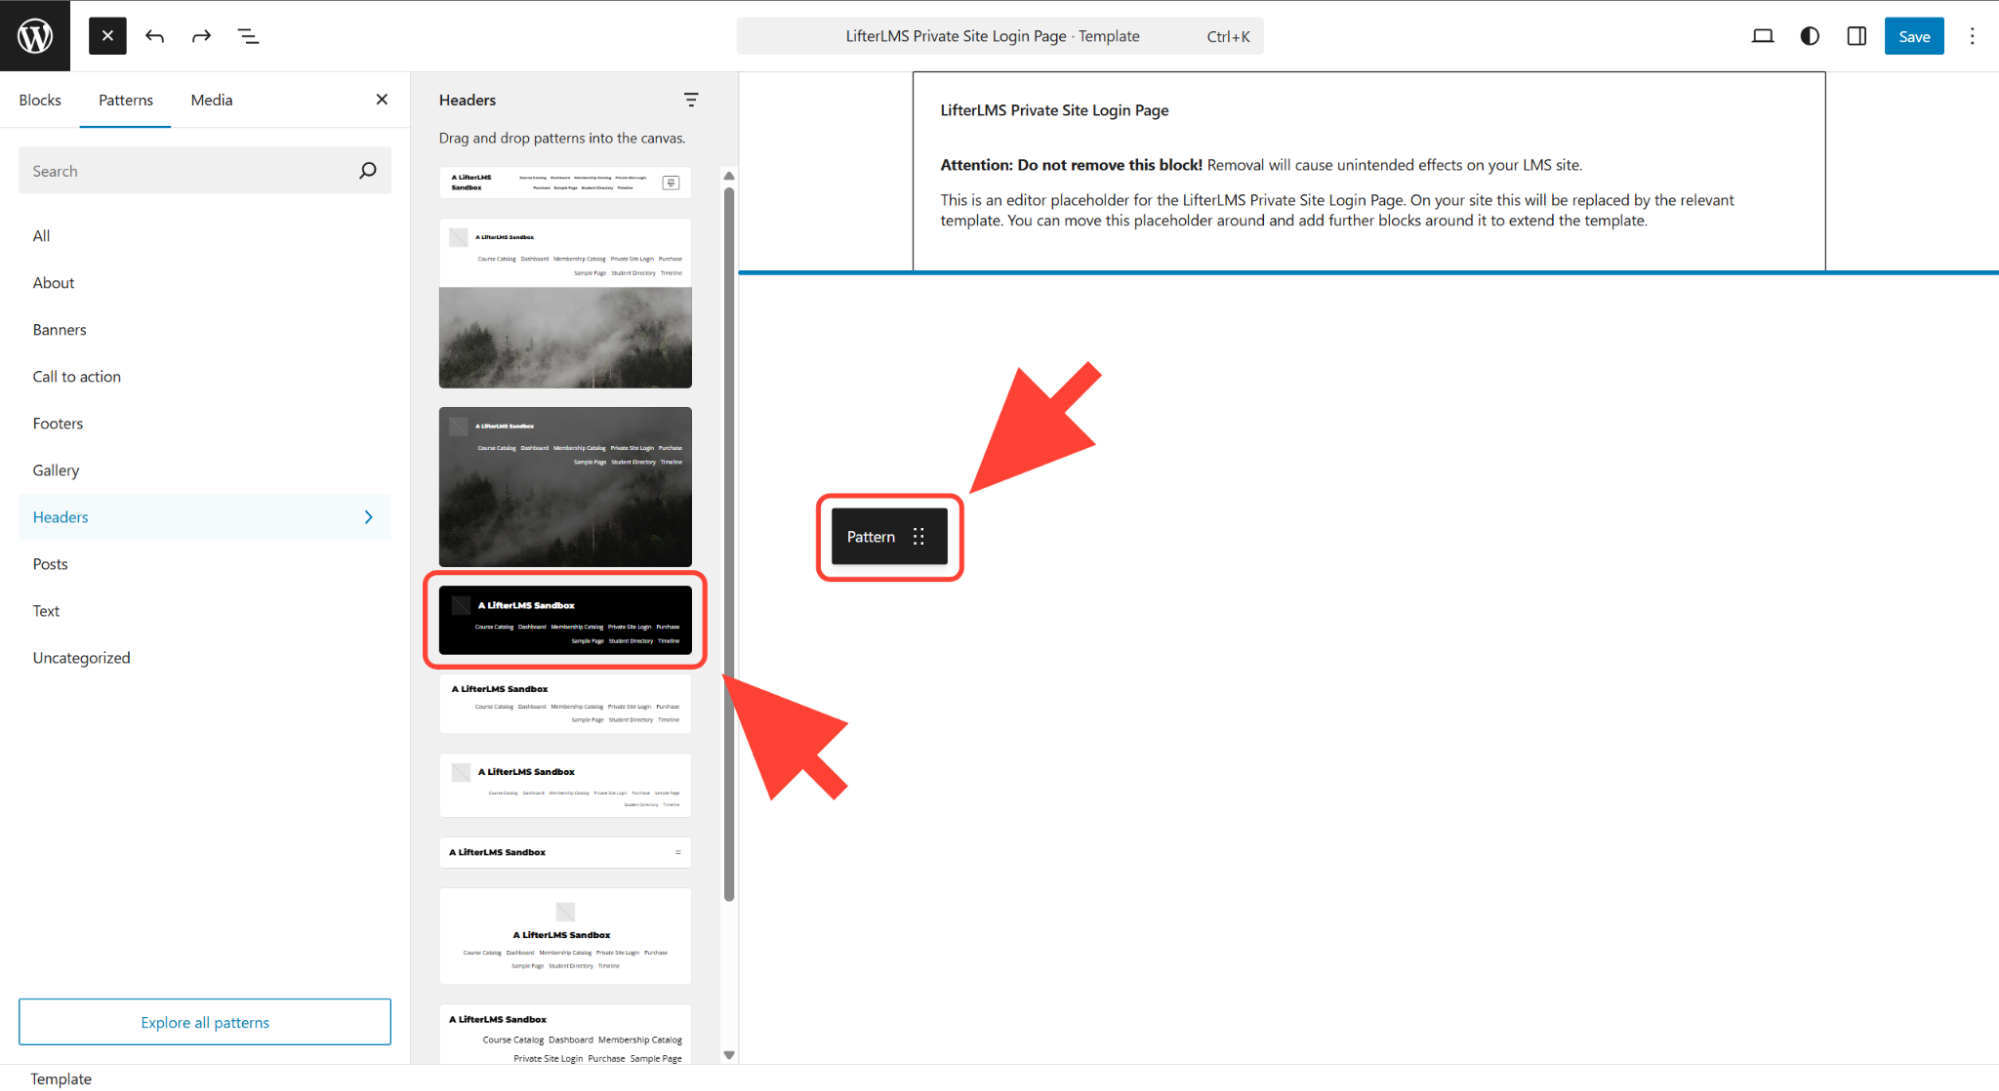
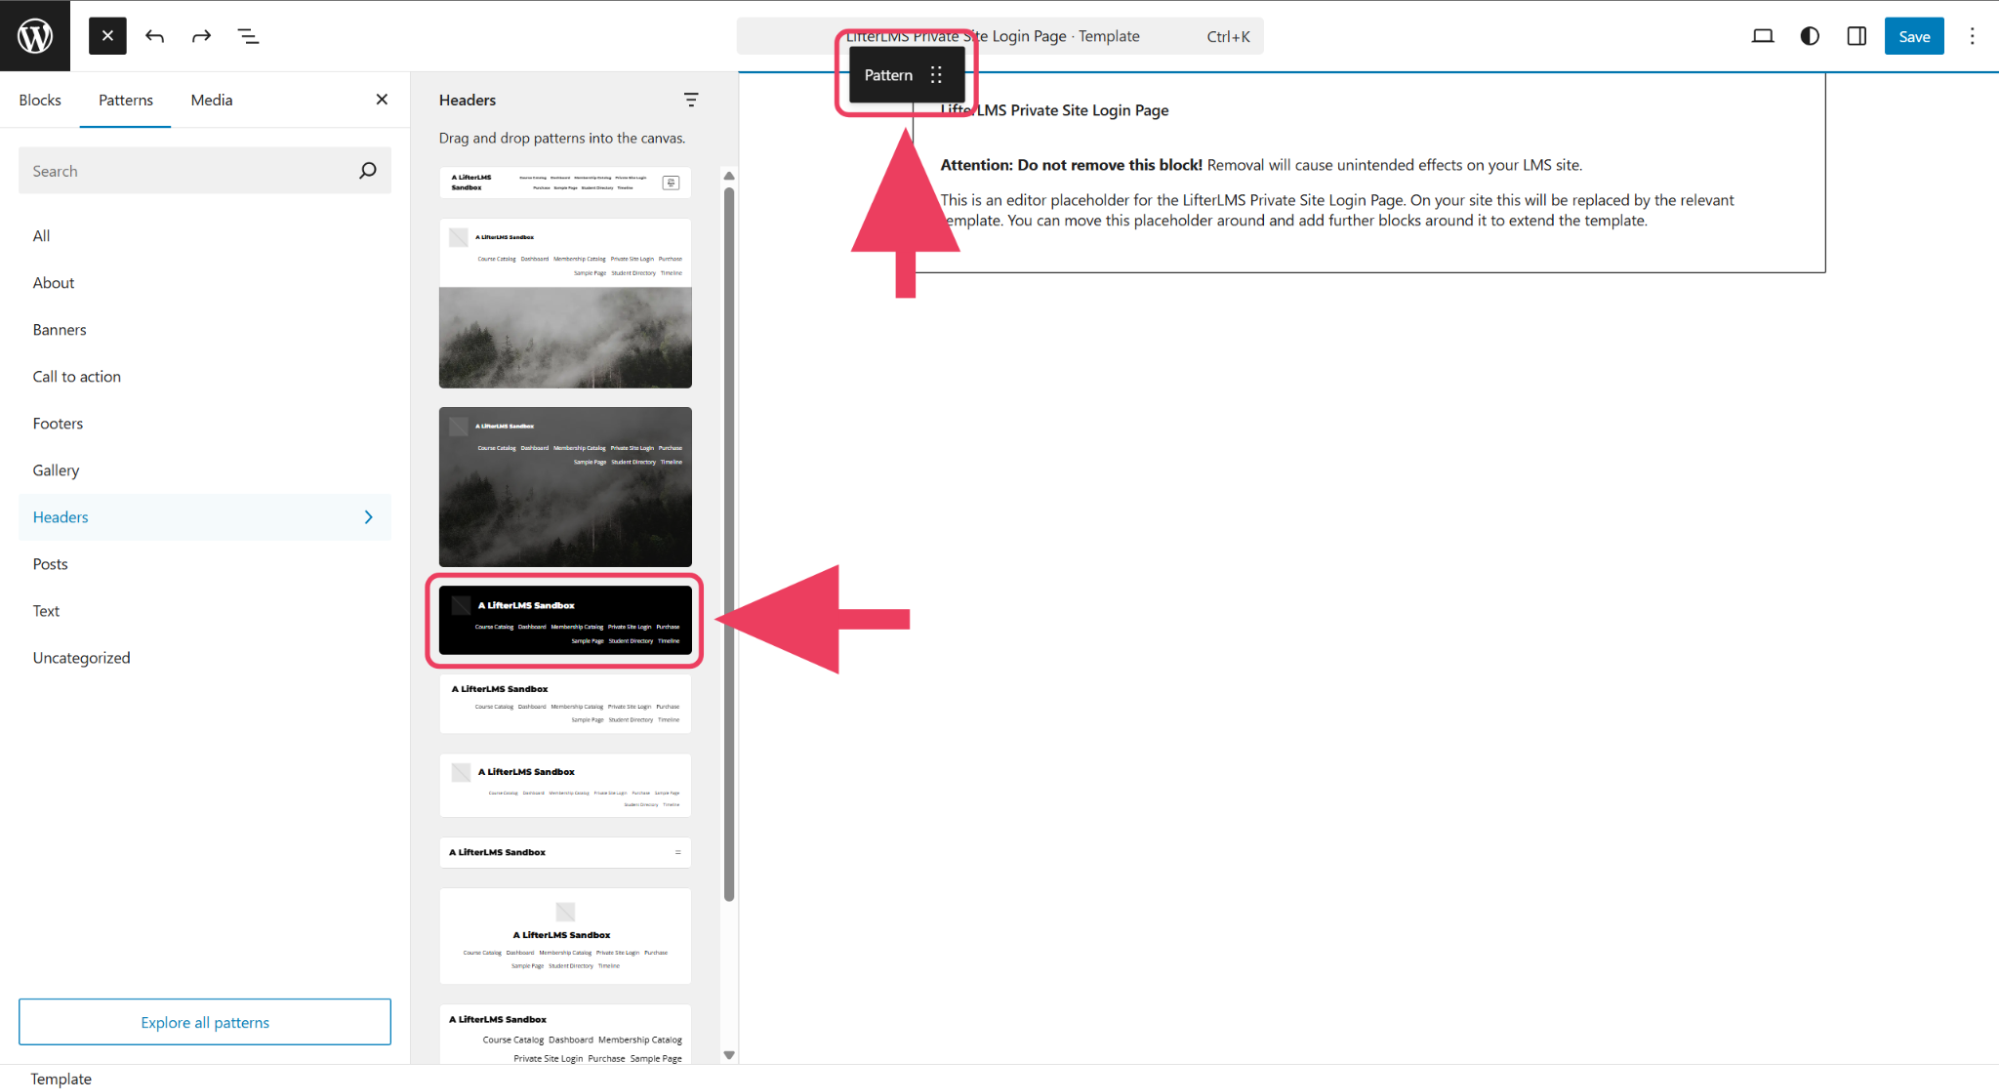
Drag and drop the header that you want to the top of the page.
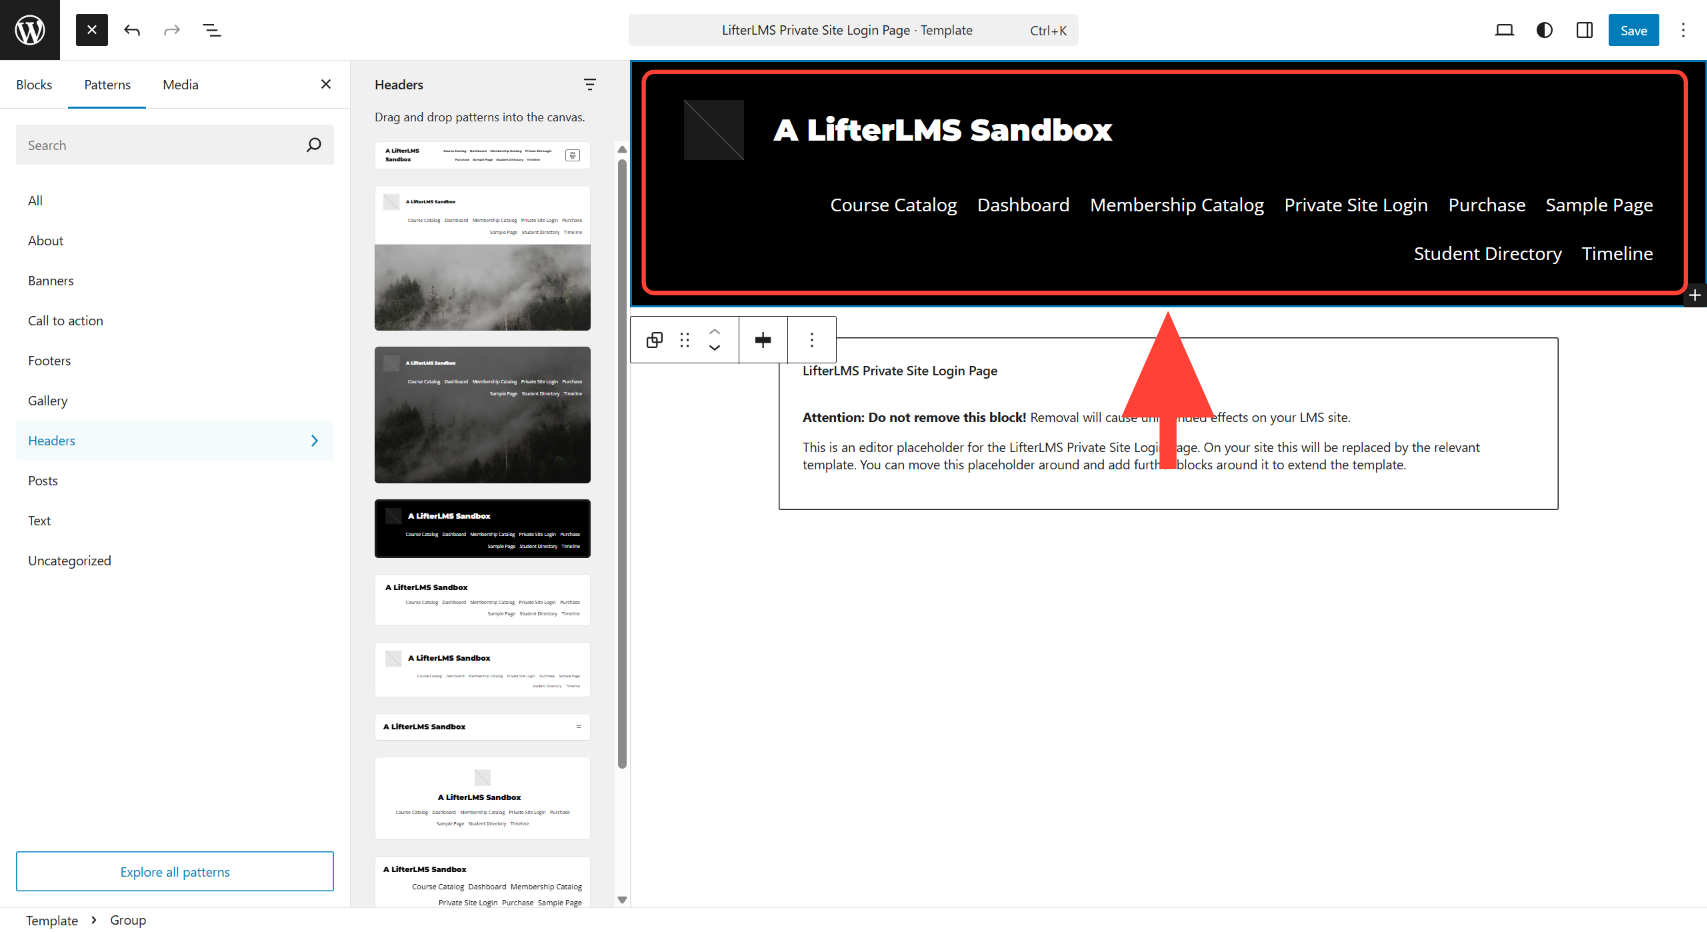
Click on the Save button to save the changes.
View your website’s home page in incognito mode. It should now display the header above your login and registration form.