Getting Started with LifterLMS Mailchimp
LifterLMS Mailchimp enables you to automatically add LifterLMS students to your Mailchimp lists when:
- A new student registers for your site
- A new or existing student enrolls into a course
- A new or existing student enrolls into a membership
During enrollments you can also record interest categories for each of the courses and memberships students have enrolled in.
To install LifterLMS Mailchimp, download the plugin from your account and install via WordPress.
You can see comprehensive installation instructions at https://lifterlms.com/docs/install-lifterlms-mailchimp/.
LifterLMS Mailchimp cannot function without being connected to the Mailchimp API.
To connect to the API on your WordPress admin panel navigate to LifterLMS Settings -> Integrations and locate the Mailchimp Settings area.
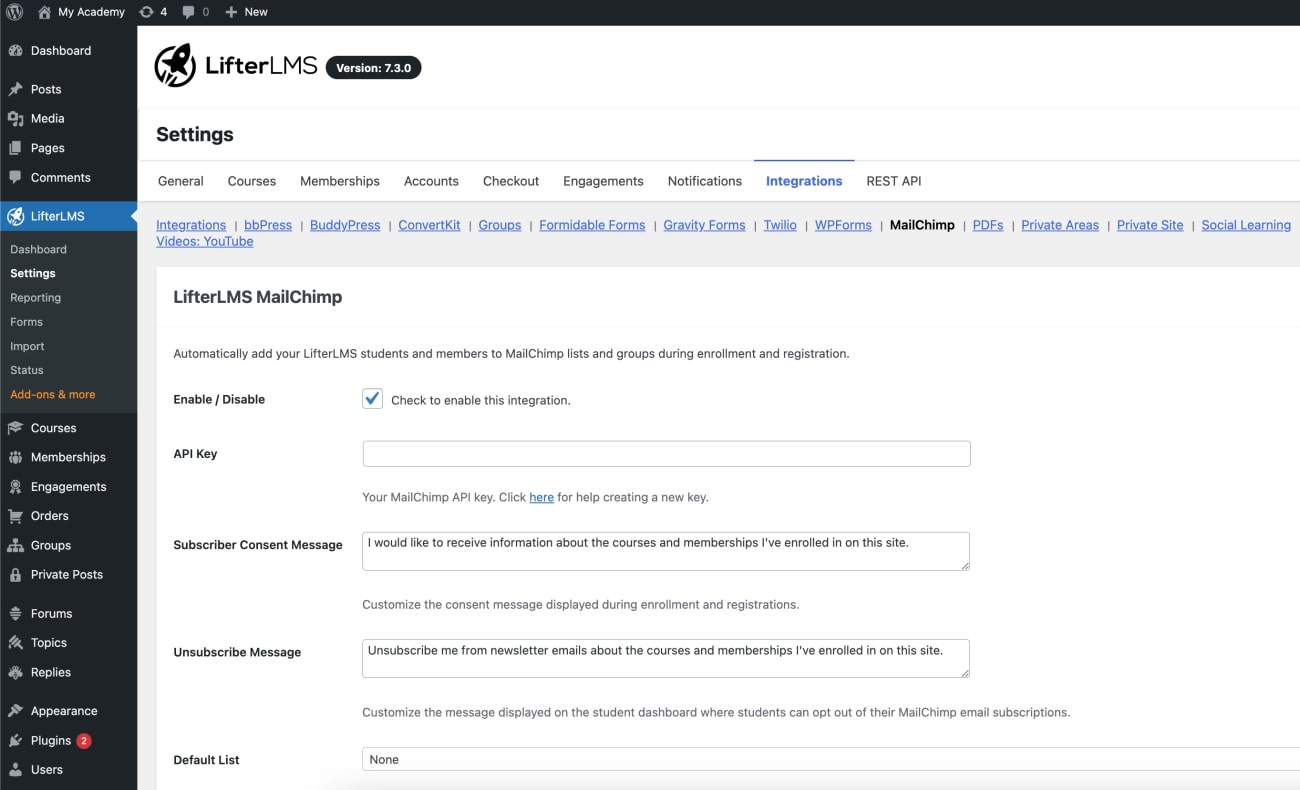
- Enable the add-on by checking the Enable / Disable checkbox
- Click Save at the bottom of the screen
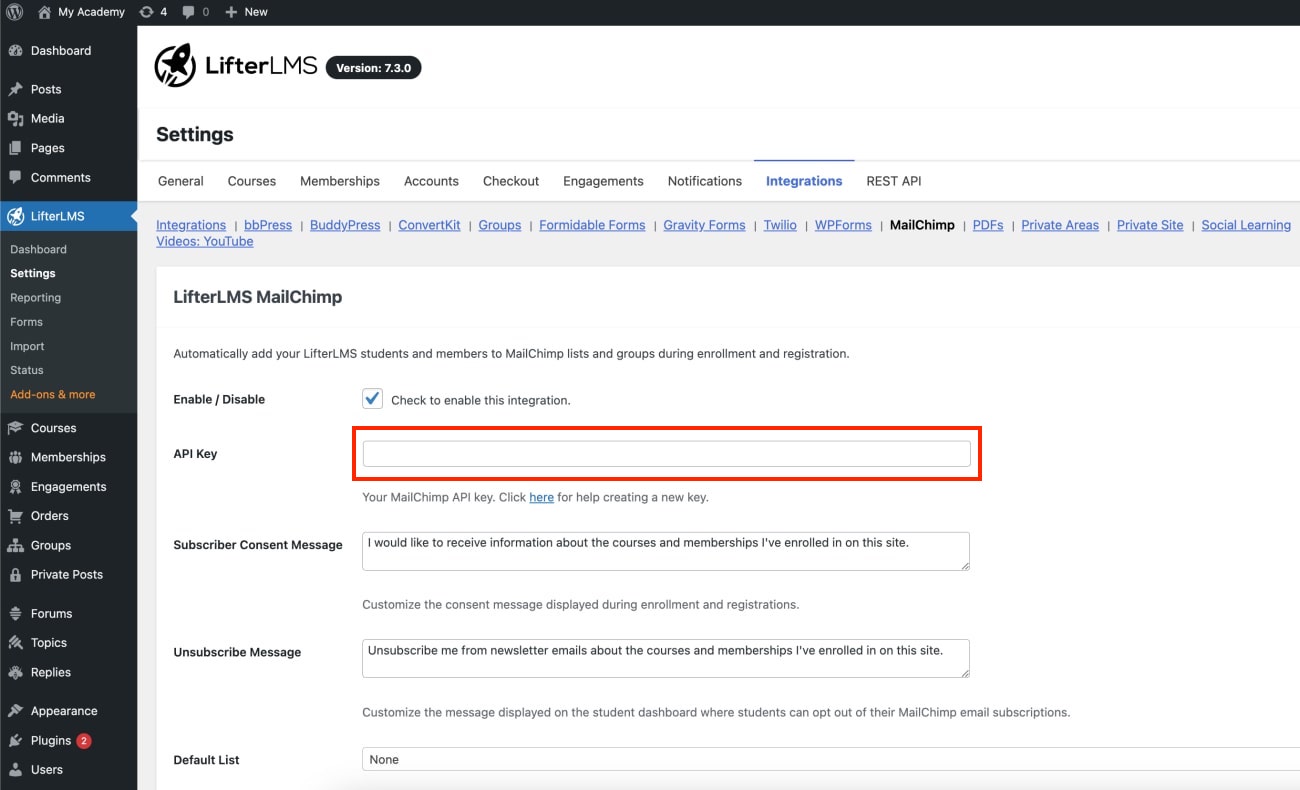
- In Mailchimp, generate a new API key by following the steps outlined at http://kb.mailchimp.com/integrations/api-integrations/about-api-keys
- Return to WordPress and paste your API key into the API Key text box
- Click Update Lists
This will save your API key to your site’s WordPress database. If you’d prefer to use a more secure method, you may define your API credentials in your site’s wp-config.php file:
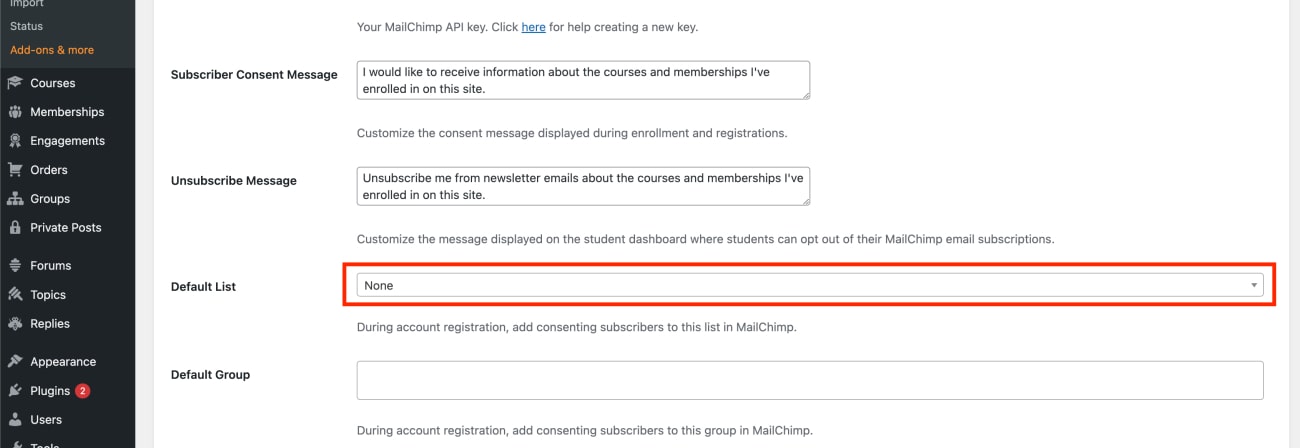
You can now view your Mailchimp lists from the Select box labeled Default List.
The list you select from this dropdown will be the list all new users are added to when they register a new account on your website.
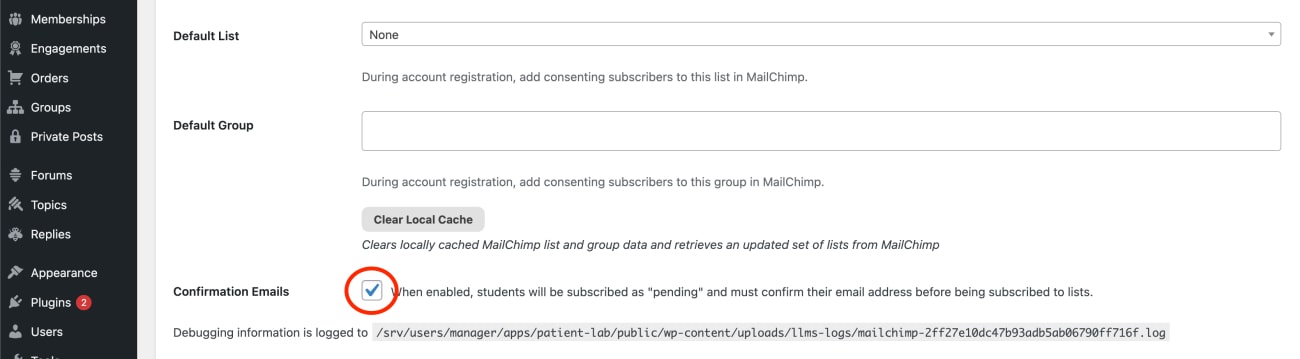
By default, LifterLMS Mailchimp will automatically add users to lists in Mailchimp without requiring users to confirm their email address with Mailchimp.
You may enable double opt-ins for all list subscriptions performed by LifterLMS Mailchimp by checking the box on the settings screen for Confirmation Emails.
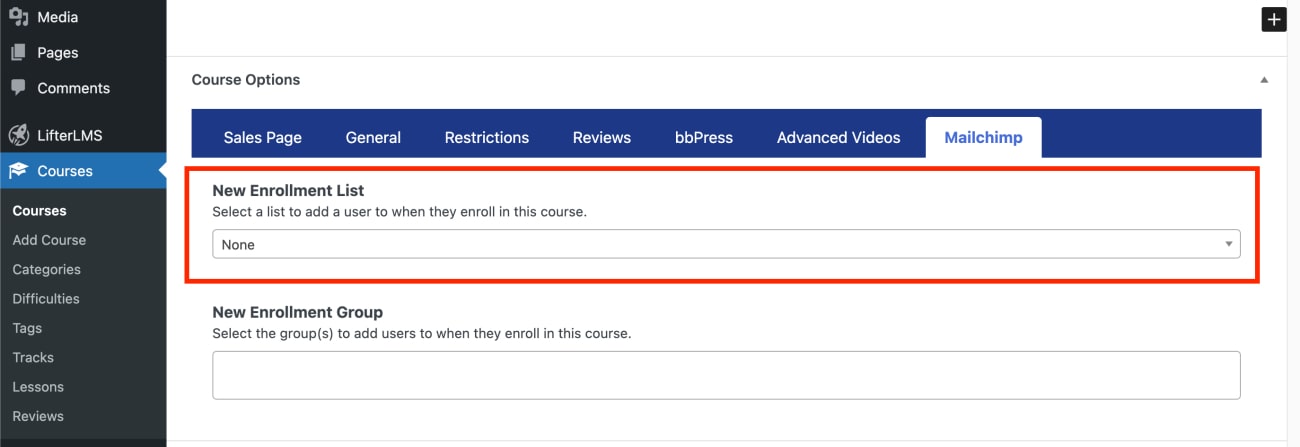
To configure subscriptions based on course or membership enrollment:
- On the WordPress admin panel navigate to a course or membership
- Click the MAILCHIMP tab
- Under New Enrollment List select a list
- (Optional) Under New Enrollment Group select an interest group category
LifterLMS Mailchimp caches lists for performance. To clear your cached lists see our https://lifterlms.com/docs/mailchimp-list-doesnt-display-inside-lifterlms/.
As part of GDPR compatibility the LifterLMS Mailchimp add-on has a checkbox and message available on enrollment, registration, and checkout forms allowing users to explicitly consent to receive emails via the Mailchimp email list service.
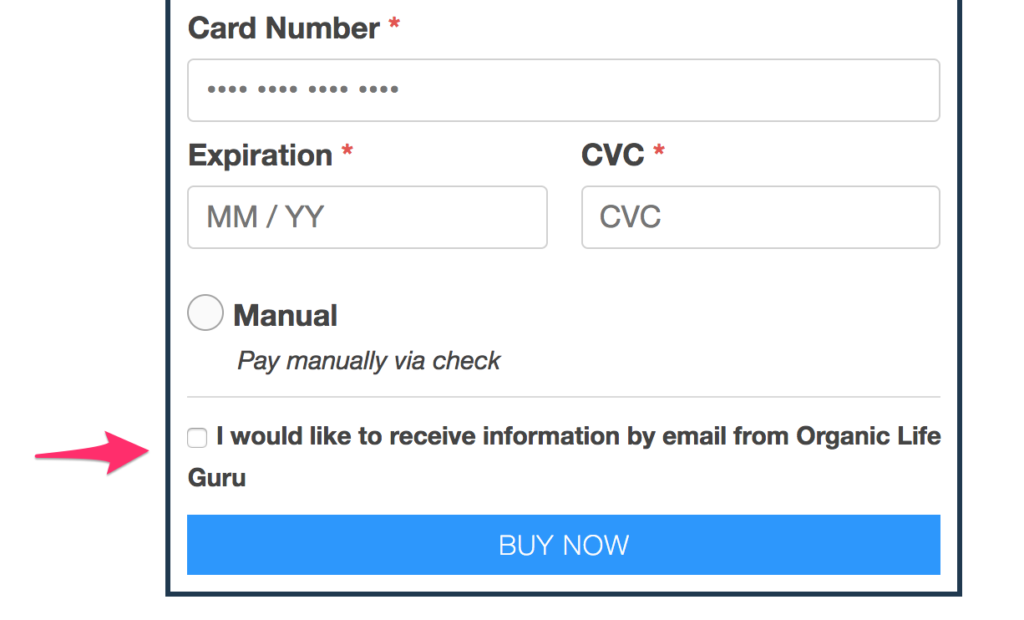
The subscriber consent message and unsubscribe message can be modified on the LifterLMS Mailchimp settings screen at LifterLMS > Settings > Integrations > Mailchimp

Also Confirmation Emails or “double opt in” is enabled by default. This means that if a user consents to join the email list during registration, enrollment, or checkout, they still need to also click the confirmation link in the confirmation email sent by Mailchimp to be eligible to receive emails via Mailchimp.
Also note that users can unsubscribe or resubscribe to emails sent via Mailchimp from their LifterLMS student dashboard.
For additional reading on LifterLMS Mailchimp privacy, consent, and GDPR explore this blog post.


