Creating Private Posts
Private Posts are the backbone of LifterLMS Private Areas.
As an admin or teacher you can create an unlimited number of private posts for each or your students.
This article will cover features related to an admin’s experience when creating and reviewing private posts.
To manually create a private post for a student:
- Navigate to your WordPress admin panel
- Select Private Posts -> Add Private Post

- Private posts are, essentially, blog posts with some additional features. You can enter the title and content of the private post exactly as you would with a standard WordPress post.
- After creating your content, select which course or membership and student the private post will be available to by using the Student Selection area on the right of the screen
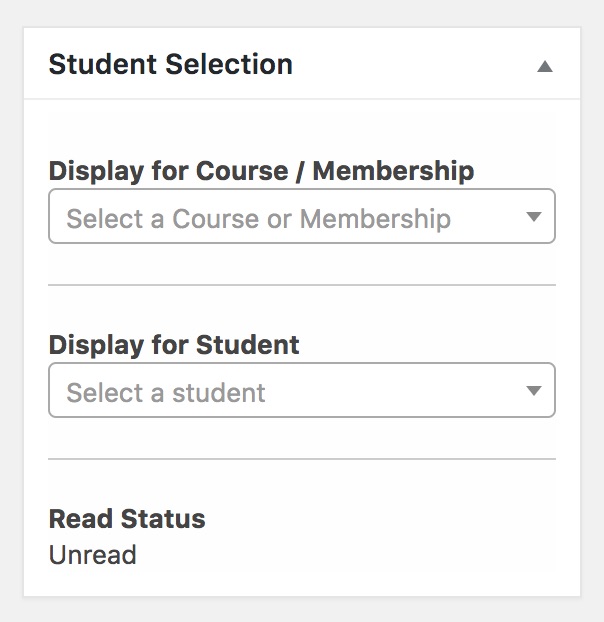
- In this area you will first select the course or membership the post will exist within
- Then you can select the student for whom this post should be made available. Note that you will only be able to publish private posts for students currently enrolled with an active status in the selected course or membership!
- Publish (or schedule) your post
- You may choose to schedule a private post for publication in the future!
- If you have enabled notifications, the student will receive a basic and email notification automatically upon publication. This notification will be delayed until publication when a post is scheduled!
Note that admins and teachers cannot preview a private post the way they can preview blog posts. Future versions will have this capability.
Groups of private posts can be set to be automatically published and scheduled using Private Post Automations. For more information and guides on using this feature, see Creating and Using Automations.


