How to Edit Courses With Elementor
- In the WordPress admin, navigate to Elementor > Settings
- Next to “Post Types,” check “Courses.”
- Click Save Changes
Create a LifterLMS Course if you don’t already have one:
- In the WordPress admin, go to Courses > Add New Course
- Enter a title for your course
- Scroll down to the “Access Plans” section and click Add New
- Enter a title and price for the access plan, then click Save
- Click Launch Course Builder and add an initial section and lesson
- Click Save Changes
- Click Edit Course Page to return to the WordPress editor for the course
When editing a course, click on the Edit with Elementor button at the top.
The basic Elementor widgets for the course information will be added automatically.
Note: Not all sections will have content when you first view them. Some widgets, such as “Course Progress,” will only display content when an enrolled student is viewing the course information page.

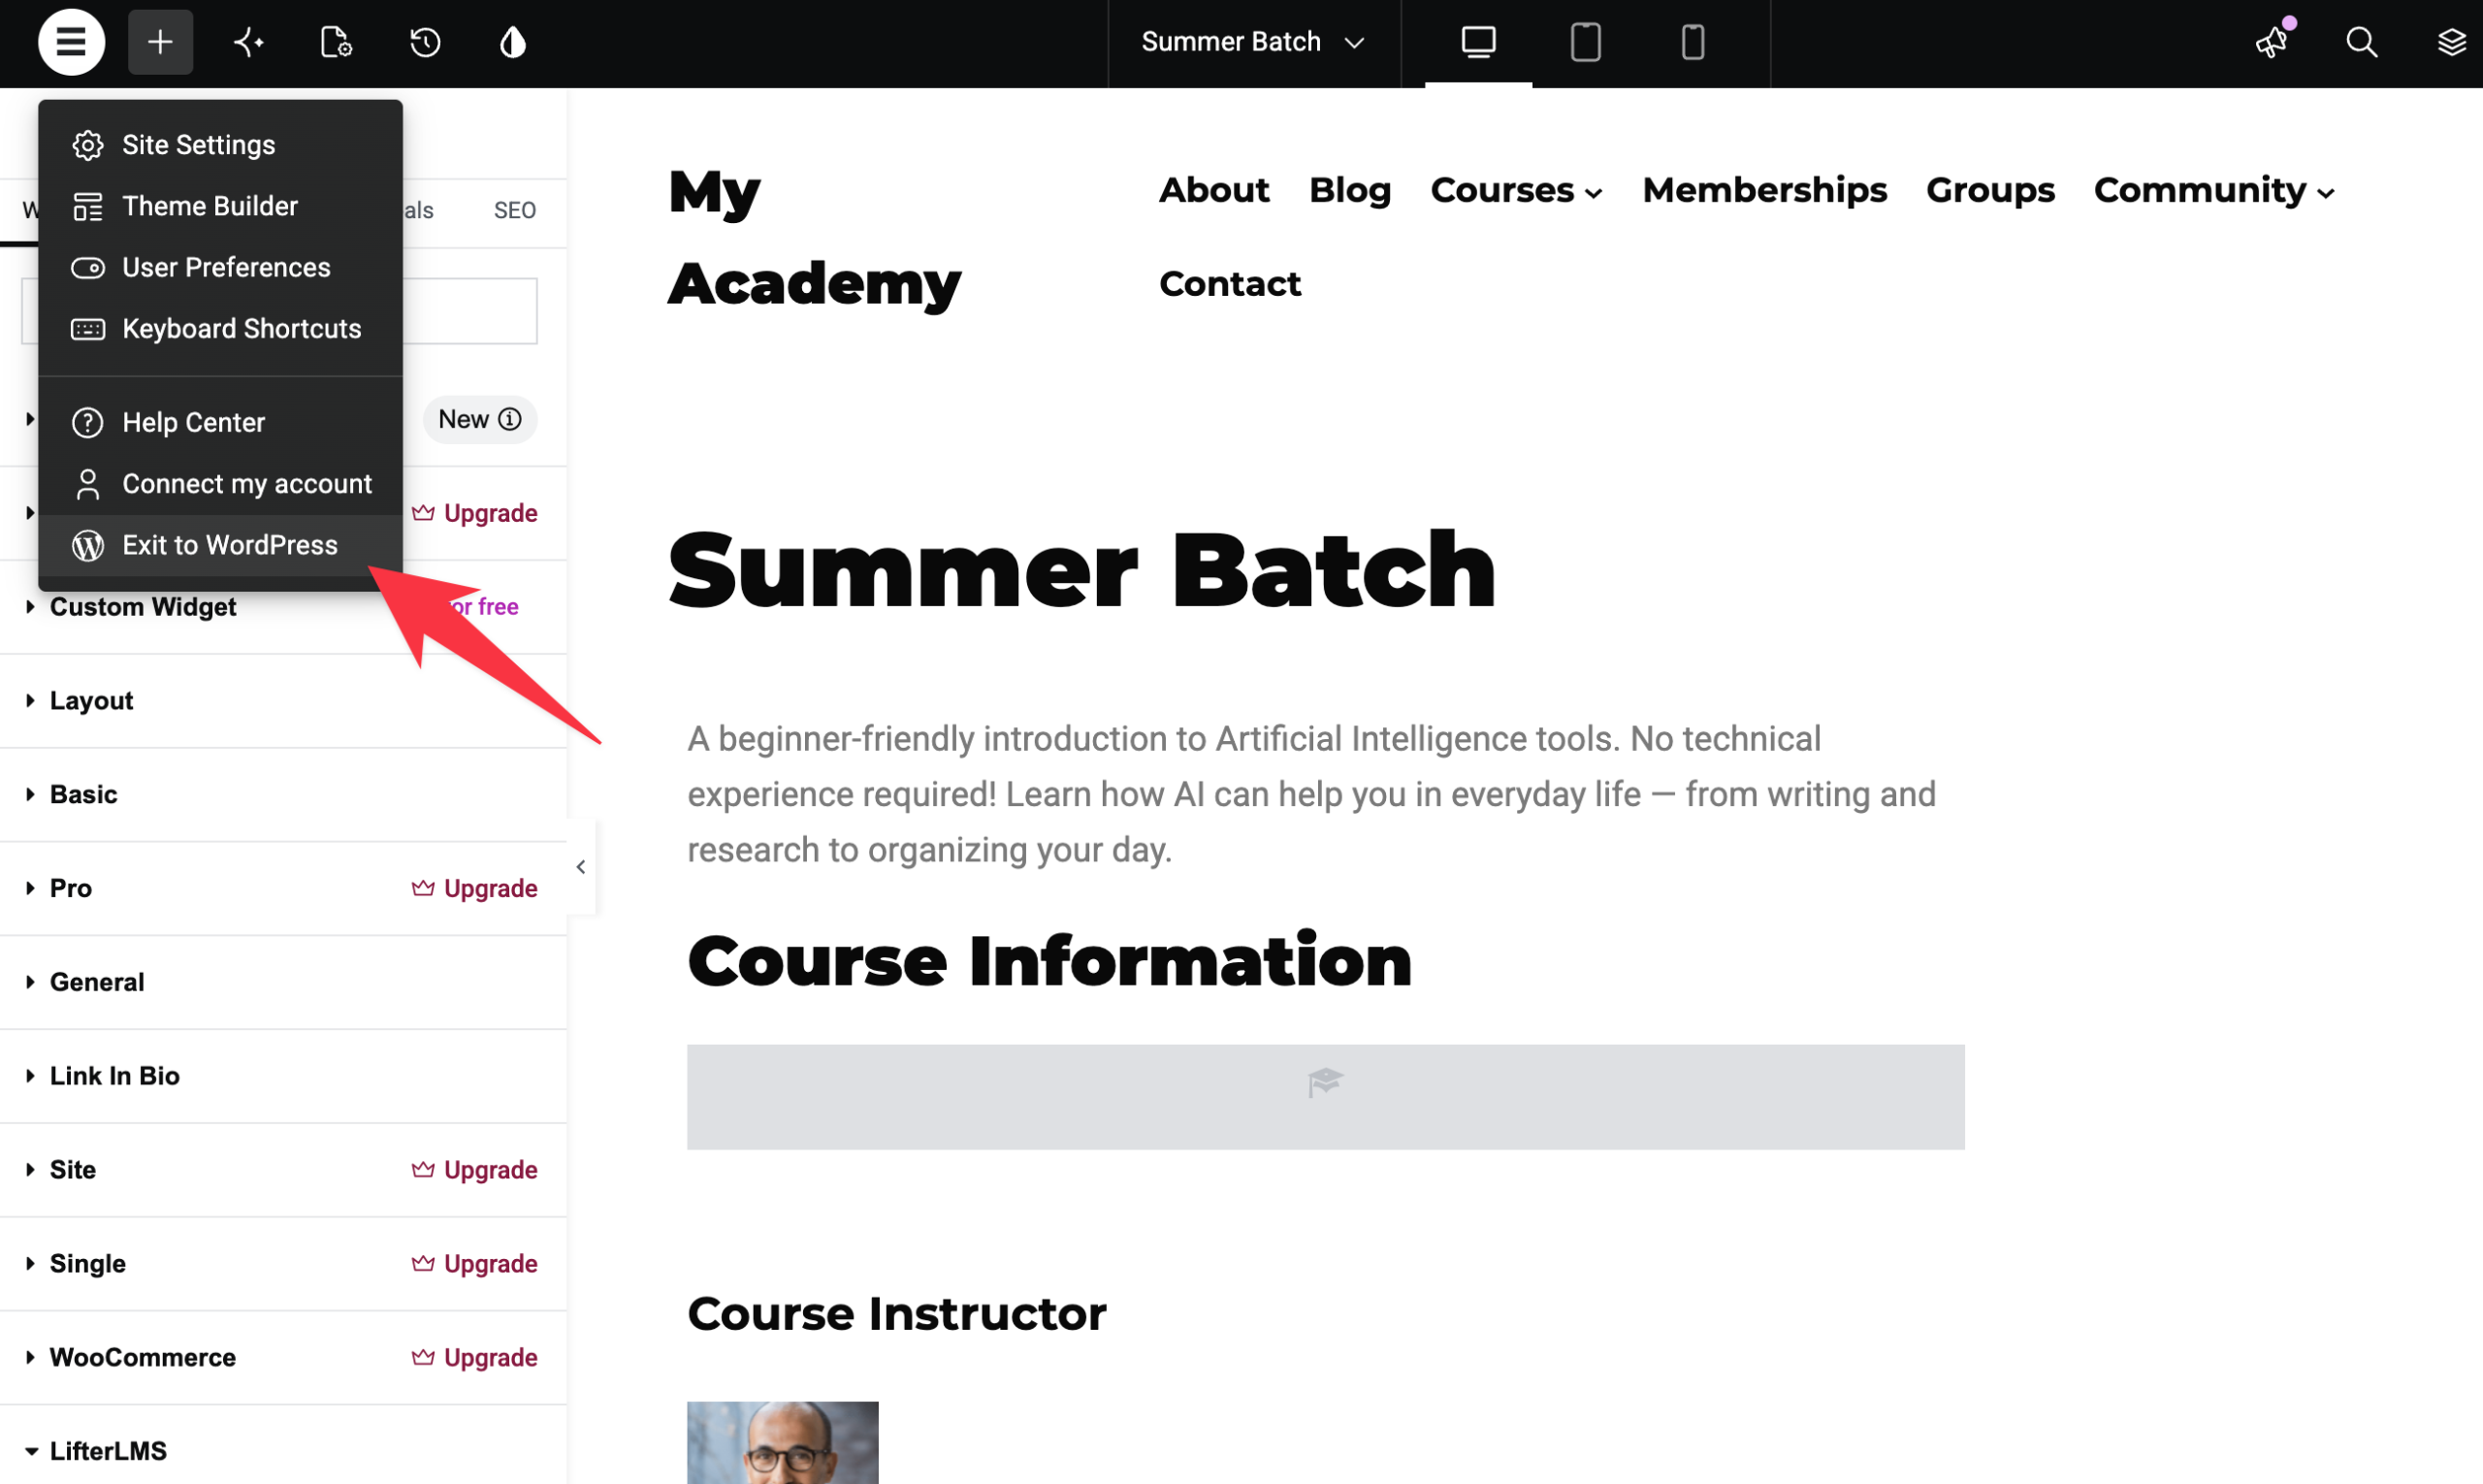
The Course page is where you can edit your course’s settings. This includes important details like your access plans and categories. If you are using Elementor, follow these steps to return to the Course page:
- Click the “menu” icon in the top-left corner of the screen.
- Click the Exit button to leave the Elementor editor.
For more advanced LifterLMS Elementor integration, the third-party Lifter Elements software is recommended.


