
What is a LifterLMS Course Track?
LifterLMS Course Tracks let you group related courses into a structured learning path. While they work in a similar way to standard WordPress course categories, Course Tracks give you more control over how students progress through your content.
You can use them to trigger certificates, badges, and email notifications when students complete a series of courses, or require students to complete an entire track before they can access more advanced training.
Automated Engagements and Notifications
You can set up automation triggers for an entire Course Track. This means you can automatically award a certificate, assign a badge, or send an email notification to a student the moment they complete all the courses inside a specific track.
Course Prerequisites
You can set an entire Course Track as a prerequisite for another course. This requirement ensures that your students complete a specific series of courses before they can unlock and begin a more advanced course.
Before you can assign courses to a track, you must first create the track inside your dashboard. Follow these steps to set up a new Course Track:
- Log in to your WordPress dashboard.
- Navigate to Courses > Tracks in the left-hand menu.
- Locate the “Add New Course Track” section on the left side of the screen.
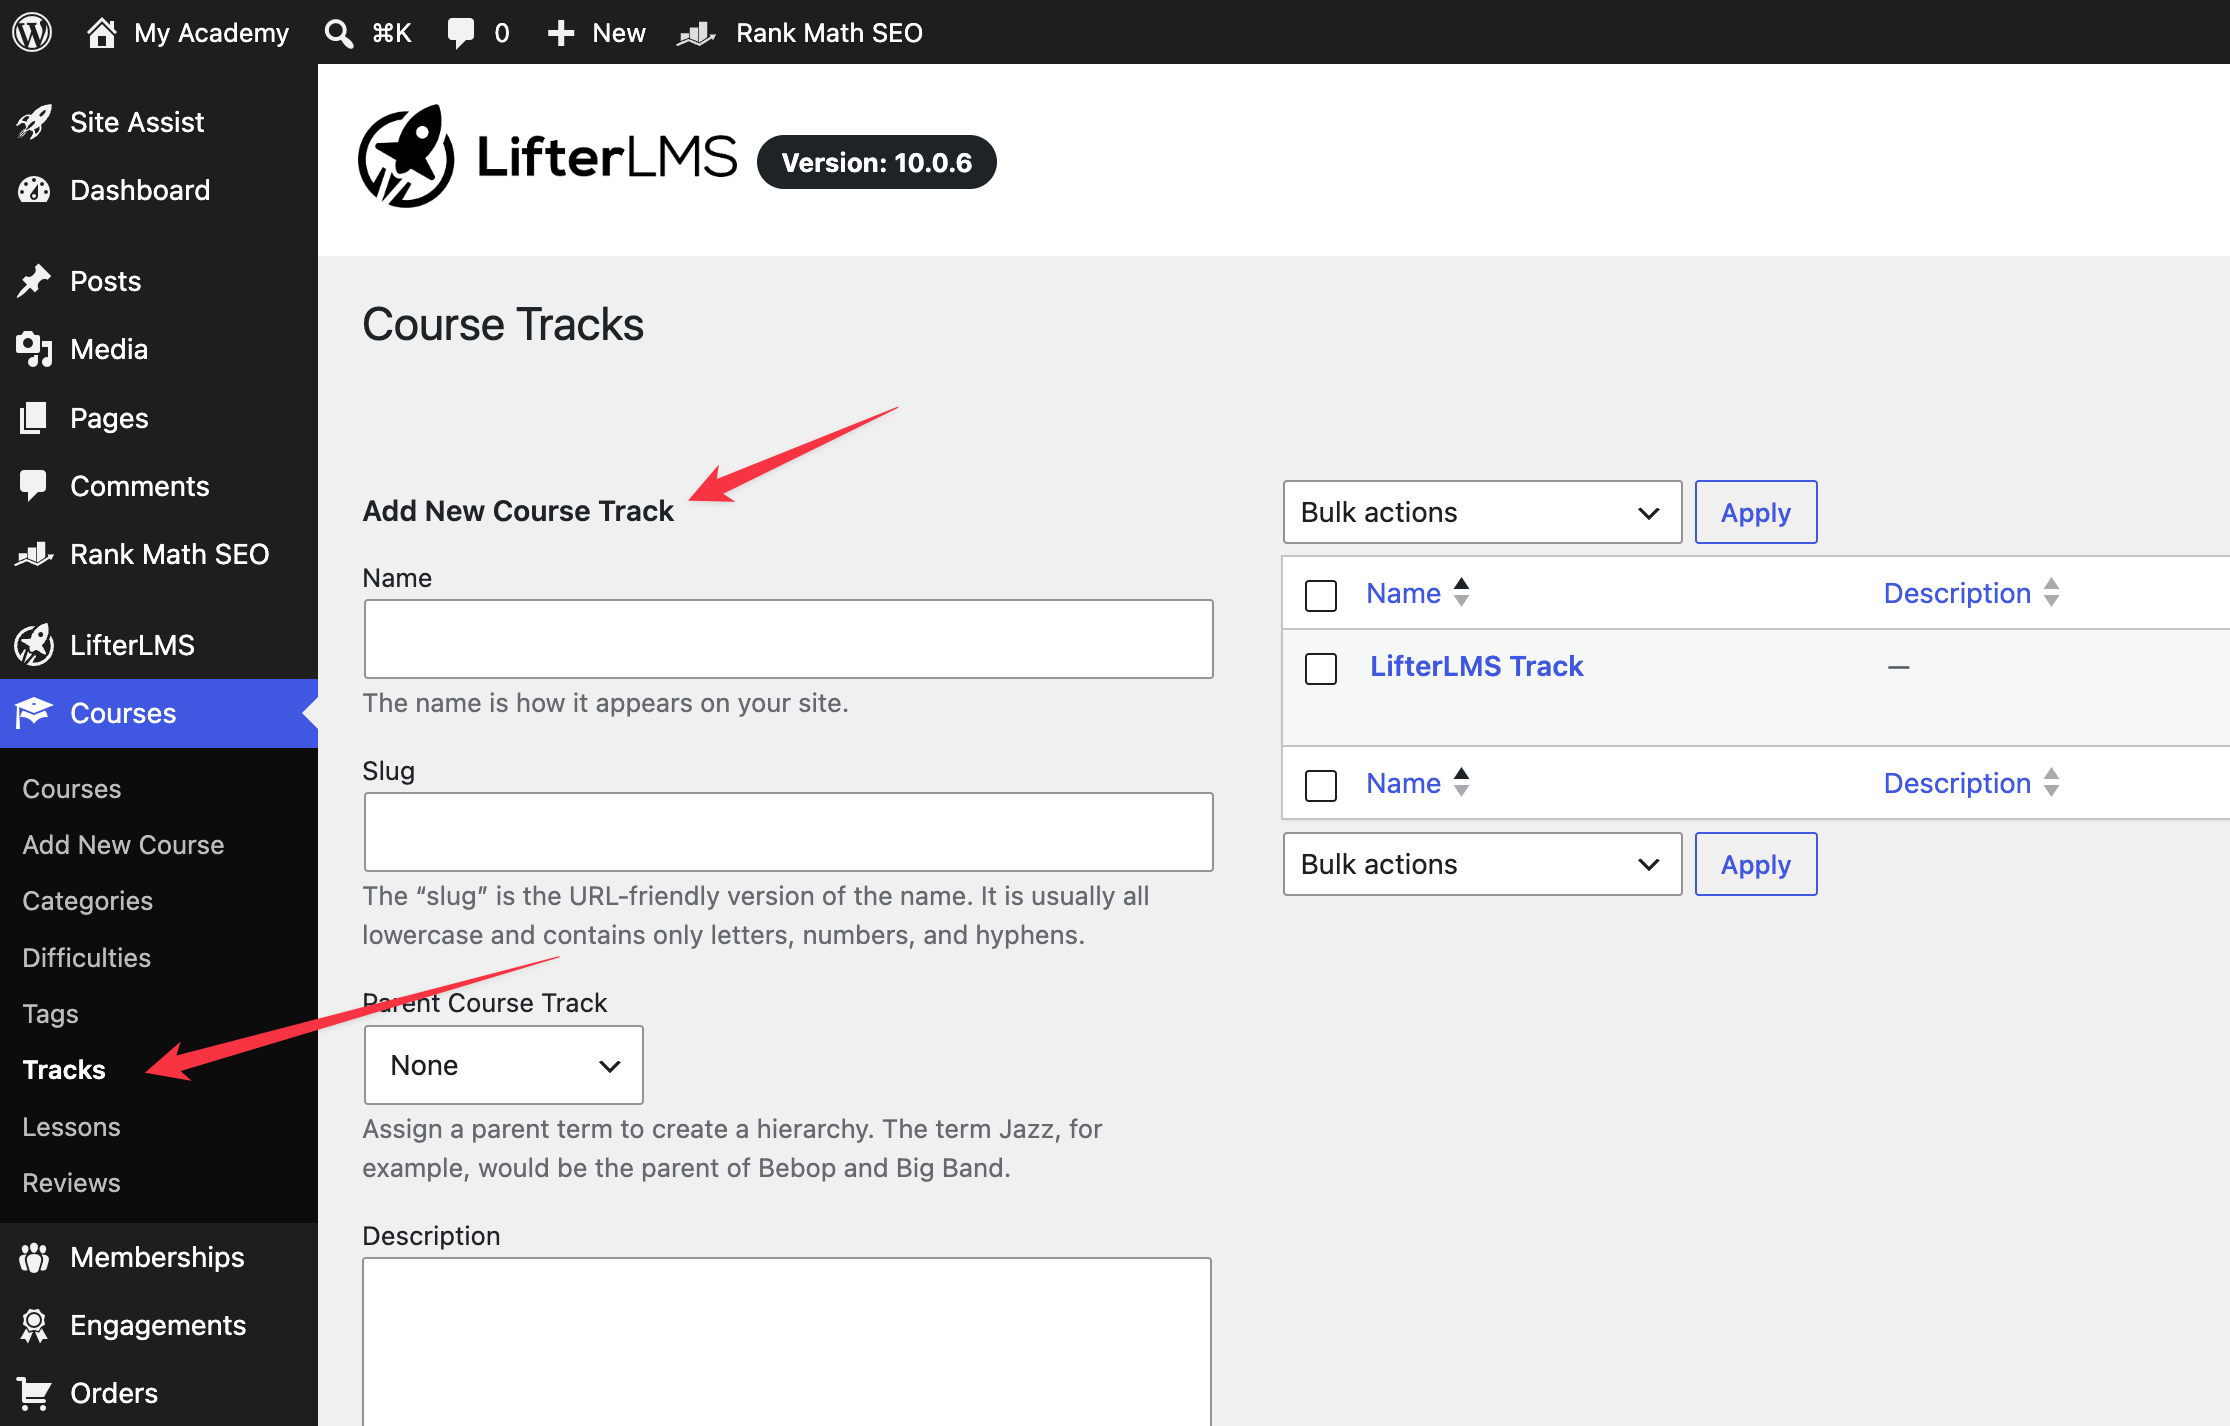
- Type the name of your track in the “Name” field.
- Enter a custom URL-friendly version of the name in the “Slug” field, or leave it blank to let WordPress create one automatically.
- Write a short description in the “Description” area if you want to display information about the track to your users.
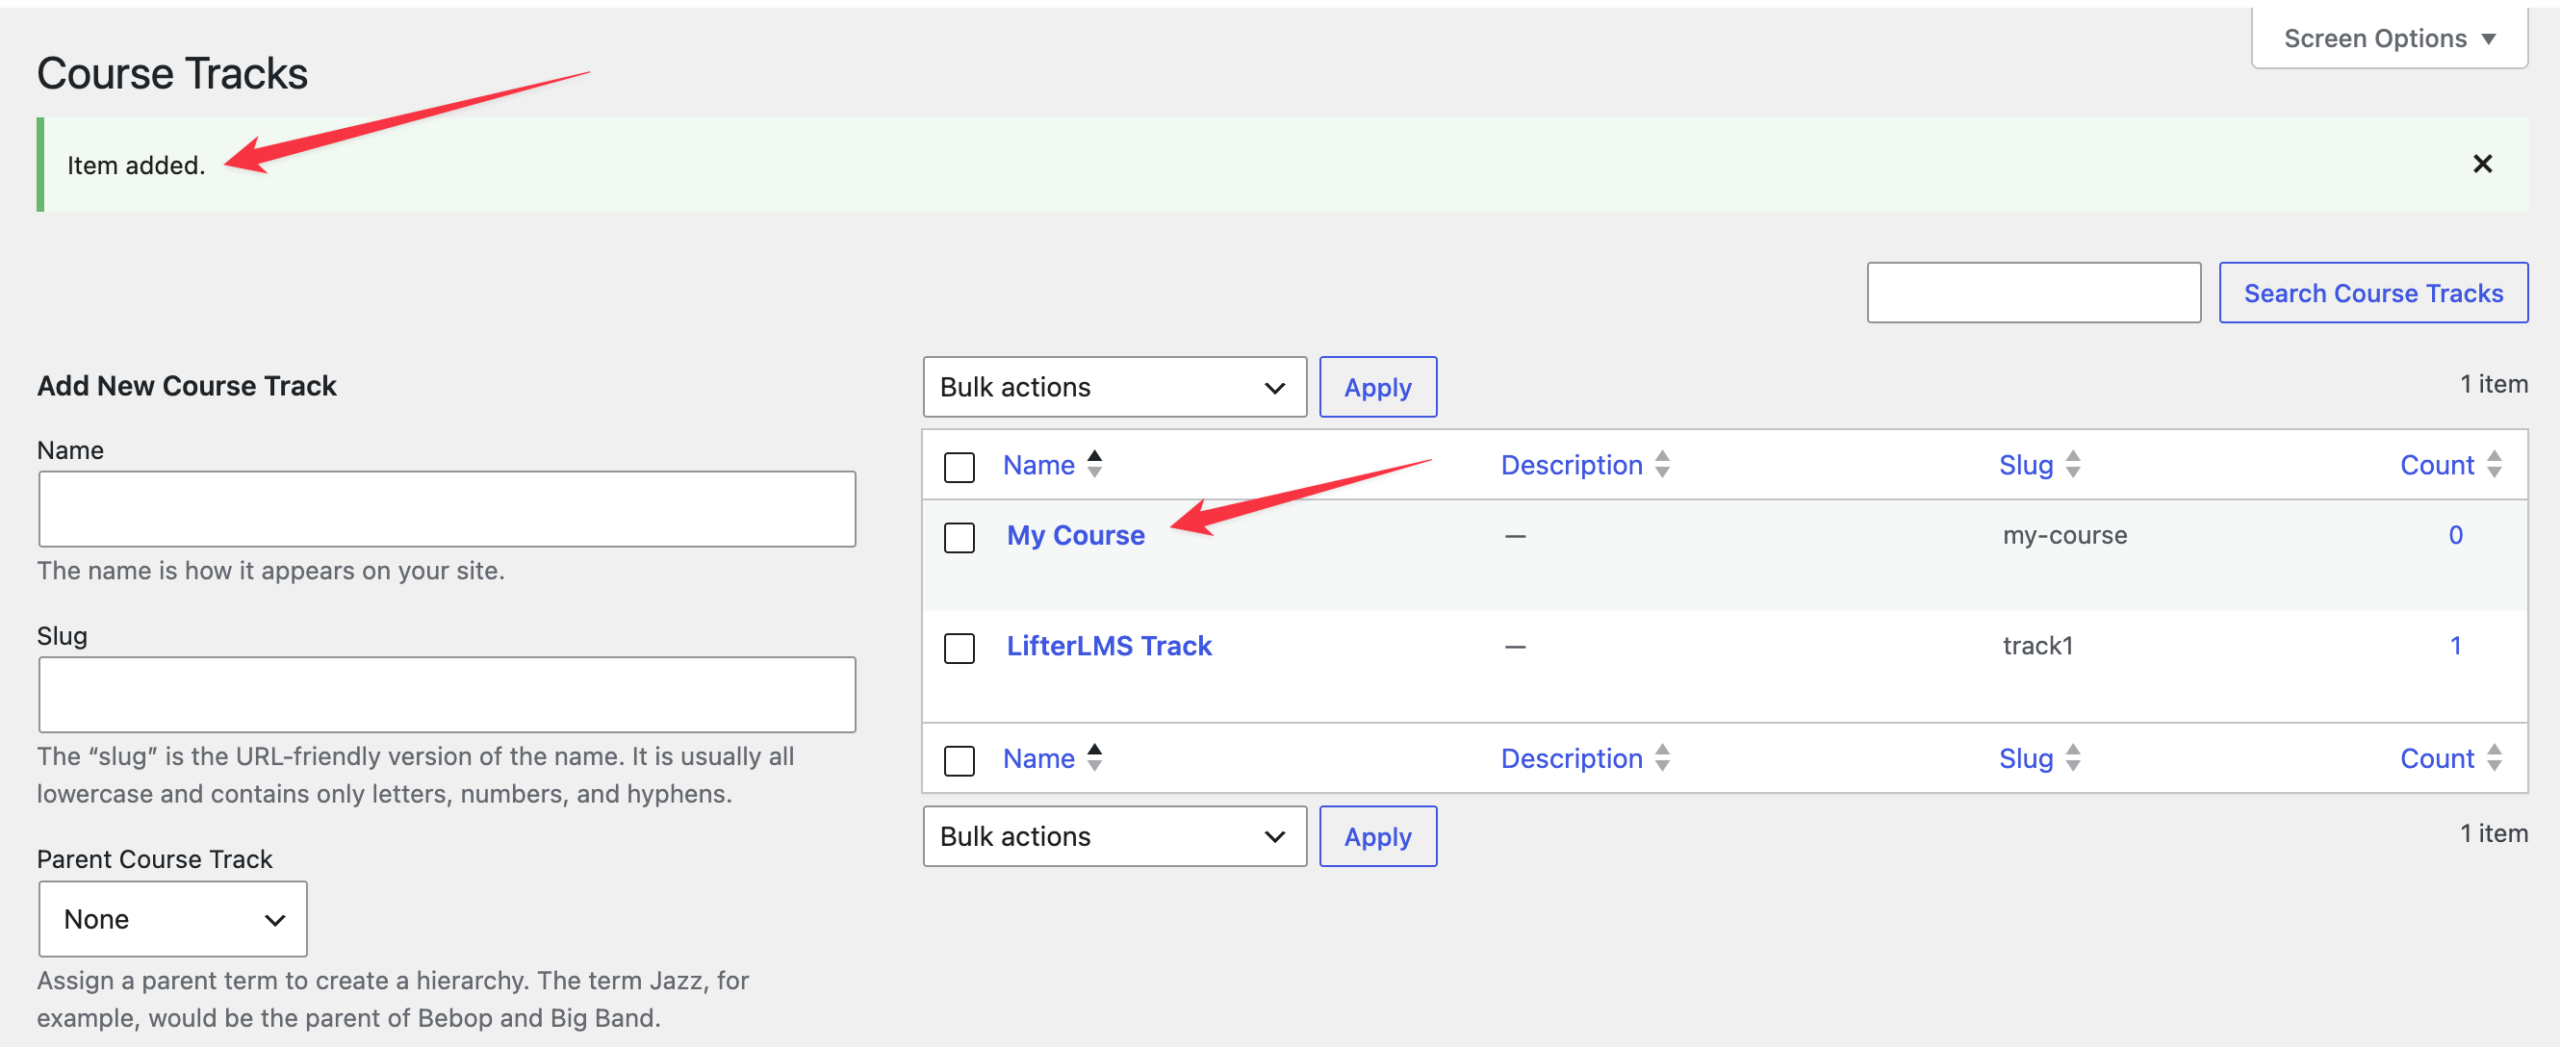
- Click the Add New Course Track button at the bottom of the form to save your new track.
The track will now appear in the list on the right side of your screen.
Once you create a Course Track, you can add individual courses to it directly from the course editor. Follow these steps to assign a course to a track:
- Navigate to Courses > Courses on your WordPress dashboard.
- Find the course you want to add to the track.
- Hover your mouse over the title of the course and click Edit.
- Look at the settings sidebar on the right side of the WordPress editor screen.
- Scroll down the sidebar menu and locate the panel labeled “Course Tracks”.
- Click the checkbox next to the name of the track you want to assign to this course.
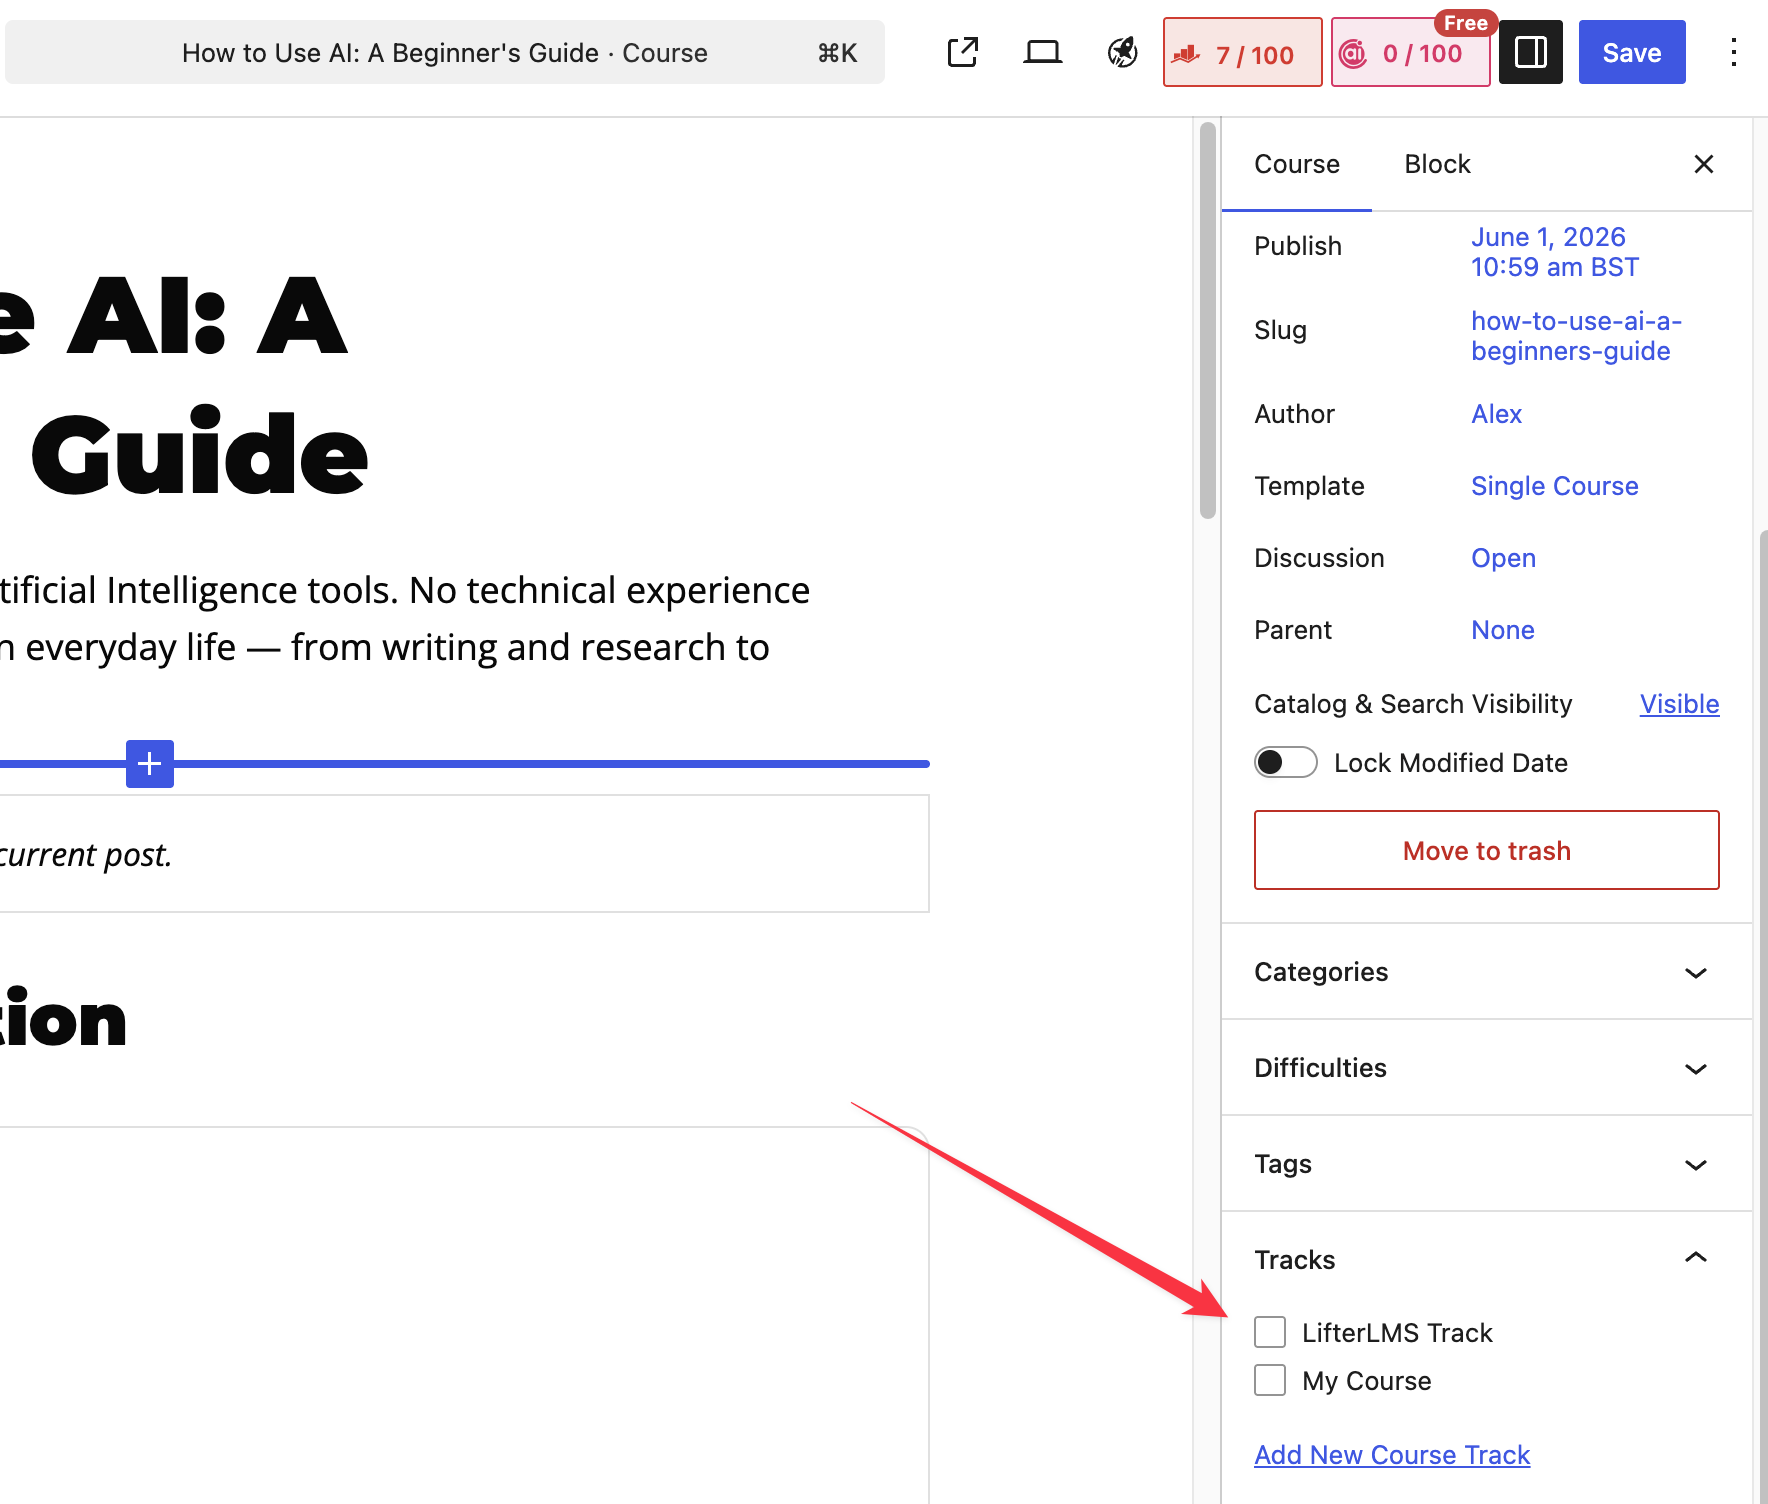
- Click the Save button in the top-right corner of the screen to save your changes.
LifterLMS automatically generates a unique page for each Course Track. This page shows a dynamically filtered course catalog that shows only the courses belonging to that specific track. You can share this link with your students to guide them toward a particular learning pathway.
Follow these steps to find and share the link to a Course Track:
- Navigate to Courses > Tracks in your WordPress dashboard.
- Locate your list of tracks on the right side of the page.
- Hover your mouse over the name of the track.
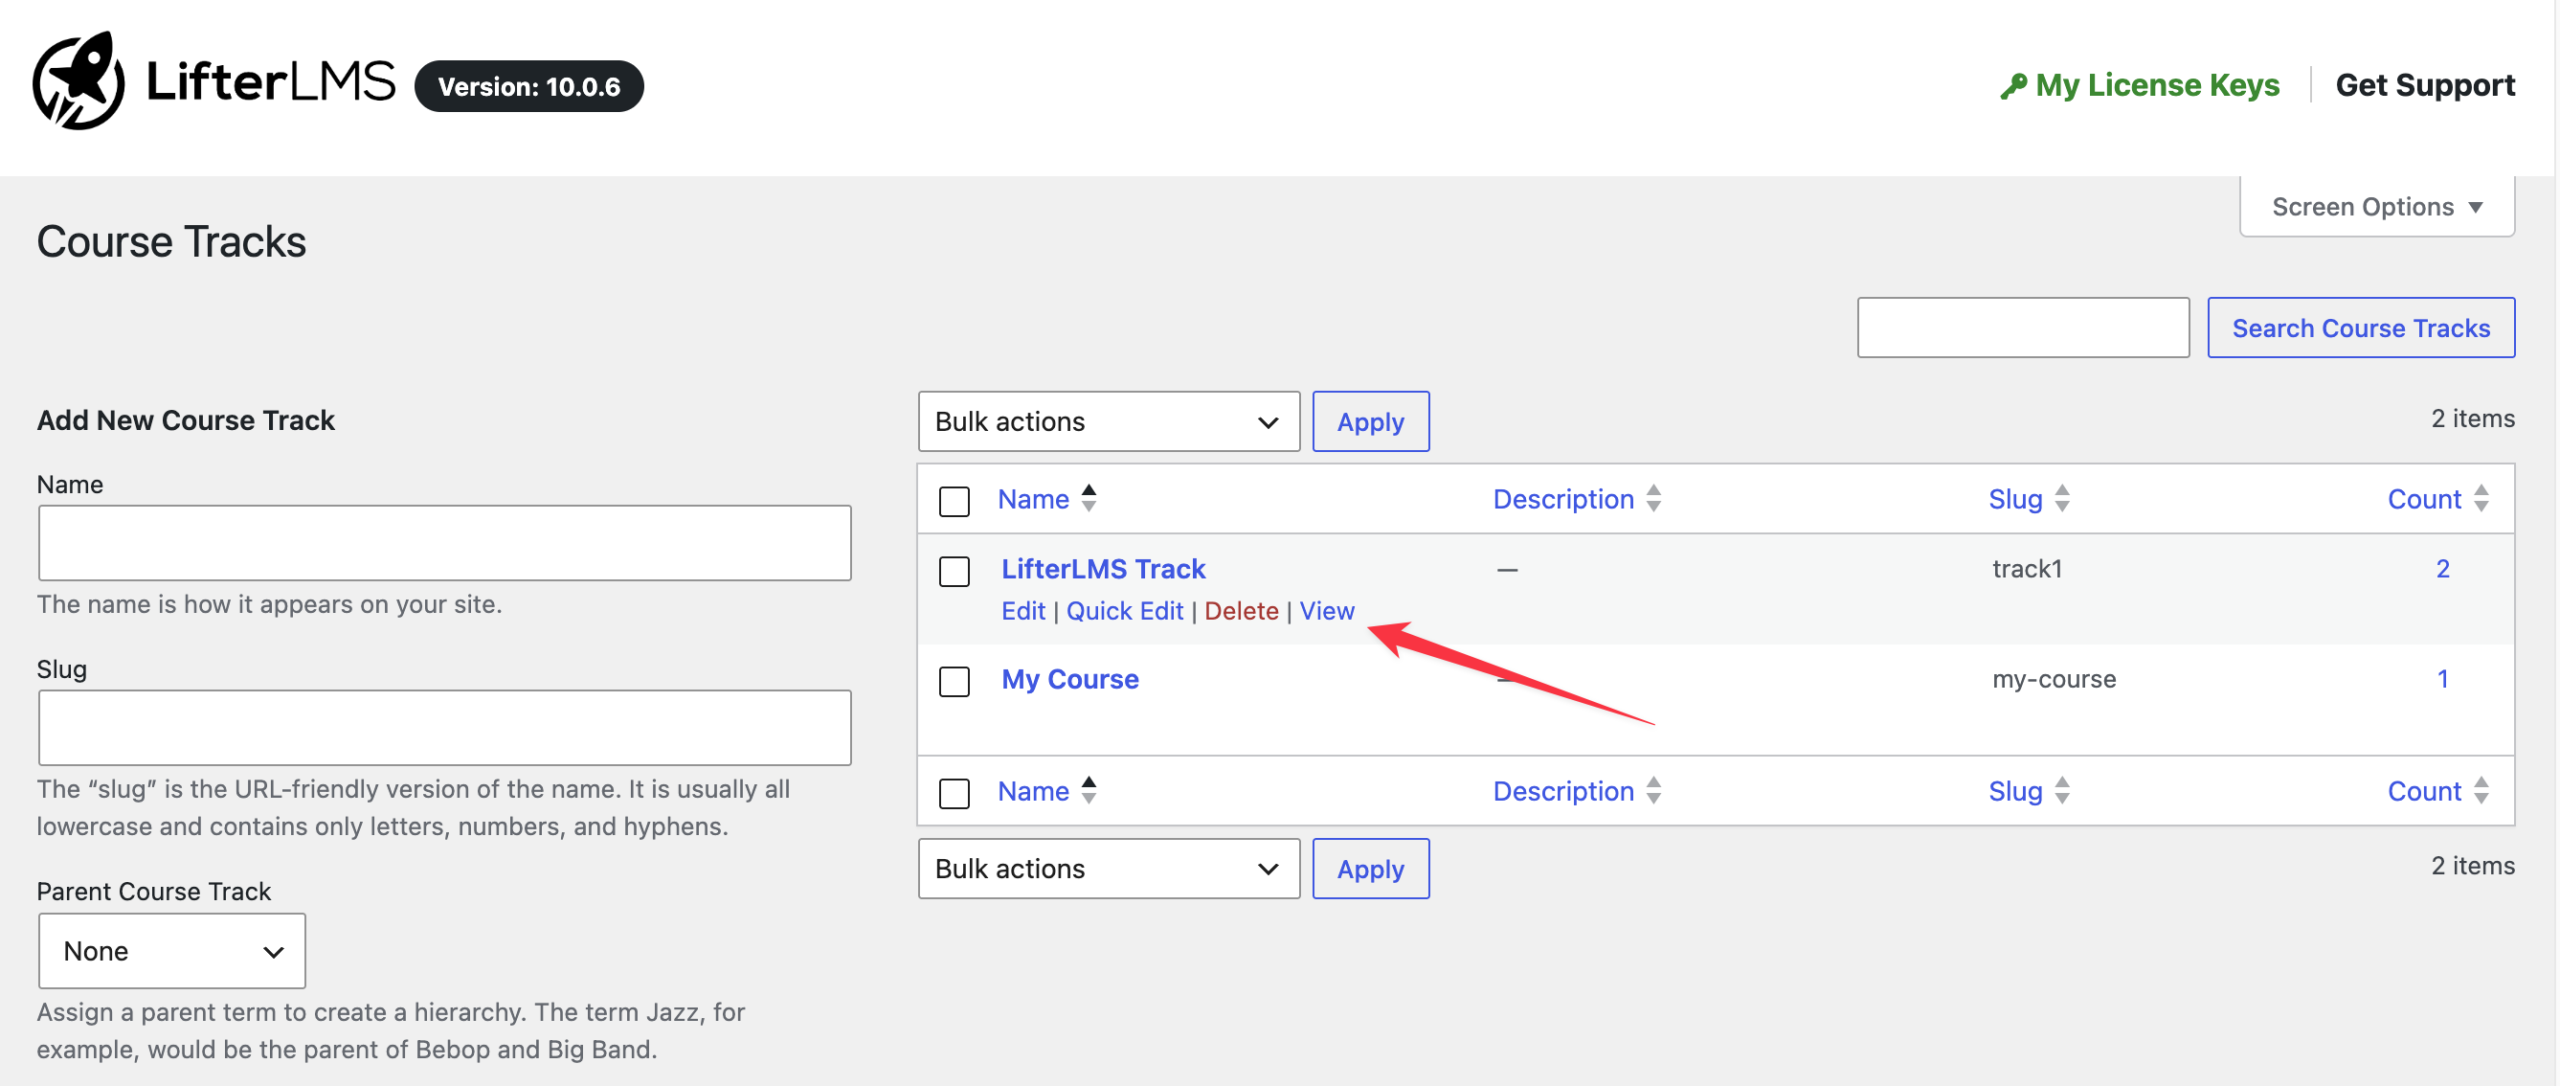
- Click on the “View” link that appears in the options menu.