Setting up Menus in Sky Pilot Theme
Menus are an important part of your site. The steps below show how to create and manage menus in the Sky Pilot theme.
Before you begin, make sure the Sky Pilot theme is installed and active, and that the pages you want to link to already exist.
When you create pages, they can be added to your navigation menu.
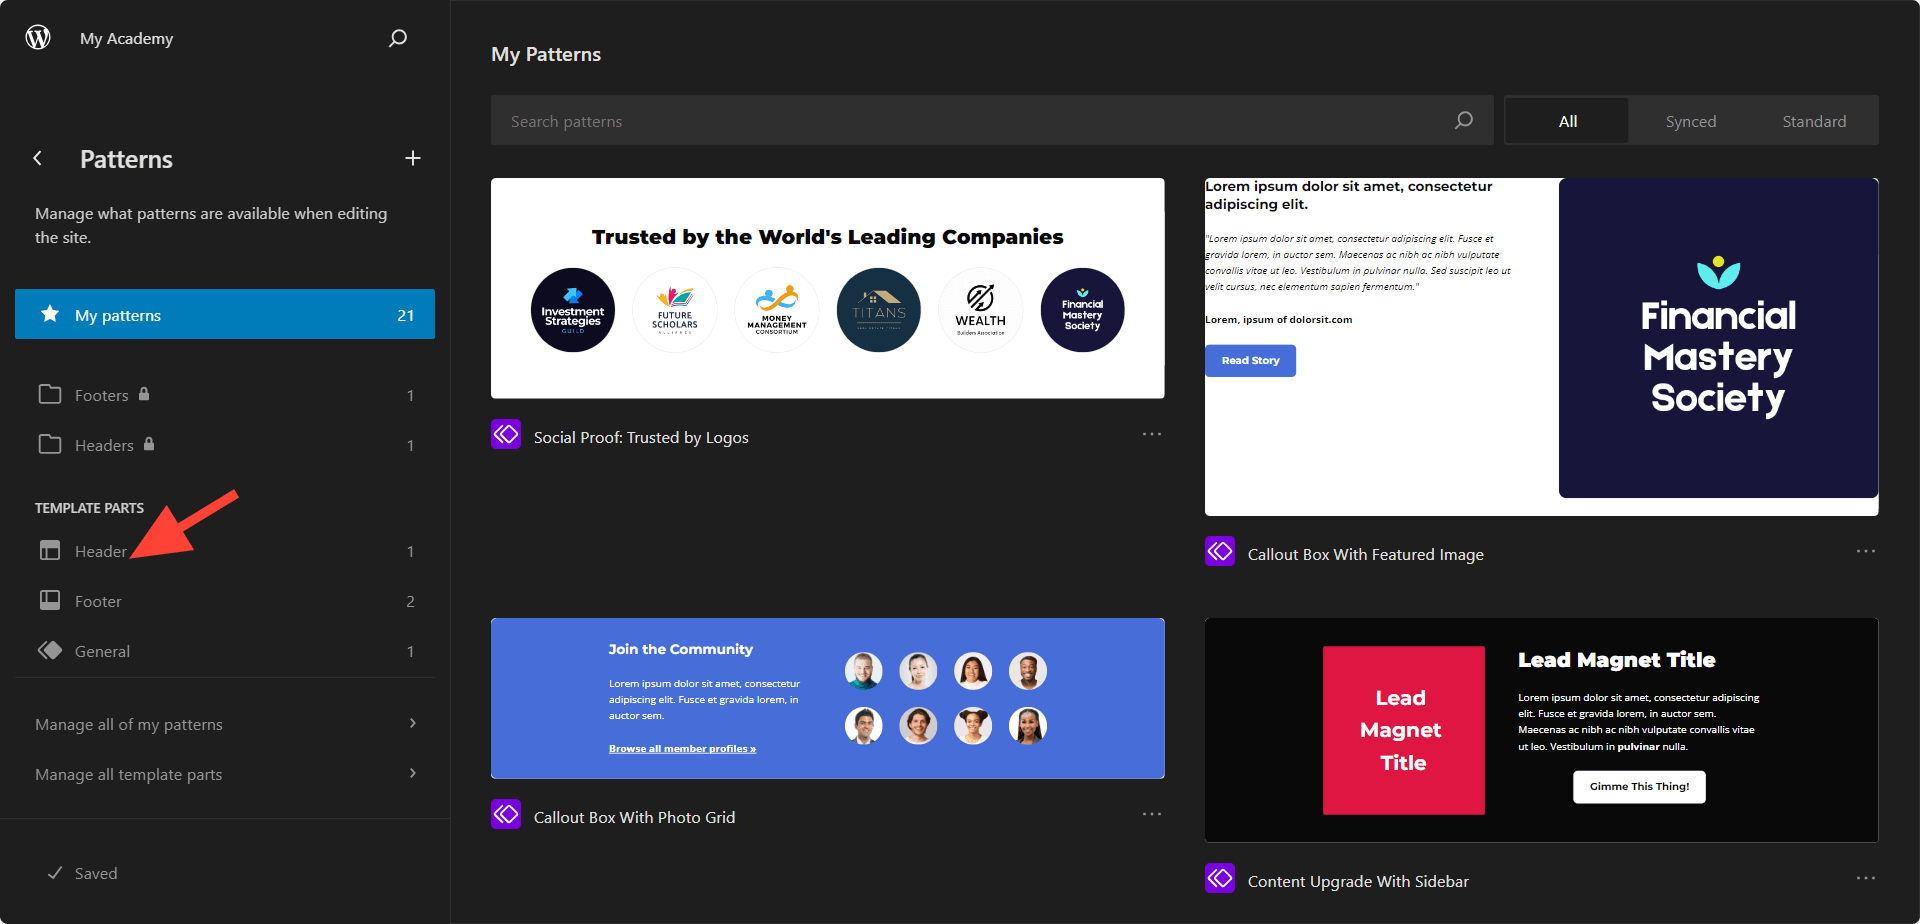
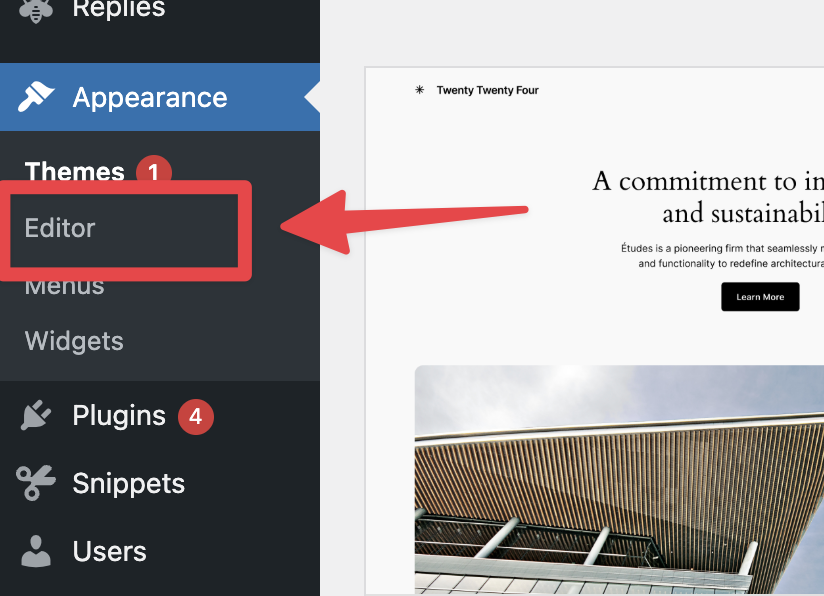
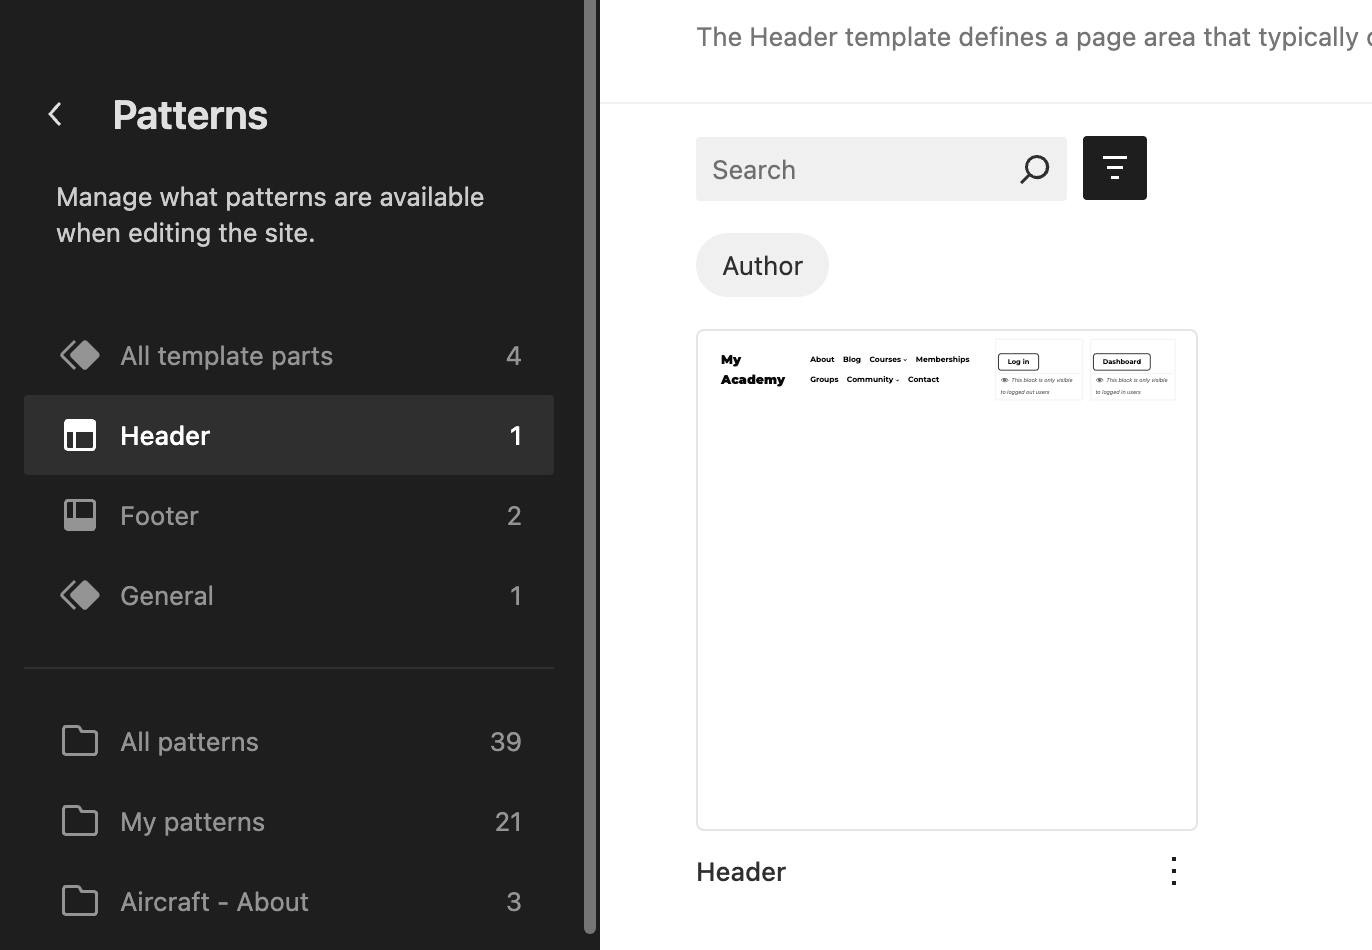
Step 1: Open the Site Editor by going to Dashboard > Appearance > Editor. Select Patterns, then choose Header.
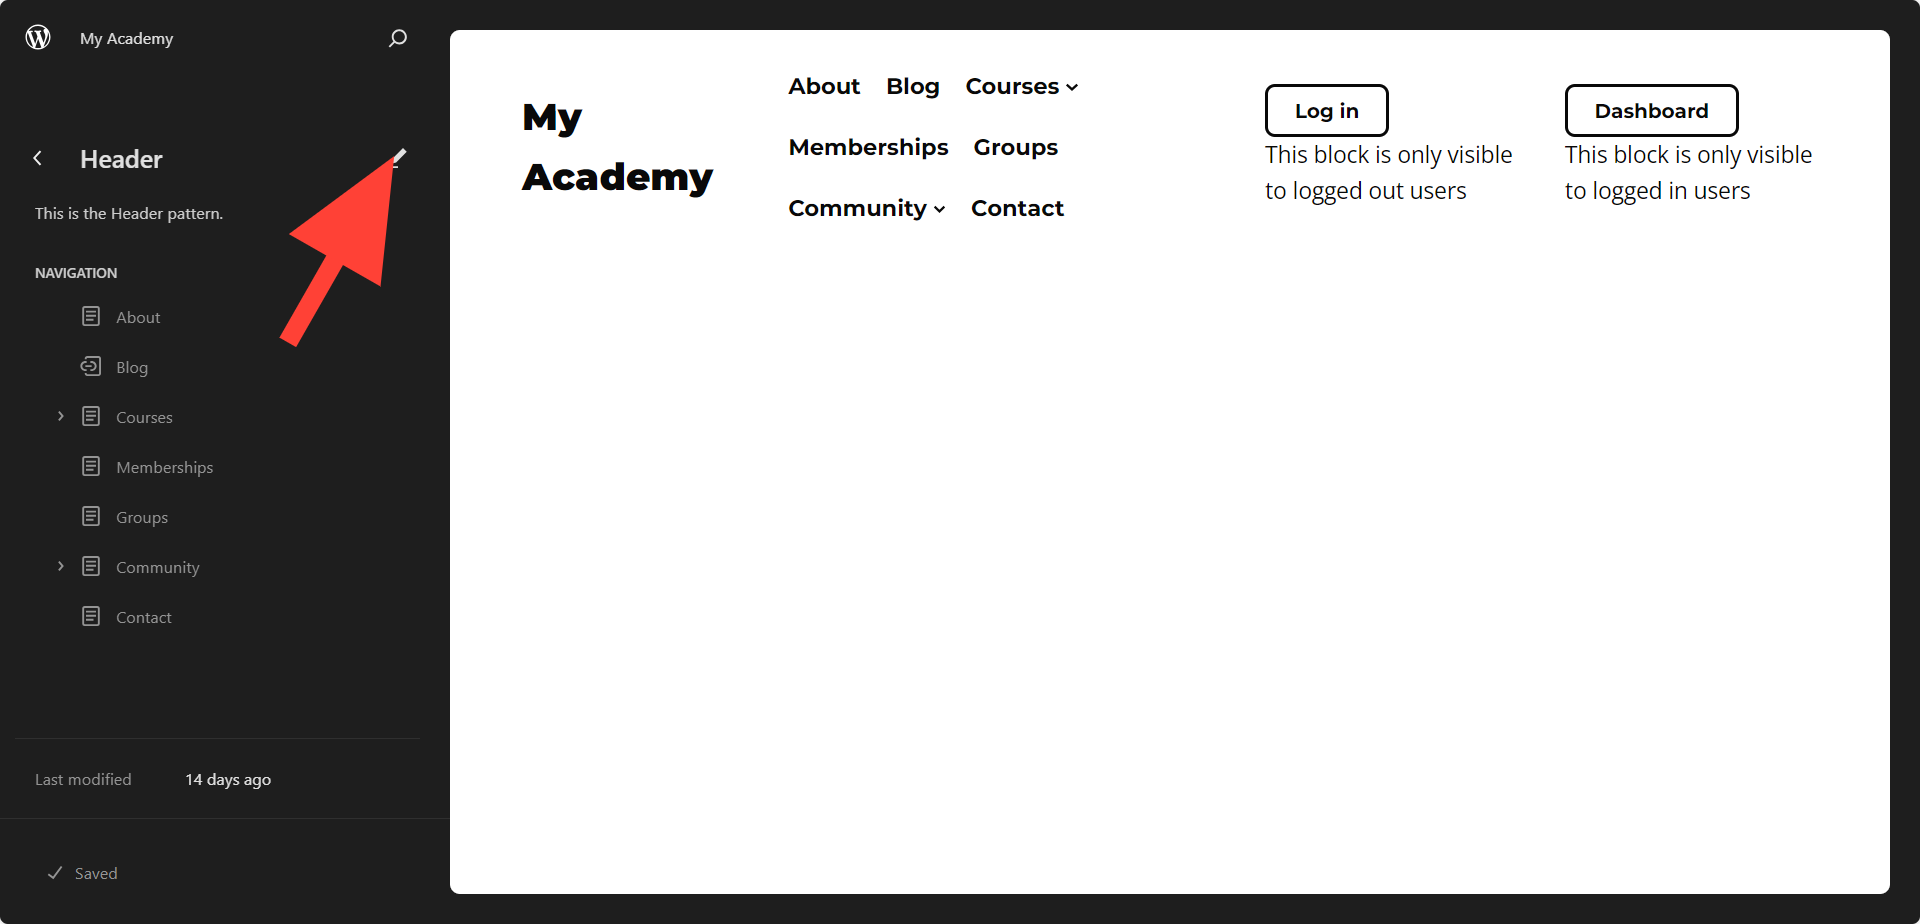
Step 2: Now select Header and click on the “Pen icon” to modify the header area.
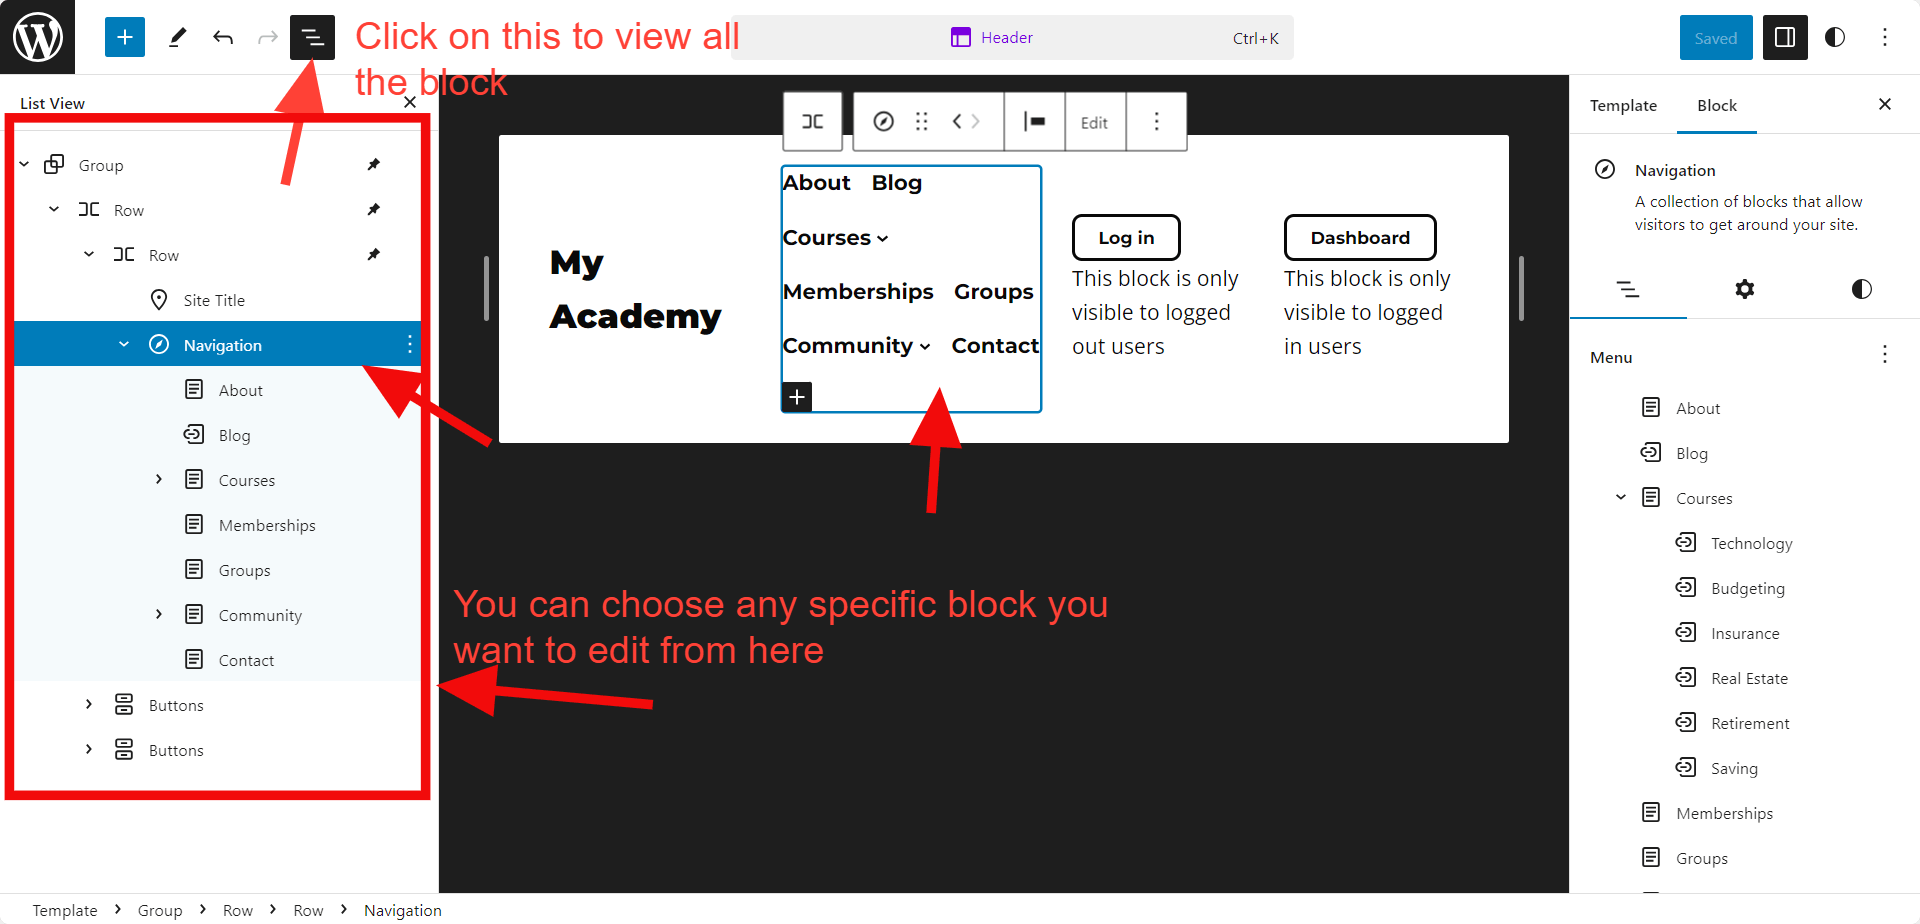
Step 3: Click on the “List view” from top left to view the blocks. And now you can choose any specific block to modify. In the screenshot you can see I have select the “Navigation block” and that automatically selected from the menu bar.
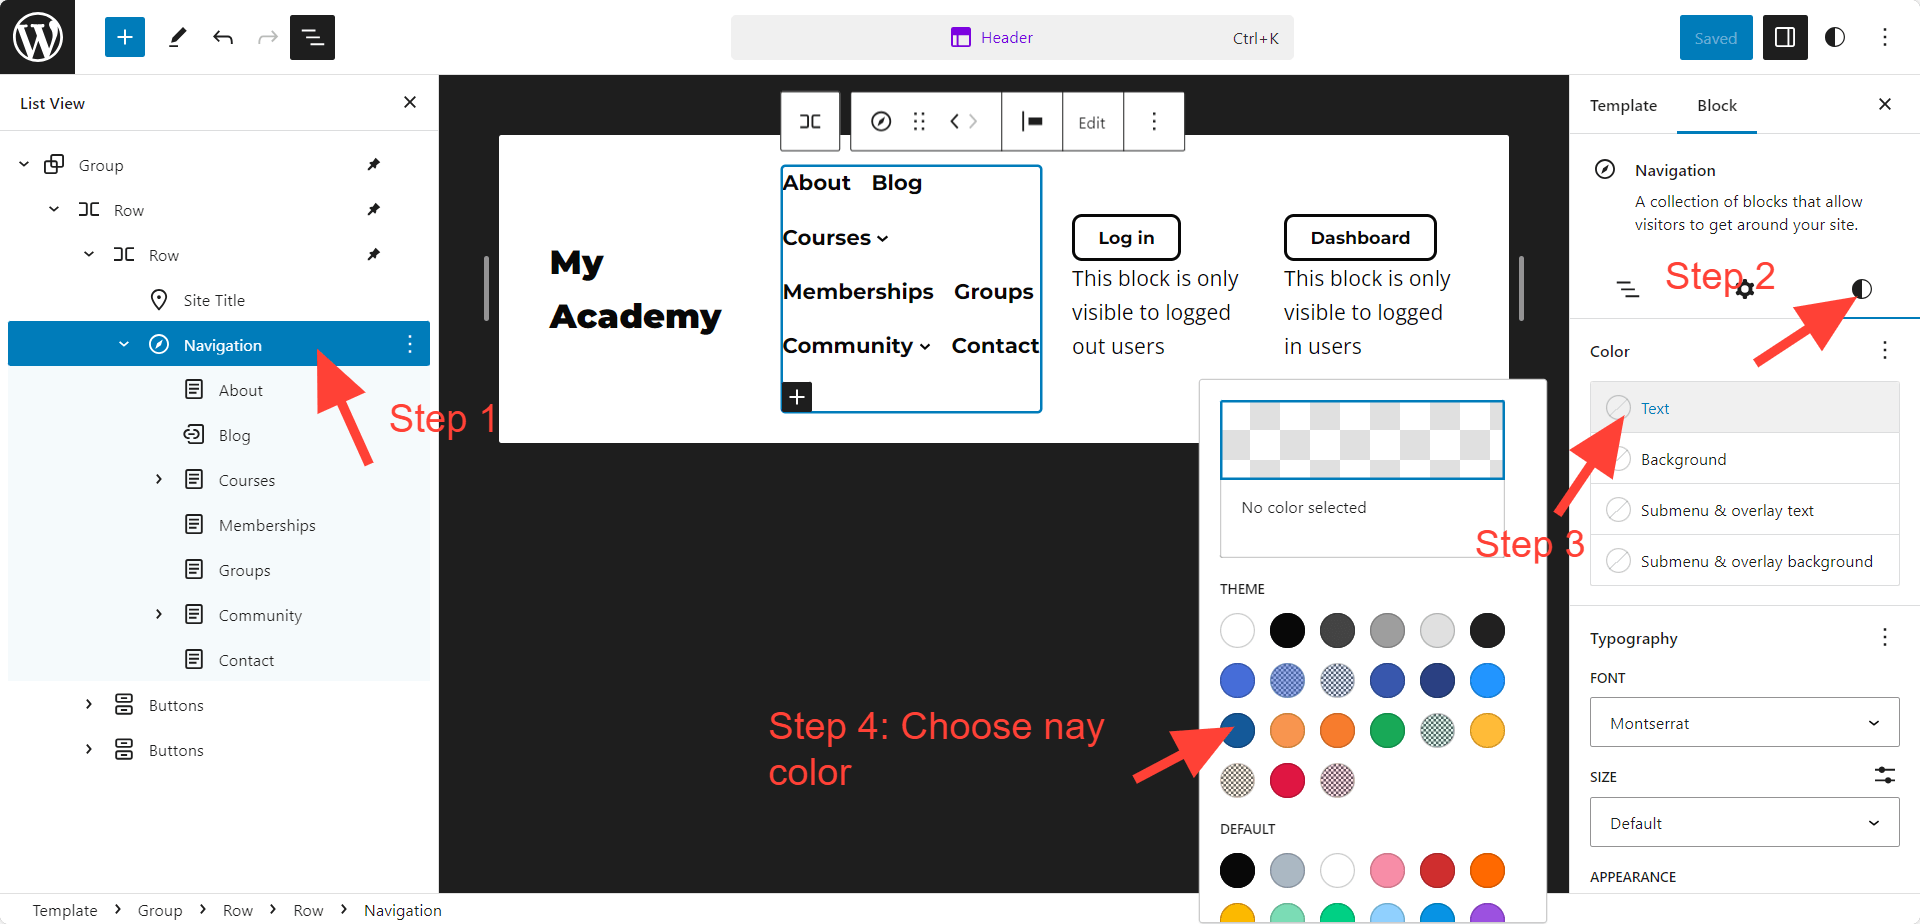
For example, to change the color of your navigation text, select the Navigation block, open the color settings, and update the Text color.
Also you can rearrange the position of the block or navigation and many things.
Once your Navigation block is set up, you can organise links into dropdown menus by nesting items.
How to Create Dropdown Menus in the Navigation Bar in the Sky Pilot Theme
Sky Pilot uses the WordPress Site Editor, so you build menus visually. To create a dropdown menu, you nest one navigation link under another.
Follow these steps to create a dropdown menu in your site header navigation:
- Log in to your WordPress site.
- Navigate to Appearance > Editor in the left menu.
- Click on Patterns in the left-hand menu.
- On the Patterns screen, select Header. This opens your available header patterns. Choose the one you want to edit.
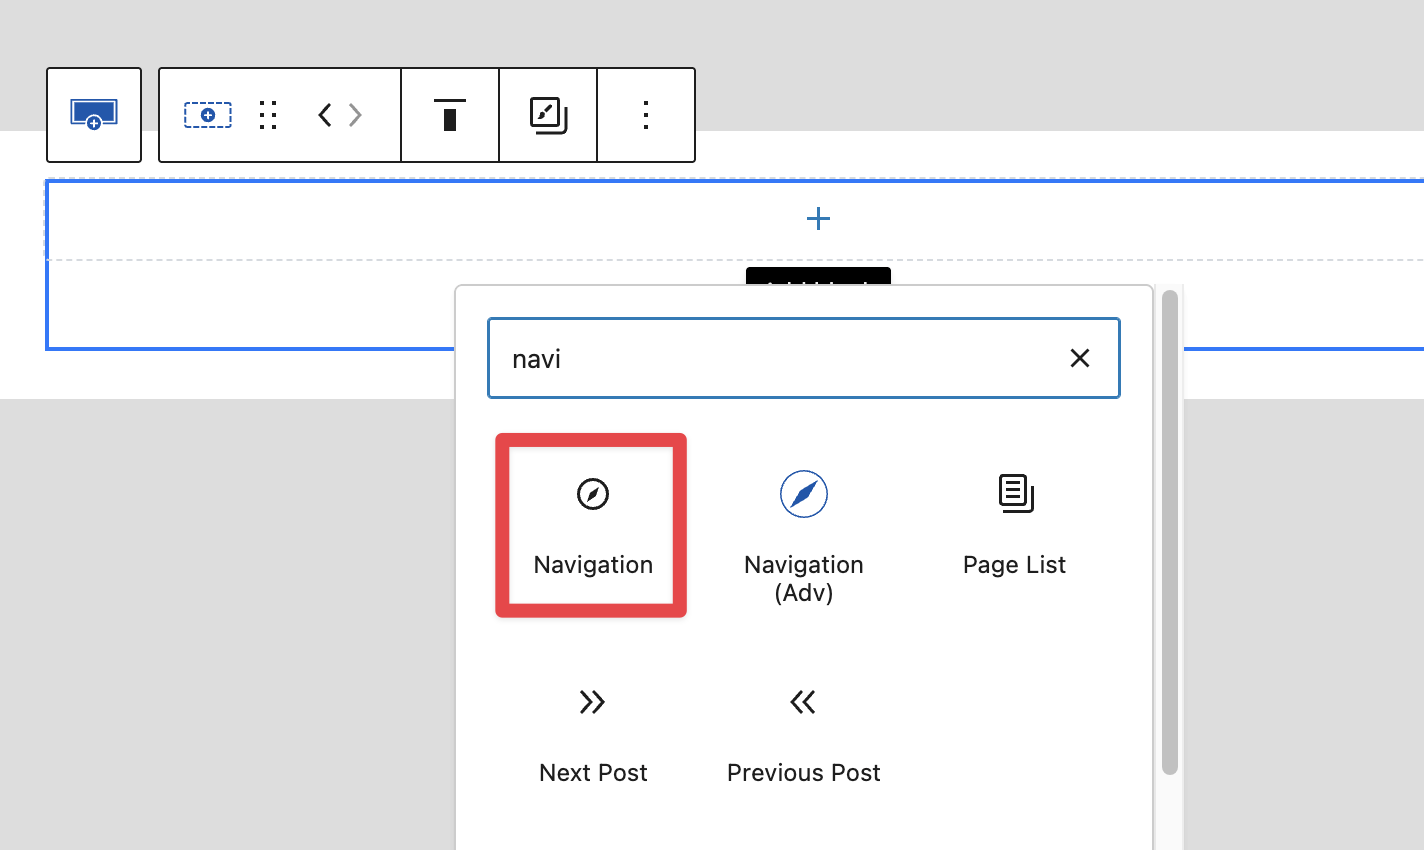
- Select the Navigation block in the header. If your header does not include one yet, add a Navigation block first.
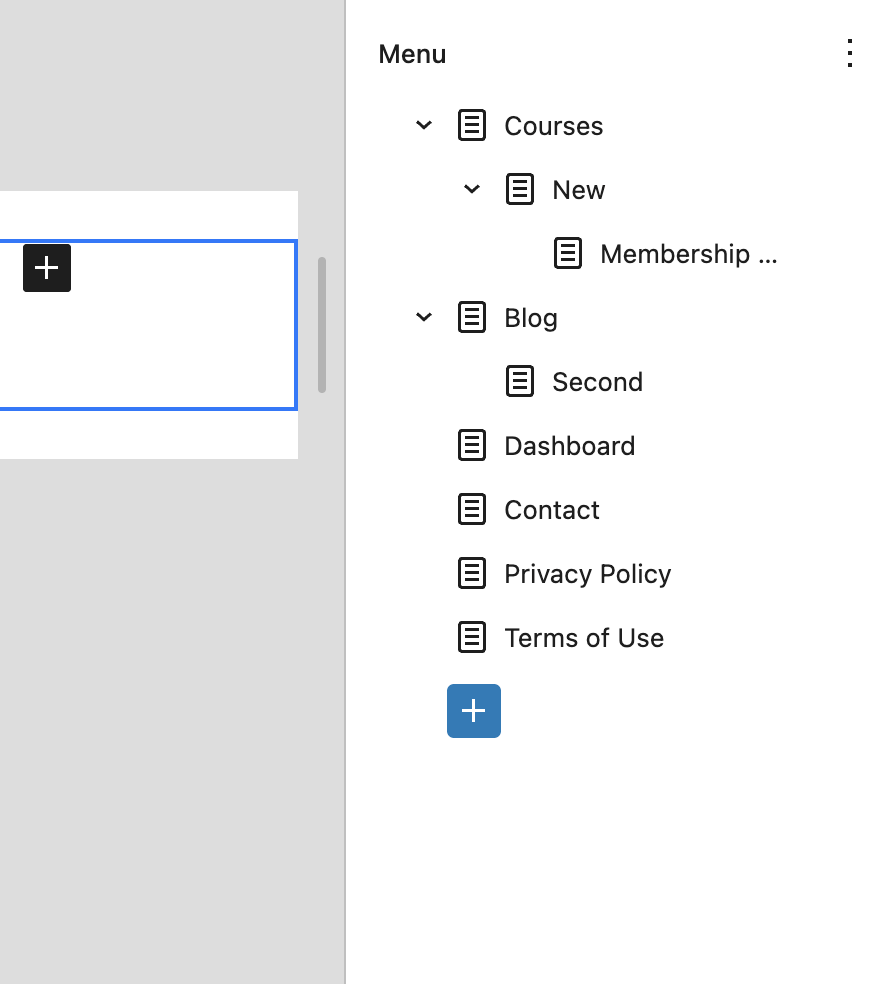
- Open List View to see the structure of your navigation. Then select the Navigation block.
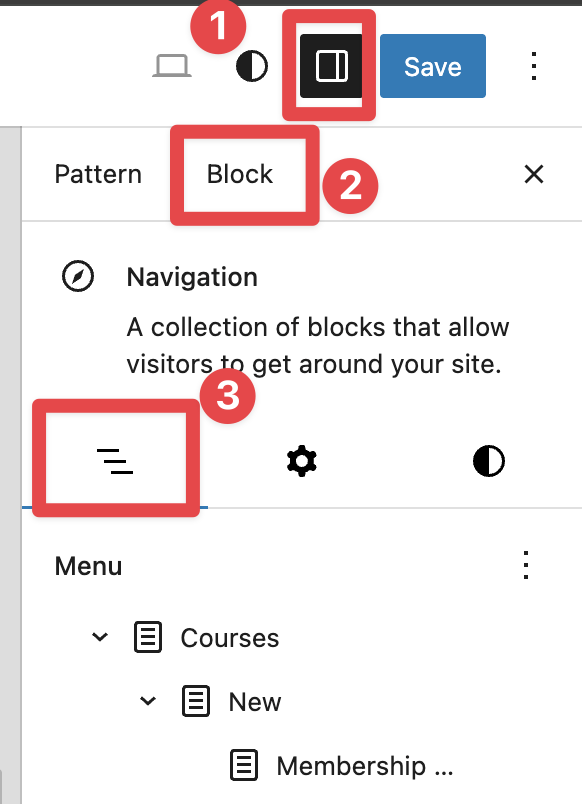
- In List View, find the menu item you want to place inside a dropdown.
- Drag that menu item underneath the parent item.
- Drop the item when it appears slightly indented under the parent item. This indentation means it is nested and will appear in the dropdown. Repeat for any other dropdown links.
- To create a second-level dropdown, nest a link under an item that is already nested.
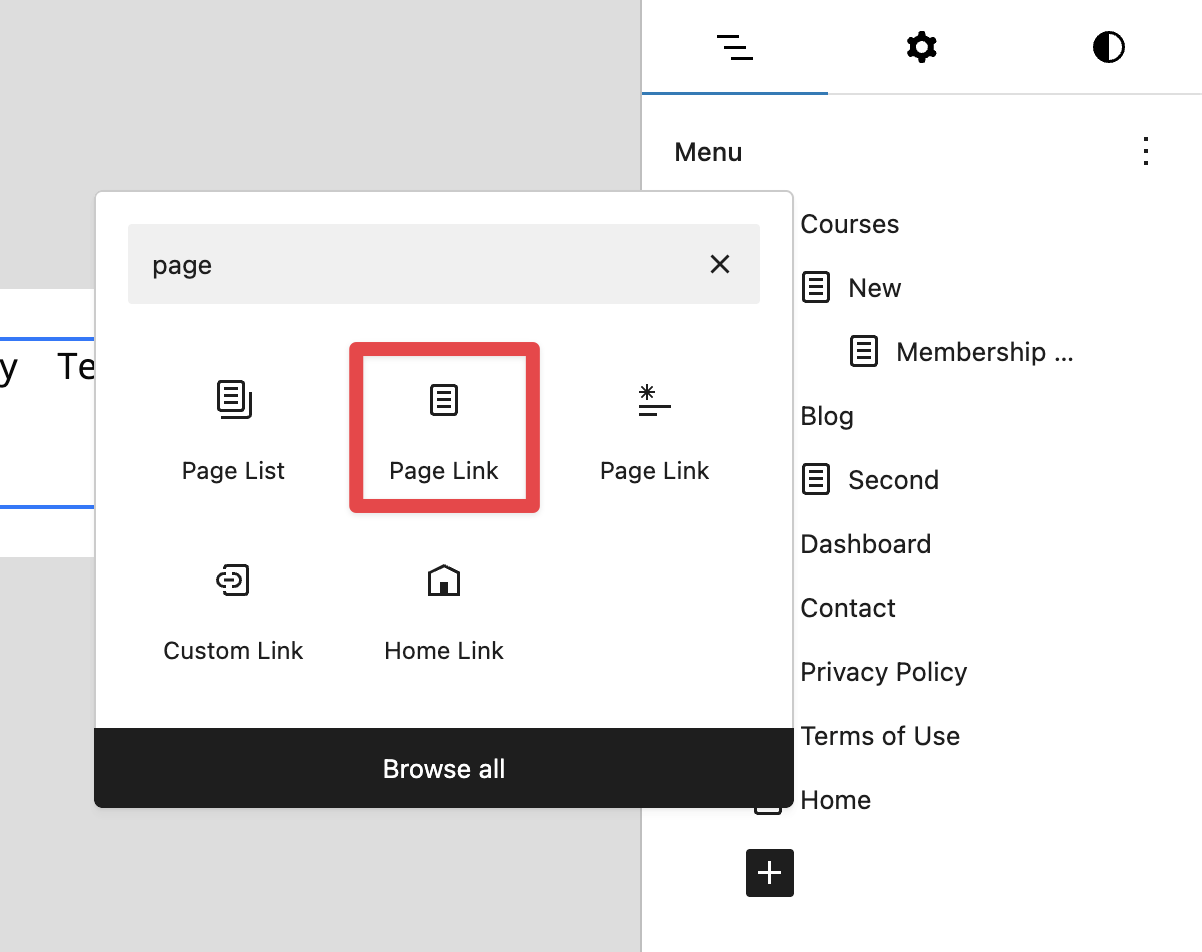
- To add a new link, click the plus icon and select Page Link. Then drag it into place, including nesting it under a parent item if needed.
- Click Save. Your nested links will appear as a dropdown from the parent item.
Your navigation bar will now display the nested items inside a dropdown menu when a user hovers over the parent link.
Video Demo
This video demonstrates general menu setup and navigation editing in Sky Pilot.


