How to Manually Update LifterLMS
In some scenarios, it may be necessary to manually update LifterLMS.
The easiest way to manually update LifterLMS is to re-install it.
When you re-install LifterLMS, no data will be lost. All of your LMS content (students progress, lessons, quizzes, courses, memberships, and more) are stored in the WordPress database or WordPress media library.
Updating LifterLMS manually will only overwrite the plugin files that make LifterLMS work. When you re-install LifterLMS, everything will still be exactly as you left it.
Note that with any update to your WordPress site, it is always best to create a backup of your database and possibly your site files to ensure you can easily rollback changes if anything goes wrong during the process.
How to Re-Install LifterLMS
- Navigate to Plugins > Add New > Upload Plugin.
- Select the complete .zip download of the plugin you want to update.
- You can access the complete .zip download of the core LifterLMS plugin here.
- For premium add-ons, you can access complete .zip files from the Account > License panel here.
- Click Install Now
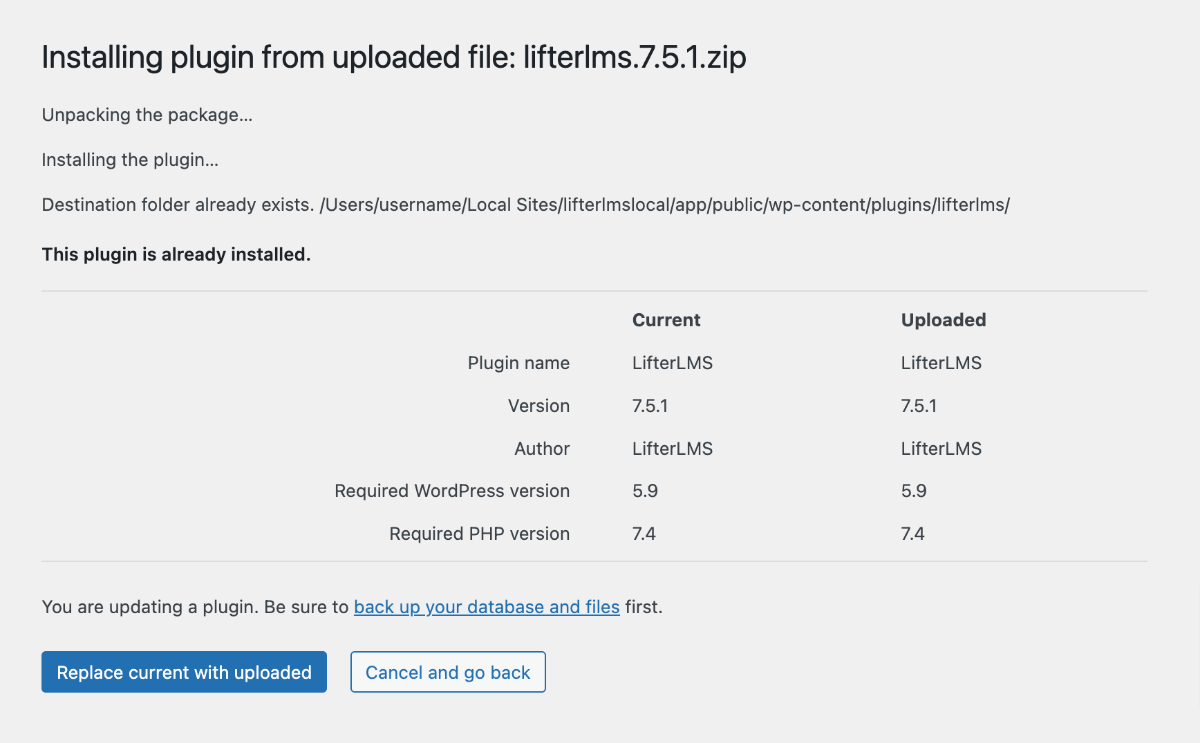
- On the next screen, you will see that WordPress detected this is the same plugin you have already installed.
- Click the button to Replace current with uploaded.
That’s it. Your site’s version of the plugin has been overwritten by the newly uploaded version.