File size limit for video uploads for assignments and quizzes
By default, the maximum upload size in WordPress ranges from 2MB to 150MB depending on the settings of your web hosting provider is giving by default.
To check what is the current max upload size limit in your WordPress site then navigate to WP Admin → Media → Add New. You will see the current max upload size on the bottom as shown in the screenshot.
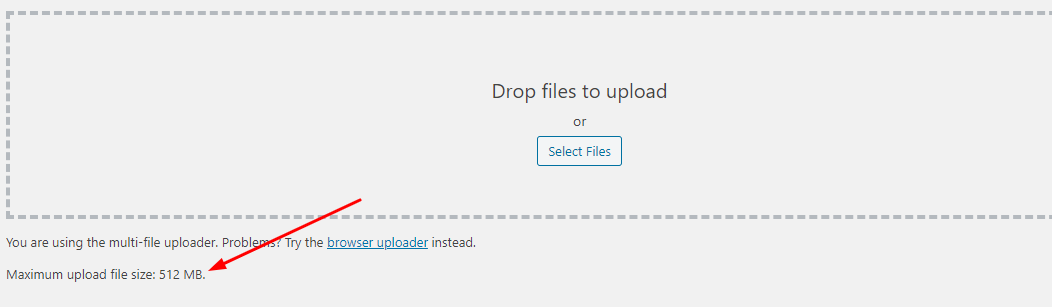
If you’re okay with the current maximum upload file size, then you can leave it as it is and your students should be able to upload their videos subjected to the maximum file size(in this case, 512 MB).
However, if it’s not sufficient for your needs, then no worries you can definitely increase this. It’s as simple as ABC or 123(ABC might not be so simple for some😂)
Let’s dive in, shall we?
- Use Functions.php file
- Php.ini File
- WP-config File
- Plugin
You can add the following lines to the functions.php file of your theme.
Please note that if you change your theme, then the max upload file size will be reverted to the default file size.
@ini_set( 'upload_max_size' , '64M' );

@ini_set( 'post_max_size', '64M');

@ini_set( 'max_execution_time', '300' );
You can change the ‘upload_max_size’ to any value within your hosting constraints. E.g. 128MB
Any application that runs on PHP makes use of the PHP.ini file. WordPress runs on PHP and so does LifterLMS.
Access your WordPress website root directly using FTP or File Manager in your Cpanel or ask your hosting company how to get to your PHP.ini file. In some cases, you may not have the PHP.ini file, if that is your case, simply create a new file and insert the following code and save it as php.ini
You can use a text editor like Notepad to insert this code:
upload_max_filesize = 25M

post_max_size = 13M

memory_limit = 15M
The WP-config file is located in your WordPress root directory. You can access it by going to your FTP or File Manager and locate the wp-config.php file(please be careful not to make a mistake here)
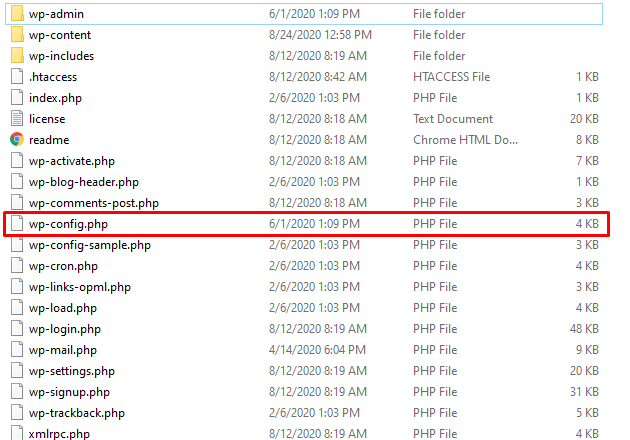
Open the file in any text editor and add the following code:
@ini_set( 'upload_max_size' , '20M' );

@ini_set( 'post_max_size', '13M');

@ini_set( 'memory_limit', '15M' );
Voila! You should have increased your max upload size by that.
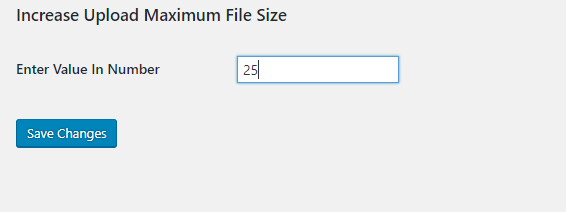
We all know that plugins remove the fear of making a mistake while adding code or editing code. There are numerous plugins that can be used to increase the max upload size but for this purpose, we’ll be using the Increase Maximum Upload File Size Plugin
Simply go to your WordPress dashboard. Click on Plugins >> Add new and search for “Increase Max Upload Filesize”. When it has been installed, you can now visit the plugin settings and increase your max upload file size.
Click on Save Changes and that should fix your upload issues with the students.


