Congratulations on choosing the best WordPress LMS—Your next steps…
Let’s get you set up. Watch this short video, then explore the 2 ways to install and activate LifterLMS on your website…
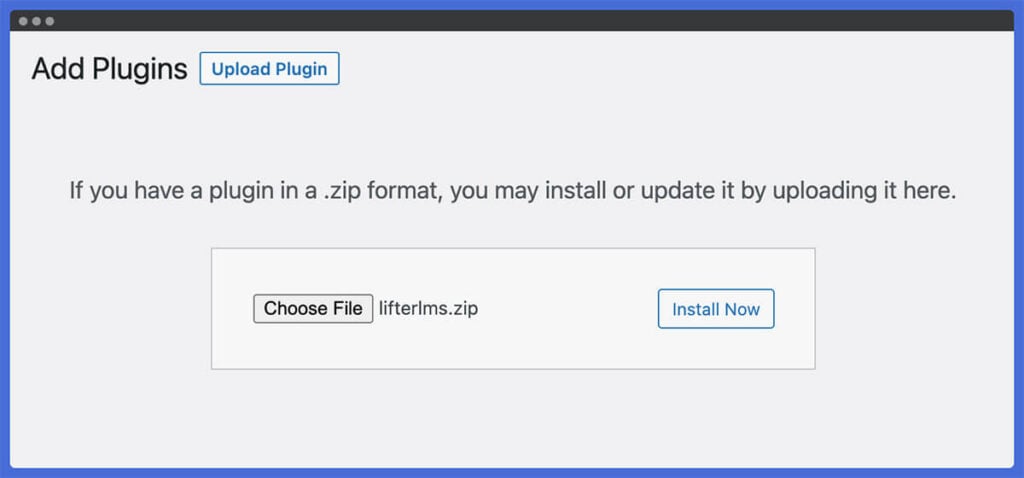
Option 1: Install and Activate LifterLMS from a .zip file.
- Download the current version of LifterLMS by creating a free account on the LifterLMS website, and clicking the Download Core LifterLMS Plugin button.
- You can upload the .zip file of LifterLMS via the Plugins > Add New > Upload plugin screen.
- Or, upload the unzipped ‘lifterlms’ plugin folder to the /wp-content/plugins/ folder of your site’s web hosting environment.
- Once the plugin is installed in your WordPress site, navigate to the Plugins screen in the WordPress admin.
- Locate “LifterLMS” in the list of plugins.
- Click “Activate” to activate the plugin and begin setup.
Installation From Zip File Video Demo
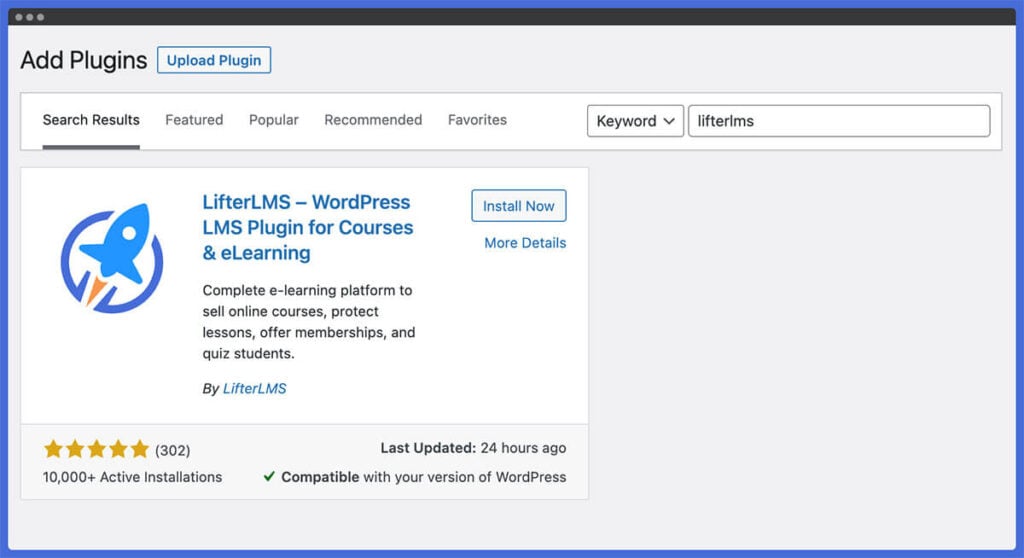
Option 2: Install and Activate LifterLMS through the WordPress dashboard.
- Log in to the WordPress dashboard for your site.
- Go to Plugins > Add New.
- Search for “LifterLMS” by LifterLMS (It should be the first result you see).
- Click “Install Now”.
- Once the plugin is installed in your WordPress site, navigate to the Plugins screen in the WordPress admin.
- Locate “LifterLMS” in the list of plugins.
- Click “Activate” to activate the plugin and begin setup.
Installation From WordPress Video Demo
Do you need additional help?
We’re here for you.